
Designing an Accessible Path to a Garden House
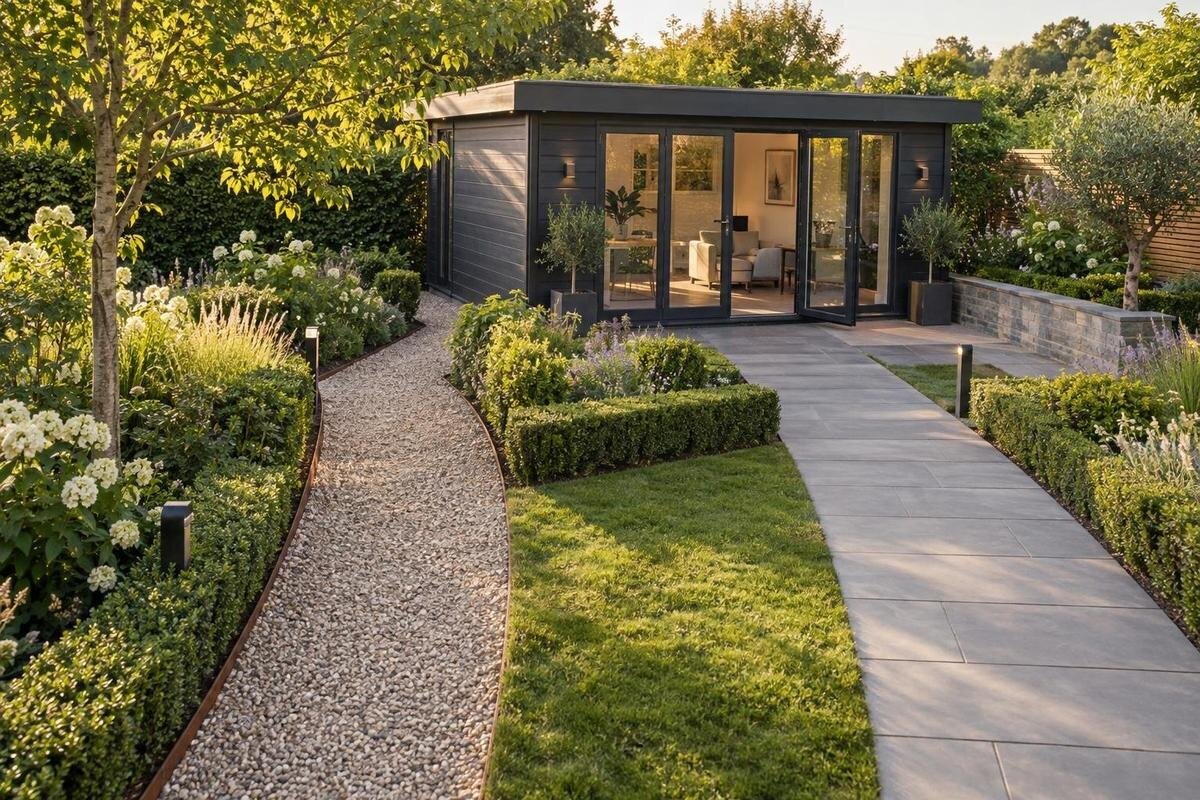
Garden house planning
An accessible path to a garden house starts with the trip people actually make: from the home, driveway, gate, or patio to the entrance. The shortest line across a lawn may not be the easiest if it crosses mud, narrows beside a bed, or meets a raised sill. Plan the full approach, including the doorway and the space needed to turn, before choosing paving or ordering a building. These decisions can make the route work for different mobility needs and everyday garden tasks while keeping it integrated with the rest of the yard.
Trace the route from the places you use every day
Start by listing the places people will travel from: the back door, a driveway or parking area, the main garden gate, or a patio. Draw each route all the way to the garden house entrance instead of treating the last few yards as a separate walkway. A path that stops at a lawn edge, crosses a hose, or ends at a step can undo the effort made on the rest of the trip. If there are several possible approaches, compare how often each is used, whether it stays clear through the year, and which can connect to the door without a sudden turn. The shortest line is not automatically the easiest route to use.
Look closely at the ground along each option. Note roots, slopes, low branches, gates, drains, irrigation lines, and places where water or leaves collect. A sketch helps reveal bottlenecks, but also consider the route from ground level and with the mobility aid a user normally relies on, if applicable. Mark where someone may need to turn, stop, or reach a latch. Include the approach from the house or parking area to any existing walk; a suitable surface beside the garden house does not make the full trip accessible if the connecting route is difficult. Record these details before moving beds or ordering materials, so you can compare landscape changes against a clear plan.
Leave room to approach and open the door
Set the clear width around the people and equipment that need to pass, not by copying the narrowest path already in the yard. A wheelchair, walker, cane, or person walking alongside someone else needs space beyond the wheels or feet; handles, elbows, edging, and a gate can reduce the usable area. Check tight points between a wall and planter, beside a fence, and where a gate opens. Measure the unobstructed space rather than the distance from one path border to the other. Leave room for small steering corrections instead of expecting someone to keep a perfect line. If a formal accessibility standard applies to your project, have the relevant dimensions checked rather than relying on a general rule.
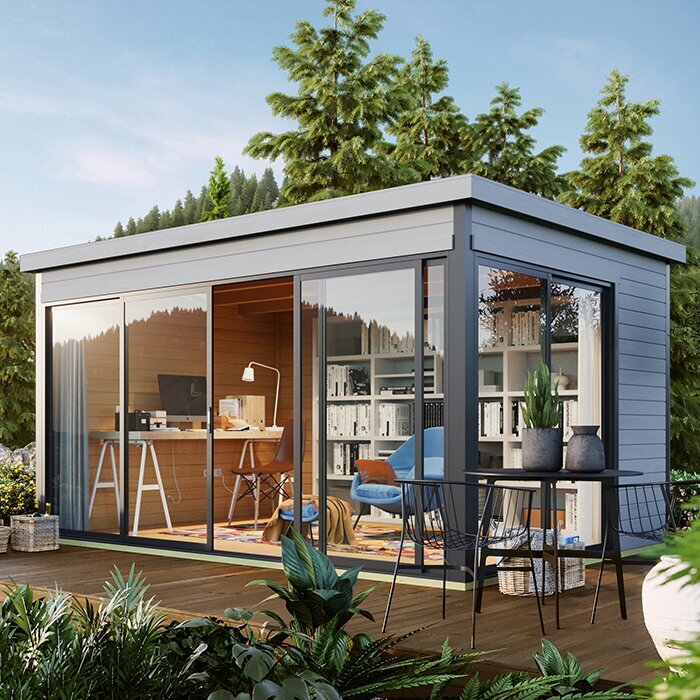
At the entrance, the route needs room to line up, pause, turn, and operate the door. An approach at an awkward angle can leave no space to pull a door open or move aside from its swing. Check whether a person can reach the handle without stepping into a planting bed, and consider how the approach works from both directions. Before narrowing a site plan around a candidate such as Verdana 1, request its current entry information and confirm the clear opening, door swing, and threshold details. The model name and exterior image do not establish how much room is needed at the doorway.
Compare walking surfaces for firmness and upkeep
Choose a walking surface for the conditions it will actually face: rainfall, shade, soil movement, foot traffic, and the equipment used on it. The aim is a continuous, firm surface that does not shift under a small wheel or make cane placement unpredictable. Smooth does not automatically mean safe if a finish becomes slick when wet, while a heavily textured surface can be tiring or difficult to roll over. Ask installers how the proposed material behaves at joints, edges, and transitions, not just what color it comes in. A sample can help you compare appearance, but it cannot show how a complete route will feel, wear, or drain. Include cleaning and repair in the comparison.
Concrete can provide an even surface when properly installed, but cracks or settling may create lips that need attention. Paver paths can often be repaired in sections, yet joints, movement, or weed growth can affect rolling and footing if the base is not stable. Loose gravel often shifts under wheels and can make cane placement uncertain; compacted aggregate is a different installation and still needs an appropriate base and maintenance. Grass and bare soil may look seamless on a sketch but can become soft or muddy. Compare ongoing upkeep as well as initial appearance, and ask to see a completed installation with similar conditions if you are unfamiliar with the material.
Make level changes and thresholds manageable
Treat the meeting between the path, surrounding ground, and doorway as part of the route, not a finishing detail. A lip, loose edging strip, drain cover, or change from paving to lawn can catch a small wheel or interrupt a careful step. Keep transitions smooth and firmly fixed, and prevent mulch, soil, or gravel from spilling into the clear walking area. The finished path height also needs to relate to the garden house floor and its entrance. That relationship depends on the site preparation and building details, not just on the path material, so have the installer review the levels before work is committed. A loose mat is not a dependable fix for an uneven threshold.
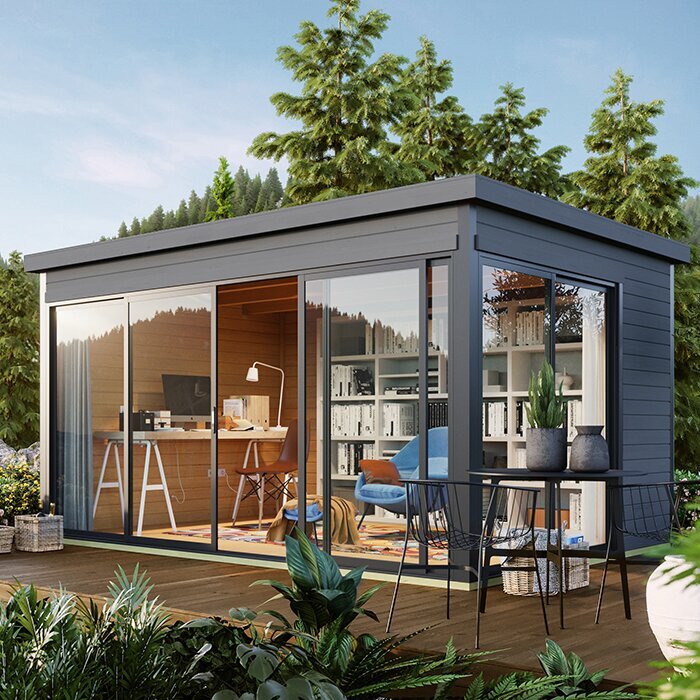
If the entry height cannot be met without a step, do not improvise a ramp from a board or a short, steep section. A ramp or other level change involves space, landings, edges, and drainage; a qualified professional should review its design against the site and applicable requirements. When considering a candidate such as Verdana 2, get its entrance and floor-height information before deciding where the path will meet it. Check how the door opens and whether the threshold is fixed or can be adjusted. A level-looking photograph cannot confirm how the finished route will meet the entrance.
Plan drainage and seasonal maintenance
Rain should not collect on the route or run toward the doorway. Ask how the proposed path will drain, where runoff will go, and whether the surface will remain predictable after a storm. Water may collect at a low point even if a nearby garden bed appears to offer an outlet; it can also soften soil beneath an edge and contribute to movement. Include downspouts, irrigation, and other water sources in the plan, but do not guess at grading from a sketch. The finished levels and drainage solution need to suit the actual ground and building installation, especially near the entrance. Have the installer explain how the route will avoid standing water without directing runoff somewhere unsuitable.
Consider seasonal maintenance as carefully as the material. Leaves, algae, snow, ice, and freeze-thaw movement can change footing or conceal the route's edge; shaded sections may stay damp longer. Choose a layout that can be swept or cleared without pushing debris into the doorway, and leave access for routine upkeep. Before setting the path elevation for a candidate such as Durano, confirm any base or finished-floor guidance with the seller or installer. A product listing alone cannot determine how the yard should shed water. Also consider where cleared snow or leaves will go so they do not block a gate, turning area, or the entrance.
Fit the path into the garden layout
Fit the route to the garden without forcing it through narrow gaps. A straight line is easy to follow, but a gentle change in direction may avoid roots, preserve a bed, or connect to an existing patio; each turn still needs enough room to negotiate comfortably. Sketch the path alongside gates, fences, raised beds, trees, sheds, and seating, then check that opening a gate will not block the way. Keep planting from closing in on the clear area as it grows. Account for branches at head level, planters that may move, and the mower or garden cart used for upkeep. A route that works on paper can become a pinch point as the garden changes.
Place the garden house and its entrance on the site plan before fixing the path alignment. A building outline alone does not show how much space is needed to approach the door, wait, turn, or open it. If you are comparing a candidate such as Veltor 1, verify its dimensions using current product information or by asking the seller, and mark the entrance separately. Do not infer the usable approach from a product photo. A small change in orientation may give the path a more direct connection or keep the doorway clear of a gate, but check that decision against utilities, drainage, and the usable garden area before finalizing the layout.
Keep the route visible after dark
Plan visibility for the time of day the garden house will be used. Check whether the route passes under trees, beside a dark fence, or through strong light and shadow; an edge that disappears at dusk can be hard to follow. Daytime contrast can also change when the surface is wet or covered with leaves. Clear borders, a consistent material, and an uncluttered line can make the route easier to read, but decorative edging should not intrude into the walking area. If someone with low vision will use the path, ask what contrast and visual cues are useful to them instead of assuming one color choice works for everyone. Keep labels, planters, and other objects from obscuring changes in direction.
Lighting should reveal the route, turns, gate hardware, and entrance without creating glare or dark gaps. Locate fixtures so they do not become obstacles, cast confusing shadows across the walking area, or get blocked by mature plants. Permanent electrical lighting should be planned and installed by an appropriately qualified professional; this guide is about route layout, not wiring. For a candidate such as Orello 1, confirm the entrance orientation with current product information or the seller, then coordinate the path and lighting with the actual doorway. A staged image is not a reliable site plan. Check that the route remains easy to identify from the usual starting point as well as from the garden house.
Design for the things you carry and do
An accessible route is also the way people bring ordinary things in and out. Think about carrying tools, setting down a package while opening the door, taking out garden waste, or moving a small cart. A path that connects two points can still be frustrating if there is nowhere to pause or the landing becomes a storage spot. Keep the walking line free of hoses, bins, cords, furniture, and seasonal decorations, and decide where those items will live instead. If two people may travel together, account for that in the layout rather than treating the path as a single-file corridor. Include the space needed to use the door while carrying something, not only the space to reach it.
Plan for the people who will use the building now and for reasonable changes in how it is used later. Someone may switch to a cane, walker, or wheelchair, or need help carrying materials; making the route easier to adapt is more useful than boxing it in with permanent planters or decorative walls. If evaluating Modano 1, compare its documented entry information with your routine and site sketch; the model label itself says nothing about access. Keep removable objects outside the clear path, and preserve a practical way to clean, repair, or replace sections without blocking the only approach. A little flexibility in the garden layout can also make maintenance less disruptive.
Confirm the garden house entry before ordering
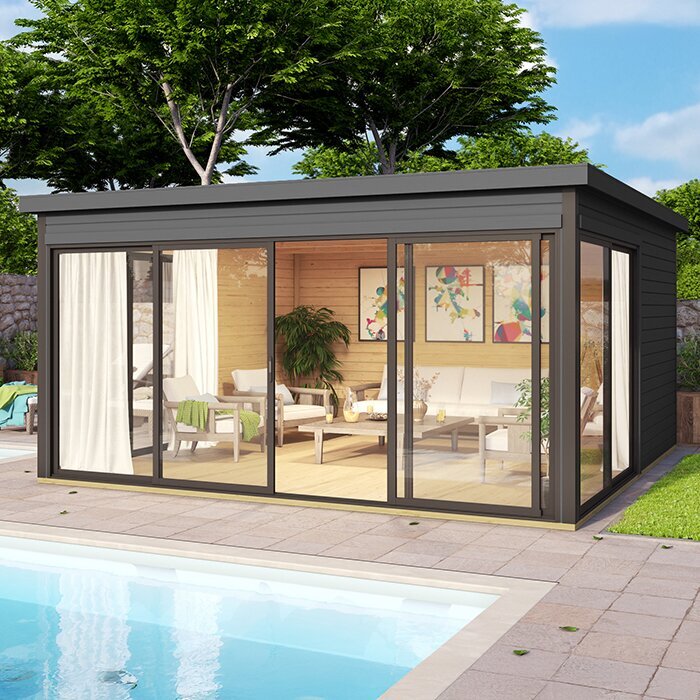
Before placing an order, collect the details that connect a building choice to a path design: the footprint, entrance location, door operation, clear opening, threshold or sill, and floor level once installed. Ask which measurements refer to the building itself and which describe clear usable space; those are not always the same. If information is missing or unclear, request a drawing or written answer from the seller instead of estimating from a photograph. A listing such as Veltor 2 can be part of your comparison, but its name should not be treated as evidence of an accessible doorway or a particular floor height. Keep the information with your site plan so the installer is working from the same details.
Check the site and installation requirements before committing to paving or planting around the proposed footprint. Ask who confirms the prepared base, how the finished entrance height will be established, whether the path installer needs to coordinate with the building installer, and what each quote includes. Delivery and assembly access are separate from the route you will use every day: a finished path may be vulnerable while materials or equipment are moved, and an installation route may be needed before paving is complete. Confirm the work sequence early enough that the accessible path is not left to fit into whatever space remains. If a supplier or installer gives different measurements, resolve the difference before ordering related materials.
Coordinate installation and test the finished path
Write down the agreed route before work begins: its starting point, clear walking width, surface, edges, connection to existing walks, and approach to the entrance. Ask the installer to identify what is included in ground preparation and in transitions at gates and the doorway. If the route crosses a slope or needs a level change, have the relevant design reviewed by a qualified professional; a generic drawing cannot substitute for a site assessment. For a garden house such as Veltor 3, coordinate current product information with the installer's site plan so the finished approach meets the actual entrance rather than a guessed outline. A clear scope makes it easier to spot omissions before the work is complete.
Before calling the route finished, test it with the people who will use it and the mobility aid they normally rely on, if applicable. Temporary markers can expose a tight turn before excavation; after installation, check that doors and gates open, wheels roll without catching, and there is a clear place to pause at the entrance. Revisit the surface after rain and after routine cleaning or leaf clearing. If something needs adjustment, raise it while edges and levels are still practical to correct. This day-to-day check cannot certify compliance with a formal standard, but it can reveal usability problems that a drawing may miss.
Frequently asked questions
How wide should a path to a garden house be?
There is no single width that works for every route or user. Base the clear space on the mobility aids and turning needs involved, then account for gates, door swings, edging, and room to pass. If a formal standard applies, have a qualified professional verify the dimensions for your site.
Is gravel suitable for an accessible garden path?
Loose gravel often shifts under wheels and can make cane placement uncertain. Compacted aggregate is a different installation, but its firmness depends on the material, base, and upkeep. Ask how the surface will be stabilized and maintained, and test a representative area before choosing it for the full route.
Can I cover an entrance step with a short ramp?
Do not assume a short ramp will make the entrance usable. A level change needs enough room and a suitable transition, and it must work with the door, landing, and drainage. Have a qualified professional review the actual site and applicable requirements before deciding how to address a step.
Should I build the path before ordering the garden house?
Plan the route and building together, but confirm the building location, entrance, and finished floor level before committing to permanent paving. Coordinate the installation sequence, too: delivery or assembly work may need access across the site before the finished path is ready.
How can I test a path layout before construction?
Mark the proposed edges with removable lines or other temporary markers, then try the approach with the people and mobility aids that will use it. Check turns, gates, and the door swing. This can reveal practical problems, but it does not replace a review of final dimensions, surface, drainage, or formal requirements.
A useful garden house path is a continuous route, not just a strip of paving beside the building. Its layout, surface, drainage, transitions, and entrance all need to work together in the actual garden. Confirm the building's entry details before fixing the route, then consider how it will hold up to daily use and seasonal maintenance. When formal accessibility requirements apply, have the final dimensions and design checked for the site rather than treating a general guide as proof of compliance.
