
DIY Window Installation vs. Hiring a Professional
US window and door buying guide
A window replacement can look like a manageable weekend project until the opening is exposed. The decision is not simply whether you can lift a frame or run a bead of sealant; it starts with the window’s operation, the condition of the opening, and the boundary between straightforward replacement and repair work. A fixed window in a sound, accessible wall is a different DIY proposition from an outward-opening casement beside damaged sheathing, or a patio door that must be plumb, weather-managed, and adjusted as a complete operating assembly. Before choosing DIY or a professional, define what will be removed, what must remain intact, and who will diagnose surprises. A careful scope makes the right route clearer than confidence alone.
Start with the way the window or door operates
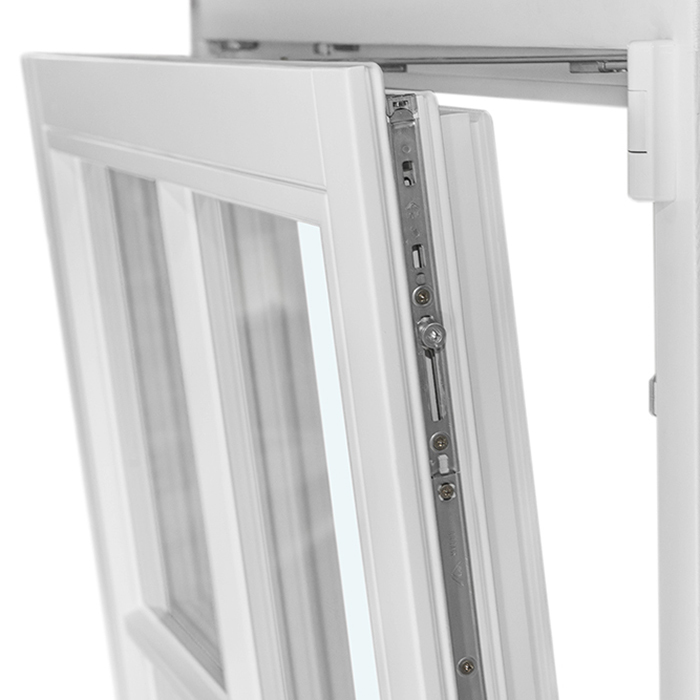
Opening operation changes the installation task before any fastener is removed. A fixed unit has no sash clearance or hardware adjustment to verify, while a casement needs room for its swing and a final check that it opens, closes, latches, and seals without binding. Inward-opening units need unobstructed space inside for movement, furnishings, and cleaning. A pivoting roof window adds work-at-height and weather-detailing questions. Write down which way every replacement will open, where the handle will be, and what could obstruct it. This record helps you compare the existing unit with the selected configuration rather than assuming a similar-looking frame will behave the same way.
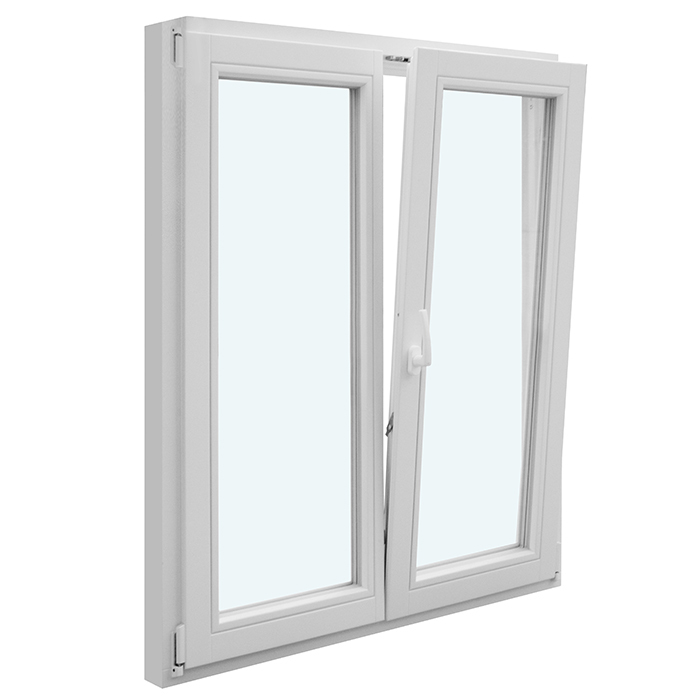
A DIYer should be able to explain the sequence for the specific operation: support the unit, set it level and plumb, secure it as directed, and test movement before finishes hide access. For instance, a two-sash inward-opening window should be evaluated as an inward-opening, two-sash configuration, not a generic rectangle. If the project changes opening direction or introduces a larger operating assembly, a professional can review clearances and sequencing before the order is finalized. Operation is also a useful handoff point: an owner completing interior trim may still prefer a professional to set, weather-manage, and adjust the operating unit.
Define the project boundary before comparing costs
“Replace a window” can describe work within a retained frame or removal of the complete assembly back to the rough opening. Neither approach is automatically better; the important question is what can be inspected and what surrounding work will be disturbed. List the unit, story, opening direction, access route, interior and exterior finishes, known damage, debris removal, and restoration responsibility for every opening. This prevents a labor comparison from omitting casing, drywall returns, cladding, insulation, or other work around the installation.
A small replacement can become a repair project if the exposed sill, framing, or wall layers are unsound. DIY is more realistic when you have a pause point: if removal reveals deterioration, stop rather than forcing the new unit into an unsuitable opening. Ask an installer how concealed conditions are documented, who authorizes added work, and whether opening repair is included or assigned to another trade. Ask yourself the same questions if working independently. A fixed window simplifies operational checks, but it still needs a stable, correctly prepared opening and a continuous weather-management strategy. Product simplicity does not guarantee simple surrounding construction.
Treat measuring as an order decision
Accurate measuring begins by identifying the reference. Visible glass, the old frame, the finished interior opening, and the rough opening are different dimensions. Record width and height in several places because an opening can be tapered or irregular even when it looks normal indoors. Compare diagonals, note the sill condition, and photograph the tape position where useful. Record obstructions such as trim, cabinets, exterior details, or a nearby roofline. Never base an order on one measurement or a nominal description from the old unit. The selected configuration must correspond to the intended installation method and the opening that will remain after removal.
Whether installing or hiring, preserve a clear measurement record. Ask a professional who verifies final dimensions, when verification occurs, and how a difference from the initial estimate is handled. For DIY, review the measurements on another day before ordering rather than trusting assumed symmetry. Complex shapes deserve greater caution. A triangular and angled fixed window is an angled or triangular fixed configuration, so geometry, possible template needs, orientation, and finish interfaces should be resolved early. Professional measurement can be worthwhile when a replacement is custom-sized, non-rectangular, difficult to access, or costly to modify after arrival.
Inspect the opening after removal
The rough opening determines whether the new unit receives a sound base or inherits a problem. Once the old assembly is removed, examine the sill, side framing, header area, and adjacent materials for movement, deterioration, moisture evidence, or voids affecting support. Verify that the opening can be prepared level, plumb, and square for the planned installation. Excessive shimming or sealant is not a substitute for correcting a defective substrate. A frame may look acceptable from one viewpoint yet operate poorly or have inconsistent perimeter gaps if the opening is not properly prepared.
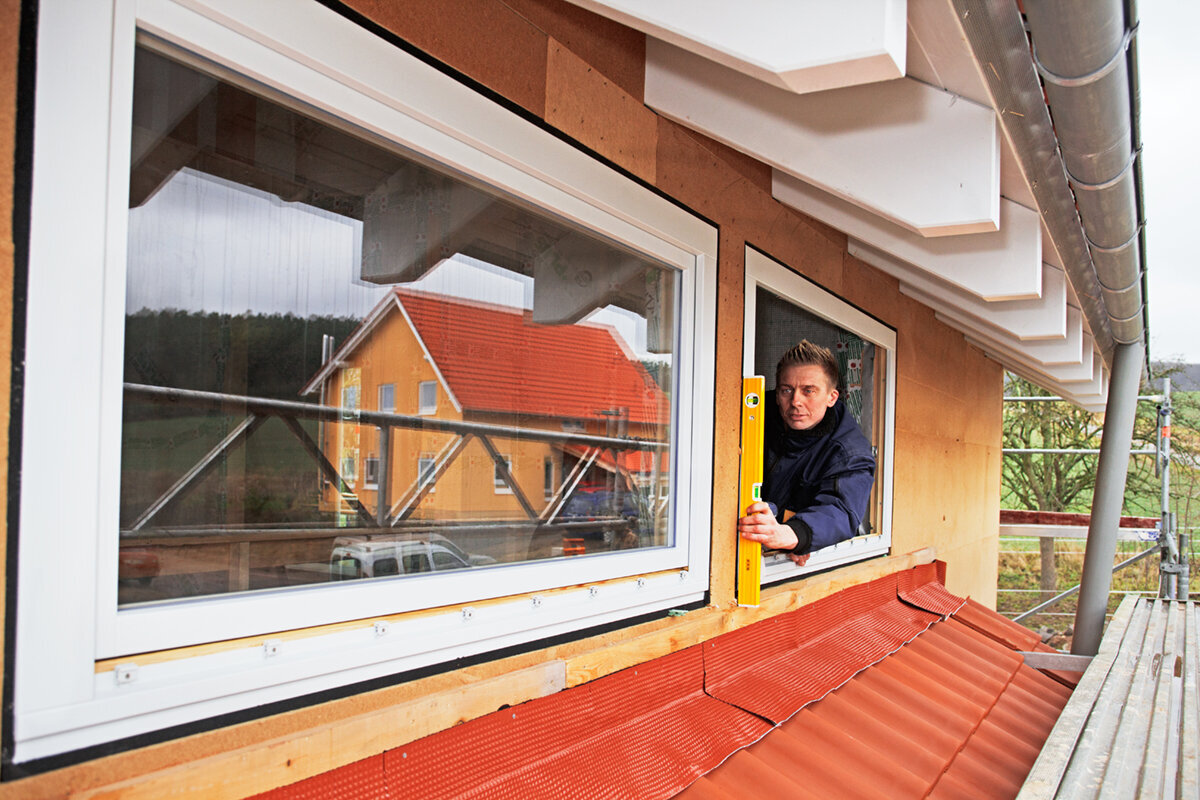
A professional can be valuable at the transition from old opening to new assembly, although no installer can predict every hidden condition. The contract should explain how discoveries are handled. A DIYer likewise needs time, materials, and a contingency plan for preparation instead of treating removal and installation as one uninterrupted afternoon. With a single-sash outward-opening casement window, also verify unobstructed exterior swing after setting the unit. Railings, planting, screens, or fixtures may not change the opening dimensions, but they can interfere with everyday operation. Check these relationships before ordering as well as after installation.
Connect flashing, drainage, and air sealing
Installation is not complete when the frame is fastened. The perimeter needs a coherent method for managing water exposure, directing drainage, and limiting unintended air paths, using materials and sequencing suited to the product and wall. Flashing is not decorative trim, and visible exterior sealant does not prove that water has a dependable route away from the opening. Critical work is often concealed by cladding or interior finishes. Photograph preparation, sill details, perimeter transitions, and completed work before they are covered so later questions do not depend on memory.
DIY is sensible only when you understand the function and sequence of each compatible component rather than copying an isolated online detail. Ask what installation documentation applies to the ordered unit, and ask a professional to explain the perimeter approach for your wall. The response should address transitions at the sill, sides, and head without suggesting that one detail fits every building. A top-hinged outward-opening window still needs its perimeter managed as an assembly; its opening style does not replace flashing or sealing work. If exterior materials must be removed and reinstated, include that coordination explicitly in the scope.
Assess tools, handling, and access honestly
The DIY tool list extends beyond a drill and caulk gun. Depending on the job, it may include accurate measuring tools, levels, shims, suitable fasteners, removal and cutting tools, lifting aids, protective equipment, and stable access equipment. You also need clean, dry storage and enough helpers to control the unit without twisting the frame or damaging glass. A large glazed assembly can be awkward at ground level; an upper-story opening adds transport, staging, and fall-exposure concerns. If the plan depends on balancing a unit from a ladder or rushing when weather changes, it is not ready for DIY.
Ask installers how many people will handle the unit, how access will be arranged, and how interior floors and exterior finishes will be protected. Their response shows whether the quote covers practical logistics rather than merely setting the frame. A Patio Life sliding patio door is a sliding patio door configuration; its larger opening, threshold interface, and handling demands call for more planning than a compact window. Professional installation is not inevitable, but the standard for preparation is higher. An owner comfortable with painting or trim can still reasonably outsource removal, setting, weather management, and adjustment of the larger assembly.
Plan for alignment and final adjustment
The frame must be supported, level, plumb, and square in the prepared opening, then secured according to the applicable product information. An even-looking perimeter gap is not the only test. Operable units should move without rubbing, close consistently, and engage their hardware before insulation and trim restrict access. Check the reveal around the sash or panel, latching action, and any change after fastening. Document these checks as work proceeds. A binding sash or panel is not a cosmetic issue to ignore; stop and determine whether alignment, shimming, frame distortion, or hardware adjustment is responsible.
Professional experience can matter more here than speed. An installer should have a repeatable process for setting and testing an assembly and recognizing when an apparent adjustment problem comes from the opening. If you work independently, do not assume a defect will settle later. Test the intended operation, locks, and handles before installing casing. An outward-opening pivot window should be checked for smooth pivoting and usable exterior clearance after final setting. Choose professional installation if you are unwilling or unable to remove fasteners, revisit the shims, and reset the unit when testing reveals a problem.
Compare accountability and the cost of rework
DIY can reduce paid labor, but the owner accepts measurement risk, possible removal damage, tool costs, disposal, scheduling, and diagnostic time if the result is imperfect. A professional proposal also requires scrutiny. Compare its scope, exclusions, site protection, opening-preparation assumptions, finish responsibilities, and procedure for unexpected conditions. Identify who supplies each material, performs each stage, and responds if a problem appears after completion. A lower figure may represent less work rather than better value, so normalize the scopes before comparing prices.
Bloomcabin windows and doors have a 5-year warranty. Confirm how the product warranty applies to your order and what separate workmanship coverage, if any, an installer offers in writing. Do not assume the product warranty makes DIY and contractor-installed work equivalent, or that an installer accepts responsibility for pre-existing wall defects outside the contract. Retain the order, applicable installation information, dated photos, and completion notes. Delivery is generally 4–6 weeks, subject to order confirmation. Use that period to settle access, scope, and responsibilities rather than scheduling demolition around an unconfirmed date. A clear accountability path is often the decisive benefit of professional installation.
Consider a carefully divided hybrid scope
DIY versus professional installation need not be an all-or-nothing choice. A hybrid arrangement can reserve specialized work for an installer while leaving suitable finishing tasks to the owner. For example, a professional may assess, set, weather-manage, and adjust the unit while the owner completes agreed painting, interior trim, cleanup, or landscaping. Put the boundary in writing so an omitted task does not become a dispute. Avoid dividing work where it interrupts the weather-management system or prevents one party from inspecting the prior stage. The best division follows skill, sequence, and accountability rather than the easiest line item to remove from a quote.
Hybrid work may suit a homeowner with finish-carpentry experience but limited exterior-envelope experience. Ask whether the installer accepts owner-prepared openings, what condition is required, and when inspection occurs. Establish whether the professional scope ends before interior finishes, after operational adjustment, or after exterior restoration. An outswing exterior door must be handled as an outswing exterior-door assembly, including its threshold and perimeter transition; it is not merely a larger trim project. If you cannot define a clean inspection and handoff point, one responsible installation team is less likely to leave important work between trades.
Choose according to complexity, then prepare the order
DIY is most defensible when the opening is accessible, the scope is limited, surrounding construction appears sound, and you can follow the applicable product information while remaining willing to stop. Professional installation becomes stronger when the project involves difficult access, large or unusual units, exterior-finish removal, deterioration, complicated operation, several units that must align, or a narrow weather window. These factors do not label a homeowner capable or incapable. They place consequences beside each task. Ask whether an error can be identified, corrected, and absorbed without compromising other parts of the project.
Before ordering, assemble verified dimensions, opening photos, intended operation, color and decorative-bar choices if selected, access plans, demolition scope, installation responsibilities, and unresolved questions. For a two-sash outward-opening casement window, verify that the chosen two-sash configuration and outward swing suit the intended use and available exterior clearance. Ask Bloomcabin or the installer for information relevant to the exact order instead of relying on a generic installation video. When dimensions, sequence, and responsibilities are clear, DIY can be controlled. When they remain uncertain, professional installation is a practical way to manage the risk rather than an admission of defeat.
Common questions
Can I install replacement windows myself?
Possibly, if access is manageable, measurements are verified, surrounding construction is sound, and you can complete opening preparation, weather management, fastening, and operational checks for the exact unit. DIY is less suitable when removal exposes damage, handling is difficult, or you cannot confidently inspect and correct the work before covering it.
What should an installer’s quote clearly state?
Look for the units covered, removal and disposal, opening-preparation assumptions, perimeter weather-management work, trim and finish restoration, access, exclusions, change procedures, schedule assumptions, and workmanship responsibility. Ask who verifies order dimensions and coordinates repairs discovered after removal. Compare these details, not merely the total price.
Is a fixed window easier to replace than an operable window?
A fixed window removes sash or panel adjustment from the job, reducing one type of complexity. It still must be measured, supported, aligned, secured, and integrated with the wall perimeter. A fixed configuration does not turn a damaged, irregular, or difficult-to-access opening into a simple DIY project.
Should I remove the old window before the new one arrives?
Avoid exposing the opening merely to get a head start. Confirm the order and delivery timing first; Bloomcabin delivery is generally 4–6 weeks, subject to order confirmation. Schedule removal when the replacement, installation materials, helpers, temporary weather protection, and a plan for hidden opening conditions are available.
How do I decide whether a hybrid installation will work?
Divide tasks only at a clear, inspectable handoff. An installer might set and weather-manage the unit while you complete agreed finishes, but prerequisites and inspection points should be written down. Do not leave flashing, sealing, adjustment, or restoration ambiguously between parties. If the boundary remains unclear, use one installation scope.
Plan your next step
Let the opening and operating configuration drive the DIY decision, not the appeal of removing a labor line item. Verify measurements, access, opening condition, handling, perimeter weather management, adjustment, and responsibility for repairs before ordering. DIY can be rewarding when every stage falls within your demonstrated ability and can be inspected before concealment. Professional installation is often more practical when work extends beyond the frame, access is demanding, or one-party accountability matters. A written scope and order file will help either route begin with fewer assumptions and a clearer standard for completion.
