
Drafts Around Windows: Adjustment, Failed Seals or Installation Problems?

Window draft troubleshooting guide
A draft is easiest to misread when a window still looks intact. The room feels colder near the opening, a curtain moves on a windy day, or a faint whistle appears only after the sash is locked. Start with how the window operates and how broadly the symptom appears. A draft at one corner of one operable sash points toward contact, hardware, or weatherstripping; air felt along the whole frame may point beyond the window unit. Before ordering a replacement or sealing every visible line, identify whether the moving sash, the glass surface, the frame-to-wall joint, or another nearby opening is responsible. That distinction protects the scope of work, helps avoid an ineffective repair, and makes a contractor inquiry much more useful.
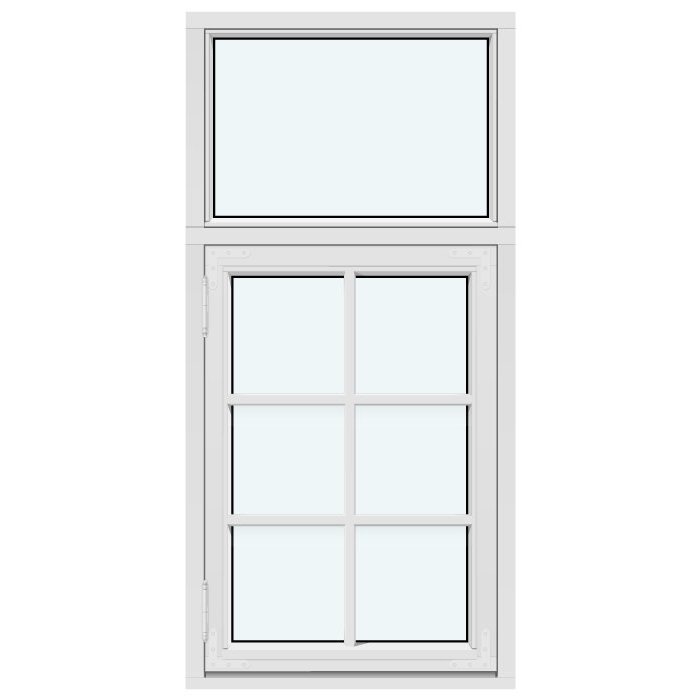
Begin with the way the window closes
An operable window seals only when its sash reaches the intended closed position and its locking points draw it evenly against the weatherstripping. Remove anything that prevents full closure, such as a loose blind cord, paint buildup, track debris, a displaced screen component, or an object on the sill. Close the sash slowly and observe whether one side meets the frame first, the handle requires unusual force, or the lock engages naturally. Do not force hardware to overcome a misaligned sash. Opening type also matters. Casements such as a Kombi outward-opening casement window, awnings, pivots, sliders, and inward-opening windows bring their seals together in different ways, so the same hinge-side symptom can have different causes.
Test the locked condition, because an unlocked or partly latched sash is not a useful diagnostic baseline. On a cool or windy day, hold the back of your hand near the sash perimeter and compare all four sides. A thin tissue can reveal movement, but it is an indicator rather than a measurement: supply vents, exhaust fans, fireplaces, and indoor pressure can alter the result. Repeat with HVAC equipment temporarily off if practical. Mark the exact location with removable tape, then check again after opening and closing the window. If the location or strength changes with operation, inspect sash alignment, hardware, and weatherstripping before investigating the surrounding wall.
Separate air leakage from a cold surface
Feeling cold beside glass does not automatically prove outside air is entering. Glass and frames can be colder than interior walls, and room air cooled against the window may move downward and feel drafty. This can be noticeable at a large fixed opening, beneath a closed shade, or where a supply register directs air toward the glazing. Compare the sensation at the center of the glass, the glass edge, and the frame. A localized stream that responds to wind or indoor pressure is stronger evidence of an air path than a broad area of cold glass.
Look for corroborating evidence before selecting a repair. Dust streaks at a repeated gap, rattling during gusts, light visible at a closed sash, or tissue movement at the same small point strengthen the case for leakage. Condensation alone does not identify an air path; indoor humidity can condense on a cold room-side surface. Fog between panes is also different from moisture on accessible glass. Record the weather, approximate wind direction, window position, and whether exhaust fans were operating. Observations from several days can help a service provider distinguish a persistent opening defect from a symptom driven by changing pressure inside the home.
Assess the whole opening
When sash adjustment is the likely starting point
Adjustment is a reasonable first avenue when the sash sits unevenly in its frame, rubs at one point, needs lifting to latch, or leaves a repeatable draft at a corner. Movement of the opening or regular use can produce an uneven reveal even when the surrounding wall appears sound. On an outward-opening casement, inspect the hinge side, closing edge, and lower corners separately. On a two-sash arrangement, include the meeting area between the sashes. A two-sash outward-opening casement window illustrates why the center meeting line needs its own check rather than being treated as part of either outside frame edge.
Ask a qualified window service provider which adjustments are available for the exact operating system and whether the unevenness comes from the sash, hinges, locking hardware, or frame. The goal is even seal contact without making the handle difficult to use or causing the sash to bind. Photograph the reveals with the window open and closed, especially if a corner changes position. Avoid adding shims, bending hinges, drilling new holes, or applying thick adhesive strips before the cause is known. These actions can obscure evidence, interfere with operation or drainage, and complicate later service. If adjustment improves closing but a distinct air path remains, examine the weatherstripping next.
Read weatherstripping as a contact system
Weatherstripping works as a continuous contact system, not as isolated pieces of soft material. With the sash open, use a flashlight to inspect corners, joints, hinge-side sections, and locking-side sections. Look for flattening, tears, hardening, shrinkage, missing ends, loose attachment, paint contamination, or a section displaced from its channel. The key question is whether the closed sash contacts the strip consistently. A clean-looking strip can still be ineffective if it has lost resilience, while a marked strip may remain serviceable when contact is even. Replacement profiles and attachment methods are not universal, so observations must be matched to the exact window.
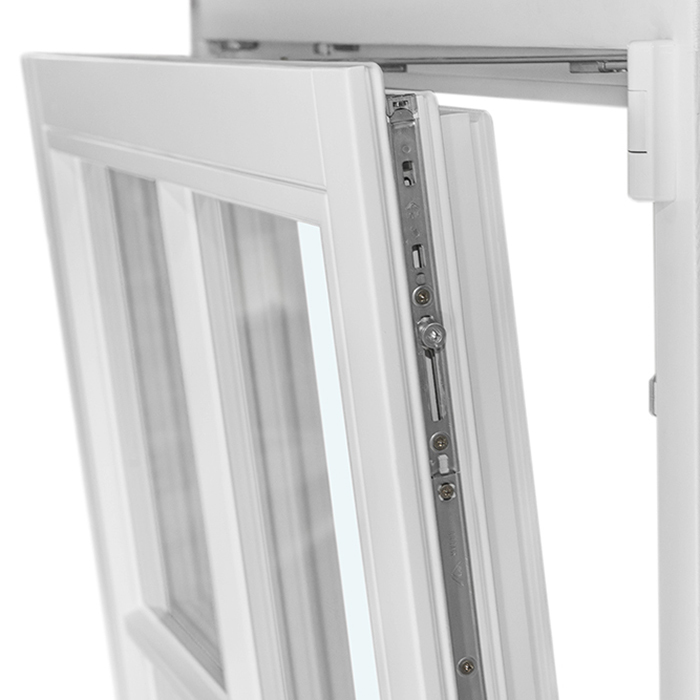
A simple paper check can provide context. Place a narrow strip across the seal, lock the sash, and pull gently; compare resistance at several locations rather than relying on one result. It is not a performance test, but a large difference near the reported draft supports closer inspection. Use only cleaning or care methods appropriate to the window and seal materials. If replacement is appropriate, obtain the correct profile instead of selecting a generic strip by thickness alone. On an outward-opening top-hinged window, inspect the entire closing perimeter and the hardware-controlled contact as the sash is drawn shut, not just the lower edge that is easiest to reach.
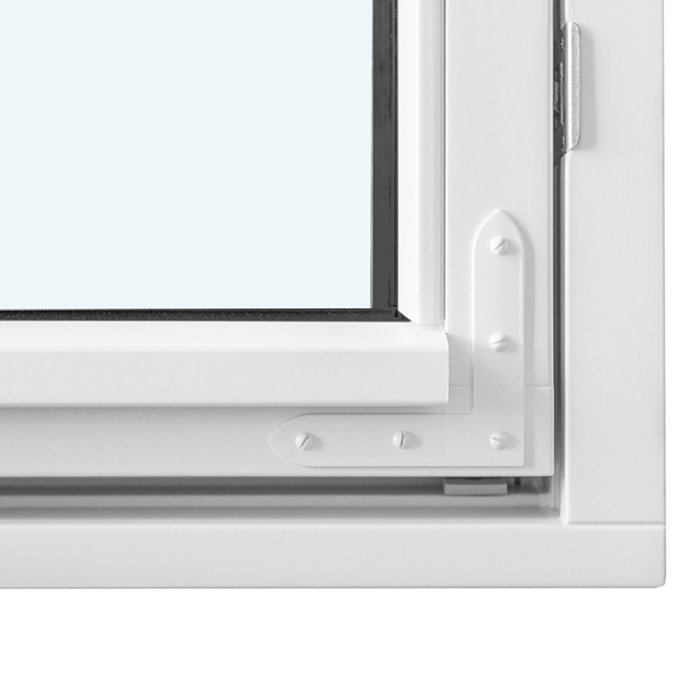
Understand what a failed glass seal does and does not show
The phrase “failed seal” is often used for two different locations. One is the edge seal of an insulating-glass unit; the other is the weatherstripping between an operable sash and frame. They require separate investigations. A compromised insulating-glass unit may show persistent haze, streaking, or moisture between panes, but that condition does not by itself establish a direct outdoor-air path into the room. The draft may instead come from the sash perimeter, glazing interface, frame, nearby trim, or even cooled indoor air moving along the glass. Keep the glass observation and the air-leak observation separate when requesting service.
Clean the accessible glass surfaces and view any clouding from several angles. If the appearance remains inaccessible between the panes, document it without removing glazing parts. Then check the sash and frame perimeter independently. With a fixed window, there is no operating sash to adjust, so a perimeter draft shifts attention toward the glass-to-frame interface, frame-to-wall joint, adjacent construction, or room airflow. Ask a glazing or window professional whether the observed condition calls for a glass-unit remedy, repair to another part of the window, or assessment of the complete opening.
Recognize signs that point beyond the window frame
Air felt at the interior casing, drywall return, sill-to-wall line, or a trim joint differs from air at the sash seal. These locations may suggest a discontinuity around the rough opening, but they can also transmit air moving through a wall cavity from elsewhere. Inspect accessible exterior conditions without assuming one cracked joint identifies the full route. Missing exterior sealant, open trim joints, finish damage, or gaps around nearby penetrations deserve documentation. Water staining, soft material, or recurring wetness raises a separate moisture concern that should be investigated along with the draft rather than covered with a cosmetic repair.
Do not fill every accessible joint with sealant as a first response. Window and wall assemblies must manage water as well as air, and an indiscriminate surface bead can conceal the issue or interfere with the intended drainage path. A competent installer or building-envelope professional can evaluate accessible interior and exterior conditions and explain whether any finish must be removed. Ask whether the suspected leakage is at the window unit, the unit-to-wall interface, exterior trim, or another pathway; what evidence supports that conclusion; and how the result will be checked after repair. This creates a more useful scope than simply requesting caulk around the window.
Assess the whole opening
Use pattern mapping to avoid replacing the wrong thing
Map complaints room by room. List the window type, floor level, wall orientation, whether it opens, and the exact location where movement is detected. One problematic sash among otherwise similar windows supports a localized operating or seal issue. The same symptom at several openings on one elevation may justify closer inspection of installation details, exterior exposure, or indoor pressure, but repetition alone does not prove a shared defect. Drafts near the top and bottom of a home can also present differently as indoor and outdoor temperatures, ventilation, and exhaust equipment change pressure across the building.
Include nearby features in the map. Receptacles, baseboards, attic access points, exterior doors, and duct registers can influence what occupants perceive near a window. Temporarily turning off a bath fan or changing an interior-door position may alter the symptom; record that change rather than treating it as a repair. For a large opening such as a Patio Life sliding patio door, test the meeting rails, track area, locking point, and outside perimeter separately. Air concentrated at the moving-panel interface calls for a different investigation than air emerging from the surrounding wall finish. A map converts a general comfort complaint into a prioritized inspection list.
Decide whether repair, localized work, or replacement fits
Repair is often the proportionate first option when the issue is limited to closing alignment, hardware function, debris, or identifiable weatherstripping wear and the rest of the window remains serviceable. Localized installation work may fit when inspection identifies an issue at the frame-to-wall interface but the unit itself operates and seals correctly. Replacement becomes a broader project decision when multiple components are deteriorated, operation is no longer dependable, the frame or glass condition is compromised, or a renovation changes the desired configuration. None of these choices should be made from a tissue test alone; the test only helps identify where closer investigation should begin.
If replacement is being considered, define what the new opening must accomplish before comparing styles. Is the priority easier operation, a fixed viewing area, ventilation, opening direction, or a different layout? A single-sash inward-opening window is a configuration to consider where inward operation suits the room and interior clearance has been evaluated; its title alone does not promise a particular air-leakage result. Ask suppliers to separate the named configuration from the specifications of the quoted build. Also require the quotation to address the surrounding opening. Otherwise, a style-led purchase may replace a sound window while leaving the actual interface problem untouched.
Prepare a precise service or replacement inquiry
A useful inquiry begins with facts a contractor can apply. Provide overall photos of the wall and close images of the suspected point; state whether the draft occurs with the sash locked; describe the weather conditions; and identify any between-pane fogging, binding, rattling, finish damage, or water history. Include the approximate age if known, opening type, rough dimensions, and any labels or markings that identify the manufacturer or glass unit. If previous work was performed around the opening, explain what changed and when. Organized evidence helps a provider prepare for inspection instead of guessing from a general complaint.
During the visit or quotation process, ask what is being diagnosed, what areas will be accessed, and why the proposed remedy fits better than alternatives. For adjustment, ask which hardware will be changed and how operation will be confirmed. For weatherstripping, ask which profile is required and which perimeter sections are included. For installation work, ask how interior and exterior interfaces will be assessed and restored. For replacement, confirm who verifies dimensions, how the old unit will be removed, what work addresses the wall interface, and which finishes are included. Bloomcabin windows and doors have a 5-year warranty; delivery is typically 4–6 weeks, subject to order confirmation.
Choose a replacement configuration after the diagnosis
When replacement is justified, configuration affects everyday use and how future concerns can be inspected. A fixed section provides no ventilation and has no operable-sash perimeter. An opening section introduces hardware, moving seals, and clearance considerations but supplies ventilation. A combination layout can place both functions where they are useful. Consider furniture, cleaning access, exterior obstructions, insect-screen needs, and how the opening will be used during rain. If bars are part of the design, clarify whether they are decorative bars or glass-dividing bars, because their construction, appearance, and cleaning implications differ. Record the selected terminology in the quotation to avoid assumptions.
For example, a combination window can be evaluated when the design calls for a fixed pane and an opening sash, while a single-sash outward-opening casement window is an alternative when one outward-opening sash suits the ventilation plan and exterior clearance. Compare the actual quoted dimensions, color, glass selection, hardware, screens, operation, and installation scope instead of inferring details from a product title. Have the appropriate qualified professional confirm requirements for the specific location and project conditions. The sound buying decision is not simply repair versus replacement; it is the narrowest well-supported remedy that restores dependable operation and addresses the verified air path.
Common questions
How can I tell whether a draft comes from the sash or the installation?
Test the fully closed and locked sash perimeter first, then inspect the interior trim and drywall. A corner-specific draft that changes after operating the sash suggests alignment, hardware, or weatherstripping. Air at casing or wall finishes may involve the frame-to-wall interface or another wall path. An on-site inspection should confirm the route before repair.
Can I adjust a window myself to stop a draft?
Cleaning and observation are reasonable, but adjustment methods depend on the opening type and hardware. Forcing hinges, locks, or adjustment screws can worsen alignment or damage components. If the sash binds, will not latch, or shows an uneven reveal, document the condition and ask a qualified service provider which adjustment procedure applies.
Does condensation between panes mean outdoor air is leaking inside?
Not necessarily. Moisture or haze between panes may indicate an insulating-glass-unit issue, but it does not locate a room-side draft. Test the sash, glazing area, frame, and surrounding trim separately. Condensation on the accessible interior surface is different from between-pane moisture and can relate to indoor humidity and surface temperature.
Should I caulk around every window that feels cold?
No. Cold glass can feel drafty even without an air path, and indiscriminate sealant can obscure drainage or water-management details. First distinguish the sash seal from trim and wall joints. If the frame-to-wall interface is implicated, have the proposed repair evaluated in the context of the whole opening before applying sealant.
When does a draft justify replacing the entire window?
Replacement may merit evaluation when problems extend beyond isolated adjustment or weatherstripping, operation is unreliable, several components are in poor condition, or renovation changes the opening’s purpose. A single localized draft does not automatically require replacement. Compare documented repair and replacement scopes, including the surrounding installation work required for each option.
Next step
Draft diagnosis should follow a sequence: confirm full closure and locking, distinguish cold-surface discomfort from moving air, locate the path, and match the evidence to the narrowest suitable remedy. Adjustment and weatherstripping are sash-level questions. Between-pane haze concerns the glass unit but does not prove room-side leakage. Air at trim or drywall may involve the installation interface or another wall pathway. Record the location, weather, operation, and visible conditions before seeking service. If replacement is justified, choose the configuration and installation scope for the room and verified defect—not merely for the original sensation of a draft.
