
Front Door Sizes: Frame Dimensions, Clear Opening and Replacement Fit
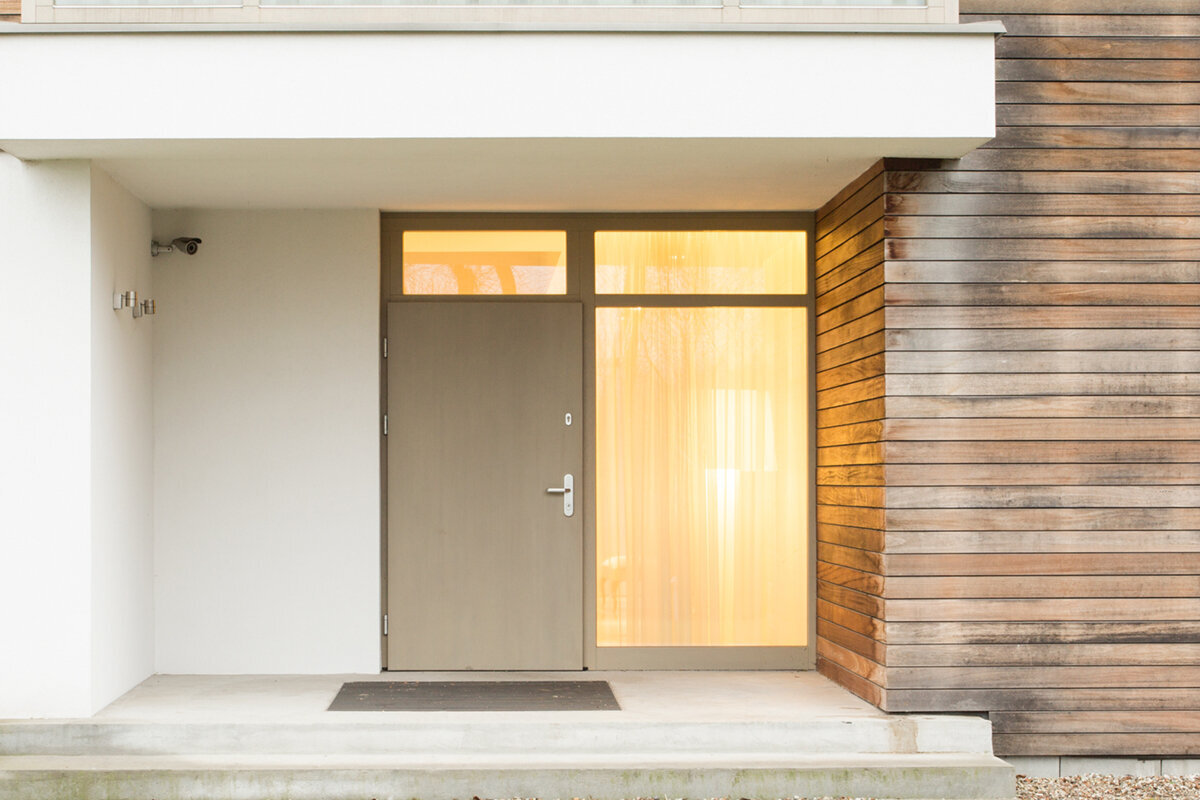
US front-door planning guide
A front-door replacement starts with how the entrance needs to operate, not with the size printed on the old slab. Perhaps the existing door drags across the threshold, a furniture delivery exposed a tight passage, or a different swing would improve the entry hall. Those clues call for an inspection of the complete opening. The slab, jamb frame, wall rough opening, finished trim opening, and usable passage are related but different dimensions. A new unit can carry a familiar nominal size yet fail to fit the prepared opening or provide the clearance you expect. Before comparing designs, decide whether the project is a slab-only change, a complete frame-and-door replacement, or a wider redesign involving sidelights or wall work. That scope determines which measurements matter and when an installer or qualified building professional should assess the opening.
Buyer check 1
Begin with operation and project scope
First decide whether the entrance should retain its current operation. An inswing door needs clear interior floor area, while an outswing door needs exterior clearance. Check furniture, stairs, adjacent doors, porch railings, visitors’ standing space, and the path used while carrying packages. Hinge side matters too. Record handing according to the supplier’s stated viewing convention rather than relying on “left” or “right” alone. Photograph both sides of the entrance, including hinges, lockset, threshold, trim, steps, and nearby obstructions. A marked photograph and simple floor plan communicate the intended operation more reliably than an isolated width measurement.
A slab-only replacement retains the existing frame, so hinge positions, strike location, slab thickness, edge preparation, seals, and threshold relationship must all be compatible. A prehung replacement changes the slab and frame as one unit and therefore requires frame and rough-opening measurements. Adding a sidelight or widening the entrance turns the job into a broader opening project. These are not merely styling choices. Each scope creates different dimensional and installation questions. If outward operation suits the site, review outswing exterior doors as a configuration alternative while checking the actual exterior approach, frame size, and project requirements.
Use the correct name for every measurement
Nominal door size is a category or label, not a complete manufacturing specification. The slab is the moving panel. The jamb assembly surrounds it and includes the side jambs and head jamb. Unit dimensions generally describe the outside of the complete frame, although terminology can vary by supplier. The rough opening is the framed wall opening that receives the unit. A finished opening may instead refer to surfaces visible after trim and finishes are installed. Ask which physical reference points define every quoted width and height, and whether the sill or threshold is included in the stated unit height.
Clear opening means the unobstructed passage available when the door is open to a stated angle. It is not the slab width. The slab edge, jamb, stops, hinges, hardware, frame geometry, and opening angle can reduce usable width. Consequently, a door described with a 36-inch slab should not automatically be called a 36-inch clear opening. Measure the narrowest usable point and identify what limits it. If accessibility, emergency use, or another regulated purpose affects the project, ask the appropriate qualified professional to review the proposed configuration under the requirements applicable to that specific location.
Buyer check 2
Measure the existing door and frame systematically
Measure the slab width at the top, middle, and bottom, then measure its height at both sides and its thickness separately. Take jamb-to-jamb widths at several heights and measure from the finished threshold to the underside of the head jamb. Record accessible outside frame dimensions without mistaking face trim for the frame itself. Note the smallest reading and where it occurs. Diagonal measurements can indicate whether an opening is out of square, but they do not replace width and height readings. Label every number immediately so a slab dimension cannot later be confused with a frame dimension.
The true rough opening may remain concealed until trim or the old frame is removed. Where it can be inspected safely, record the framing width and height at multiple points, the sill condition, visible shims, and signs of movement or moisture damage. Also measure wall depth and note where the current frame sits between the interior and exterior faces. That depth affects extension jambs, trim, and finishing. If exposing the opening could damage finishes or reveal uncertain conditions, arrange a professional site measurement before final approval. Measurements taken only from the visible slab are useful for planning but cannot confirm that a complete replacement unit will fit.
Treat width and height as one fit problem
Height can create difficulties that a width-only survey misses. The proposed frame must sit on a sound, prepared sill while leaving appropriate installation space at the sides and head. Existing thresholds may have been built up, patched, or partially buried by later flooring. Measure from stable surfaces rather than a loose mat, removable sweep, or ridge of sealant. Record flooring that will be added or removed and compare interior and exterior levels. A unit that appears to fit an unfinished opening can become cramped after tile, hardwood, decking, or a replacement threshold changes the final elevation.
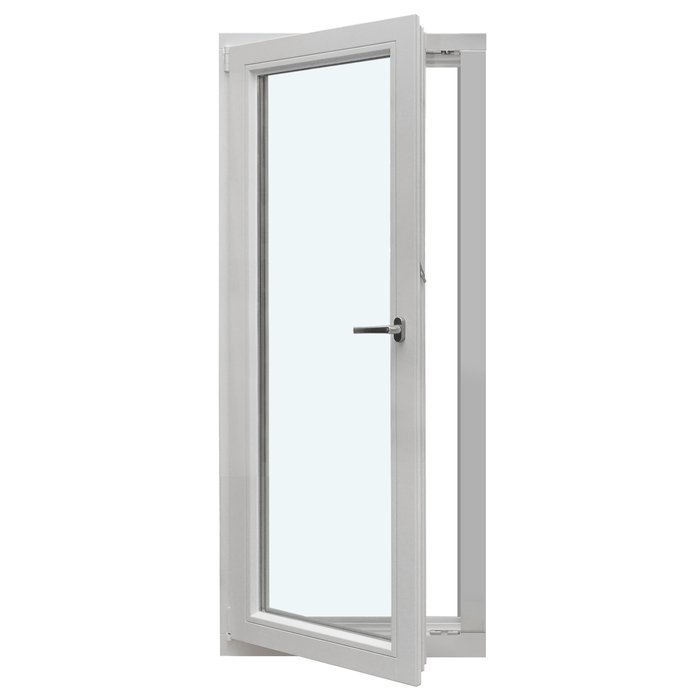
Do not answer a tight opening automatically by selecting a smaller slab. That may simplify placement while reducing convenience for furniture, strollers, mobility equipment, packages, or other bulky items. Enlarging the opening may improve passage, but it introduces wall alteration and associated finish work. Identify the actual constraint first: a distorted frame may need correction, an inswing leaf may conflict with the hall, or wide trim may conceal usable wall space. A historic-style alternative such as a single-panel outswing patio door still requires its own unit dimensions and suitability review; its product category does not establish replacement fit.
Buyer check 3
Calculate clear opening as a separate check
Open the existing door as far as it can normally travel without contacting a wall, railing, furniture, or closer. Measure the narrowest unobstructed passage, not the distance between decorative trim edges. If the door is usually held at a smaller angle, take a second measurement in that realistic position. Then define the task the route needs to support: ordinary foot traffic, moving a large box, using mobility equipment, or carrying supplies may expose different constraints. This exercise does not establish regulatory compliance, but it shows whether the new entrance should preserve or improve the current passage.
Ask for clear-opening information for the proposed configuration at a stated opening angle and with the selected hardware, when that information is available. Never calculate it from a product photograph or nominal slab width alone. With paired doors, opening both panels may provide an occasional wider route, while daily traffic still uses one active panel. For outswing panel entry doors, consider panel operation together with the exterior area available for an open leaf. Identify the everyday active panel, how any secondary panel is released, and which hardware or surrounding feature forms the narrowest point.
Choose swing, handing, and approach together
Evaluate the swing from both sides of the entrance. Indoors, trace the entire arc and check closets, stairs, benches, heating equipment, adjacent doors, and normal circulation. Outdoors, consider the landing, steps, railing, plants, lighting, and the place where a visitor waits. Look above the opening for an overhang, fixture, camera, or existing storm-door arrangement. The preferred direction is the one that produces a practical approach and comfortable operation at this particular entrance. Mark the hinge side and swing on photographs and drawings, then confirm the same arrangement in the order documentation.
A change in layout also changes the complete frame dimensions. A glazed panel, paired entrance, or sidelight should therefore be planned with the door rather than added after a slab width has been chosen. A single-panel sidelight illustrates a companion element that affects the overall composition and wall opening. Confirm its selected configuration and dimensions from the order documents instead of assuming details from its appearance. For any multi-part entrance, request a drawing showing the active panel, fixed or secondary components, hinge locations, frame perimeter, and overall width and height. Such a drawing supports a more reliable fit review than a description such as “wide front door.”
Buyer check 4
Inspect the threshold and surrounding construction
The lower opening often determines whether replacement remains straightforward. Inspect the threshold and adjacent finishes for movement, gaps, cracking, staining, or softened material. Compare the interior floor transition with the exterior surface directly in front of the entrance. Sill support, flashing, drainage, and sealing must be planned for the actual wall and exposure rather than copied blindly from the old installation. A photograph can also hide the critical lower edge. If existing conditions suggest deterioration, investigate the cause before covering the area with a new frame, and establish who will address repair work discovered during removal.
Frame depth deserves equal attention. A frame that does not suit the wall depth can complicate interior returns, extension jambs, exterior trim, and placement within the wall. Ask the installer how the selected unit will be supported, aligned, sealed, and finished where it meets masonry, brick veneer, stucco, siding, or custom trim. Also clarify who makes decisions if removal exposes hidden damage or an unexpected sill arrangement. Build that decision point into the schedule and budget discussion. The goal is not to predict every concealed condition, but to prevent installation day from becoming the first time anyone considers how the frame interfaces with the wall.
Match the product layout to the opening plan
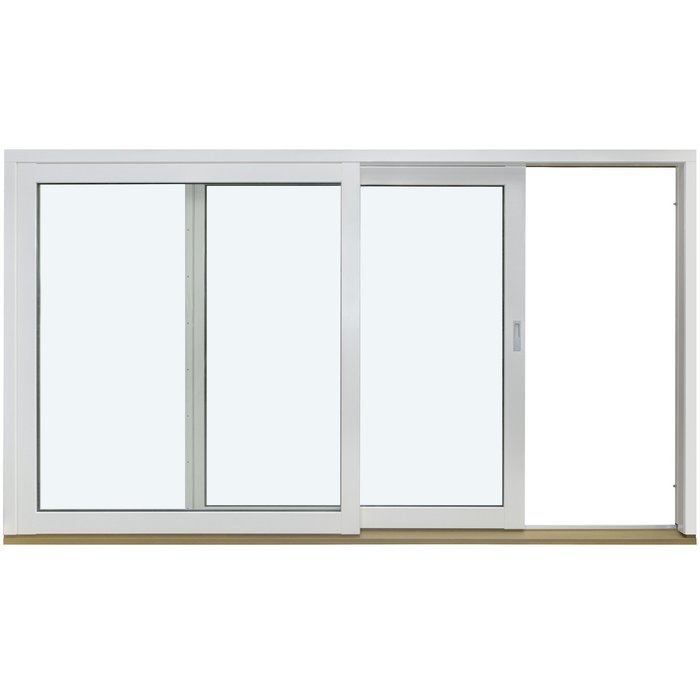
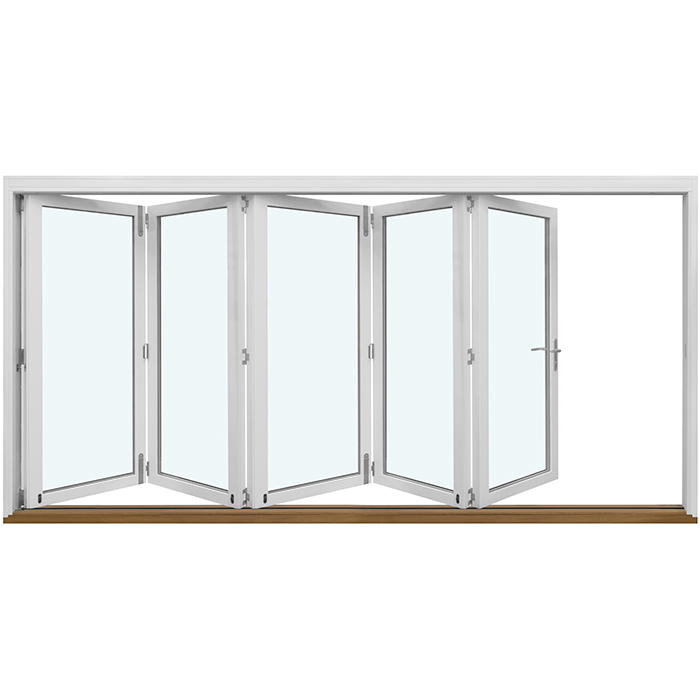
A product name identifies a configuration but does not replace a dimensional schedule. Compare single-panel, paired-panel, sidelight, and glazed arrangements only after the available opening and desired operation are understood. Paired doors can provide an occasional wide route when both leaves open, but their overall frame is different from a single-panel frame. Two-panel inswing patio doors demonstrate that panel count and inward operation must be evaluated together. They are an alternative layout, not an automatic substitute for a front door. Confirm the intended location, selected dimensions, active leaf, threshold, glass, hardware, and surrounding finish from the actual quotation and drawing.
For a constrained entrance, a single active panel may be more direct if its clear opening meets the household’s needs. Single-panel inswing patio doors provide another configuration to compare conceptually when the project calls for inward operation. Do not borrow measurements or option details from another product family simply because its photograph looks similar. Request the exact frame width and height, slab dimensions, swing, handing, threshold information, and available options for the chosen unit. If a patio-door configuration is being considered for another location or purpose, state that clearly so the supplier and project professional can assess the intended application rather than assuming a like-for-like front-entry replacement.
Buyer check 5
Approve a written measurement and option schedule
Place every decision in one record: opening reference, preliminary site measurements, verified rough opening, selected unit size, slab size, swing, handing, panel arrangement, threshold, color, glazing, decorative bars, hardware preparation, and finish responsibilities. Use “decorative bars” for non-structural visual divisions and “glass-dividing bars” only when the selected construction actually uses them. Keep dated photographs with the schedule and mark each measurement’s reference points. This prevents visual options from receiving attention while the decisive frame dimension remains ambiguous. Review the schedule against the supplier’s drawing before authorizing production or supply.
Ask which dimensions are nominal, which are manufacturing dimensions, and which describe the complete installed frame. Separately record which site measurements the installer has verified and which conditions remain concealed. Do not plan to cut or alter the supplied door, frame, glazing, or hardware in the field merely to force a fit. If considering single-panel outswing patio doors as an alternative configuration, verify that the outward operation, threshold, and exact frame dimensions were deliberately selected for the project. Written responsibility for final measurement distinguishes a homeowner’s useful preliminary survey from the dimensions relied upon for an order.
Coordinate delivery, installation, and handover
Measure the route from the delivery point to the entrance as well as the entrance itself. Gates, turns, porch steps, low ceilings, landscaping, and parked vehicles can complicate moving a large prehung assembly. Confirm who will receive and inspect it, where it can be stored, and how the existing entrance will remain secure until installation. Bloomcabin states delivery of 4–6 weeks subject to order confirmation. Coordinate removal and temporary protection only after the order details and schedule are confirmed rather than arranging demolition around an unconfirmed expected date.
After installation, operate the door from both sides and check hinge movement, latch and lock engagement, seals, threshold transition, and the usable route at the normal open position. Review finish work in daylight and retain the approved schedule, drawing, purchase record, installation documentation, and care information. Bloomcabin provides a 5-year warranty for windows and doors. A configuration such as two-panel outswing patio doors should be checked leaf by leaf, including which panel serves daily traffic and how the secondary panel operates. The final test is not merely whether the frame occupies the opening, but whether the completed entrance works as planned.
Common questions
Is a 36-inch front door always a 36-inch opening?
No. The 36-inch description may identify a nominal category or slab width. The complete frame and wall rough opening are larger, while the clear passage can be smaller. Ask what the number references, then record the slab, jamb opening, frame, rough opening, and usable passage separately.
Can I replace only the front-door slab?
Sometimes. The retained frame must suit the new slab’s width, height, thickness, hinge positions, edge preparation, latch and strike locations, seals, and threshold. A slab-only project may preserve existing trim, but it requires more compatibility checks than simply finding a panel with the same nominal size.
How do I choose the new door’s swing direction?
Trace the full swing on both sides. Check interior circulation, furniture, stairs, and adjacent doors, then inspect the exterior landing, railings, visitors’ space, and fixtures. Record the hinge side and swing on a drawing. Confirm handing using the supplier’s defined viewpoint instead of relying on ambiguous left-hand or right-hand wording.
Should I widen the rough opening for a larger door?
Widening may permit a larger unit or passage, but it changes the scope from routine replacement to wall alteration. Feasibility depends on the actual wall, finishes, utilities, and project conditions. Have the proposed change assessed and measured by an appropriate qualified professional before selecting or ordering the larger door system.
What should I verify before approving the order?
Verify exact frame and slab dimensions, swing, handing, threshold, panel arrangement, selected options, and clear-opening information where available. Request a complete-unit drawing, confirm the measurement reference points, and identify who accepts responsibility for final site verification. Also document how concealed sill or frame conditions will be handled if discovered.
Next step
Front-door fit cannot be reduced to one nominal width. Define the operating plan and replacement scope, then distinguish the slab, frame, rough opening, finished surfaces, and clear passage in every measurement record. Inspect the sill and wall interfaces, compare the exact selected-unit drawing with verified site dimensions, and treat changes in swing, panel count, or sidelights as complete opening decisions. Where conditions are concealed or wall alteration is proposed, involve an appropriate qualified professional before ordering. This preparation creates a sound basis for an entrance that fits its setting and supports everyday use.
