
Garden House Assembly Mistakes That Are Hard to Fix Later
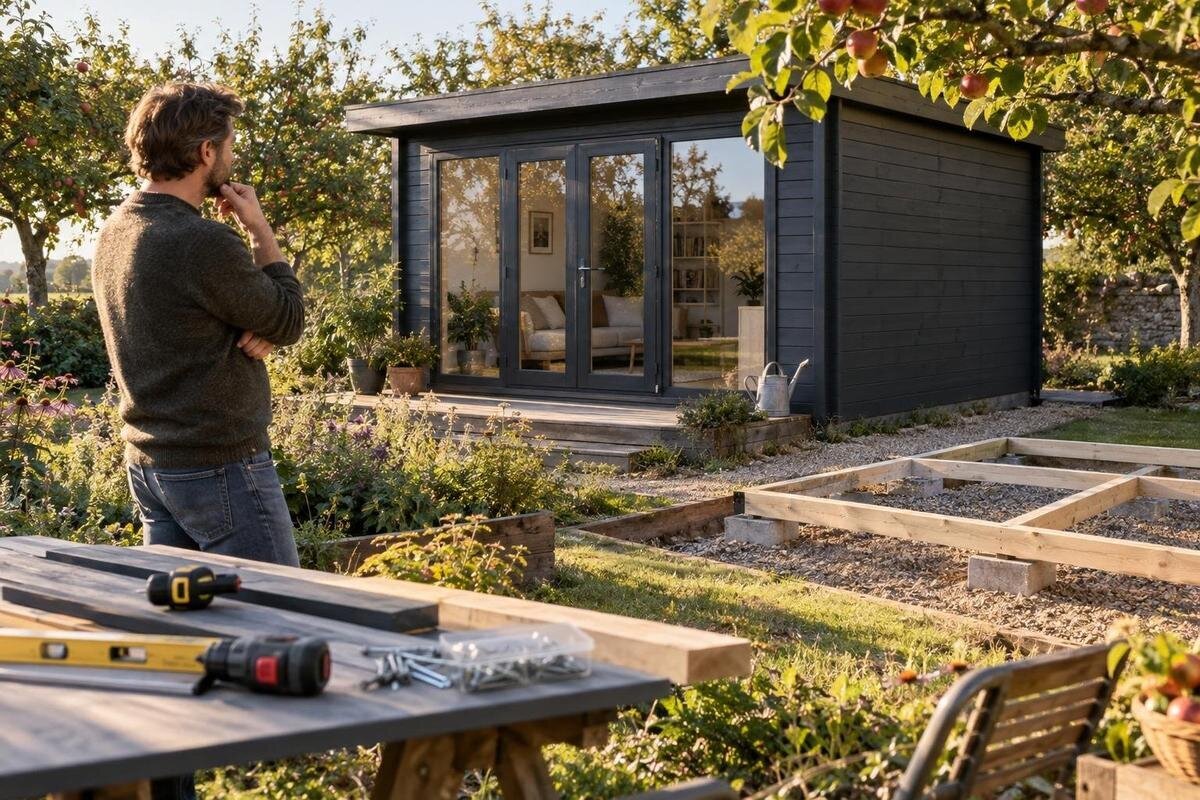
Garden house assembly
Garden house assembly mistakes are hardest to deal with when the next stage hides the cause. A misplaced base, an early alignment error, or an opening turned the wrong way may mean taking completed sections apart instead of making a small correction. The aim is not to inspect every move endlessly; it is to pause at the points where access is about to disappear. This guide focuses on planning and setup checks that can prevent rework, rather than listing tools or estimating crew size.

Match the instructions to the exact garden house
Before setting out the site, confirm that the order record, package labels, and assembly instructions identify the same model and version. Similar-looking garden houses can have different layouts or components, and a product photo or search result cannot establish which sequence applies to your shipment. Save the documents supplied for the exact order, including any model identifier or revision, and write that identifier on your planning sketch. This simple record prevents a common setup error: measuring for one option, then assembling another. If the product page and paperwork disagree, resolve the mismatch before work begins rather than choosing whichever description seems more familiar.
A name such as Verdana 1 garden house is useful on that record, but it does not tell you the dimensions, base requirements, or assembly sequence. Check those details in the instructions for the unit you actually ordered. Keep the order confirmation and any clarification from the seller or manufacturer with the manual, so there is one clear reference at the work site. If the documents conflict, pause before marking a permanent base or altering a part. Borrowing steps from a similar model can create an error that remains hidden until later pieces no longer fit.
Map the footprint and access before site work
Translate the measurements in the plan onto the actual site before digging or assembling. Mark the footprint with string or removable markers, using dimensions from the model-specific documents rather than estimating from a product photo. Keep separate notes for the base footprint, the outside dimensions, and extra room needed for parts that open or move; these may not be interchangeable measurements. Walk the route from the driveway or gate to the marked area, too, since a narrow passage or tight turn can make handling components awkward after the site is prepared. Check the planned position against fences, paths, trees, and other fixed obstacles.
Label the sketch with the exact order name, such as Verdana 2 garden house, and check the marked area from likely approach directions. Confirm that the entrance can be reached, that doors or other moving parts have the clearance shown in the plan, and that future steps, planting, or stored items will not block them. Leave practical room to inspect and maintain the exterior, not just enough space to fit the outline. A footprint that fits tightly between boundaries can still leave no comfortable way to open an entrance or reach a side later. Moving a marker now is easier than relocating a finished building.
Confirm the base before you start building
Do not treat a visually flat patio, lawn, or simple platform as automatically suitable. The exact instructions should identify the required kind of base and support, the footprint it must follow, and any conditions the design assumes. A surface that is uneven, unstable, or inconsistent with those directions can leave the structure twisted from the outset; walls and openings may then inherit the error. Once much of the building is in place, correcting its support may require unloading or partial disassembly rather than a small adjustment. An existing slab or platform also needs to be checked against the stated requirements.
Mark the base plan with the exact model name, such as Durano garden house, and compare it with the documents before work begins. If they do not address a sloping, soft, previously disturbed, or otherwise uncertain site, ask the manufacturer or a qualified building professional how to proceed. Do not invent a base depth, support spacing, or reinforcement detail from a neighbor’s project or a generic diagram; those choices depend on the building and site. Before assembly begins, compare the prepared base with the stated requirements and correct discrepancies while it is still accessible.
Check drainage, utilities, and site access
Ground conditions can make an otherwise well-measured layout difficult to use. Before fixing a base, notice where surface water collects or flows, whether the proposed area is a low spot, and whether a drain, access cover, gate, or path would be obstructed. Do not assume an area stays dry because it looks firm on a sunny day. If slope, drainage behavior, or ground condition is unclear, have an appropriate local professional assess it rather than trying to solve the problem by shifting soil or improvising a support. Avoid placing the building over an access point you may need to reach.
Identify buried utility lines before considering digging or ground anchors; use an appropriate locating service or qualified professional rather than guessing from visible fixtures. Put utility routes, drainage features, and the route for carrying parts to the site on a sketch labeled Veltor 1 garden house. The product name keeps the notes tied to the intended order, but it does not answer questions about site conditions. Resolving a line conflict before work starts preserves more placement options; discovering it after the base is set may force a new location and more preparation. If grading or runoff needs attention, get appropriate advice rather than guessing at a solution.

Keep the first wall sections aligned
After the base is accepted, protect the geometry of the first wall sections. Follow the specified assembly order, check that the initial sections sit as the instructions show, and recheck alignment at the intervals they call for. A small error at one corner can accumulate along a wall; later parts may seem too short, and openings may no longer land where expected. On a rectangular plan, comparing diagonal measurements can reveal a skew, but use the manual’s method and tolerances rather than relying on a visual impression. Check vertical alignment as well as the outline, using the reference points shown in the assembly documents.
If a joint closes only under force, or one corner shifts as another is fixed, stop and trace the cause while the parts are accessible. Recheck the base, the orientation of each piece, and the step order before continuing. Do not expect later walls or trim to pull an early section into alignment; that can hide the error without correcting it. Use only adjustment methods the instructions allow, and repeat the alignment checks after major stages. The effort is modest compared with removing completed sections to reach the first misaligned connection.
Confirm the orientation of every opening
An opening’s location and orientation can be difficult to change after surrounding walls are secured. Before closing in that area, compare the front, side, and opening marks on the plan with the parts in front of you. Check which way each door or other moving panel is intended to operate; do not infer it from a staged image or assume a panel can be reversed. Decide where you need a clear approach from outside and enough usable room inside before the position becomes fixed. Write down which side faces the entrance so nobody on site has to guess.
Record the orientation on the site sheet for the exact order, for example Orello 1 garden house, and follow that unit’s diagram. A fence, planting bed, stored equipment, or a later-added step can obstruct movement even when the footprint fits. If an opening appears on the opposite side from the plan, or a part seems to fit only when turned around, pause before fastening adjoining pieces. Reversing a component may affect related fittings or leave access awkward, so do not assume it is reversible by appearance alone. When the drawing is unclear, get confirmation before fixing the layout.
Keep parts and fasteners matched to the model
Keep parts and fasteners associated with the correct model and assembly step. During unpacking, match labels and quantities to the model-specific parts list, where one is provided, and keep similar-looking pieces separated rather than combining everything in one container. A missing or unexplained part is easier to identify before later work surrounds it. Photograph its label and note the instruction step if the count or description does not match. Keeping packaging labels until the initial checks are complete can help distinguish a real shortage from a part intended for a later stage.
Write the exact order name, such as Modano 1 garden house, on each parts checklist, especially if more than one building or version is being handled. Use only the fasteners and components identified for that step; do not substitute a leftover screw, bracket, or spare part simply because it appears to fit. Similar parts may serve different roles, and an unapproved substitute can damage a component or leave a connection that is difficult to inspect once enclosed. Stop at a shortage or unclear callout and obtain model-specific guidance before proceeding. Avoid discarding a part because it seems redundant until you have checked the instructions.
Do not force or alter a part to make it fit
A mismatch is a reason to pause, not to force. If holes, joints, or edges do not line up, check for a reversed piece, a skipped step, a wrong part, or a problem with the base before applying extra pressure. Fastening a frame while it is out of position can hide the source and push later parts out of alignment. Cutting, drilling, enlarging a hole, or trimming a component may seem like a quick workaround, but do not make such changes unless the instructions for that exact model explicitly call for them. Material removed as a workaround cannot simply be put back.
Document the step, part label, and discrepancy, then contact the seller, manufacturer, or a qualified installer for a model-specific answer. The Veltor 2 garden house name can help identify an order, but it is not evidence that instructions for another version apply. Set aside a questionable component so it is not reused by mistake. If the instructions permit an adjustment, follow their stated method; if they do not explain the condition, wait for clarification. A photo with identifying marks and the written step can make the question easier to explain. Early diagnosis usually avoids undoing several later stages.

Inspect work before the next stage conceals it
Build inspection pauses into the sequence wherever a joint, fixing, or alignment will become hidden. Before adding the next wall section, panel, trim, or other enclosing component, compare the visible work with the exact assembly step. Check that parts are seated in the stated orientation, required fasteners are present, and nothing has been left pinched or obstructed. A neat exterior surface does not prove a hidden connection is correct, so inspect from accessible sides while you still can. Pay attention to transitions where one part meets another, because later layers may limit what you can see.
Keep a short record of each pause with a date, step, and photo, labeled for the order—for example, Veltor 3 garden house. The image is a memory aid, not a substitute for the manual; it can help explain a question to the supplier or installer and show which work is already concealed. Do not cover a gap or unexplained joint just because the next part appears to fit. Ask what the assembly detail requires first, and keep any answer with the project notes. Removing a trim piece or finished panel later can turn a brief visual check into significant rework.
Test operation before adding permanent features
Before adding permanent landscaping, steps, furniture, or stored items around the building, do a functional walk-through. Operate any doors, windows, or moving components included with the model, following its manual, and confirm they move without unusual rubbing, binding, or collision. Check that latches or other fittings align as described. If they do not, do not force them or immediately remove material; first recheck the structure’s alignment and the instructions, then seek model-specific guidance if the cause is unclear. Distinguish normal operation described by the manual from an actual obstruction.
Review access to the exterior and to any areas the instructions say should remain reachable, and make sure the planned use will not block them. Keep the manual, order details, parts labels, and photos of concealed stages together for later questions. If a concern involves the base, a structural connection, or a persistent mismatch, pause the work and have a qualified professional assess it; a final visual check cannot establish hidden details. Addressing visible problems before the site is landscaped or furnished usually leaves more ways to reach and correct them. Note unresolved issues rather than assuming they will disappear.
Frequently asked questions
Which garden house assembly mistake is hardest to fix?
There is no single answer for every model and site, but errors hidden by later work are often the most disruptive: a base that does not match the instructions, a footprint in the wrong place, or early sections assembled out of alignment. They are harder to reach once the surrounding structure is in place.
Can I correct a misaligned wall by tightening the fasteners?
Not without checking the cause and the model’s instructions. Tightening can conceal an issue with the base, part orientation, or assembly sequence instead of correcting it. Pause, compare the work with the manual, and use only its approved adjustment method. Ask the manufacturer or a qualified installer if the cause remains unclear.
How can I tell whether I have the right assembly manual?
Compare the model name and version on the order record, package labels, and manual. Check for a model identifier or revision if one is shown, and make sure the parts and layout described match your order. If the documents conflict or leave you unsure, get confirmation before starting permanent site work.
When should I test doors and other openings?
Check their orientation against the plan before securing the surrounding sections, then test their operation at the stages specified in the instructions. A final check before landscaping or adding furniture can reveal rubbing, binding, or blocked access while there is still room to investigate the cause.
What should I do if a part or fastener is missing?
Pause at the affected step. Note the part label and instruction number, and photograph the packaging or parts you received. Do not substitute a leftover component just because it appears to fit. Ask the seller or manufacturer for guidance that matches your exact model before continuing.
Careful garden house assembly is less about reacting quickly than keeping mistakes visible until they are resolved. Confirm the order and instructions before site work, verify the footprint and base, then pause at the first alignment, opening, and concealed-joint checks. If something does not match, hold that step and get model-specific guidance. Those small pauses preserve access to the cause and can spare you from taking finished work apart later.
