
Garden House Hobby Rooms: Storage Without Losing Workspace
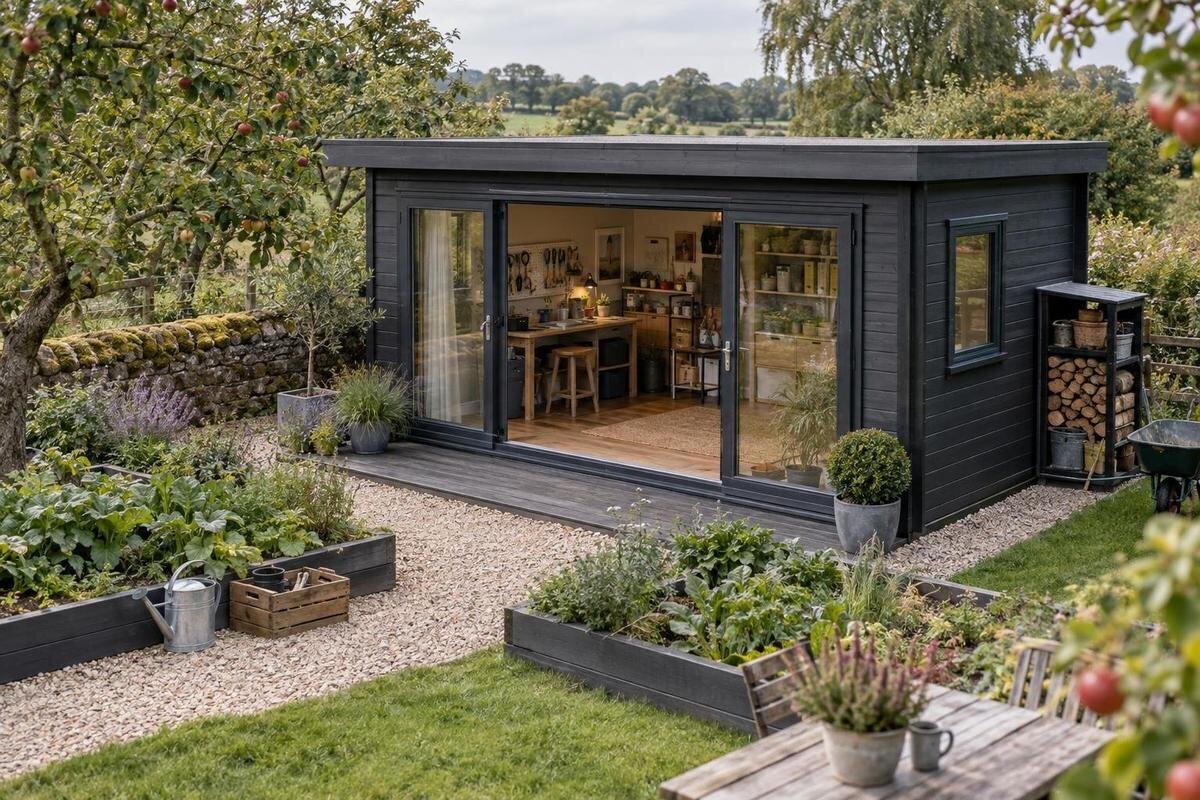
Garden house planning
Storage in a garden house hobby room works best when it follows the work: supplies have clear homes, yet the bench, active project, and route through the room stay usable. Planning starts with what you make, repair, or organize, not a shelf count. List the tools and materials you actually use, sketch the room around a real project, and compare product details against that sketch before ordering. The aim is not to fill every wall; it is to put needed items within reach while preserving enough open area to set up and finish a task.
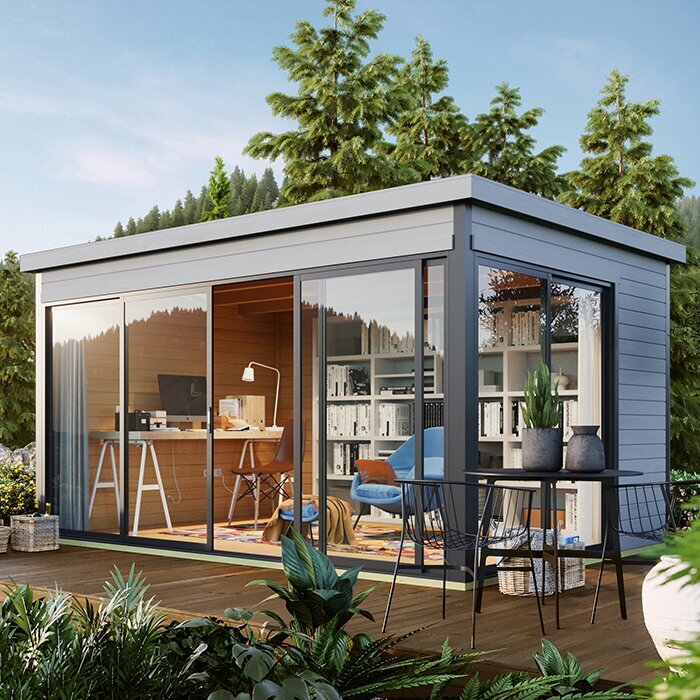
Inventory the hobbies and supplies first
List the projects you do regularly, not just the hobby’s name. For each, note the tools and supplies used together, the largest piece you work on, whether the task needs a clear tabletop, and what must remain out when you pause. Include awkward items such as long rulers, fabric, boards, or bins; a plan based only on small tools misses the space they take during use. Separate daily equipment, refill supplies, work in progress, and finished pieces. Mark which tasks stay set up between sessions and which can be packed away, because that affects how close storage needs to be. Take photos of a typical project in progress if that helps reveal the tools, offcuts, packaging, and temporary containers that are easy to overlook when making a list. This record gives the layout a realistic starting point rather than an idealized one.
Estimate quantities from what you own: the number and size of containers, refill packages, seasonal stock, and items that cannot be folded or stacked. Note what can be shared between hobbies and what must stay separate. When reviewing the Verdana 1 garden house page, compare any stated interior measurements with this inventory; if usable dimensions are not listed, ask before ordering. A model name or exterior photo cannot tell you how much of a collection will fit. Avoid buying shelves for supplies you do not yet own.
Protect the working footprint
Treat the work area as more than the footprint of a bench. Include the person using it, a chair pulled back, hand movement, tool trays, and materials waiting to be used. A long or wide project piece may need room to turn or rest beside the main surface. Test the largest task you do often rather than planning every day around a rare oversized project; decide separately where that occasional job will go. If more than one person may work there, allow space to pass without disturbing an active setup. Think through where waste, protective coverings, reference materials, and a drink or phone are placed during a session, too. Small support items can occupy more of a compact work area than expected if they have no designated place.
Mark the work surface and the space needed to approach it, stand or sit, set down supplies, and finish a task. Resist filling the edges with bins that later migrate onto the tabletop. If the surface is shared, make setup and reset straightforward: supplies can arrive in a tray and return to storage when the next activity begins. For the Verdana 2 garden house page, compare any stated usable interior dimensions with the footprint you have marked. A layout that works only when every chair, drawer, and project is put away is not practical.
Measure usable walls, openings, and routes
Use a dimensioned drawing and the exact model’s stated measurements, when available. Exterior footprint and usable interior floor area are not interchangeable, and a wall that appears uninterrupted in a photograph may have openings or features shown in the plan. Mark the entrance, windows, built-in elements, and changes in ceiling height that affect furniture placement. Measure each proposed cabinet or shelf too, including the room needed to open doors or pull out drawers. Note baseboards, trim, or other projections when their dimensions are provided, since a storage unit that fits on paper may not sit flush against a wall. If an important measurement is missing or unclear, request clarification instead of estimating from an image.
Draw the route from the entrance to the work area and the places where incoming supplies or a project can be set down. The route needs to accommodate the objects you actually carry, not just a person walking through an empty room. Account for the entrance opening, cabinet doors, and pull-out bins so they do not meet furniture or block access. Use the Durano garden house page as an option to assess against its specific published plan and dimensions, if available; confirm usable interior measurements and openings for that model before relying on them.
Choose storage by item size and access
Match storage to the shape of what it holds and how often you need it. Shallow divided trays make small components easier to find, while larger containers suit bulky supplies. Transparent containers can make contents visible; labeled closed storage can help keep a category together and reduce surface clutter. Open shelves offer quick access, but stacked boxes may be inconvenient if reaching one item means moving several others. Choose containers that fit their assigned shelves and can be handled without spilling or blocking the route. Grouping containers by project stage—such as preparation, active work, and cleanup—can make a shared hobby room easier to reset. The category should be obvious enough that another user can return an item without guessing.
Keep frequently used tools within comfortable reach and put heavier containers in a position where you can handle them safely. Reserve less accessible storage for items you rarely use, and avoid stacking so high that routine supplies become difficult to retrieve. Follow the storage unit’s instructions and get qualified help if you are unsure whether a wall or other support is suitable. For the Veltor 1 garden house page, check the available model-specific information before counting on a wall for shelves or cabinets; do not assume every apparent wall section is usable.
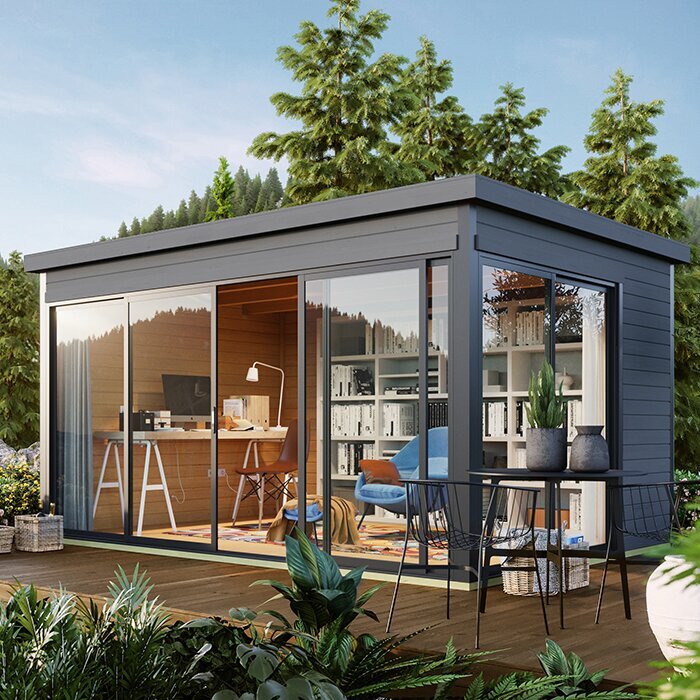
Match the work surface to the projects
Choose a primary surface around the pieces you work on regularly, with space for the tools and materials used at the same time. A tabletop that accommodates an object only when everything else is cleared away may slow down the task. Measure your typical workpiece in the position you use it, then account for the space needed to handle it. Consider whether you usually sit, stand, or change position, and whether a second, temporary surface would help with sorting or staging. Consider the edge of the surface as well: clamps, cutting mats, or other project-specific accessories may need room beyond the workpiece itself. Planning for these ordinary extensions helps prevent the aisle from becoming part of the workbench.
Place frequently used supplies close enough to reach without turning the main surface into a shelf. A small tray or caddy can hold the current task’s tools, then move away when the work is finished. Choose a surface that is manageable to clean for the materials and ordinary mess involved in your projects. If considering the Orello 1 garden house page, use confirmed interior measurements and layout information to test where your planned surface could go; a product image alone cannot establish that it will fit.
Keep supplies close to the work that uses them
Arrange storage around the sequence of a project: collect supplies, set up, work, and put things away. Store tools used in the same activity together, and place frequently replenished items near their point of use. Keep backup stock in a separate location so it does not take over the bench. This arrangement can reduce repeated trips across the room and makes it easier to see when a commonly used supply is running low.
Portable project boxes or trays are useful when activities share a surface. Give each one a clear label and a place to return to, and reserve a separate spot for unfinished work so it does not spread into the walking route. When reviewing the Modano 1 garden house page, compare the dimensions it actually states with your zone plan, then confirm anything unclear. The aim is to make the work-and-storage arrangement fit the specific interior you are considering, rather than assuming it includes furniture or built-in storage.
Keep the floor and doorway clear
A clear route is part of the usable workspace. Map the path from the entrance to the main surface and to frequently used storage, including the space needed to carry boxes or project materials. Avoid turning the doorway, the area beside the bench, or the space in front of a cabinet into permanent overflow storage. If a cart or stool is useful, decide where it will park when it is not in use. Give active projects a defined staging spot so temporary items do not spread across the floor.
Plan a home for bulky items before they arrive, and consider how you will move them in and out without shifting several shelves or containers. Keep commonly used items easy to reach, and do not use awkward overhead stacks as a substitute for planned storage. If your layout depends on mounted units or supports, follow their instructions and consult a qualified professional where needed. For the Veltor 2 garden house page, test the route against the exact documented opening and interior measurements before counting on it for carrying supplies.
Compare product details before ordering
Compare the exact model’s stated dimensions and drawings before deciding that it can hold both storage and a work area. Check whether the figures describe the exterior or usable interior, and look for the location and size of openings that affect furniture placement or carrying materials inside. Verify which components are included, optional, or require a separate purchase; do not assume a floor, fixtures, or storage furniture is part of an order unless the product details say so. If a key measurement or inclusion is unclear, ask for confirmation.
Also review the order and preparation information supplied for that model. Check delivery access, package handling, assembly expectations, and any site or foundation preparation described by the manufacturer. Consider whether the intended use calls for building services or changes, and consult qualified professionals for those questions rather than improvising. Review the Veltor 3 garden house page separately and confirm its own listed dimensions and contents; details for one model should not be carried over to another.
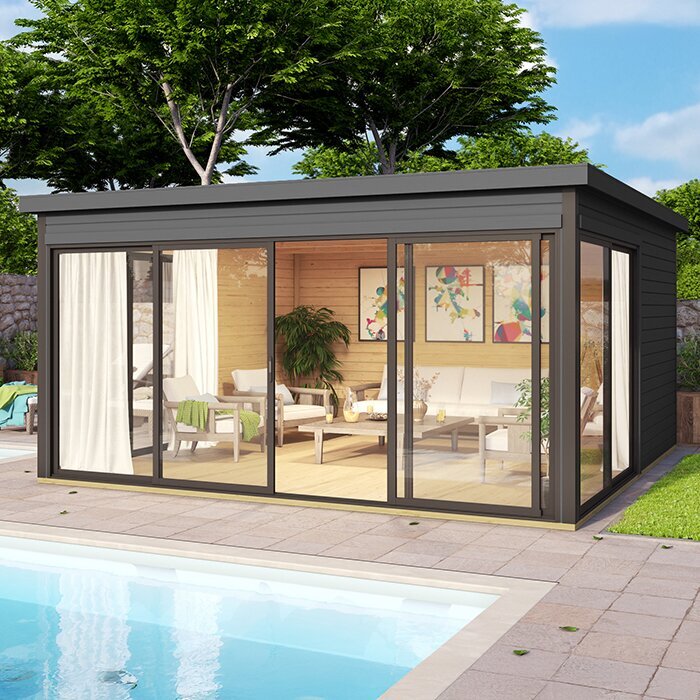
Plan for changing projects and storage conditions
Some hobbies use materials with specific storage directions. Conditions in a garden house can differ from those inside the home and depend on the building and its location, so do not assume every supply will suit the space. Check manufacturer instructions for items such as fabrics, paper, electronics, adhesives, or finishes before assigning them a permanent spot. Keep materials that need different handling separate, and store products according to their labels and any applicable safety directions.
Leave some flexibility for supplies that change with a project or season. A movable bin or adjustable shelf can be more useful than a fixed arrangement that consumes every available wall. Periodically review what is still used, what needs replenishing, and what can be moved elsewhere. Keep clean materials, tools in use, and unfinished work organized so one activity does not make the room difficult to reset for another. Storage should support the projects you do, not preserve a growing collection of unused items.
Test the layout before buying furniture
Before ordering shelves or a workbench, make a full-size mock-up of the planned arrangement. Use tape or empty boxes to mark furniture footprints, storage units, and the space needed to open doors and drawers. Then walk through a familiar task: retrieve supplies, carry them to the surface, set them down, and return them to storage. Try the largest piece you work on regularly, and check whether an unfinished project can remain in its assigned spot without blocking the route.
Compare each candidate using the same notes: confirmed usable interior dimensions, workable wall space, entrance access, the work footprint, and room for the containers you already own. Ask whether supplies have a home, the surface can be cleared, and the route stays open after a project is set up. If not, consider reducing stored stock, changing the furniture plan, or reviewing another option with confirmed details. A mock-up makes compromises visible before you commit to a building or storage furniture.
Frequently asked questions
How much storage should a garden house hobby room have?
Base it on the supplies and tools you actually own, including bulky or irregular items and anything that needs to stay with an active project. Make room for the work surface and a clear route before allocating space to shelves. Leaving some storage flexible is often more useful than filling every available wall at the outset.
Where should I keep frequently used tools and supplies?
Put everyday items near the task where you use them, ideally in a labeled drawer, tray, or container that can be returned to its place. Store backup supplies separately so they do not crowd the work area. Keep heavier items where they can be reached and handled safely, and follow the storage directions for products with specific requirements.
How can I keep the work surface clear?
Give the current project a tray or container of its own, and keep only the tools and materials needed for that task on the surface. After a session, return shared tools to their assigned homes and put unfinished work in a designated spot. This makes it easier to pause a project without turning the whole bench into permanent storage.
Should I choose a larger garden house for more storage?
Not automatically. Compare the confirmed usable interior with the work area, storage plan, and route you need. A larger footprint does not by itself show how much wall or clear floor space is available. Choose more space only if your measured plan calls for it, and check the building, delivery, and site-preparation details before ordering.
Can several hobbies share one garden house?
Yes, if their work areas and supplies can be managed without blocking one another. Map the space each activity needs, group shared tools where they are easy to reach, and keep separate supplies in labeled containers or project trays. Also check that the garden house’s conditions suit any materials with specific storage requirements.
A useful hobby room balances assigned storage with enough open space to do the work. Start with your real inventory, preserve the full working footprint, and check the garden house’s usable interior and ordering details against a measured plan. When each tool and supply has a place—and the route to reach it stays clear—storage supports the project instead of taking over the room.
