
Planning Task and Ambient Lighting for a Garden House
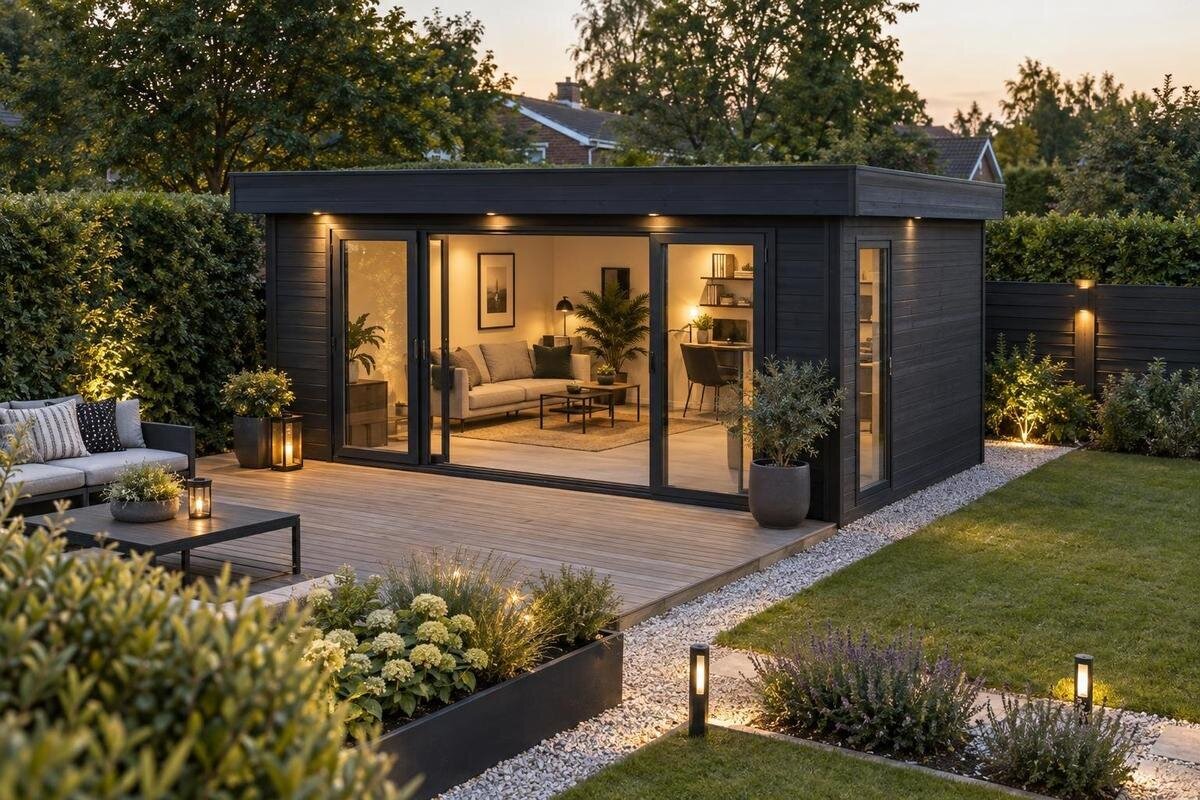
Garden house lighting guide
A useful garden house lighting plan begins with the work and movement the room needs to support, not with a fixture count. Mark the places where you need focused task lighting, then plan ambient lighting that makes the rest of the space easy to see without glare. The building’s confirmed layout, daylight, furniture, and electrical needs all affect the choice. This guide helps you turn those details into a brief for comparing garden houses, fixtures, controls, and professional installation needs before ordering.
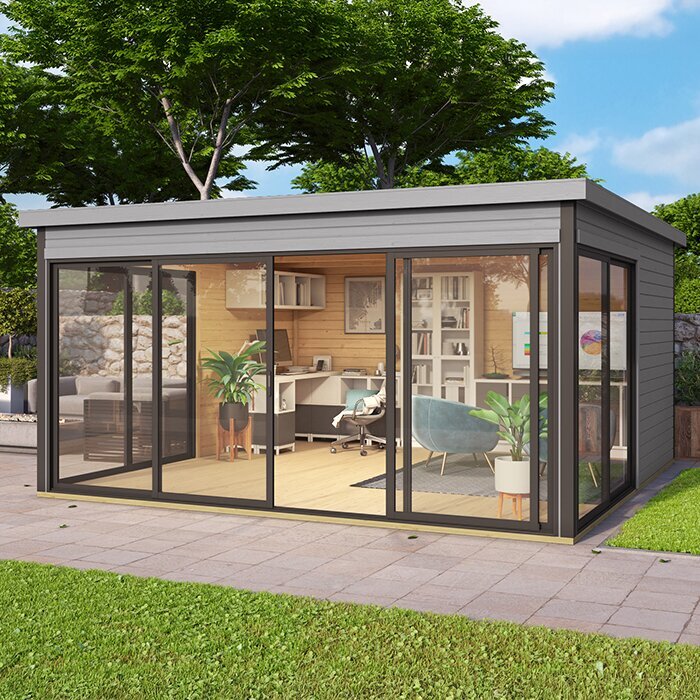
Activities and work zones in the garden house
List the activities that will take place in the garden house and when you expect to do them. A potting bench, tool-sorting shelf, small repair area, hobby table, and route to the door place different demands on vision. Note whether your hands are occupied, whether you need to distinguish small details, and whether the task continues after daylight fades. Mark each work surface and the paths you regularly use on a rough floor sketch. Include movable items, such as a cart or stool, if they affect where a lamp could go. Rank frequent work above occasional tasks; that keeps the plan tied to real use rather than a long wish list.
Sort those notes into two layers. Task lighting focuses on a defined surface or action; ambient lighting provides overall visibility and helps you move between zones without an abrupt change from bright to dark. Some activities need both: the room can have general light while a work surface receives a more directed source. Other areas may need only ambient light. Label each zone and its priority on the sketch, then note whether two activities share it at different times. This separation helps you compare a basic setup with a more flexible plan and decide which additions can wait until you have used the space.
Where task lighting is useful
Task lighting is most valuable where your hands and eyes stay occupied: sorting seeds, reading plant labels, cleaning a tool, mending equipment, or completing another close task. Draw the work surface and the person using it, then consider where light will fall rather than putting a fixture at the room’s center by default. Light arriving from behind can cast a hand shadow; a beam directly in your line of sight can distract. When reviewing a candidate such as the Verdana 1 garden house listing, compare any published plan details with the station you have sketched. If the information is not available, ask for it rather than assuming the work zone will fit.
Think about coverage, direction, and adjustability. Light should reach the parts of the surface where work happens without making nearby shelves or tools cast distracting shadows. The fixture’s stated output and distribution are more useful than judging brightness from a product image. If color distinctions matter, review manufacturer information about color rendering as well as the light’s appearance. A movable lamp can follow a changing work area; a fixed source may suit a permanent station. Consider whether the proposed light can serve the tasks you listed, and ask a qualified electrician to assess permanent electrical work.
Ambient lighting across the room
Ambient lighting fills the wider visual field. Its purpose is not to make every surface equally bright; it is to keep the room legible and give task lights a comfortable background. A single source may leave a dark patch behind shelving or in a corner, while several bright sources can add glare and visual clutter. On your sketch, note which areas should remain easy to see when task lights are off, including storage and the route to the entrance. If you are comparing the Verdana 2 garden house page, base your assessment on published layout details or request them, rather than relying on the model name or a styled photograph.
Judge ambient light from the places where you will stand and sit, not only from directly beneath a fixture. A bare or sharply directed source can reflect off a glossy work surface, a window, or a tool; a shaded or diffused design may soften that effect if it suits the fixture and location. Consider how the general layer and task lights will appear together, and whether one will overpower the other. Compare the manufacturer’s information on light distribution and color appearance. If practical, test a sample or temporary arrangement before ordering several fixtures. The goal is comfortable, useful visibility, not the highest possible brightness.
Daylight, windows, and evening use
Daylight affects the plan, but it cannot replace a dependable evening setup. Note which parts of the room receive daylight, at what times, and where a window may create glare, reflections, or a strong contrast with a darker work area. A bench that looks well lit at midday may need its own source after sunset; the difference can also be noticeable on cloudy days. Observe the space more than once if you can, rather than choosing lighting after a single sunny visit. Record when you normally use each zone, because a daytime layout does not always answer what you will need in the evening.
Windows and doors also shape furniture placement and potential light locations. Before choosing a garden house, check the drawing and opening positions for the configuration you intend to order; do not infer them from a product photo. You can put the Durano garden house listing on a comparison sheet, then review the details published for that configuration or ask for clarification. Consider whether a window could make a work surface reflective or put light behind the person using it. Any shading you may add can change daytime illumination, so include it in the layout without treating it as a substitute for lighting after dark.
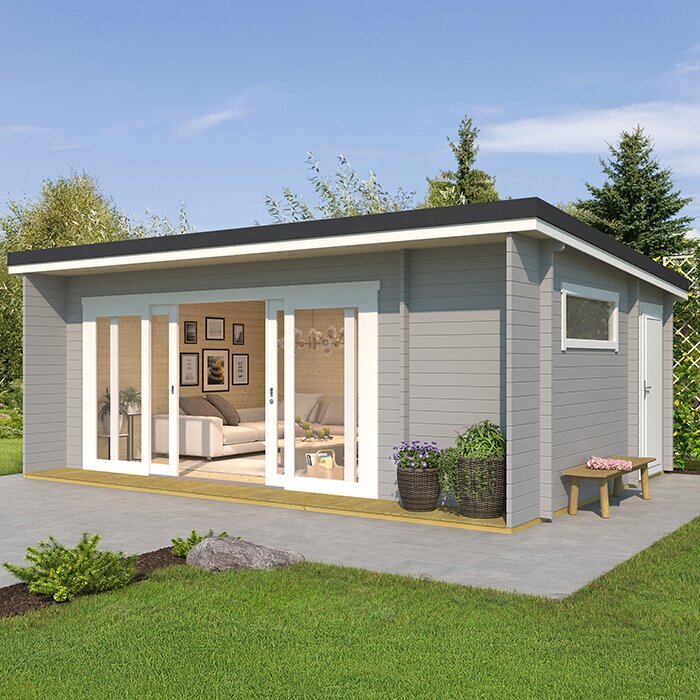
Light placement around furniture and doors
Place doors, windows, furniture, storage, and work surfaces on your sketch before marking any fixture. This order can reveal conflicts early: a tall cabinet may block a wall light, a movable lamp may take up needed bench space, or a switch may be awkward to reach when a door is open. Mark the route you use most and consider how a fixture will look from that approach; a light that shines directly into your eyes can be uncomfortable even if the work surface is bright. A rough drawing with approximate scale is enough to discuss the layout. It is not an electrical drawing or an installation plan.
Test the arrangement from more than one position. A work surface may be used from either side, and tools on a shelf can cast shadows onto the area below. A freestanding fixture may become an obstacle if you need floor space for supplies or equipment. If the Veltor 1 garden house listing is on your shortlist, compare your furniture outline with the published floor plan, or request one if needed. This exercise helps you check whether focused light, general coverage, storage, and clear movement can coexist before you commit to a configuration.
Lighting controls for different routines
Separate controls can make the two lighting layers easier to use: ambient lighting can provide general visibility, while task lighting is switched on only at the work surface. Decide whether you want independent on/off controls, dimming, or another arrangement, and connect that preference to a real routine. A dimmer is not compatible with every lamp or control, so identify the exact fixture and check its requirements before ordering. Think about whether controls should be easy to reach when you enter and while you work, but leave the installation plan to a qualified electrician. The useful question is which daily decisions each control should simplify.
Write down a few typical situations—entering to retrieve an item, working at a bench, or putting tools away—and note which lights you would want in each. This can expose an awkward combination, such as having to turn on a focused task light simply to see the route through the room. For a candidate such as the Orello 1 garden house page, keep your control brief beside the published building details. A model name does not specify the wiring, fixtures, or controls included. Ask an electrician to assess compatibility and site requirements before ordering a fixed system.
Electrical planning and fixture suitability
A permanent lighting plan involves more than choosing bulbs. Fixture locations, switching, the power arrangement, and the garden house’s intended use all need to be considered together. Before ordering equipment or finishing interior surfaces, share your task map and fixture information with a qualified electrician familiar with the site and local requirements. Ask what details should be settled before the building is assembled or finished, and what documentation is needed to review the proposed equipment. This is planning, not a wiring method. The electrician should determine safe installation details for the particular structure rather than relying on a general guide.
Read each fixture’s documentation for its intended location, mounting, and compatible lamp or control. A product meant only for indoor use is not interchangeable with equipment intended for a damp or exposed location; the label and manufacturer’s directions matter more than a similar-looking image. Include any exterior approach light or receptacle in the professional review instead of improvising an arrangement. When assessing the Modano 1 garden house listing, check only the building details it actually publishes and ask what else the electrician needs. Do not assume lighting equipment or electrical provisions come with the garden house unless the order explicitly says so.
Compare layouts against the lighting plan
The garden house you buy is part of the lighting decision because its usable layout sets the distances, openings, and surfaces available to you. Compare the confirmed floor-plan dimensions, wall and window positions, door operation, and components listed as included. Then check whether your intended workbench, storage, and general light locations can fit without narrowing the route you need. If a drawing or specification is missing or ambiguous, ask for written clarification before ordering; a styled image cannot show every detail needed for planning. Use the same activity map for each candidate so you compare the actual room against your needs.
Keep a comparison sheet with one column for confirmed facts and another for open questions. Add the Veltor 2 garden house listing if it is an option you are considering, and record only details that are published for the exact configuration. Ask whether the description refers to the same variant shown in your quote and whether optional components are itemized separately. The purpose is to test how the layout supports your lighting plan, not to infer from a model name that one option is better lit or more suitable. The product page identifies a candidate; confirmed drawings and specifications should guide your fit decision.
Project scope and ordering details
Price the whole project, even if the garden house and lighting come from different suppliers. Ask for an itemized estimate that distinguishes the building, fixtures, lamps, controls, professional electrical work, and any other services you have chosen. Do not assume an item is included because it appears in a product photo or is needed for your plan. Confirm what is supplied, what must be sourced separately, and which published delivery or assembly terms apply to the specific order. A universal budget figure would be misleading because the room, fixture choices, and professional work vary. Use estimates that reflect your site and configuration.
Before paying, compare the model and configuration on the quote with the product information, confirm what drawings are available, and discuss delivery access and the timing of the electrician’s review. The Veltor 3 garden house page can be one entry in your comparison, but confirm current details and order terms directly rather than assuming something is included. Keep the lighting brief with the final building information and make sure both refer to the same configuration. Clarifying scope early reduces the chance of discovering that a control, fixture, or professional service you expected was not part of the order.
Testing the completed lighting plan
Once the garden house and lighting are ready, evaluate the setup under the conditions in which you expect to use it. Turn on the ambient layer alone, the task light alone, and then both. From your normal positions, check the work surface, storage corners, entrance route, shadows, and reflections. If an area seems dim, identify whether coverage is blocked, a beam is poorly directed, or the fixture is not suited to the task before adding another light. If the result feels harsh, look at its direction and reflections. Route any change to permanent wiring or equipment through the qualified professional responsible for the installation.
A short trial can reveal habits a drawing cannot predict: you may work at a different part of the bench, store tools elsewhere, or prefer a lower general level for one task. Note those changes before buying more equipment, and check that new lamps or controls are compatible with the installed system. Keep manufacturers’ instructions and product information for future replacements or service. Daylight varies with time and season, but evening lighting should work independently. The plan is successful when both layers support the way you actually use the garden house, without adding fixtures to compensate for an avoidable layout problem.
Frequently asked questions
What is the difference between task lighting and ambient lighting in a garden house?
Task lighting focuses on a particular work surface or activity, such as sorting supplies or repairing a tool. Ambient lighting provides general visibility across the room. A useful plan may use both at once, so a focused light does not have to illuminate the entire space.
Where should task lighting go?
Place it to illuminate the area where you work, taking account of your position, nearby shelves, and the direction of shadows. Check that the fixture will not shine directly into your eyes. Use the actual layout and the fixture’s published information to assess placement.
How bright should a garden house light be?
There is no single brightness level that suits every room and activity. Compare the fixture’s stated light output and distribution with the task, work surface, and room layout. Consider how the light looks in use rather than choosing by a product photo or wattage alone.
Can daylight replace ambient lighting?
Daylight can reduce the need for electric light during some hours, but it changes throughout the day and is unavailable after dark. Plan ambient lighting for the times you use the garden house without daylight, and account for window position and possible reflections.
When should I talk to an electrician?
Consult a qualified electrician when planning permanent fixtures, switches, controls, or a power supply. Share your activity map and the fixture information before work begins. The electrician can review compatibility, site conditions, and the applicable local requirements.
A balanced garden house lighting plan matches focused light to real work areas and uses ambient light to make the rest of the room easy to navigate. The activity map, daylight observations, and furniture layout give you a practical way to compare building configurations and fixture options. Confirm the details that matter to your plan, and have a qualified electrician review permanent electrical work. That keeps the final setup focused on how you use the space instead of relying on a fixture count or a product image.
