
How to Measure a Garden House Site Accurately
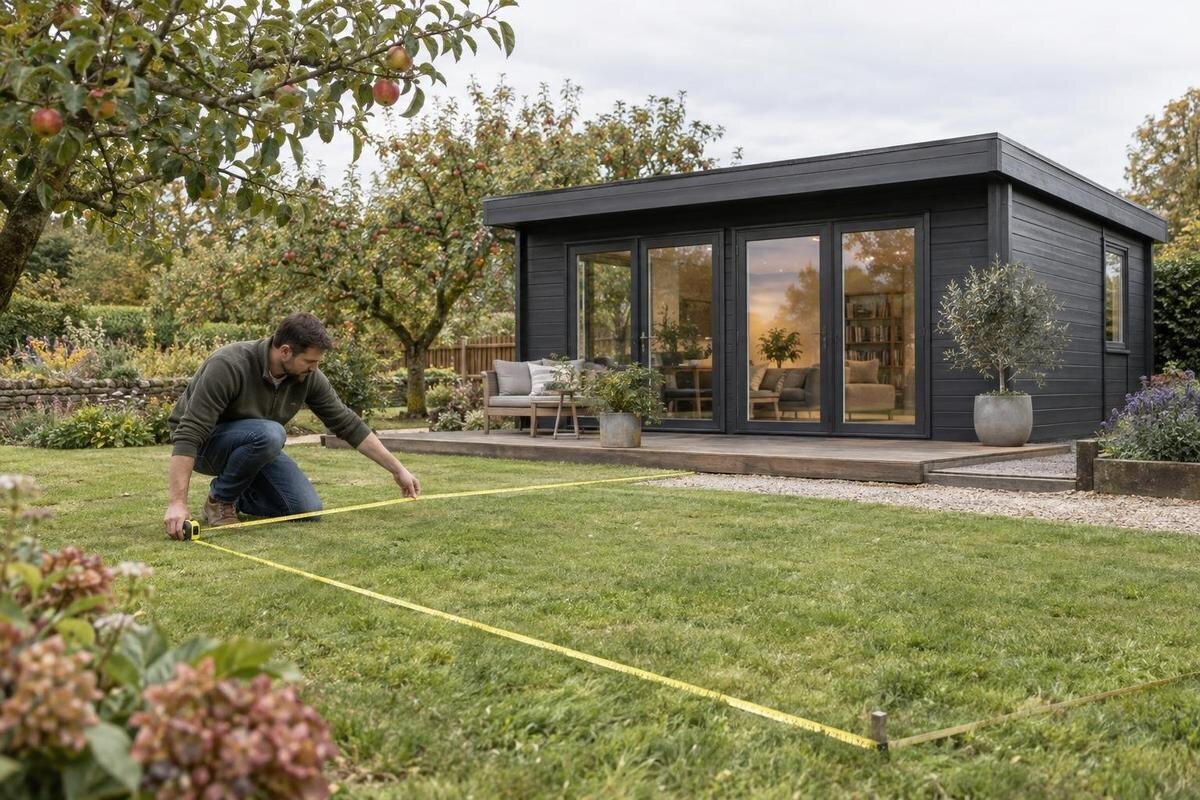
Garden house site planning
Measuring a garden house site accurately means more than checking whether a rectangle of lawn looks large enough. You need to map the candidate area, compare it with the structure's confirmed outside dimensions, and account for boundaries, access, openings, maintenance space, and ground conditions. A missed gate bottleneck or an overlooked projection can change whether a location works. The process below separates what you can measure on site from details that must come from product information or a qualified local professional, so the final plan is useful before you choose and order a garden house.
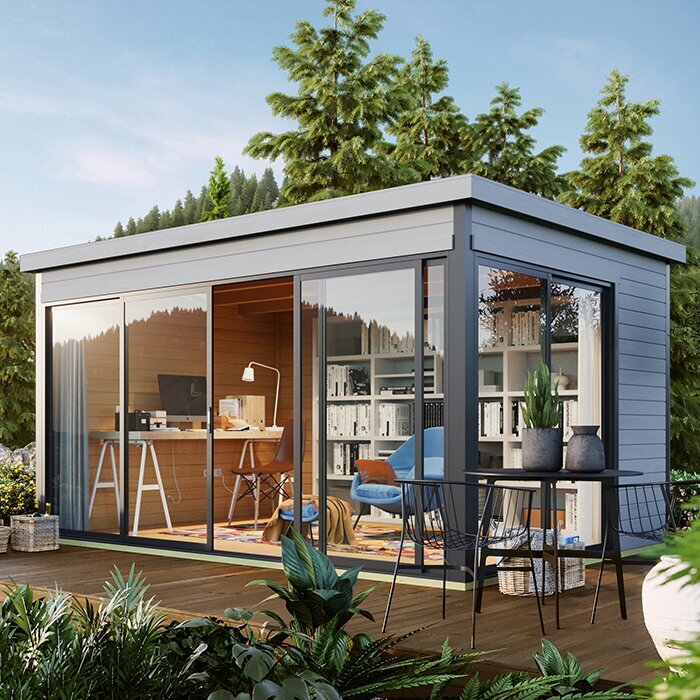
Before you choose a site 1
Define the area you need to measure
Begin by identifying how the garden house will be used and which side should face the normal approach. A place for bulky stored items may need an uncomplicated carrying route; a room for hobbies or sitting may put privacy, daylight, or a view higher on the list. These preferences do not determine a model or its dimensions, but they help you compare locations consistently. Mark two or three plausible spots if you have them. A single location chosen before you check access and clearances can make later measurements feel like obstacles instead of information for choosing well.
For each candidate location, distinguish the exterior footprint from any base area required by installation instructions, the space where doors or other openings operate, and a walking or maintenance zone. These outlines may overlap, but they are not interchangeable: a building can fit while its entrance or service access does not. On your initial sketch, mark fixed features such as trees, walls, steps, drains, and utility access points. Note movable items separately. Record whether each feature is measured, estimated, or uncertain so a hedge or freestanding item is not silently treated as a permanent limit. Add landmarks that will help you find the same position later, such as a building corner or path edge. Measure from stable points rather than from a pile of lumber, patio furniture, or vegetation that may be moved, pruned, or removed before the project begins.
Use a consistent measuring method
A long tape measure, stakes or removable marking flags, string, graph paper, a pencil, and a helper cover most straightforward site surveys. Choose a tape long enough for the spans you need to measure, and have someone hold the far end rather than bending the tape around a tree or building. A laser distance meter can help when there is a clear line of sight, but compare important readings with a second method. A phone photo or map can provide context; it cannot reliably confirm a narrow gap or an exact corner position.
Choose one unit system and keep it throughout your notes, such as feet and inches. Label every measurement with its start and end points, and write it down immediately instead of relying on memory or rounding for a sketch. Mark readings as measured, estimated, or still to be confirmed. Repeat important spans, especially narrow clearances, from another direction or with another measuring method. If two readings disagree, investigate the endpoints or obstacles before deciding which one to use; do not average conflicting measurements without understanding why they differ. Keep a small measurement log with the date, weather conditions if visibility is affected, and the person who took the reading. This makes it easier to retrace a number later and prevents a revised sketch from being confused with an earlier estimate.
Before you choose a site 2
Draw a base map of the candidate area
Start with an origin you can find again, such as a building corner, and draw a straight reference line from it. A fence can be a convenient reference edge, but it is not necessarily a property boundary. Measure the position of candidate corners and fixed obstacles from your reference, using right-angle offsets where possible. For an irregular feature, locate it with distances from two known points and mark those points on the sketch. A top-down drawing with labeled endpoints is more useful than a loose list of numbers because you can see which feature each reading describes. Where an edge is not straight, record several points along it rather than drawing a simplified line that could hide a narrowing or bulge. Use a clear symbol or note for each point so another person can understand the drawing without revisiting the site.
Draw the map to a scale that fits the page and label the scale and units. Include enough of the surrounding area to show gates, paths, nearby structures, trees, and possible approaches; a close-up of the proposed footprint alone can hide a route problem. Keep product data separate from site measurements. On a candidate list, garden house Verdana 1 can serve as an identifying row label, but add its dimensions to the plan only after confirming them in the applicable product information. Do not use a product photo as a scale reference.
Measure the garden house's exterior footprint
Before plotting a model, find out what its published dimensions describe. A size label might refer to an interior area, exterior walls, or another reference point, so do not assume that every width and depth means the same thing. Look for a dimension drawing or installation information for the exact item. For placement, you need to understand the building's outside extent and whether any projections shown in the documentation extend beyond the walls. If the information is unclear, ask the retailer or manufacturer rather than estimating from an image or model name.
Record the confirmed width and depth in the same units as your site plan, along with the source of those measurements. Keep the building outline distinct from a base or foundation layout if the installation information treats them separately; do not assume one is a substitute for the other. A row for garden house Verdana 2 identifies an option to compare, not a measurement. Plot only dimensions confirmed for that specific candidate, and update the drawing if later information changes the outside footprint. If dimensions are supplied in a different unit system, convert them carefully once and retain the original figures beside the conversion. Avoid mixing a rounded conversion with an exact site measurement, since a small rounding difference can matter where the available space is tight.
Before you choose a site 3
Map property lines separately from fences
Show the boundary information you can reliably identify, and label its source. A fence, hedge, retaining wall, curb, or line of old posts may not follow the property line, so do not use a visible feature as proof of where the boundary lies. If you have a survey or other reliable property information, use it to understand the shape and direction of the line on your sketch. If the location is uncertain, mark it as unresolved instead of measuring from an assumed line.
For a proposed placement, measure the distance from the planned exterior edge to the known boundary at more than one point, especially if the line is angled or the site is irregular. This shows whether the gap changes across the footprint; one measurement from the nearest corner may not describe the whole relationship. When laying out a candidate labeled Durano wooden garden house, overlay its confirmed outside footprint on the boundary map. The model label itself provides no boundary clearance or placement measurement. Keep local approval and setback questions separate, and check them with the appropriate local office before finalizing a location.
Measure the route to the site
Trace the full route from the likely delivery or unloading point to the proposed location. Measure the narrowest clear width at each gate and passage, including the opening with the gate fully open and any space lost to hinges, handles, or posts. Note tight turns, steps, changes in level, low branches, and overhead obstructions. A route that looks wide in a photograph may still have a pinch point or turn that matters. Record each section separately so you can identify exactly where access may need further checking. Also note the surface underfoot, temporary obstacles, and whether a vehicle can reasonably approach the unloading point. These observations do not replace supplier requirements, but they help you explain the route accurately when asking what details must be confirmed.
Check product-specific delivery and assembly requirements rather than assuming how a garden house will arrive or be moved. A product label such as Veltor 1 identifies the option on your plan, but it does not establish package dimensions or route requirements. Ask the seller what access details to verify, then compare those details with the gate, turns, and path you measured. Also map the route you will use after installation. The everyday path to the entrance is separate from the delivery route, and it should remain usable without being mistaken for part of the building footprint.
Before you choose a site 4
Include door movement and working clearance
An exterior footprint does not show how much room an entrance needs. Check the exact product information to identify how its openings operate, then mark the space that movement requires. For a hinged door, that includes its swing; other opening types need the space described in their documentation. Do not infer the opening arrangement from a product name or an illustrative image. If the drawing does not make the operating area clear, ask before planning around a tight fence, wall, or path.
Allow for the access you will want around the outside for ordinary use and upkeep, and consider nearby plants, walls, and other features that could restrict it. The right amount depends on the product instructions, the site's layout, and local requirements; there is no universal clearance to apply without checking. If your comparison list includes Orello 1, use confirmed layout information to identify its openings and any related operating space rather than guessing from its name, URL, or image. Draw each required area as its own outline so it remains visible during comparison.
Record slope and base requirements
Note changes in ground level across the proposed footprint, not just at one corner. Mark slopes, low spots, areas where water tends to collect, nearby drains, roots, and retaining features on the site plan. A tape laid along sloping ground measures a longer distance than the horizontal span shown on a top-down drawing, so distinguish the two in your notes. If the ground makes a reliable level measurement difficult, record the issue and seek help rather than converting by guesswork. A simple site map can identify a concern without trying to engineer a solution.
Find the installation information for the specific garden house and check what it says about the required base area and site preparation. Do not assume that the base has the same dimensions as the exterior footprint, or choose a base size by adding an arbitrary margin. For a row labeled Modano 1, use only confirmed product and installation information when mapping that area. If the ground, drainage, or proposed support needs professional assessment, ask a qualified local installer or contractor; the site measurements are useful planning information, not a foundation design.
Before you choose a site 5
Mark the layout at full scale
Transfer the confirmed outside dimensions to the actual location with stakes and string, removable flags, or another method suitable for the surface. Mark the building corners and edges, then add separate outlines for the base, entrance operation, walking access, and maintenance space. Measure each side from the same points used on the drawing. For a rectangular outline, comparing the two diagonals can help reveal a skew or a measurement mistake. If the site or footprint is not rectangular, reproduce its actual shape instead of forcing it into a four-sided box.
Walk the proposed approach and stand where the entrance would be to judge how the layout works from the ground, not just on paper. Check whether gates can open, paths remain clear, and nearby fixed features leave the access you planned. Take photos from several angles and note the date so you can compare alternative positions. If you test a second candidate, draw its outline separately. A markout for Veltor 2 should use that option's confirmed measurements, not a footprint copied from another model or estimated from an image. Recheck the strings or stakes after stepping away and returning from the normal approach; a layout that is technically within the measured area may still create an awkward route or block a useful part of the yard. Record those practical observations on the plan before removing the markers.
Compare layouts before ordering
Put each possible location on the same base map so the comparison uses consistent reference points. For each layout, record the confirmed exterior footprint, measured boundary distances, route constraints, opening and maintenance areas, and any ground or base questions that remain. This makes trade-offs visible: one position may offer a simpler route while another has fewer obstructions. Keep unknowns in the comparison instead of quietly treating them as acceptable. A clear list of open questions helps you decide whether to measure again, request product information, or seek local professional advice.
Before ordering, check that the dimensions belong to the exact candidate you intend to buy and that the figures correspond to the footprint you plotted. Confirm any unclear base, opening, or delivery details from current product or installation information. A final row for Veltor 3 should identify the source and date of each confirmed dimension, as well as the planned orientation and access notes. Save the drawing, measurements, and ground photos together. If a key measurement or boundary remains uncertain, resolve it before treating the layout as final.
Frequently asked questions
How much clearance should I leave around a garden house?
There is no single clearance that fits every site. Use the installation information for the specific garden house, account for how its entrances operate, and reserve the access you need for upkeep. Check local placement requirements separately, and mark the areas on your plan rather than relying on a general rule of thumb.
Should I measure the inside or outside dimensions for site planning?
Use confirmed exterior dimensions to see whether the building fits the site. Interior measurements answer a different question about usable room. Also check whether the exterior figures include projections such as a roof edge, and compare the building footprint with any separately specified base area.
How do I measure a site that is not square?
Do not force an irregular area into a rectangle. Choose a fixed reference point, then locate corners and obstacles using measured offsets or distances from two known points. Record each point on a scaled sketch, and verify important spans on site before transferring a candidate footprint.
Can I use a fence as the property line?
Not without confirming that it marks the boundary. A fence, hedge, or wall is a visible feature, not proof of the legal line. Consult reliable property records or a qualified surveyor if the boundary is unclear, and ask the local building department about current placement requirements.
Is a phone app accurate enough to measure the site?
A phone app or online map can help you compare broad areas, but do not use it as the sole confirmation for a final layout. Measure critical distances on site with a tape or suitable distance meter, then compare them with confirmed product dimensions and installation information.
An accurate site measurement is more than a single width written on a note. It is a layout that connects the land, confirmed garden house dimensions, access, and the space needed to use the building. When the outline fits on the ground and uncertain boundary, base, or delivery details are clearly marked, you can compare options using the same evidence and choose a location with fewer surprises.
