
How to Measure for Sliding, Patio and Bifold Doors

Door measurement guide
A patio-door measurement can look simple until the proposed operation is drawn on the room. A slider may preserve floor space but place the opening on the wrong side. A hinged door may fit the wall yet collide with a dining chair. A bifold may span the opening but stack where people need to walk. Begin by defining how the door should connect the room and outdoor area, then document the opening from consistent reference points. The useful record includes more than width and height: wall depth, floor levels, panel clearances, surrounding finishes, and photographs from both sides all affect the discussion. This guide shows how to collect reliable preliminary measurements for sliding, hinged patio, and bifold doors without mistaking a homeowner survey for final order sizing.
Buyer’s order check 1
Choose the operation before measuring the rectangle
First sketch how people move between the room and patio. Mark the main walking route, furniture, kitchen work areas, steps, railings, planters, and any door or screen already sharing the space. A sliding panel stays within its frame and avoids a swing arc. A hinged patio door needs clear space on the side toward which it opens. A bifold gathers several panels into a stack that occupies space near one or both jambs. These differences can change which dimensions and clearances matter most. A large wall opening is not automatically useful if the selected operation places panels in the everyday path.
Decide what the door must accomplish when partly and fully open. One household may need a convenient single-person passage most days and a broader opening only for gatherings. Another may prioritize an uninterrupted furniture layout over maximum open width. Stand inside facing out and mark the preferred entry point on the sketch. Then note whether moving panels should slide, swing inward, swing outward, or fold toward a particular side. Use complete descriptions rather than relying on “left-hand” or “right-hand,” which can be misunderstood when the viewing side is not stated. This operating brief gives meaning to the measurements that follow.
Name the surfaces you are measuring
An existing doorway presents several possible rectangles: glass-to-glass, inside frame, outside frame, casing-to-casing, or the structural opening concealed by finishes. These figures are not interchangeable. Label each reading by its exact start and end surfaces, such as “inside face of left jamb to inside face of right jamb.” If trim remains in place, do not describe an estimated hidden dimension as a confirmed rough opening. Record the visible frame size and the trim-to-trim size separately. That distinction allows a supplier or installer to understand what was accessible during the preliminary visit and what still needs investigation.
Use a rigid steel tape, notebook, pencil, straightedge, and level. A laser can provide a useful comparison, but reflective glass, deep recesses, or an unclear target can make its result difficult to interpret. For wide openings, one person can hold the tape while another keeps it level and reads the mark. Record feet, inches, and fractions consistently instead of switching between decimal inches and rounded dimensions. A notation such as 7 feet 11 7/8 inches is more useful than “about 8 feet.” Give every sheet a room name, opening identifier, date, and stated viewing side so photographs and measurements cannot be mixed between similar doors.
Buyer’s order check 2
Take three widths and preserve the differences
Measure horizontally at the top, middle, and bottom of the opening from the same pair of reference surfaces. Write down all three figures in their measured positions. Do not average them or round the narrowest reading upward. Variation may come from out-of-plumb jambs, layered finishes, a bowed existing frame, or an opening that is not square. The purpose of the homeowner record is to reveal that variation, not explain it away. Add arrows to a simple elevation sketch and photograph the tape at each location when practical. If hardware or damaged trim blocks a reliable reading, identify the obstruction instead of estimating through it.
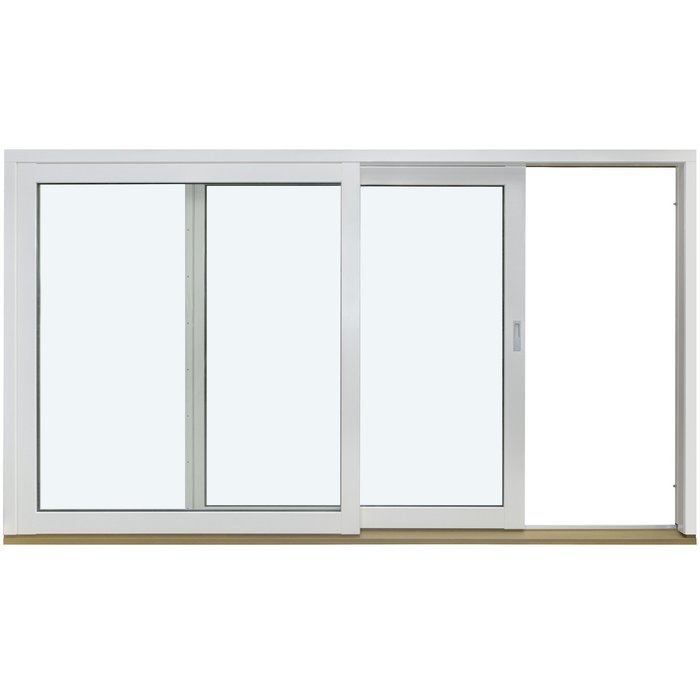
For an early sliding-door comparison, width helps establish which layouts are worth drawing, but it does not by itself reveal the clear walk-through space. The overall frame, fixed portions, moving panels, and their overlap all influence the usable passage. A Patio Life sliding patio door is one sliding configuration to compare when avoiding a projecting door leaf is important. Ask for both an overall unit drawing and a drawing showing the door open. Confirm which dimension describes the complete unit and which describes the clear passage. Do not assume panel count, operating direction, or glass area from a product photograph or a nominal width.
Measure height from a consistent lower plane
Take height readings at the left, center, and right. Use the same bottom reference plane and the same upper surface for every reading. In an exposed rough opening, that may be the structural sill to the underside of the header. With an existing frame still installed, it may only be possible to measure between visible frame surfaces. State which situation applies. Record each height and highlight the smallest without averaging. Photograph the head from inside and outside, including nearby soffits, beams, casing, siding, or ceiling details that could affect access and finishing even though they do not appear in the central measurement.
The lower reference point deserves special care when flooring will change. Record whether the measurement begins at subfloor, finished flooring, an existing threshold, or another visible surface. Note planned tile, wood, or other floor work without trying to deduct an assumed thickness from the door size. Outside, show the relationship between the threshold and the deck, patio, step, or grade. A sliding-door configuration may keep panel movement inside the frame, but its lower connection still has to be coordinated with interior and exterior surfaces. Let the project professional determine final elevations and installation details after reviewing the actual construction.
Buyer’s order check 3
Document wall depth and surrounding finishes
Measure the accessible wall or jamb depth at the top and both sides, from the identified interior finish face to the identified exterior finish face. Record stepped conditions rather than reducing them to one number. Interior extension jambs, drywall returns, casing, exterior trim, siding, stucco, or masonry may hide different parts of the opening. A profile photograph with a ruler or tape in view can explain the build-up more clearly than a front-facing image. Note where the existing frame sits within the wall: near the interior, near the exterior, or approximately centered. This information helps frame the finishing conversation without dictating an installation method.
Survey the wall beside the opening as well. Record distances to inside corners, windows, cabinets, switches, outlets, baseboards, heating equipment, built-ins, downspouts, exterior lights, and trim projections. These conditions can affect access, visual balance, and the practical location of moving panels. When comparing Siegenia sliding doors, treat the product category as the start of a layout discussion rather than proof that a particular panel arrangement fits. Give the supplier a dimensioned elevation of both side walls and request an operating drawing for the proposed configuration. Structural changes, weatherproofing design, and project compliance should be evaluated for the specific site by the appropriate qualified professional.
Map the sill, threshold, and approach
Draw a side profile through the bottom of the opening. Mark the interior finished floor, existing threshold, exterior landing, and any immediate step. Measure their relative positions from one clearly named reference point rather than describing the threshold as merely high or low. Use a level or straightedge to observe whether the nearby floor or patio appears to slope, and record what you see without diagnosing the cause. Photograph the complete approach from several feet away, then take closer images of the center and both threshold ends. Include deck boards, paving joints, drains, mats, and screen tracks that may otherwise disappear from the survey.
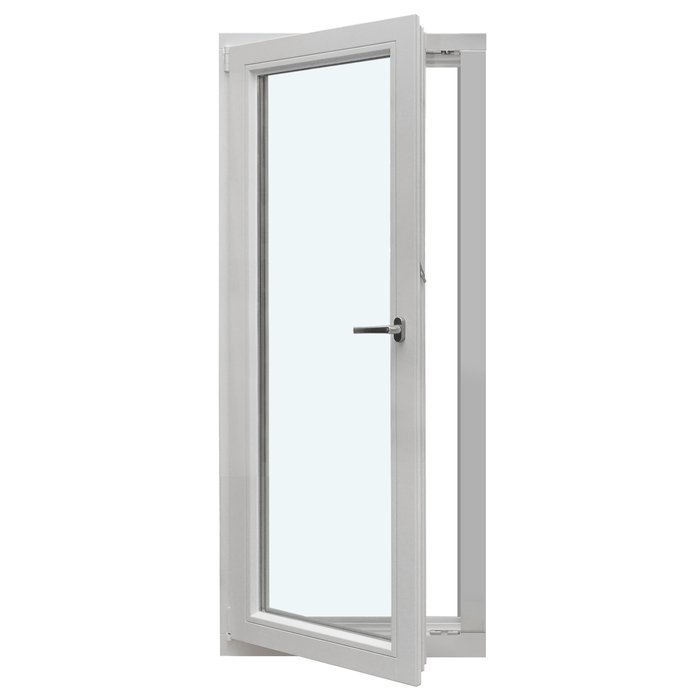
Also test the route people actually take through the door. Carry an empty box or place painter’s tape on the floor to represent the desired passage, then look for conflicts with furniture and changes in level. A single-panel inswing patio door is an alternative when one operable leaf meets the access need and the room can accommodate an inward arc. Measure clear interior space from the proposed door plane toward the nearest obstruction, but request the actual operating drawing before treating that clearance as sufficient. Handles, trim, window coverings, and furniture above floor level can matter even when a taped floor arc appears clear.
Buyer’s order check 4
Describe hinged-door swing without ambiguous handing
For a hinged patio door, begin every direction statement with the viewpoint: “viewed from inside” or “viewed from outside.” Then identify the hinge side, the direction of swing, and the usual path through the opening. Draw the leaf at closed, partly open, and fully open positions. Check the entire arc against rugs, tables, islands, wall returns, railings, planters, and exterior steps. Look above the floor for projecting countertops, light fixtures, blinds, and handles. Seasonal arrangements matter too; a patio that is empty during winter may become crowded with furniture when the door is used most often.
If the room cannot accept an inward leaf, a single-panel outswing patio door is an alternative to discuss, provided the exterior layout can accommodate its movement. Measure and photograph the patio-side swing zone, including the landing, nearby walls, roof posts, furniture, and walking route. Do not assume that “outswing” resolves every space conflict; it relocates the moving leaf to the exterior side. Ask the supplier to identify the viewing convention used on its drawings and to show hinge position, handle location, swing direction, overall unit size, and open-leaf position together. Compare that drawing with the site sketch before discussing finishes.
Plan where bifold panels will collect
Measure a bifold opening at three widths and three heights just as carefully as any other door, then add the dimensions around both jambs. The open panels may collect at one end or divide between two ends, depending on the proposed configuration. Mark the preferred stack location from the interior viewpoint and repeat it in words. Measure from each jamb to corners, posts, walls, lights, railings, furniture, and landscaping. Photograph those areas with the patio arranged for normal use. The broad open effect of a bifold is only practical when its folded panels do not occupy the desired passage or conflict with the adjoining space.
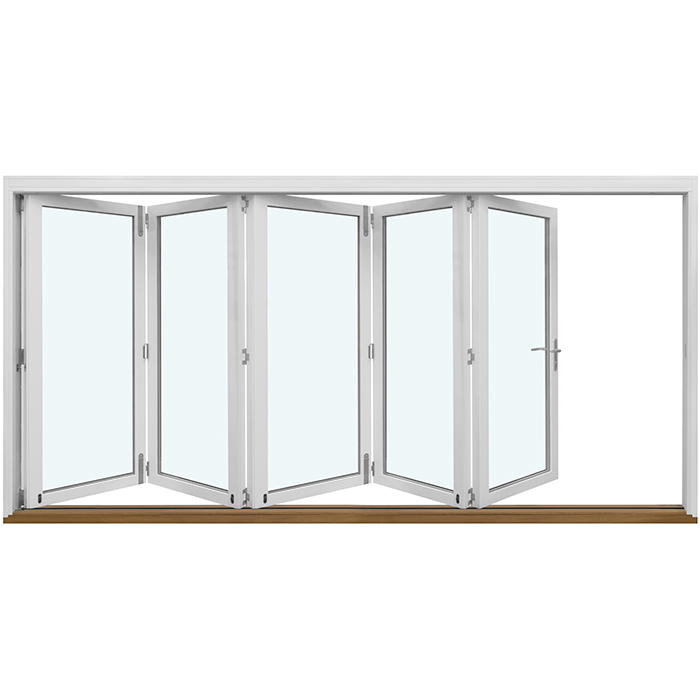
With outswing bifold doors, the movement and folded stack are concentrated on the exterior side. That may preserve indoor floor space, but it makes the patio arrangement and exterior route especially relevant to the measurement package. Sketch the intended walking line when the doors are fully open and when only routine access is needed. Ask which panel acts as the everyday access leaf, where each panel parks, and how the proposed system appears in plan view at several opening positions. Those answers must come from the selected configuration; they should not be inferred from another bifold installation with a different number or arrangement of panels.
Buyer’s order check 5
Check diagonals, level, plumb, and straightness
Measure both diagonals from opposite opening corners and record them separately. A difference indicates that the visible rectangle is not square, but the numbers alone do not establish why. Use a long level where accessible to observe the sill and jambs, and a straightedge to look for bowing. Note gaps, loose trim, cracked finishes, staining, patched areas, or surfaces that prevent the tool from seating reliably. Do not alter a measurement to make the opening appear square on paper. The installer needs the actual readings and their reference surfaces to decide what further exposure, correction, or investigation is appropriate.
Paired hinged doors make differences between the two sides particularly important. two-panel inswing patio doors are an alternative when the interior has sufficient swing space and paired operation suits the intended use. Document each potential leaf area independently rather than assuming a symmetrical room. A cabinet on one side, a floor slope, or a ceiling projection may make one operating arrangement more practical than its mirror image. Provide the three widths, three heights, both diagonals, level observations, and a room plan. Then compare the proposal’s overall and operating drawings with the surveyed conditions before final dimensions are established.
Build an order-check package, not just a list
Organize the survey into a package that another person can follow without visiting the room. Include a front elevation, plan view, threshold profile, measurement table, stated viewing side, desired operation, and labeled photographs from inside and outside. Add one wide image showing the entire wall and outdoor approach, plus close-ups of the head, jambs, sill, and obstructions. Distinguish confirmed measurements from estimates and proposed floor changes from existing conditions. If the old frame remains concealed by trim, say so prominently. A complete package supports a focused comparison, but it remains preliminary until the responsible professional has verified the opening and work scope on site.
For a broader paired opening, two-panel outswing patio doors provide another hinged alternative when the exterior can accept the leaves. Compare that operation with sliders and bifolds using the same questions: overall unit size, clear passage, moving-panel path, stack or swing space, threshold relationship, finish interfaces, and everyday access. Ask the seller to return an annotated drawing rather than only repeating a nominal size. Before order confirmation, reconcile every drawing dimension with the installer’s final site record. Bloomcabin windows and doors have a 5-year warranty. Delivery is typically 4–6 weeks, subject to order confirmation, so resolve dimensional and operating questions before the order is finalized.
Frequently asked questions
Should I measure the existing door or the opening behind it?
Measure both when they are accessible and label each one precisely. The existing frame identifies what is installed now, while exposed construction may better describe the available opening. If trim conceals the edges, record only what is visible and have the responsible professional verify the final opening before ordering.
Which dimension should I use when the readings differ?
Keep every reading and highlight the smallest width and smallest height. Do not average the figures or round a narrow point upward. Add both diagonals, photographs, and notes about blocked or uneven surfaces. The installer should determine final sizing after reviewing the variation and intended installation scope.
How should I describe patio-door handing?
State the viewing side first, then the hinge side and swing direction in plain language. For a slider, identify which panel moves and where the open passage should be when viewed from inside. Include a marked plan-view sketch because terminology alone can be interpreted differently by different parties.
What extra measurements does a bifold need?
In addition to three widths, three heights, and diagonals, measure clear space beside both jambs and document the interior and exterior panel zones. Mark where the folded stack should collect and where people should walk. Request a plan-view operating drawing for the exact proposed panel arrangement.
When is a preliminary measurement not enough?
Professional verification is needed before ordering and should occur earlier when the opening is being enlarged, finishes conceal important surfaces, damage is visible, or floors, masonry, cladding, decks, or structural elements are changing. The qualified project professional can establish final dimensions and address applicable site-specific requirements.
What to do next
A dependable door survey describes both the opening and the operation. Record three widths, three heights, both diagonals, wall depth, threshold levels, adjacent clearances, and the exact surfaces used. Pair those figures with plan and elevation sketches showing where panels slide, swing, or stack. Photographs should connect close measurements to the wider room and exterior approach. Use the package to compare clear passage, panel movement, finishing conditions, and everyday circulation—not just nominal size. Keep estimates visibly separate from confirmed readings, request operating drawings for the proposed configuration, and have the responsible installer or qualified professional verify final order dimensions at the site.
