
How to Measure Windows for Replacement
Replacement Window Planning
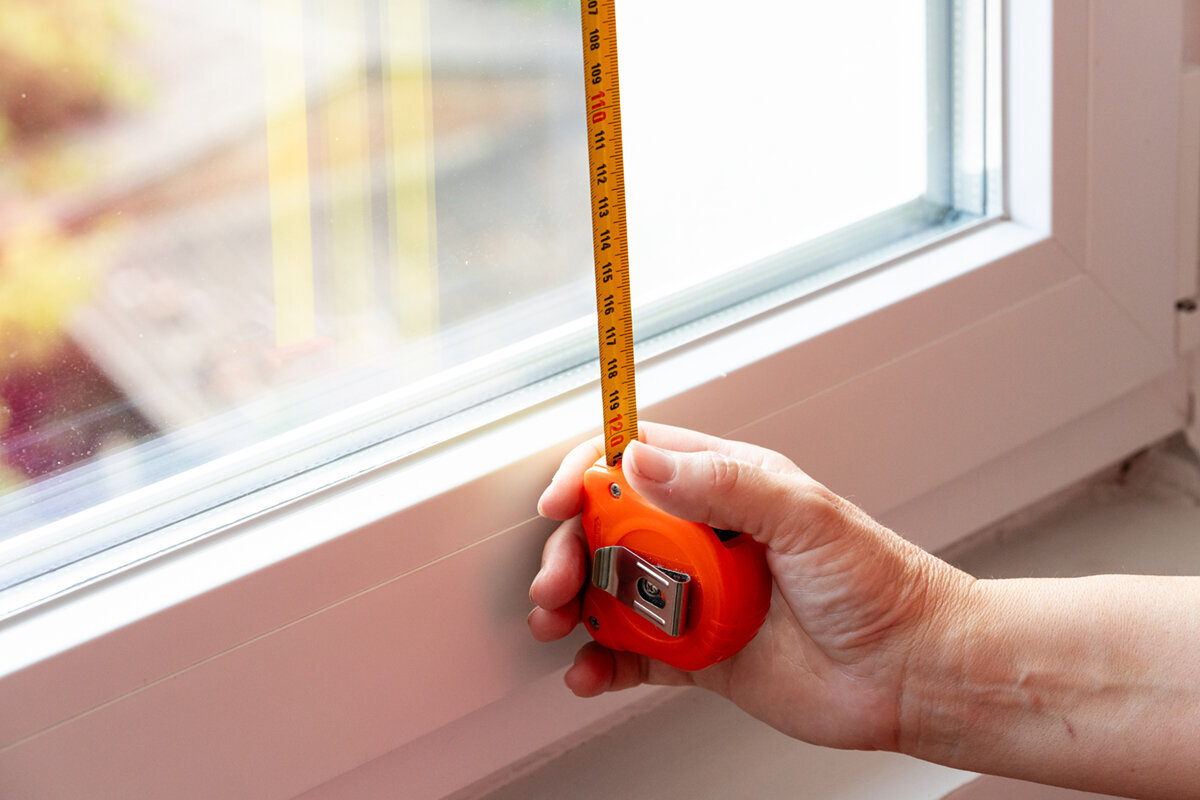
Replacement-window measuring begins with a scope decision: are you fitting a new unit within an existing frame, removing the entire frame, or changing the opening or operating style? Those projects use different reference surfaces, so one tape reading cannot answer every ordering question. Start by documenting how each window opens, what will remain, and which interior or exterior features could restrict a new sash. Then measure the opening systematically, record variations, and photograph the surrounding condition. Your notes should help a supplier or installer understand the opening without mistaking a homeowner measurement for final production approval. Work in inches, label every opening separately, and keep the original readings rather than rounding them into a convenient nominal size. Final order dimensions should be verified against the selected product and installation approach.
Define the replacement scope first
Write a one-line scope for each opening: retain the existing frame, remove the complete unit and frame, or investigate a changed wall opening. A frame-in-frame replacement concerns the usable space inside components that remain. Full removal requires information about the wider opening and surrounding construction, some of which may stay concealed until work begins. Do not substitute visible glass dimensions, outside casing dimensions, a catalog’s nominal size or an old invoice for current field measurements. If the plan includes enlarging the opening, changing a window to a door or altering structural framing, use your survey as preparation for assessment by an appropriately qualified project professional.
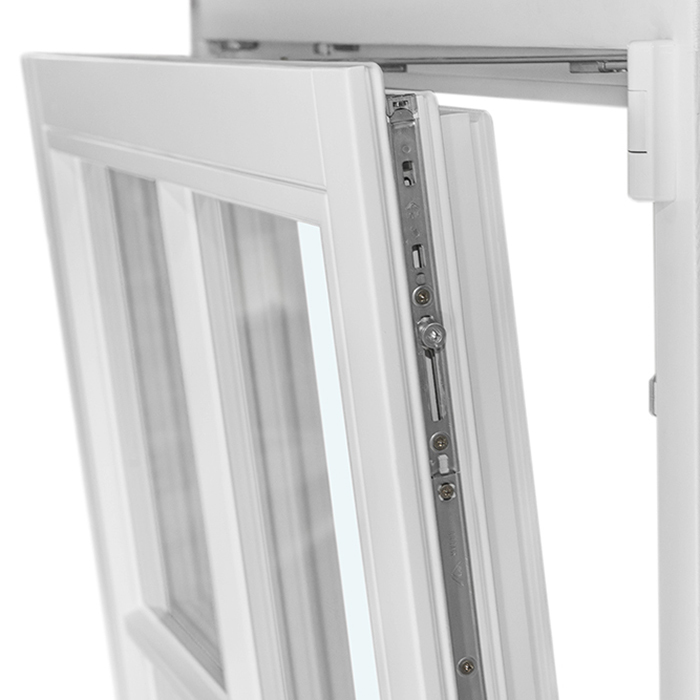
Record the present and desired operation before comparing products. Note whether the sash opens inward, outward, pivots, slides or remains fixed, and explain what works or causes difficulty. A single-sash inward-opening window, for example, needs usable indoor swing space; a faucet, countertop, blind, furniture or nearby door may interfere even when the wall opening is large enough. An outward-opening alternative shifts the clearance check outdoors. Measure the opening independently of the product choice, then use your operation notes to eliminate unsuitable configurations. This prevents an attractive style from advancing too far before anyone checks how it will function in the actual room.
Create an unmistakable record for every opening
Give each opening a permanent identifier such as Kitchen North 1 or Upstairs Hall East. On a separate sheet or digital sketch, record the room, date, measurer and width-by-height convention. Draw a simple elevation and place each dimension where it was taken. Use inches and one consistent precision, such as the nearest 1/16 inch when the tape can be read confidently. Never leave two numbers unlabeled, and do not round a tight measurement upward. Similar-looking windows can differ slightly, so avoid copying dimensions from one opening to another. Measure and identify every unit, even when several appear identical from across the room.
Take a straight-on interior photo, an exterior overview and close views of the head, jambs, sill, trim and hardware. Include stains, cracks, loose finishes or other visible concerns without attempting to diagnose them. Photograph nearby items that could affect access or operation, such as a radiator, railing, downspout or exterior light. When several openings look alike, place a removable identifier in the scene. A photo record can distinguish a proposed two-sash inward-opening window from another two-part arrangement and keep a correct measurement from being assigned to the wrong location. Written dimensions remain primary; a blurry photograph of a tape is not a dependable substitute.
Measure width at three levels
For a replacement fitting within an existing frame, measure between the left and right surfaces that actually limit the proposed unit. Take horizontal readings near the top, through the middle and near the bottom. Keep the tape straight and level, and write down all three figures. Circle the smallest reading, but retain the others because their pattern shows whether the opening tapers or the frame bows. State exactly which surfaces you used, such as exposed jamb faces. A later reviewer should be able to reproduce the measurement. If results differ unexpectedly, repeat the check with a second person holding the far end of the tape.
Do not measure automatically from decorative casing or outside trim. Those elements can be irregular and may not define the installation space behind them. Open the sash when that safely exposes a better reference surface, but do not dismantle stops, coverings or trim simply to obtain a number. If access is blocked, describe and photograph the limitation. A single-sash outward-opening casement window is an option to consider only after both the fit space and outdoor clearance are understood; its product name does not show that it shares dimensions with the old window. Give the supplier all three width readings rather than an averaged or selectively favorable value.
Measure height from a consistent bottom surface
Take vertical measurements at the left, center and right, using the same type of bottom and top reference at each position. Record all three and mark the smallest usable reading. Distinguish the actual bearing or limiting surface from an interior stool, loose insert, raised covering or decorative trim. If the sill slopes, show that in a side-view sketch instead of mentally compensating for it. Hold the tape plumb; a tape leaning toward or away from you produces a longer result. Where safe access is unavailable, record the limitation and arrange a suitable follow-up rather than estimating an upper or exterior dimension.
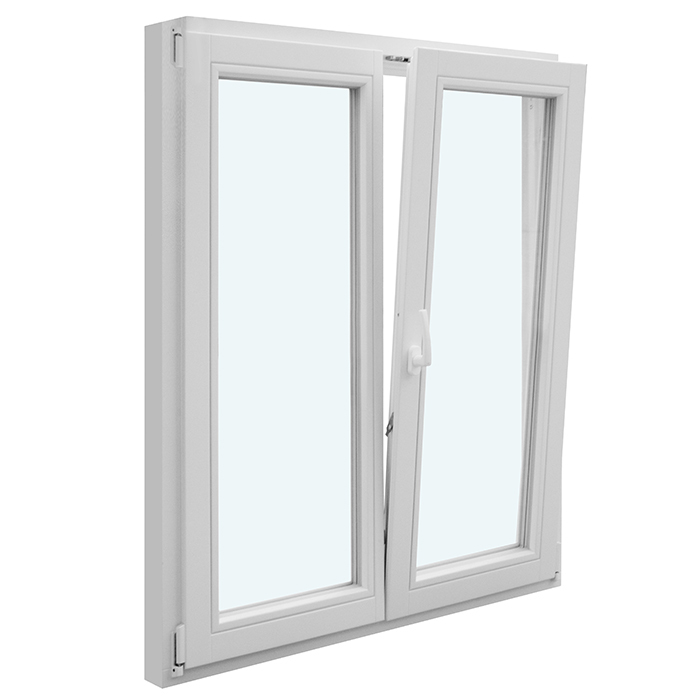
Visible glass height is not opening height because the sash, frame, sill and head occupy space. Note any finish that overlaps the frame and whether it is expected to remain. For a grouped or two-sash layout, record the overall opening first, then describe the visual division. If you are comparing a two-sash outward-opening casement window, show the desired meeting point and sash arrangement without treating each visible sash as a separate rough opening. Where a stairwell, bay or angled wall complicates the view, add a side photo or plan sketch. Clear reference points matter more than turning an uncertain observation into a precise-looking number.
Document depth and surrounding construction
Measure depth between clearly named interior and exterior reference planes at an accessible jamb. Also record anything that reduces usable depth or complicates finishing, including tile returns, deep stools, interior shutters, storm panels, screens or layered trim. A straightedge held across the finished wall can help show whether the existing frame is proud, flush or recessed. Photograph this relationship from the side. Do not assume the visible interior and exterior frame edges align, since later finishes may cover earlier construction. Depth does not replace width and height, but it helps a supplier understand whether the proposed assembly and finish approach deserve closer review.
Inspect the perimeter for soft material, loose trim, cracked sealant, corrosion, staining or visibly bowed frame components. Record where each condition appears rather than assigning a cause from appearance alone. Note the adjacent siding, masonry or other finish and whether removing the old frame could disturb it. For a fixed window, state whether the existing unit was designed not to open or is merely painted, blocked or damaged shut. Choosing another fixed configuration may suit the intended view, but it does not resolve ventilation, cleaning or access needs. Keep condition observations separate from product preferences so neither is overlooked during proposal review.
Check square, level and plumb
Measure diagonally from upper left to lower right and from upper right to lower left, using matching endpoints. Similar diagonal readings suggest a squarer opening; a difference documents irregularity but does not prescribe a repair. Use a level or reliable straightedge to check the sill and head, then check both jambs for plumb. Write plain observations such as left jamb leans inward or sill falls toward exterior. These checks help distinguish a routine sizing exercise from a condition needing closer assessment. If a result is surprising, remeasure with another person and confirm that both attempts used exactly the same reference points.
Focus on irregularities that affect the usable opening. A wavy casing edge may be cosmetic, while a jamb narrowing near the top can directly control fit. Never average diagonal readings or choose only the result that favors a larger unit. Do not decide to cut framing or enlarge the opening based solely on this survey. When considering an outward-opening pivot window, add the proposed movement area and surrounding wall planes to the record because operation introduces questions beyond rectangular fit. The installer or other qualified project professional should evaluate correction, support and weather-management details in relation to the actual construction and selected product.
Survey the sill and exterior work area
Photograph the sill from inside and outside, including both ends and its junctions with the wall finish. Note any visible slope, cap, joint or exposed layer, but do not label concealed construction that cannot be verified. Record signs of repeated wetting by exact location and whether they appear indoors, outdoors or on both sides. Also document conditions affecting exterior work, such as a roof below, deck, dense planting, utility equipment or restricted ladder placement. These details do not establish the cause of moisture or the installation solution. They ensure that access and visible conditions remain part of the conversation when attention shifts to product appearance.
For an outward-moving sash, measure from the wall plane to nearby fixed obstacles and note their heights where relevant. Walkways, railings, screens, awnings, gutters, vegetation and exterior fixtures can all affect practical use. An outward-opening top-hinged window should therefore be compared with the space above and in front of the opening, along with cleaning and operating access. Consider normal use rather than the temporarily empty space present on measuring day. Your sheet should document existing conditions; the supplier or installer should confirm how the dimensions and movement of the proposed unit relate to those conditions before the order is released.
Use shape-specific dimensions for unusual openings
Round, arched and angled openings need more than a single width and height. Begin with the overall bounding dimensions, then draw the outline and label each measurable segment. For an arch, identify where the straight sides end and the curve begins. For a circle, take diameters in more than one direction when access permits because the existing opening may not be perfectly round. For an angled shape, record every straight edge, both side heights and the direction of slope. A straight-on photograph with a level reference helps communicate orientation without replacing the measurements. Complex shapes are especially appropriate for professional field verification.
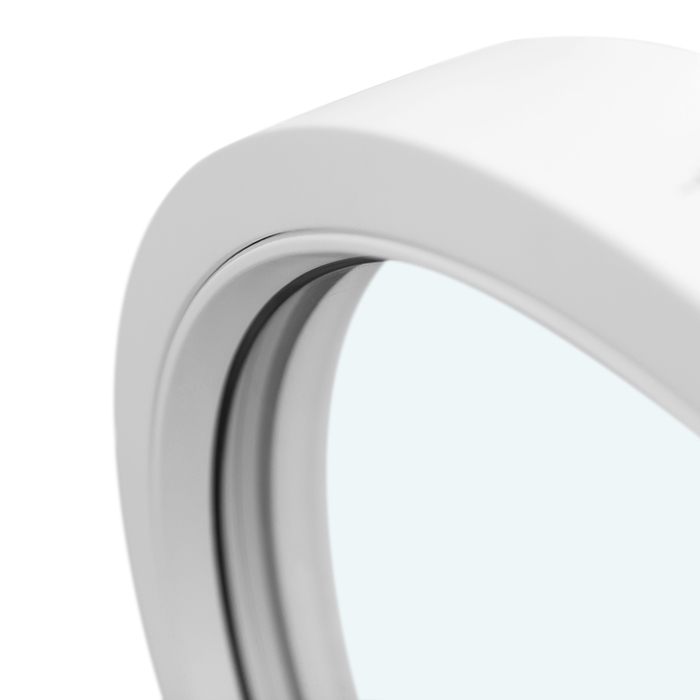
A round fixed window should be discussed from shape-specific field information, not selected because its apparent diameter resembles a nominal listing. For any divided or grouped opening, measure the overall boundary before locating internal joints, mullions or visual segments from one consistent side. Describe whether visible lines appear to be frame members, glass-dividing bars, decorative bars or trim, but avoid claiming a construction method that cannot be seen. State whether the goal is to preserve the existing rhythm, simplify it or explore a new layout. A broader façade photo can show alignment with neighboring windows, while each opening retains its own labeled measurement sheet.
Measure operation and maintenance clearances
Stand where the sash and handle would be used, then list obstacles within that zone. Indoors, check countertops, faucets, cabinets, furniture, radiators, stair rails and deep blinds. Outdoors, record decks, steps, paths, shrubs, shutters and adjacent openings. Measure relevant clearances from a named plane rather than writing only looks tight. Note which way the existing sash moves and whether that behavior is preferred or problematic. A quick room-plan sketch can explain an operation change better than another opening measurement. It also helps a reviewer see conflicts that disappear in a straight-on photograph, such as a nearby door swinging into the same space.
Include cleaning and maintenance access. A high window may be operable from the room yet difficult to reach from outside; a window above a roof or stair landing presents a different access problem from one at ground level. Ask the seller to explain the selected unit’s movement and hardware using your photographs and dimensions rather than relying on a general product illustration. If the opening has specific accessibility, child-safety, ventilation or emergency-use objectives, state those objectives clearly and have the appropriate qualified professional check the proposed configuration against project conditions and locally applicable requirements. Do not infer a universal clearance or required dimension without that project-specific review.
Compare proposals and verify the final order
Send providers the complete record, not just one target width and height. Ask which dimension their proposal uses: existing-frame opening, rough opening, finished opening or another defined reference. Confirm what the installation approach retains and removes, who performs field verification, and when that verification occurs. Review operation, sash count, handing, color, decorative-bar or glass-dividing-bar layout, glazing selection, hardware location and interior and exterior finishing scope. Two quotes can appear to describe the same window while assuming different installation boundaries. Written assumptions make the comparison more useful and expose information that still needs to be collected.
Before authorization, compare the final schedule line by line with the labeled sheets and photographs. Verify room, quantity, operation, opening direction, arrangement and special shape. Do not treat an early homeowner measurement as approval to manufacture. Bloomcabin states a 4–6 week delivery period subject to order confirmation, and its windows and doors have a 5-year warranty; those business terms do not confirm fit or installation scope. Keep the approved drawings, order record, field-verification notes and original measurements together. If a dimension changes, preserve the earlier entry and document why, rather than silently overwriting the history needed to trace the decision.
Common questions
Should I order from the smallest width and height?
The smallest readings identify the tightest measured parts, but they are not automatically the production dimensions. The order size depends on which frame components remain, the installation method and the selected window system. Give the provider every reading and require final field verification against clearly identified reference surfaces before manufacture.
Should replacement windows be measured inside or outside?
Use the side that exposes the relevant surfaces safely, and name those surfaces in your notes. Interior and exterior trim can conceal different parts of the opening, so neither side is universally correct. Photograph both conditions where possible and ask the installer which reference their proposed installation requires.
What should I do when the three width readings differ?
Record all three, circle the smallest and repeat the measurements using the same endpoints. The difference may reflect taper, frame distortion or inconsistent tape placement. Do not average the figures or alter the opening to match an assumed size. Share the widths, diagonal readings and photographs for fit assessment.
Can visible glass be used as the replacement-window size?
No. Visible glass excludes the sash and frame portions that occupy the opening. It can help document the view or appearance you want to retain, but it is not a fitting dimension. Measure the relevant opening surfaces and record visible glass or divided-light preferences separately.
When should I stop and request professional help?
Pause before ordering if you find suspected deterioration, recurring moisture evidence, substantial distortion, unsafe access, a concealed reference surface or a planned wall alteration. Also request project-specific review when operation changes affect special safety or access objectives. Your labeled measurements and photographs remain useful inputs to that assessment.
Before you order
A useful replacement-window survey records evidence rather than manufacturing one convenient size. Define what will remain, measure width and height at three locations, check diagonals and identify every reference surface. Add the information a tape cannot capture: operation, clearance, sill condition, shape, visible damage, finish interfaces and access. Then compare proposals by installation boundary as well as product appearance, and require the final schedule to match the labeled openings. Keep the original notes, photographs and approved order documents together. An irregular or uncertain opening is not a reason to guess; it is a reason to verify the condition before manufacture.
