
Kitchen Sink Windows: Reach, Clearance and Cleaning
Kitchen window planning
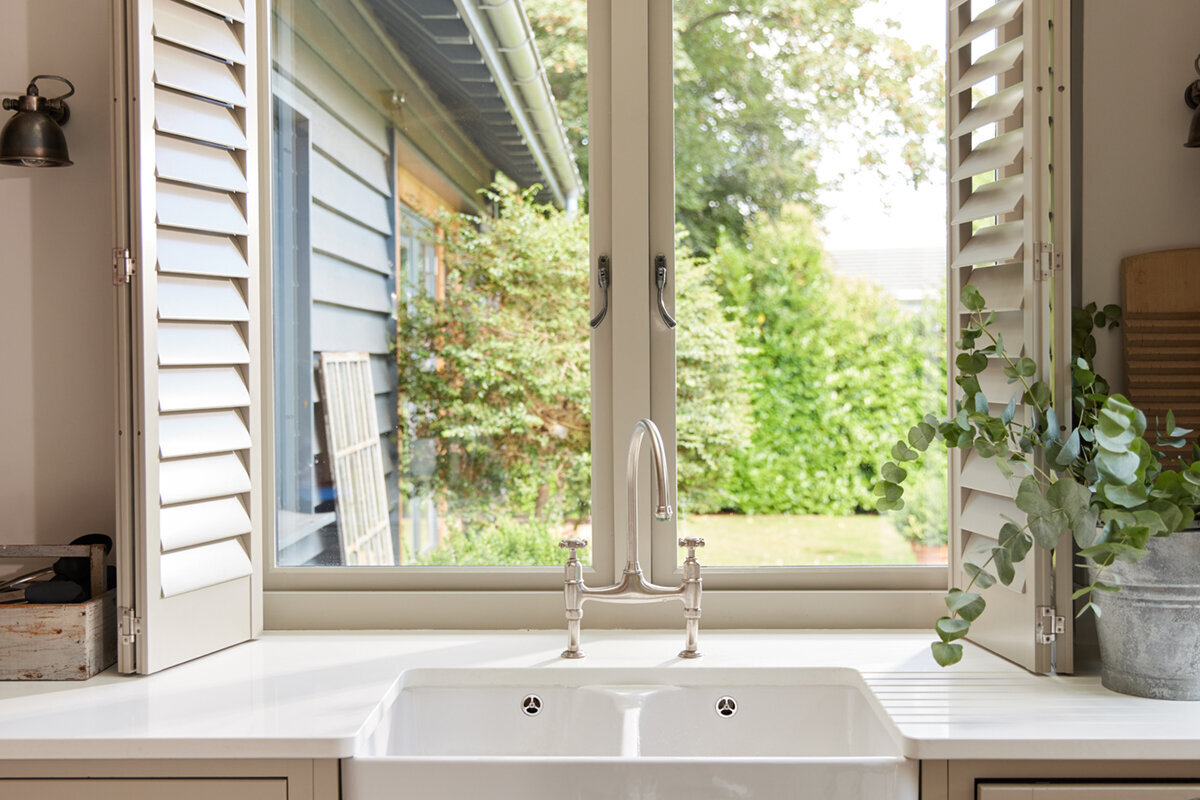
A kitchen sink window is easy to judge on a floor plan and harder to live with once the faucet, dish rack, backsplash, and daily cleanup are in place. The first decision is not frame color or glass pattern. It is whether you can reach the operating hardware, open the sash without a collision, and clean the glass without balancing across a wet counter. Start by defining the work zone: the sink centerline, counter projection, faucet’s highest point, and objects normally kept near the sill. Then compare operating styles as movements you will repeat, not simply as shapes on an elevation. A practical choice preserves daylight and useful ventilation while keeping controls, opening clearance, screens, and cleaning surfaces accessible during ordinary kitchen use.
Begin with the operating move, not the window shape
Stand where someone normally washes dishes and simulate the full sequence: reach for the handle, release the latch, move the sash, and close it again. The relevant reach begins at the counter’s front edge because the counter and sink bowl separate the user from the window. Record the proposed handle location, sill height, counter depth, faucet height, and distance from the sink centerline to the operator. Include a raised ledge, projecting sill, thick countertop, or nearby appliance. A full-size tape or cardboard mock-up can reveal whether a large opening will be comfortable to use or merely attractive in a drawing.
Project scope changes what can be adjusted. A replacement within an existing opening may limit sill and operator locations, while a larger remodel can coordinate cabinets, plumbing, countertops, and framing before the order. More glass is not automatically better: it can place controls farther away and create larger surfaces to clean. Ask the supplier to identify the operating side, hinge side, handle position, and required movement for the exact configuration. The designer or installer should review the finished conditions, including countertop and backsplash projections, rather than relying only on framing-stage measurements.
Measure the finished kitchen, including movable items
Measure after cabinet and counter dimensions are known, or create a full-size mock-up during planning. Note finished floor to countertop, countertop to bottom of glass, countertop to faucet top, counter front to glass, and faucet centerline to each possible operator. Record backsplash thickness and any sill projection into the counter area. These figures do not create a universal window size; they test one proposed unit against one kitchen. Photograph the wall from the normal standing position and from both sides of the sink, then label the intended hinge and handle sides so everyone reviews the same arrangement.
List objects likely to occupy the area after move-in: a pull-down hose, soap dispenser, filtered-water tap, drying rack, plant, or small appliance. A handle behind the faucet may be technically reachable but frustrating whenever dishes accumulate. With an offset sink, a centered window can leave the operator over an awkward corner; a different sash division may bring it closer. Keep a dimensioned sketch showing finished rather than nominal surfaces. Cabinet, countertop, plumbing, and window teams can use it to identify projections or clearance conflicts before fabrication instead of assuming another trade has allowed for them.
Compare fixed glass with ventilation you can use
Fixed glazing is a straightforward choice when view, daylight, symmetry, and freedom from operating hardware matter most. A fixed window has no handle to reach and no sash that can hit a faucet or occupy exterior space. It can suit a sink wall where ventilation comes from another opening or mechanical system. Fixed does not mean maintenance-free, however. The exterior pane, frame edges, and sill still require a realistic cleaning route. Before selecting it, identify whether the outside surface is safely approachable from grade, a deck, or another planned access point, or whether professional cleaning will be needed.
An operable unit earns its complexity only when people will actually use it. Consider whether the sink must be cleared before every opening, whether a screen can be removed easily, and whether nearby ventilation already meets the practical need. Cooking steam, odors, outdoor conditions, and cross-ventilation influence how useful the opening will feel, but no style performs the same in every setting. A fixed pane above the sink paired with a reachable operable window elsewhere is a valid alternative. This preserves a broad view without forcing one difficult-to-reach window to provide every ventilation function.
Map outward-opening clearance on both sides
Outward-opening windows keep the sash away from the faucet and countertop, but their exterior movement must be mapped. Mark the proposed sash width, hinge side, and opening area on an exterior drawing or at the site. Check shrubs, window boxes, lights, hose reels, railings, screens, paths, and places where someone might stand. A single-sash outward-opening casement window identifies a configuration, not its suitability for every sink. Request the final size, handing, hardware location, and opening movement for the quoted unit rather than assuming all outward-opening casements operate alike.
The interior still requires a reachable control and enough room for the user to maintain a comfortable posture. Outdoors, weather exposure and wind can affect how an open sash is managed, so discuss the selected hardware and intended use with the project team. Do not place accessories or landscaping within an assumed clear zone before operation is confirmed. If a path or outdoor seating area passes near the opening, review that interaction on the plan. Applicable requirements and site conditions vary across US jurisdictions, so project-specific compliance belongs with the appropriate qualified professional rather than a generic national rule.
Use top-hinged openings deliberately
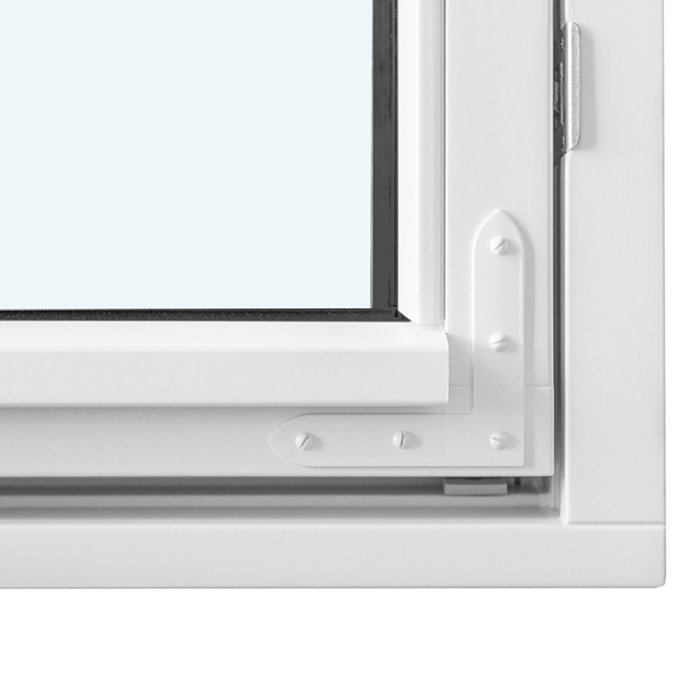
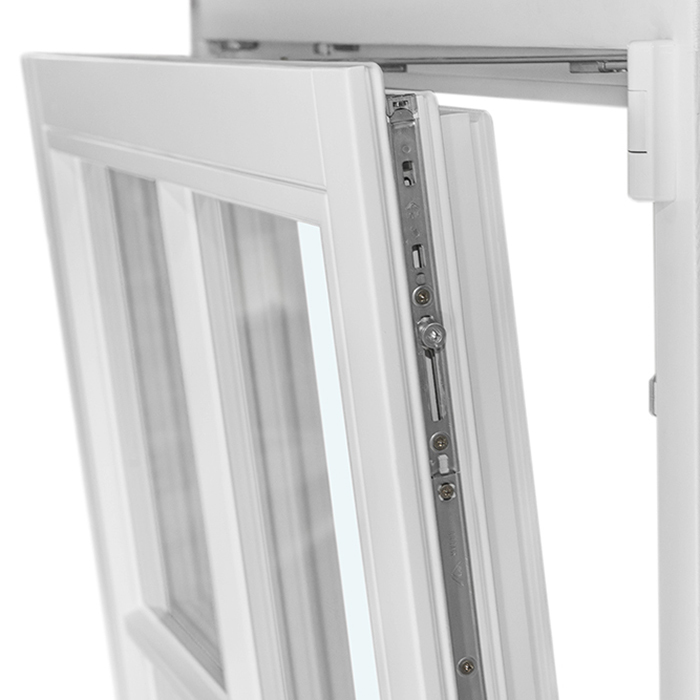
A top-hinged window can provide ventilation while directing its moving section outward rather than across the countertop. It may work where a tall faucet obstructs a central opening or where modest ventilation is more important than a wide opening. For an outward-opening top-hinged window, confirm the control location, operating method, final movement, and reach from the normal standing position. A high window can look balanced above a sink, but a control requiring a step stool will discourage routine use. Evaluate the actual configuration rather than relying on the top-hinged label alone.
Ask how the screen is accessed and removed, because that task may be less convenient than opening the sash. Check the relationship between the moving window and exterior eaves, trim, lights, or planting. The goal is not to predict an exact airflow or weather result; it is to decide whether the intended routine is plausible. If frequent opening is essential, test the reach with a mock control before ordering. If ventilation will be occasional, a smaller or higher operable portion may offer a workable compromise while leaving the main view and countertop area less interrupted.
Treat inward operation as an interior-space decision
An inward-opening sash transfers the clearance issue to the kitchen. Its path must avoid the faucet, countertop objects, pendant lights, shelving, and nearby upper cabinets. A single-sash inward-opening window may suit a site where exterior swing space is constrained, provided the room can accept the sash. Confirm the hinge side and movement throughout the opening arc, not only when fully open. A faucet might clear the glass at one point but hit the sash edge or handle during operation. Include the user’s hands and shoulders in the mock-up because opening across a sink differs from opening beside a clear wall.
Inward operation may bring parts of the exterior glass closer, but it does not guarantee easy cleaning. The outer face, hinges, corners, and screen still need to be reached without overextending. A two-sash inward-opening window offers another arrangement to compare: determine which sash will be used most, whether both controls clear the faucet, and how each panel affects the workspace. Request a drawing showing handing and operating sequence. Correcting an inconvenient active side before fabrication is much easier than discovering that the frequently used sash sits over the least accessible side of the sink.
Plan cleaning as separate reachable tasks
Break cleaning into distinct actions: wiping the interior pane, reaching corners, removing the screen, washing the exterior pane, and cleaning the sill, frame, and hardware. Check whether arms can move freely without leaning over dishes or a basin of water. A tall faucet can obstruct the center of the glass, while a deep sink increases the reach to its lower edge. If decorative bars are desired, weigh their appearance against the additional edges to wipe. In US terminology, decorative bars and glass-dividing bars are not necessarily the same construction, so confirm the intended configuration with the supplier.
Exterior access needs its own plan. A ground-level window may be approachable from outside, while steep grade, dense landscaping, an awning, or a lower roof can complicate the task. Do not make climbing onto a counter, furniture, or an unplanned exterior surface part of routine maintenance. Identify a normal safe route or arrange appropriate professional service. If cleaning depends on a particular sash position, have the supplier confirm that operation for the selected model and size. Ask where the screen sits, how it releases, and whether removal requires maneuvering around the faucet or open sash.
Choose the sash arrangement around sink use
A broad sink wall can use one operable sash, two sashes, a fixed center with opening sides, or another fixed-and-operable layout. The useful arrangement is often the one that puts the everyday control closest to the accessible side of the sink. A combination window is an option when separate fixed and opening areas are desired, but the title does not establish panel layout or hardware. Request an elevation labeling every portion. Trace the hand movement when the sink is occupied, the path of each sash, and the panes that will be hardest to clean.
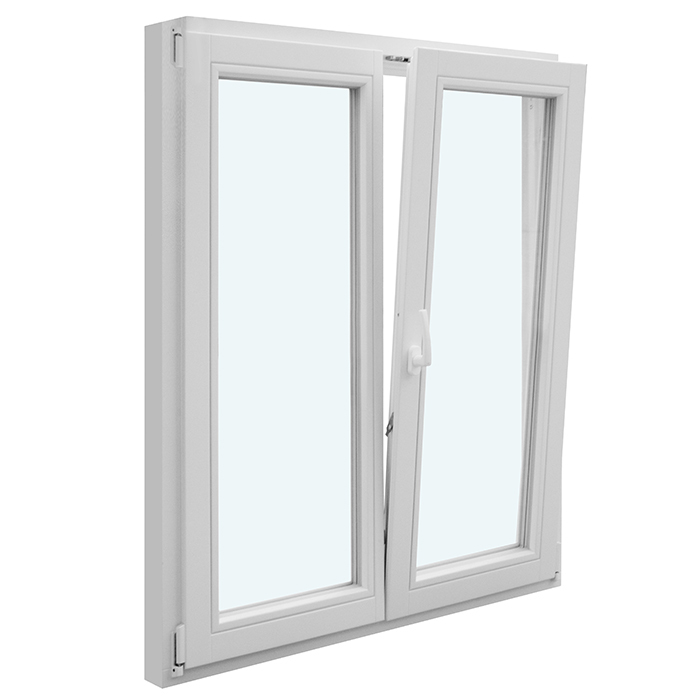
A two-sash outward-opening casement window may fit where a central division suits the kitchen composition and each sash has a manageable exterior path. Verify which side opens first, where both controls sit, and whether normal ventilation requires one or both panels. Smaller individual panels may reduce each swing area, but they also add another operator and more frame edges to clean. No sash count is automatically superior. Match the arrangement to the sink and faucet position, view, exterior obstacles, preferred frame pattern, cleaning access, and how often each part will actually be opened.
Coordinate the window with fixtures and finishes
The faucet is often selected late even though it can determine whether the window remains usable. Obtain its overall height and handle or lever sweep before finalizing the sill, operator, and sash movement. Include the pull-down hose, side lever, soap pump, and water-treatment tap rather than measuring only the spout. Upper cabinets and open shelves may interfere with an inward sash or side-mounted control. Tile and stone can change sill depth and cleaning edges. Review the window against the kitchen elevation after principal fixtures are chosen, with reasonable installation tolerance instead of an assumption-based, exact fit.
Resolve operation and access before color and grilles. A dark aluminum frame or grille pattern can shape the sink view, but it cannot correct a poorly placed control. Where a traditional outward-opening appearance is being considered, a kombi outward-opening casement window is an alternative to put through the same reach, clearance, and cleaning tests. Confirm exact frame, sash, hardware, and finish details with Bloomcabin because a product name is not a complete specification. Bring the cabinet elevation, faucet information, countertop thickness, and exterior photos so aesthetic decisions remain connected to actual installation conditions.
Convert the choice into an order check
Prepare a sign-off sheet before ordering. Identify the model, overall size, rough-opening assumptions, operating type, handing, handle position, screen approach, decorative-bar selection, color, and glass as quoted. Add finished sill height, counter depth, faucet height, interior and exterior movement zones, and the cleaning route. Leave unresolved items clearly marked rather than filling gaps with assumptions. Recheck the sheet after any kitchen revision. A late change from a compact faucet to a tall commercial-style profile, for example, can undermine a window arrangement that previously worked.
Confirm who performs final field verification before fabrication and who coordinates flashing, trim, countertops, and cabinet clearance. Structural conditions, weather exposure, project compliance, and locally applicable requirements should be reviewed by the relevant qualified professionals; this guide does not establish permit needs or code dimensions. Bloomcabin states a 5-year warranty for windows and doors. Delivery is stated as 4–6 weeks, subject to order confirmation, so schedule dependent work from the confirmed order information rather than an assumed date. Finally, stand at the proposed sink and rehearse opening, closing, screen handling, and cleaning before approving the configuration.
Common questions
How high should a window be above a kitchen sink?
There is no single height suitable for every kitchen. Compare the proposed sill and operator with the finished countertop, sink depth, faucet height, backsplash, and user reach. Test the layout at full scale when possible. A qualified project professional can review the final installation conditions and locally applicable requirements.
Is a casement window practical behind a faucet?
It can be if the handle remains reachable and the sash clears the faucet and surrounding items. For outward operation, check the exterior movement area; for inward operation, map the interior path. Confirm exact handing, hardware position, and sash movement for the selected configuration before ordering.
Can I clean the outside glass from indoors?
Possibly, depending on operating design, unit size, screen arrangement, and reach across the counter. Do not assume indoor access from the product category alone. Ask how the exterior pane and screen are reached in the proposed configuration, then plan a normal safe route for any surface that remains inaccessible.
Should I use a fixed window over the sink?
Fixed glass is sensible when daylight and view matter more than ventilation at that location, or when an operable sash would be difficult to reach. It removes sash and handle clearance concerns, but exterior cleaning still requires a practical plan, and ventilation must be addressed elsewhere if desired.
What should accompany a request for a quote?
Provide a dimensioned kitchen elevation, opening dimensions, finished counter height and depth, sink position, faucet information, interior and exterior photos, preferred operation, and color or grille preferences. Request a drawing showing panel layout, handing, handle position, screen arrangement, and the scope included in the quote.
Before you order
A successful kitchen sink window works without rearranging the counter or taking risks to clean it. Begin with repeated motions: reaching the control, moving the sash, handling the screen, and wiping both sides of the glass. Test those actions against the actual faucet, cabinets, exterior area, and cleaning route. Fixed, top-hinged, outward-opening, inward-opening, and combination layouts solve different constraints; none is universally best. Anchor the decision to finished dimensions and a full-size mock-up, confirm the exact configuration with Bloomcabin, and have the appropriate project professionals coordinate installation details before fabrication.
