
Making a Window Opening Larger: What to Plan First
Planning a Larger Window Opening
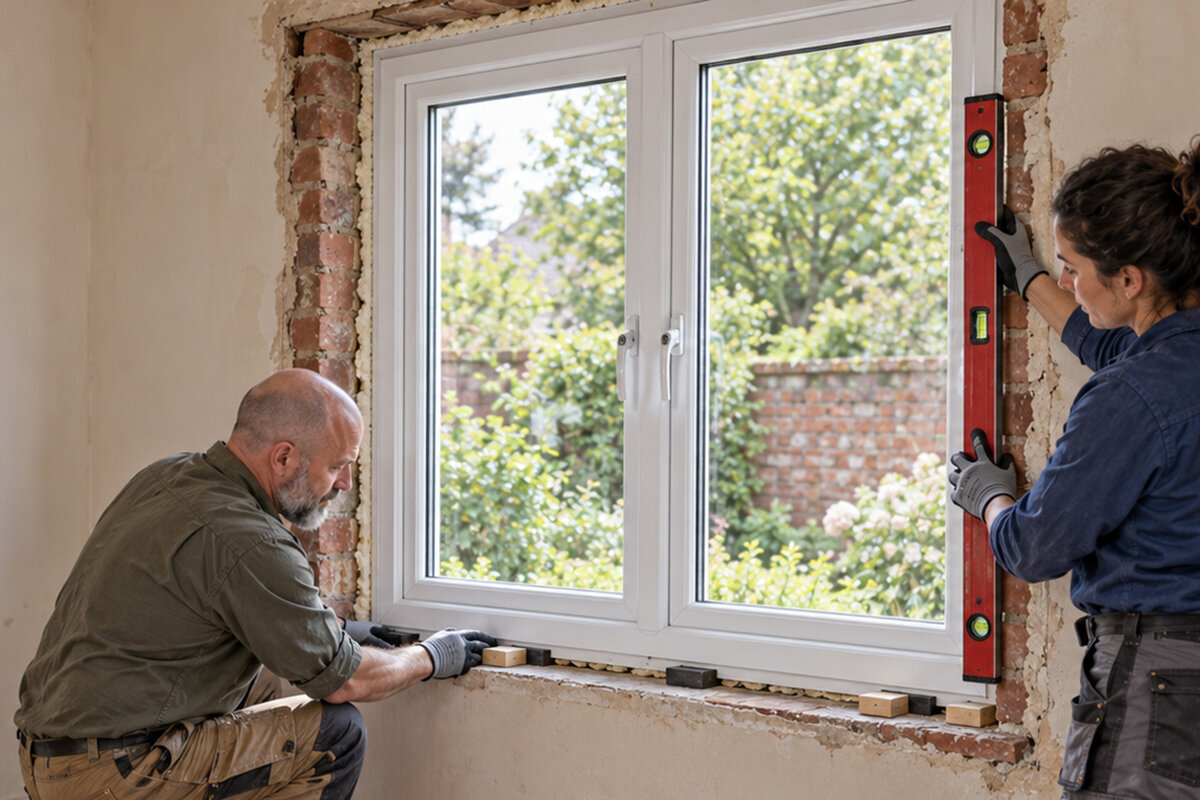
A larger window opening changes how a room works, but it also changes the wall around the window. Before choosing a style, define the intended view, ventilation, furniture layout, and sash operation. Then determine how the wall carries loads, what utilities may be concealed nearby, and how the altered opening will reconnect to exterior water-management layers. The project may also affect siding, masonry, drywall, trim, paint, cabinets, or electrical work. Begin with photographs, approximate sightlines, and a written description of what you want the room to do. A qualified project team can then assess the existing conditions, develop the opening, and confirm local requirements before fabrication. That sequence is safer and more useful than ordering a larger unit first and trying to make the wall fit it later.
Start with the room and the way the window will operate
Describe the practical problem before deciding how many inches to add. A kitchen may need a clearer view over a counter, while a living room may need daylight deeper into the seating area. Mark the desired sightline from standing and seated positions. Consider furniture, privacy, glare, shade, curtains, and access to the handle. Widening, lowering, or grouping the opening can produce different results even when the total glass area is similar. A broad fixed window may suit an uninterrupted view where ventilation is not needed, but it should be evaluated as part of the room rather than as an isolated feature.
Choose the opening direction at the same stage. An inward-opening sash needs clearance from faucets, blinds, furniture, and wall-mounted objects. An outward-opening sash can project over a path, planting bed, roof surface, or deck. Ask how the sash will be reached, cleaned, screened, and secured in normal use. Also consider whether one large operable sash would be awkward compared with smaller operable sections beside a fixed area. The goal is not simply the largest possible opening; it is an arrangement that remains convenient after the initial excitement about the wider view has passed.
Find out what the wall is supporting
The most important uncertainty may be hidden behind the finishes. An exterior wall can support roof or floor loads, and the framing above an existing window may not suit a wider opening. Widening can affect studs at both jambs, raising the head can alter framing above, and lowering the sill can affect framing and finishes below. A qualified professional should assess the actual construction, proposed span, loads, connections, and work sequence. Preliminary sketches help communicate the idea, but final framing decisions should be based on verified site conditions rather than assumptions about how the wall was originally built.
Ask each contractor who will investigate the wall and who will provide the framing details. The proposal should address selective opening of finishes, temporary protection or support where needed, new framing and connections, and coordination with inspections if applicable. Some conditions cannot be confirmed until work begins, so establish how discoveries will be documented, priced, and approved. A quote based on uncomplicated framing is not directly comparable with one that includes investigation and restoration. For an occupied home, also ask how dust, noise, weather exposure, and temporary security will be managed while the old window and surrounding wall are open.
Map utilities and nearby obstacles
A larger opening may conflict with wiring, outlet boxes, plumbing, ductwork, low-voltage cable, alarm components, or exterior fixtures. Inside, note switches, receptacles, cabinets, backsplashes, radiators, registers, and trim. Outside, record lights, hose bibs, downspouts, meters, deck attachments, and landscaping. Put these items on a simple wall elevation and ask how concealed conditions will be verified before major cutting begins. Relocating a service can require another trade and may determine whether the opening should move, shrink, or use a different arrangement. The survey should happen while options are still open, not after demolition.
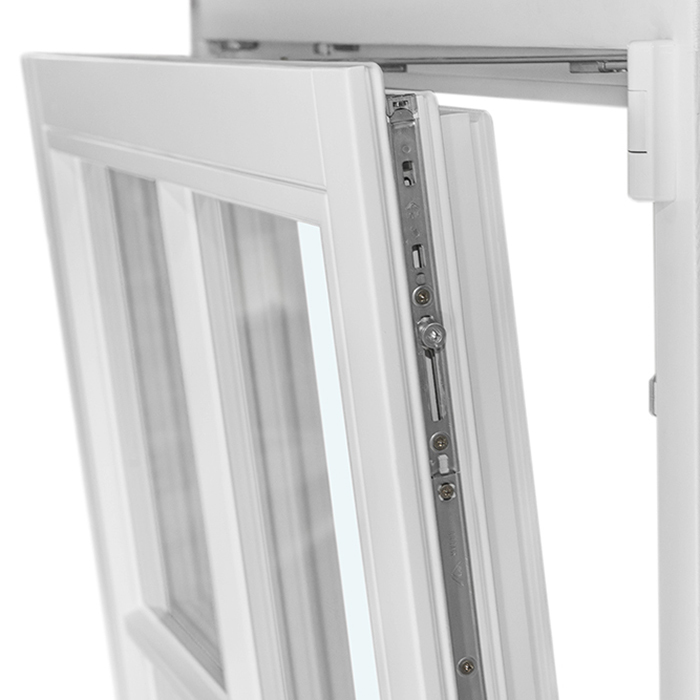
A kitchen project shows how quickly the scope can grow. Lowering a sill toward a counter may involve tile removal, a revised backsplash, outlet relocation, cabinet work, and a new interior sill detail. Widening may encounter an exterior light or a return duct. List every nearby component as retained, protected, removed, replaced, or relocated. Ask which specialty trades are included and which remain the owner’s responsibility. If the room would benefit from ventilation, a top-hinged outward-opening window is one configuration to compare, but its outward projection and operating access still need to be checked against the actual location.
Measure the opening in the right sequence
Do not order from the visible glass size, old sash dimensions, or distance between interior casings. Product dimensions, rough-opening dimensions, finished reveals, and visible glass dimensions serve different purposes. Once the design is resolved, the party responsible for installation should verify the site measurements. Record width and height at several points, wall thickness, sill and head elevations, finish depths, and any out-of-square or out-of-plumb conditions. The drawing should identify where every measurement begins and ends. It should also locate corners, counters, roof overhangs, masonry, and other features that could limit trim or installation access.
Review the new proportions from both sides of the wall. One broad unit may suit the room, while a grouped arrangement may align better with neighboring windows. A combination window can begin a discussion about pairing fixed and operable areas, but the configuration name does not establish dimensions, glass, hardware, or installation details. Request an elevation showing the complete opening, mullion positions, sash divisions, sill depth, and relationship to nearby window heads. Approve those relationships before fabrication. A quote containing only width and height does not show whether the finished result will support the intended sightline or fit the exterior composition.
Put water management in the written scope
Enlargement interrupts the wall layers that manage water. The installation may involve cladding, trim, flashing, a drainage plane, sill treatment, and perimeter sealants. The objective is not merely a tidy exterior bead of sealant. The sill, jambs, and head must be integrated with the project’s wall assembly so water has a considered route back outside. Existing layers may be unclear until selective removal, particularly where earlier repairs overlap. Before work begins, ask the installer to explain how the altered opening will be prepared and connected to the surrounding materials. Project-specific details matter more than a generic promise that the window will be sealed.
Cladding type changes the restoration problem. Brick, stucco, wood siding, fiber-cement siding, stone veneer, and panel systems require different cutting and patching approaches. Ask where existing material will be removed, how replacement areas will meet old work, and which trade owns each transition. Even a triangular or angled fixed window requires a complete head, jamb, and sill strategy suited to its geometry; an unusual shape does not reduce the need for coordinated drainage details. Request photographs of concealed stages when practical. They provide a useful record before trim and finishes hide the work, especially if different crews handle the window and cladding.
Define exterior and interior restoration
A larger opening is rarely finished when the window has been installed. Moved jambs or a lower sill can expose siding courses, brick edges, old paint, patch lines, drywall, plaster, tile, casing, or wall coverings. Decide whether the aim is a close match or an intentionally renewed area. Exact matching may be difficult where materials have weathered, vary by batch, or are no longer available. The proposal should state which surfaces will be restored, who supplies replacement material, and where visible transitions may remain. This avoids a dispute in which the contractor considers the window complete while the owner expects a fully repaired room and exterior wall.
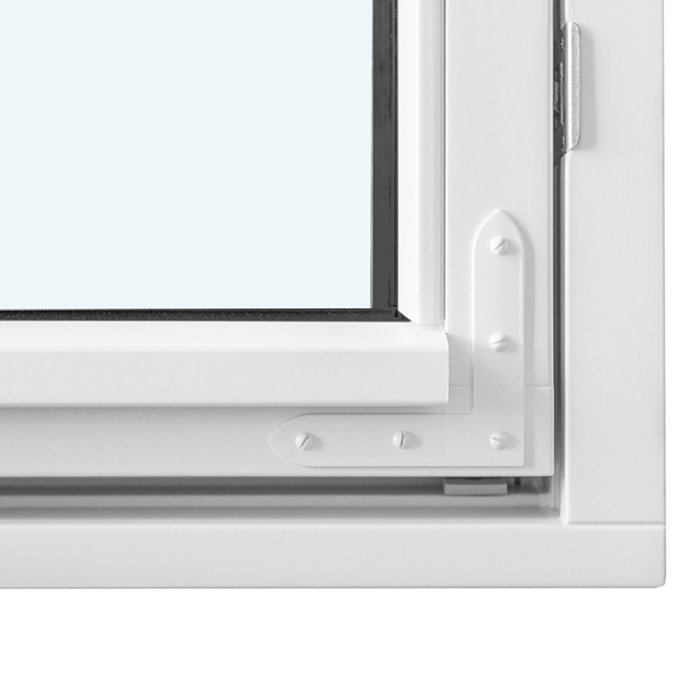
Coordinate the window’s appearance with those repairs. Frame color, casing profile, exterior trim, hardware, screens, and divided-light treatment should be reviewed together. For a traditional arrangement, a historic-style two-sash outward-opening casement window offers a relevant configuration to discuss, provided the exterior swing suits the site. If bars are desired, clarify whether they are decorative bars or glass-dividing bars because the construction and cleaning implications differ. View available finish samples beside existing siding and interior paint in natural light. Also establish where new paint or stain will stop; “touch-up included” can mean something very different from refinishing an entire wall or trim run.
Balance glass area, privacy, and comfort
More glass changes daylight, reflections, glare, privacy, and furniture options. Visit the room at different times of day and note direct sun, neighboring windows, traffic, screens, artwork, and television or computer positions. Consider where shades could mount without interfering with handles. A private yard may support a broad clear view, while a close property line may favor a higher sill, divided layout, or another privacy strategy. In a kitchen, low sun can affect work surfaces; in a bedroom, the window may influence where the bed can stand. Select the opening around daily use rather than treating maximum glass area as the only measure of success.
Keep appearance and performance discussions separate enough to obtain clear answers. A product title does not establish unseen glass, frame, or hardware specifications. A super-low-Uw outward-opening passive house window is an alternative to ask about when evaluating performance priorities, but the name alone does not show whether it suits this wall, opening size, climate, or project. Request the actual quoted configuration and identify every option still undecided. Discuss shading, room conditioning, and installation with the appropriate professionals. A window should not be presented as an isolated cure for drafts, overheating, or condensation because those conditions also depend on the wall assembly, indoor environment, and building systems.
Plan ordering, access, and site protection
Map the sequence from final measurement through restoration. Identify who releases the order, who alters the framing, when the unit is installed, and when exterior and interior repairs occur. Bloomcabin windows and doors have a 5-year warranty. Delivery is typically 4–6 weeks, subject to order confirmation, so base the construction schedule on the confirmed order rather than an assumed arrival. Before ordering a single-sash outward-opening casement window, verify its handing, exterior swing area, hardware access, and final opening dimensions. Do not remove the existing window merely because a preferred design has been chosen; the surrounding scope and responsibilities should already be settled.
Access can determine how disruptive the job becomes. A second-story opening may require exterior access planning, while a tight side yard may restrict equipment and material handling. A large unit needs a safe route to the wall that the contractor has evaluated. Ask how floors, counters, furniture, plants, patios, and irrigation will be protected. Confirm who removes debris and whether painting, trim installation, sealant work, screen fitting, and cleanup are included. If unexpected conditions delay closure, the team should have a plan for temporary weather protection and security. A useful schedule identifies decision points and dependencies, not just an optimistic start and completion date.
Compare proposals by complete scope
A useful proposal identifies the intended configuration, location, field-verification responsibility, framing assumptions, installation work, water-management details, cladding repair, interior restoration, disposal, access needs, and exclusions. It should explain how concealed conditions and owner-requested changes will be handled. A low headline price may omit finish work, equipment, specialty trades, or investigation. That omission does not automatically make the proposal unsuitable, but it prevents direct comparison with a more complete offer. Ask bidders to revise or clarify their descriptions in writing. Allowances should identify what they cover, while exclusions should be specific enough for you to estimate the remaining work.
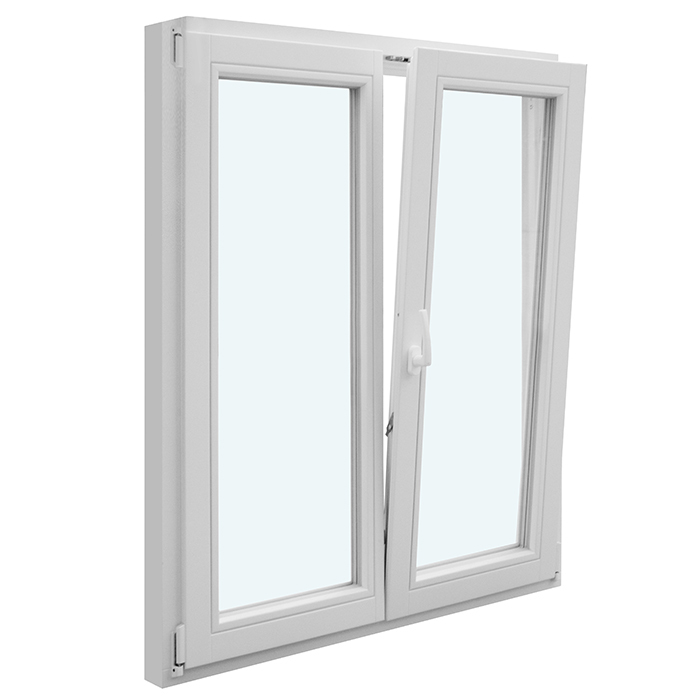
Use the same questions with every bidder. Who verifies final dimensions? Who patches drywall and paint? Who coordinates relocated wiring or ducts? How will the exterior layers be restored? What triggers a change order? Also compare operation rather than price alone. A two-sash outward-opening casement window may divide ventilation between two sashes where one broad operable sash would be less convenient, but both swings must be checked against exterior space. Review handle locations, screens, cleaning access, trim impact, and sightlines. Select a proposal only when you can trace how a change in framing, finish, or configuration would affect responsibility, cost, and schedule.
Complete a final review before and after installation
Before fabrication, review the approved elevation, verified dimensions, color, operation, handing, hardware, screens, decorative-bar choice, and finish details in one meeting or document set. Confirm which drawing controls if notes conflict. A single-sash inward-opening window must be tested against faucets, curtains, furniture, and other interior clearances rather than assumed to behave like an outswing unit. Separate the supplier’s product responsibilities from the installer’s site responsibilities, and identify contacts for delivery, installation, and warranty questions. Keep signed selections, photographs, and approvals together so everyone works from the same current information rather than from an early sketch or email.
After installation, operate the sash as instructed and inspect the completed work from inside and outside. Review handles, latches, screens if included, trim transitions, cladding repairs, sealant appearance, paint boundaries, and cleanup. Ask for care and operation information, product documentation, and the process for reporting an issue. Record incomplete or damaged items in writing while the crew and relevant materials are still connected to the project. Finished surfaces cannot reveal every concealed detail, so retain installation-stage photographs and ask questions about anything unclear. The project is complete when the altered wall, surrounding finishes, and usable window have all been addressed—not merely when glass fills the larger opening.
Common questions
Should I choose the window before hiring a contractor?
You can identify a preferred appearance and operation, but do not authorize a final size before the wall and field dimensions are assessed. Bring the preferred configuration into the planning process, then have the responsible professionals coordinate framing, rough-opening requirements, installation details, and surrounding finishes before fabrication is released.
Is widening easier than making a window taller?
Neither direction is automatically easier. Widening may affect jamb framing, while raising the head or lowering the sill introduces different structural and finish questions. Concealed utilities, wall construction, cladding, interior surfaces, and access may matter more than direction. A site-specific assessment is needed before comparing the options.
Can enlargement be coordinated with new siding?
Yes, coordinating the work may simplify exterior restoration because the cladding is already being addressed. The projects still need one sequence covering framing, water-management layers, final measurement, window installation, and siding work. Confirm which contractor owns each transition and do not release the window order from preliminary dimensions.
What should I check for an outward-opening window?
Check whether the sash conflicts with a walkway, railing, planting, screen, roof, or exterior fixture. Ask how it will be reached, held, cleaned, and used in everyday weather. Review its swing from a scaled plan or elevation rather than relying only on the room-side view of the opening.
Why is the rough opening different from visible glass size?
The rough opening is the framed space prepared for installation. The frame, sash, glass edge, trim, and finished reveals all affect what remains visible after installation. The party responsible for installing the selected unit should verify the required rough opening from current product information and actual wall conditions.
Next steps
Treat enlargement as a coordinated wall alteration rather than a larger-window purchase. Define the room goal and sash operation first, then verify structure, utilities, dimensions, water management, access, and finish restoration. Require proposals to show responsibilities, assumptions, and exclusions, and confirm applicable local processes with the appropriate authority and qualified professionals. Once those questions are resolved, product selection becomes clearer and the completed opening is more likely to deliver the view, daylight, ventilation, and appearance intended.
