
Setting Up an Art Studio in a Garden House: Light, Surfaces & Ventilation
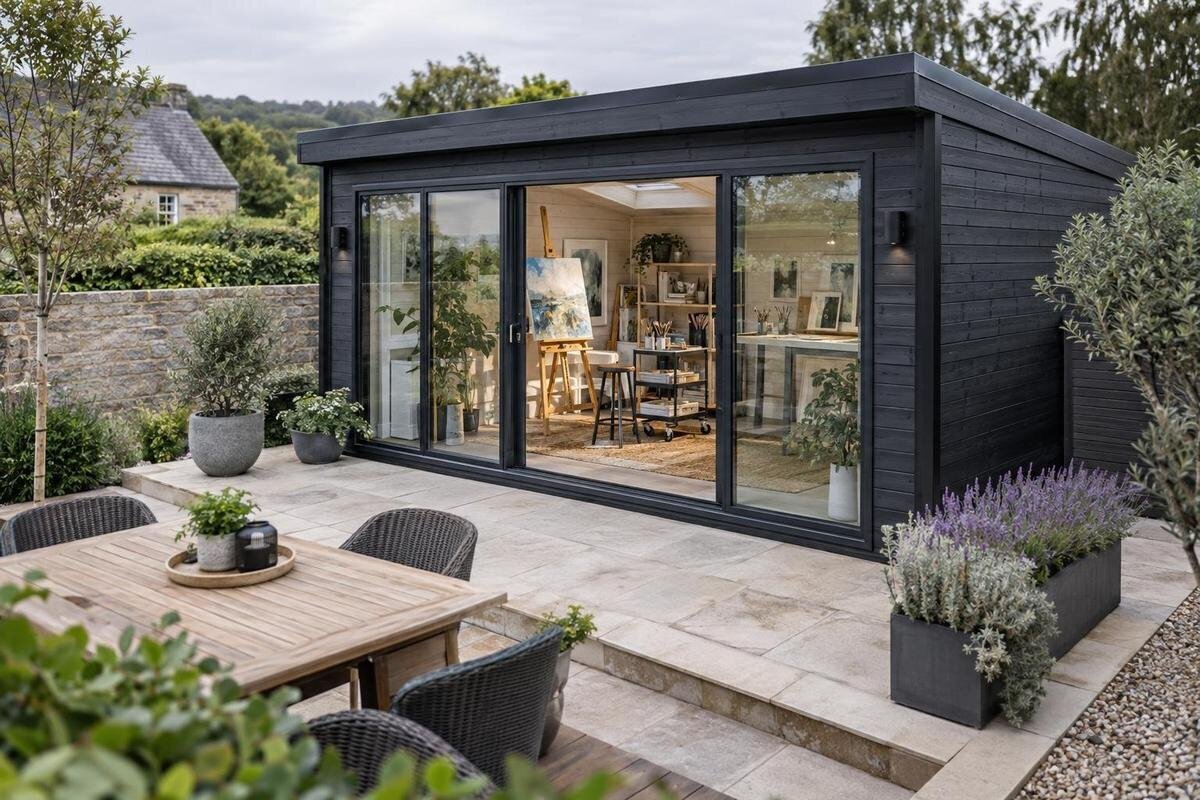
Garden house studio planning
An art studio in a garden house works best when the structure and the way you make art are planned together. An easel painter needs different light and clearances from someone who works flat at a table, and the materials affect the surfaces and ventilation the room needs. Map your process from setup through cleanup, then check whether the documented dimensions and openings of a potential garden house can support it.
Before you order 1
Define the studio around your art practice
List the processes you will actually do in the studio, not just a broad label such as painting. Note whether you work upright at an easel, flat at a table, or switch between both; the size of your usual and largest pieces; and which steps need clear space around them. A large canvas may need room to turn or for you to step back, while paper work may require a level surface wider than the sheet. Include mixing colors, trimming, framing, cleaning brushes, or using a press only when those tasks are part of your practice. This list turns an open-ended room into a specific brief for a garden house.
Map the order of a typical session: bringing materials in, preparing a surface, making the work, leaving it to dry, and cleaning up. Mark which tasks may overlap. If a painting has to remain undisturbed while you draw, reserve a separate landing place; if you work on one piece at a time, that may be unnecessary. Note materials that should be kept away from dust, water, or other supplies, and whether finished work will leave the studio before it is dry. If you change materials during a session, include time and space for cleanup between them. These choices affect the clear floor, table edge, and wall space you need.
Measure a workable studio footprint
Use clear interior measurements, not just an advertised outside footprint, to draw a simple plan. Mark walls, documented openings, and any projections only after checking the product information, then place the easel or table at scale. Add your stool, the stance you use, the tray or palette you reach for, and the space to turn a canvas or carry a large sheet. Keep the route to the work area clear when doors are open and when a piece is temporarily leaning against a wall. A plan that fits the furniture but leaves no room to step back, shift position, or reach supplies will feel cramped during a real session.
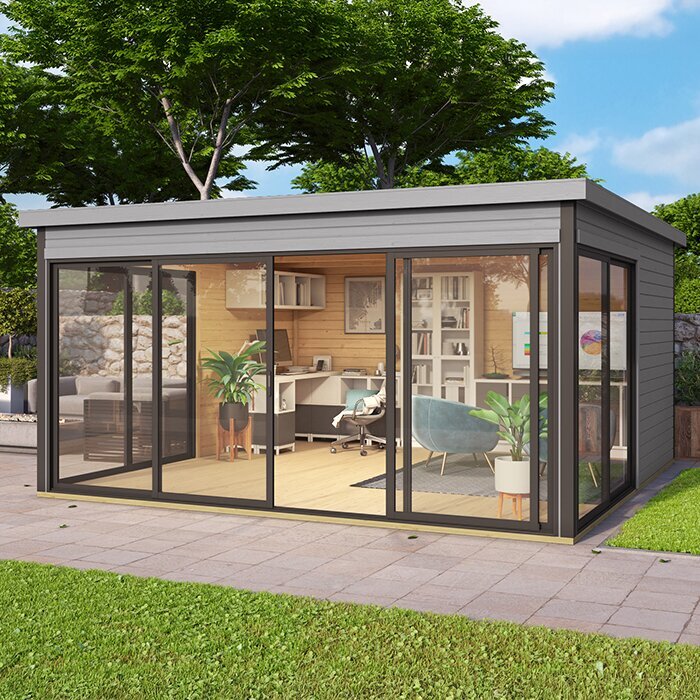
Measure your actual equipment rather than relying on standard furniture sizes, and draw both the working position and the space needed to move around it. Painter's tape in a room you already have can make the footprint easy to judge; cardboard can stand in for a table or canvas. Check a product page such as Verdana 1 against your drawing: verify the listed dimensions and opening details instead of estimating from a photograph or model name. If exact interior clearance is not stated, ask before ordering. Include the route from the yard to the entrance too, because a large framed piece or roll of paper has to pass through that path.
Before you order 2
Plan for changing natural light
Natural light shifts in direction and strength through the day and across seasons. Visit the proposed site at the hours you expect to work, noting when direct sun reaches the work area, when a tree or neighboring building casts shade, and whether a bright surface reflects light toward your eyes. More glass does not automatically mean more even light: a strong patch can fall across a canvas while the rest of the room remains dim. Mark likely sun and shade on a simple site sketch rather than basing the choice on one quick visit or a product photograph. If your schedule varies, check the location at more than one time of day.
Position the easel or drawing table in relation to the actual openings and your usual stance. Side light can help reveal surface texture, but the useful angle depends on the medium, the room, and whether you work left- or right-handed; mock it up before settling on a layout. There is no universal window direction that suits every artist. If color decisions matter, compare a swatch or test piece at the hours you work and again under your planned lamps. For Verdana 2, verify the documented window placement and dimensions, then trace how daylight would reach your chosen work area; do not infer the pattern from a model name or image.
Add adjustable task lighting
A room that looks bright at midday can still leave fine pencil lines, brush edges, or color mixing hard to see on cloudy days and in the evening. Add a local light you can aim at the paper, palette, or canvas without putting the fixture between you and the work. Test the shadow from your hand in your normal position, and check for reflections on coated paper or glossy paint. A general room light plus movable task lights can give you options for upright and flat work. Consider how you will reposition them when switching tasks rather than choosing a lamp by appearance alone.
Check lamp specifications for light color and color-rendering information, especially if you compare pigments or subtle tones. Try samples under the actual lighting before trusting a new setup for color-critical decisions, and avoid mixing sources that make the same work look noticeably different from one area to another. Note where cords and outlets would be needed while drawing the floor plan; keep the work route uncluttered and follow fixture instructions. For fixed wiring or changes to electrical service, ask a qualified electrician to review the proposal. Before arranging furniture in Durano, use only confirmed product dimensions and opening details from its documentation; a product name does not establish what lighting or outlets are included.
Before you order 3
Match work surfaces to your medium
Choose the main work surface by the posture and format your art requires. Drawing, watercolor, and paper-based work need a flat area large enough for the biggest sheet and for the tools you use alongside it. An easel needs a clear footprint and room to approach, adjust, and step back; a tabletop easel has different space needs. If you regularly switch from flat to upright work, sketch both arrangements and check what has to move between them. Try a comparable height before buying a table or easel so you can reach the whole work without continually shifting it or balancing supplies on your lap.
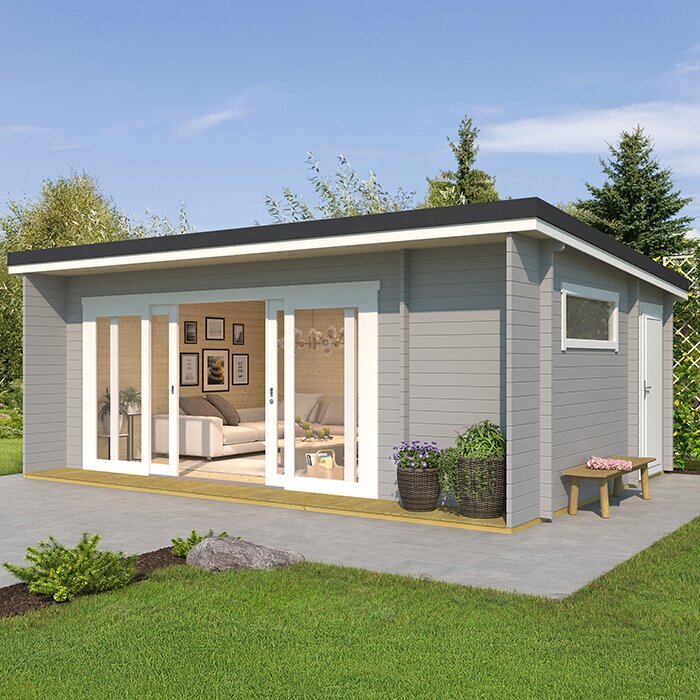
Consider what each surface must tolerate. Paint, charcoal, printmaking ink, clay, cutting, and cleanup can call for different finishes and care; no single material is automatically right for every medium. Follow the instructions for both your art materials and the surface, and test a removable cover or offcut before using a cleaner on a finished table. Give palettes and tools a separate landing area so they do not crowd the image-making space. For a candidate such as Veltor 1, compare confirmed interior dimensions with the actual footprints of your table, easel, and stool; the product name alone cannot tell you whether they fit.
Protect floors and plan for drying work
Protect the floor for the mess you actually make. A reusable drop cloth, washable mat, or other removable cover can help define a wet-work zone, but make sure it stays flat and does not create a trip point. Choose cleaning products only after checking that they are compatible with the floor and the art materials; a solvent suitable for one tool may damage a finish. Keep the route between the work surface, cleanup point, and exit direct enough that a brush, wet sheet, or container does not have to pass over finished work. Do not assume a pictured floor has a particular finish or suits every spill.
Plan where in-progress pieces will dry or rest, separately from the area where you are actively working. A flat work may need level, protected space; upright canvases need room to stand without narrowing the doorway or blocking an opening you rely on for fresh air. Keep this area reachable without brushing against unfinished work, and decide how completed pieces will be protected during cleanup. If you expect to hang work, verify that the wall and intended fixing can accommodate the arrangement with the seller or a qualified installer rather than assuming from a photo. For Orello 1, rely on documented details for the actual included components and ask about anything unclear.
Before you order 4
Plan ventilation around your materials
Make a list of every medium and product used in the room, including cleaners, adhesives, fixatives, and sprays, not only paint. Read each label and safety data sheet for the manufacturer's ventilation and handling directions. Water-based materials are not a blanket assurance that ventilation is unnecessary, and products used briefly can have different requirements from routine studio processes. Note whether an activity creates dust, mist, or odor, and whether you can avoid doing it in the garden house. This material-first review is more useful than selecting a window or fan by appearance.
Check whether the planned air path can work alongside your layout: openings you expect to use must be accessible, and moving air should not blow dust onto wet work or undermine a clean area. Do not assume an open door or window alone meets the instructions for a particular product. If a label calls for local exhaust or another specific ventilation arrangement, ask a qualified ventilation professional to assess the building and process; avoid improvising a system from a product photo. For Modano 1, verify from its documentation which openings are actually included and how they operate before deciding whether they suit your ventilation plan.
Check seasonal comfort and utility needs
Decide whether you will use the studio occasionally in mild weather or expect to make art there through changing seasons. A garden house is not automatically heated, cooled, insulated, or controlled for moisture, so do not base your plan on the conditions in your home. Some papers, canvases, paints, adhesives, and finished pieces are sensitive to storage or working conditions; check product guidance for the materials you use and identify what conditions they require. Consider both comfort for the person working and the consistency your process needs. Until the studio is ready, store sensitive materials according to their manufacturers' instructions.
Before ordering, establish which building features and services are actually documented, and which you would have to arrange separately. If your art practice requires year-round heat, cooling, moisture management, or additional electrical capacity, confirm that these changes are feasible for the specific structure and site with a qualified builder or electrician. If you need running water, verify whether a suitable supply and drainage arrangement is possible and what is included. Avoid assuming these items are provided because they appear in an image or seem standard. Assess Veltor 2 from its own product information, and resolve missing specifications before treating the studio as ready for all-season use.
Before you order 5
Review the site and ordering details
The garden location affects both the studio's light and the practicality of using it. Map shade from trees and nearby structures at the times you work, and consider how future planting could change it. Check that the chosen position leaves the intended doors and windows accessible for ordinary use and that the route with art materials remains usable in wet weather. Think through where you will carry finished work, clean tools, and handle project waste according to product instructions. These routine movements shape whether the detached workspace is convenient enough to use regularly.
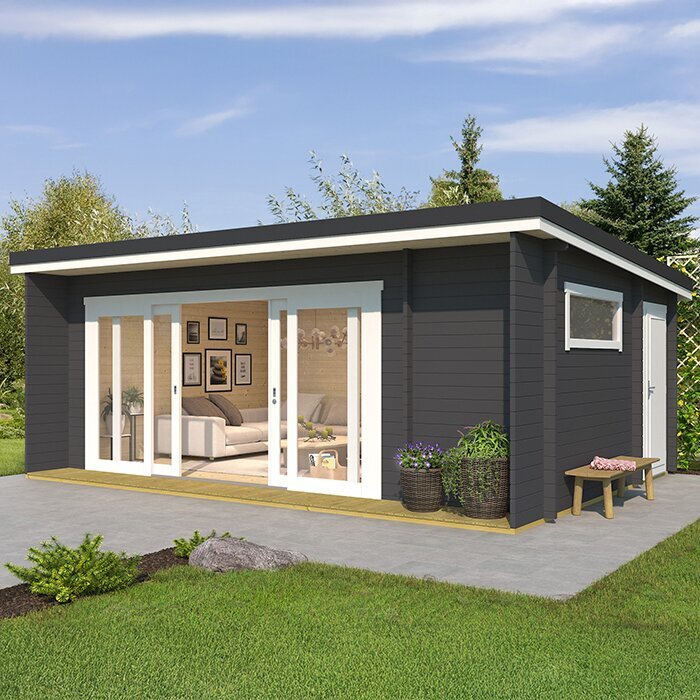
During the purchase review, read the product information and assembly or site-preparation guidance rather than relying on styling images. Confirm the dimensions, openings, included components, and requirements for preparing the site; ask about delivery access, assembly arrangements, and anything you must provide yourself. Check applicable local requirements with the relevant building department or property association instead of assuming a structure can be placed anywhere. For Veltor 3, as with any garden house, base the decision on confirmed details and the actual route to its final position, not on a model name alone.
Compare options against a full-size studio plan
Compare shortlisted garden houses with one written scorecard. Record confirmed interior dimensions and openings, the planned easel or table position, daylight at working hours, task-lighting and power needs, surfaces and drying space, ventilation requirements for your materials, and the season in which the room must work. Mark each item as suitable, unresolved, or unsuitable for your specific process. This keeps a promising feature in one area, such as a window arrangement, from distracting you from a missing requirement elsewhere. Do not treat an assumption about a product feature as a confirmed fit.
Before committing, recreate the layout at full scale using tape, cardboard, or furniture you already own. Sit or stand at the working position, extend your arms, step back from the largest expected piece, and walk the route from the entrance to cleanup and drying. Check that doors and planned air openings remain usable and that task lighting can be positioned without crossing the work path. Write down unanswered questions about the structure, site, utilities, or assembly and resolve them from the appropriate documentation or professional advice. Favor a confirmed fit for your practice over an impression from a photograph.
Frequently asked questions
Is natural light enough for an art studio?
Not by itself for every studio or every work session. Daylight changes with the time, season, weather, and surroundings. Add adjustable task lighting for detail work and evening sessions, and check colors under the light you expect to use.
Does an art studio need north-facing windows?
There is no single window direction that suits every artist or site. Tree cover, nearby buildings, window placement, and your working hours all affect the light. Observe the actual location at different times and test your intended easel or table position.
How should I choose a work surface?
Start with the medium, the largest piece you make, and whether you work flat or upright. Check that the surface gives you room for tools as well as the artwork. Follow the care instructions for both the surface and your materials.
What ventilation does a garden-house studio need?
The answer depends on the products and processes you use. Read their labels and safety data sheets for ventilation instructions. If a product calls for a specific arrangement, ask a qualified ventilation professional; do not assume an open window alone meets those instructions.
Can I use a garden house as a year-round studio?
That depends on the structure, site, utilities, and conditions your work requires. A product name does not establish insulation, heating, cooling, or moisture control. Check the product information and consult a qualified professional about any changes you plan to make.
A useful garden-house art studio starts with the work itself: its scale, position, light, and material requirements. A full-size layout can expose cramped movement before you order, while testing daylight and task lighting helps you plan for color and detail work. Match surfaces and drying space to your process, and base ventilation and seasonal plans on the instructions for your materials and confirmed building details. When those elements fit together, the studio is more likely to support the way you actually create.
