
Window and Door Delivery Checklist
US delivery planning
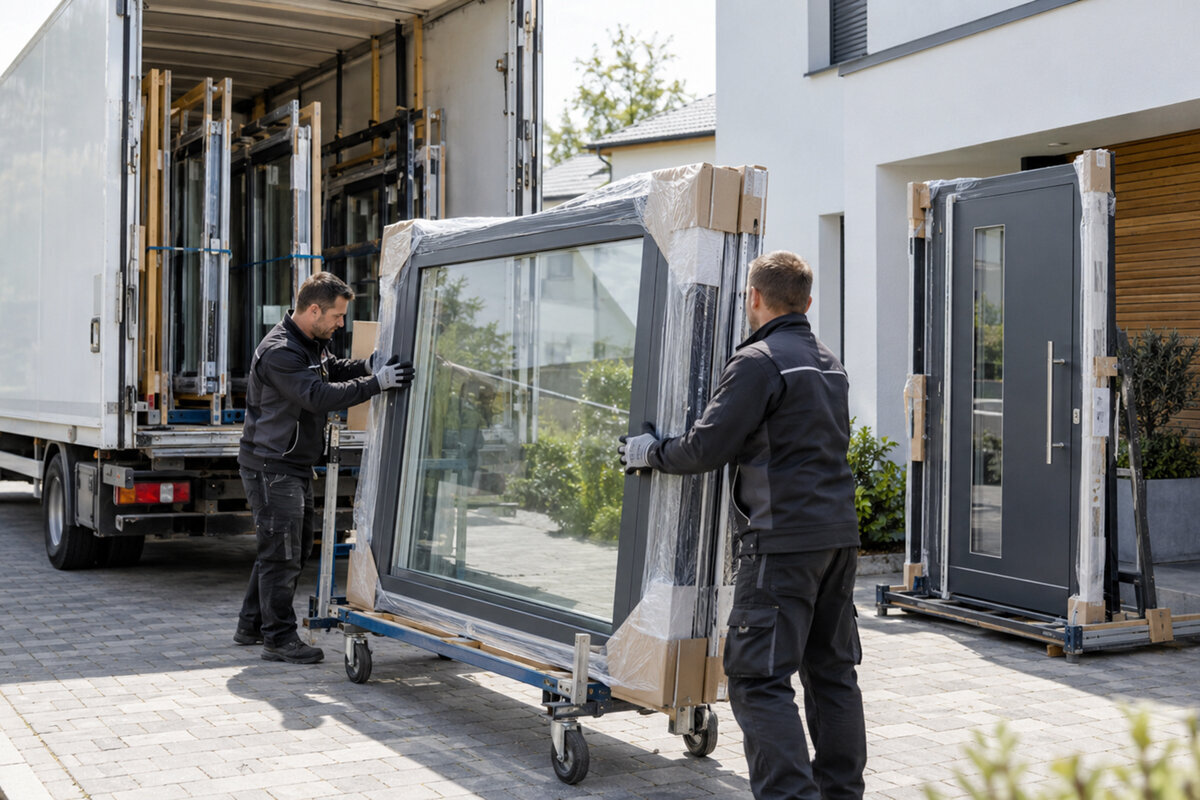
A delivery plan should start with how each window or door operates and how many units the project includes. One replacement window may travel through a protected hallway, while a multi-panel patio door may require an exterior set-down zone, several prepared handlers, and a route with no tight turns. Delivery day is too late to decide where products will wait or who will inspect them. Plan around the confirmed order, truck access, unloading responsibility, package sizes, installation sequence, and time between arrival and installation. This checklist helps homeowners and project leads prepare the site, document visible condition at arrival, and keep windows and doors protected. It also separates receiving questions from installation decisions that belong with the seller, installer, or another qualified professional.
Start with the way each opening operates
List every unit by opening type, intended location, and whether it is fixed, hinged, pivoting, sliding, or folding. The practical issue is what must remain supported while the package is carried and stored. A small fixed window and a large operating door can have different balance points, package shapes, and handling needs. Keep the final order confirmation, packing list, approved drawings if applicable, and installation schedule together. Mark which openings are ready and which rooms must remain usable. This prevents a package from being placed where it blocks the route for another unit or interferes with work still underway.
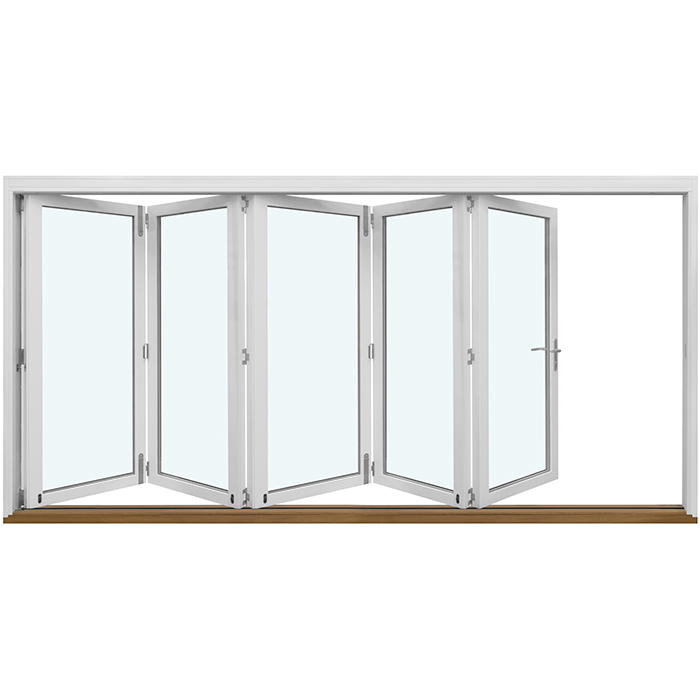
For a project with outswing bifold doors, plan backward from the exterior opening. Identify the vehicle approach, unloading point, route around steps or landscaping, and protected waiting area. The product title confirms an outswing folding configuration, but not the delivered dimensions, panel count, package arrangement, or lifting instructions. Verify those details from the order. Name someone who can make placement decisions if the homeowner is unavailable, and give that person the order number and installer contact. They should also have authority to pause unloading when access is obstructed, handling help is insufficient, or packaging appears compromised.
Confirm the appointment and divide responsibilities
Before the expected delivery window, confirm the address, receiving contact, gate or building-entry instructions, curb or driveway limitations, and planned notification method. Ask what type of vehicle is expected and how much clear space it may need. Establish whether unloading is included or whether the buyer or installer must provide people and suitable equipment. Do not assume the driver will carry products through the home, climb stairs, or cross an unfinished site. Record the answers with the order confirmation. Bloomcabin states delivery takes 4–6 weeks, subject to order confirmation, so schedule demolition and installation from confirmed details rather than a general timeframe.
Treat delivery, unloading, carrying, inspection, storage, and installation as separate responsibilities, even if one contractor handles several of them. Ask who receives the shipment if it arrives before installation and where the installer wants each package stored. Confirm which protective materials should remain in place. A useful plan names a lead receiver, a backup contact, and the people assigned to handling. It also gives the receiver enough time to compare the shipment with the paperwork. If the carrier uses a particular receipt process, learn it beforehand so the receiver can document visible observations without delaying decisions until the truck is ready to leave.
Plan the complete delivery route
Walk the complete route before delivery day
Inspect the vehicle approach and carrying route before the appointment. Check the narrowest gates, side passages, stair turns, basement entries, and interior doorways against the expected package dimensions. Remove parked vehicles, trash cans, hoses, tools, planters, and construction debris. Look for low branches, overhead obstructions, soft ground, steep grades, slippery areas, and corners that could catch packaging. Protect finished floors and vulnerable wall corners before unloading begins. The objective is not merely to create a passable path; it is to create enough room for handlers to control a long or heavy package without twisting, dropping, or resting it on an unplanned edge.
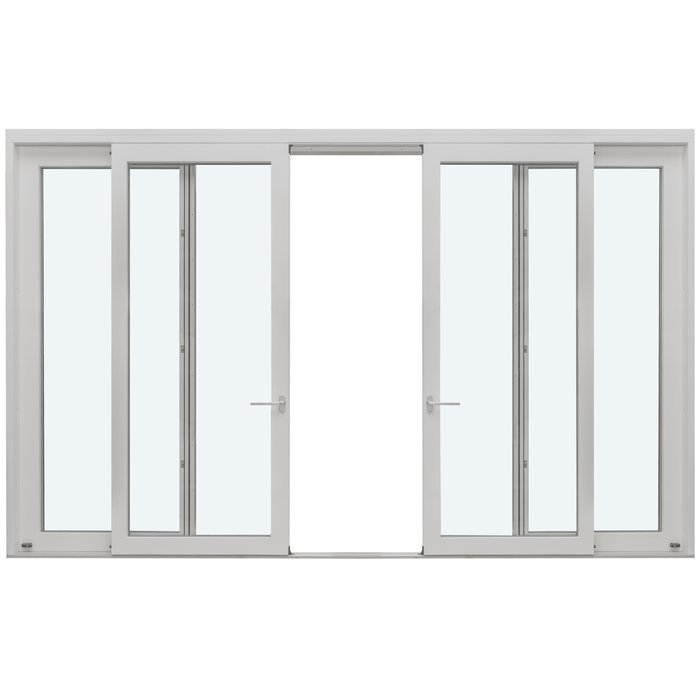
Long packages deserve special attention. For sliding doors, confirm a route and waiting position that will not require the package to be balanced around a tight turn or left across a walkway. The easiest driveway unloading point may not provide the safest path to storage. If access includes stairs, a balcony, a steep slope, or a narrow interior turn, review it with the installer or qualified handling team. Do not improvise lifting arrangements with unsuitable carts, furniture, ropes, or untrained helpers. Changing the set-down location is preferable to exposing people, glazing, frames, finishes, or the building to avoidable damage.
Prepare a controlled unloading and set-down zone
Reserve a level, dry area close enough to limit carrying but clear of vehicle movement, runoff, active construction, and other trades. Handlers should be able to walk around the packages without stepping over tools or materials. Mark the zone with cones, tape, or a crew notice, particularly on an occupied remodel. Prepare clean, stable supports or the arrangement specified in the handling instructions. Do not place packages directly on wet ground, loose gravel, or an uneven surface that concentrates pressure at one corner. Keep children, pets, visitors, and unrelated workers away while unloading is underway, since routes and load positions can change quickly.
If the order includes a Patio Life sliding patio door, assign its storage bay before the truck arrives and keep that space open. The title identifies a sliding patio-door design, but it does not establish package dimensions, frame construction, or the correct support method. Obtain those details from the order and handling guidance. Use temporary weather protection only as directed; careless wrapping can trap moisture or conceal changing conditions. Keep labels, corner protectors, cartons, hardware packages, and paperwork associated with the correct unit. Separating those materials too early makes identification harder and increases the chance that a package or accessory will be sent to the wrong opening.
Organize people, tools, and records
Assign receiving roles before arrival. One person can compare the packing list, another can photograph and record observations, and another can keep the route clear and communicate with the crew. On a small delivery, one person may fill several roles, but someone actively carrying a package should not also be expected to read labels or answer calls. Prepare charged phones, the order documents, a marker, painter’s tape for temporary location tags, and a notebook or shared project file. If the installer receives the order, ask about their inventory process and use compatible opening names so the homeowner’s record and the installer’s record describe the same units.
For single-panel outswing patio doors, verify the ordered handing and opening designation before the package is moved into storage. Do not remove protective wrapping simply to guess at the swing unless the supplier’s inspection instructions allow it and the unit can be supported safely. Put a non-damaging temporary tag on the packaging, such as “rear patio,” rather than writing on the product. If dollies, carts, suction equipment, straps, or other moving aids are proposed, confirm that the handling team considers them suitable for the actual package and route. Equipment is useful only when its operators understand the load, clearances, set-down plan, and communication signals.
Inspect the shipment in a consistent order
Start the receiving check while packages remain on the truck or immediately after set-down, before wrapping is discarded or units are distributed around the property. Compare package count, labels, and identifying marks with the packing list and order confirmation. Confirm that each planned opening has a corresponding item and that obvious distinctions, such as door versus window, are plausible. This is an arrival inventory, not a technical installation inspection. Photograph each label and each accessible side of the packaging. Take wide images showing the whole package and close images of concerns, while preserving the relationship between the package, its identifier, and the overall shipment.
Look for crushed corners, punctures, torn wrapping, broken straps, water exposure, damaged supports, or signs that a package shifted. Describe observations without guessing at the cause: “wrapping torn at lower left corner” is more useful than “door damaged.” Check a outswing exterior door against its confirmed product identifier and intended opening, but do not infer finish, glass, hardware, or dimensions from the title. Preserve delivery paperwork and any notation made at receipt. Report concerns promptly through the contact method requested by the seller or carrier, including the package identifier, factual description, photographs, delivery date, and current storage location.
Plan the complete delivery route
Separate receipt concerns from installation questions
Not every delivery-day question is a shipping issue. Missing packages, mismatched labels, or visibly affected packaging belong in the receiving record. Questions about flashing, fastening, rough-opening preparation, trim, weather protection, or adjustment normally belong in the installation review. Maintain two issue categories: arrival and packaging, and installation confirmation. For each entry, record the package number, intended opening, photographs, date, and person contacted. This keeps a site-preparation question from entering the wrong process and prevents a genuine receipt concern from disappearing inside a long construction list. It also gives each responsible party a concise set of facts to review.
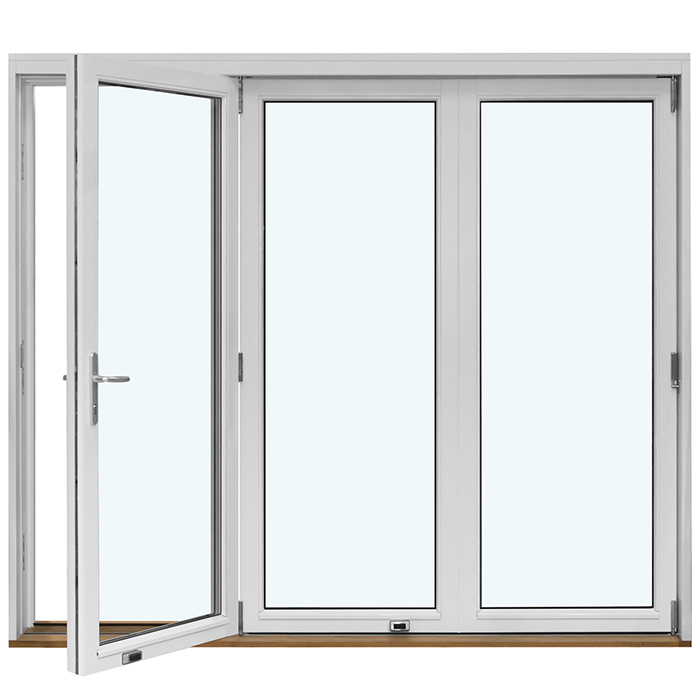
For a combination window, compare the delivered identifier with the approved configuration or order description rather than relying on memory. “Combination” does not establish the arrangement, dimensions, glass, color, decorative bars, or operating sections. If packaging must be opened for meaningful inspection, first ask for the recommended method and make sure the unit can be supported and re-protected. Do not force a sash, panel, lock, or hardware component while the product is unsupported. Record the question, photograph the relevant area, and let the seller or qualified installer determine whether further inspection should occur before the product is moved or installed.
Store products for the waiting period
Use a dry, orderly storage area protected from weather, standing water, construction traffic, falling objects, and direct impact. Follow the product-specific instructions for support and orientation so packages cannot tip, twist, bow, or carry concentrated pressure on a vulnerable edge. Never stack building materials on them or use them as work surfaces. Leave labels visible and preserve an aisle so the installer can reach the next unit without moving unrelated packages. Coordinate with flooring, drywall, painting, plumbing, and electrical crews so the designated storage zone is not gradually taken over by tools, waste, wet materials, or temporary workstations.
A fixed window has no operating sash, but it still requires correct support, identification, and protection. Fixed does not mean suitable for flat storage, casual leaning, or handling by the glass. Confirm orientation and storage instructions for the delivered unit rather than assuming one rule applies to every window. Keep protective materials in place unless inspection guidance says otherwise, and retain identifiers connecting the package to its opening. Place keys, handles, fasteners, and loose accessories in a controlled location. If they are removed from the package for safekeeping, update a shared inventory with the item description, related opening, storage location, and person responsible.
Arrange storage around the installation sequence
Ask the installer which openings will be completed first, then organize packages by floor, elevation, or work zone without hiding labels. The open corner nearest the entry may be convenient for unloading yet obstruct the first day’s installation route. Create a simple location map using unmistakable descriptions such as “upper hall,” “front left bedroom,” or “kitchen patio.” Update it whenever a package moves. This avoids opening or shifting several units just to find one. The map also supports a clean handoff if the installation crew changes, the homeowner is away, or a question arises after the original receiver has left the site.
Roof products may arrive before the corresponding opening is ready. Keep a pivoting roof window protected in its agreed storage area until the qualified installation team is prepared and site conditions permit the work. The title establishes a pivoting roof-window configuration, not its handling procedure, roof compatibility, or installation method. Those details require the order documents and project professionals. Avoid moving packages repeatedly merely to bring them closer to future work. Every move creates another opportunity for impact, label loss, packaging damage, or confusion about where an observed condition occurred. Deliberate sequencing is safer and easier to document than frequent reshuffling.
Complete the record and installation handoff
After the truck leaves, reconcile package count, storage locations, visible-condition notes, photographs, and unanswered questions. Send the installer a concise update and location map. If a concern has been reported, preserve the original packaging, labels, paperwork, and photos unless the responsible contact directs otherwise. Avoid unnecessary movement until you know whether another inspection is required. If the shipment appears complete, maintain the protected storage zone rather than treating the signed receipt as the end of receiving. A successful delivery means each correct package can still be identified, accessed, and presented in its documented condition when installation is ready to begin.
Before installation, compare each package with its intended opening and confirm where accessories and documents are stored. Ask the installer what must be cleared from the route, which packaging they will remove, and where discarded materials should go. Agree on when operational, configuration, or visible-finish questions will be reviewed. Bloomcabin provides a 5-year windows and doors warranty; consult the warranty and order materials for coverage and the applicable reporting procedure. Delivery photographs do not replace those terms, but they create a clearer record. When the order, site conditions, and handling instructions conflict, pause movement and seek direction instead of relying on assumptions.
Common questions
Should I sign for a window or door delivery before inspecting it?
Follow the carrier’s receipt process, but inspect what can reasonably be seen before finalizing the paperwork. Count packages, compare labels with the order, photograph accessible packaging, and note visible concerns factually. If a complete check cannot occur at the truck, retain the packaging and document condition immediately after set-down.
Can windows and doors be stored in a garage?
A garage may be suitable if it is dry, secure, protected from impact, and consistent with the product-specific storage instructions. Keep packages away from wet floors, vehicles, chemicals, tools, and active work. Support each unit as directed; do not assume every window or door can use the same orientation.
What if a package label does not match the expected opening?
Pause movement of that package, photograph its label, and compare the identifier with the final order confirmation. Contact the seller or project lead promptly rather than relying on appearance, especially when several units look similar. Keep the packaging, label, and related accessories together until the discrepancy is resolved.
Who should receive the delivery if installation is later?
Choose someone with the order documents, authority to record concerns, and enough time to oversee the handoff. Coordinate that person with the installer beforehand. Confirm who will unload, move, store, and safeguard the shipment during the waiting period instead of leaving responsibility unclear among the homeowner, driver, and contractor.
Should I test windows and doors while they are packaged?
Do not force or operate a unit while it is unsupported or before the supplier’s inspection guidance permits it. Begin with the identifier and visible packaging condition. If deeper inspection is necessary, request the recommended procedure and make sure the product can be supported safely and re-protected after the check.
What to do next
A controlled delivery protects the products, the people handling them, and the installation schedule. Plan from the opening operation and shipment size, confirm responsibility for each stage, clear the complete route, and reserve a stable storage area before arrival. At the handoff, compare identifiers and quantities, photograph visible condition, and report concerns with factual notes. Keep every package connected to its intended opening and installation sequence. When instructions or site conditions are unclear, pause and ask the responsible seller, installer, or qualified professional rather than improvising.
