
Window Condensation: Inside, Outside and Between the Panes Explained
Window condensation guide
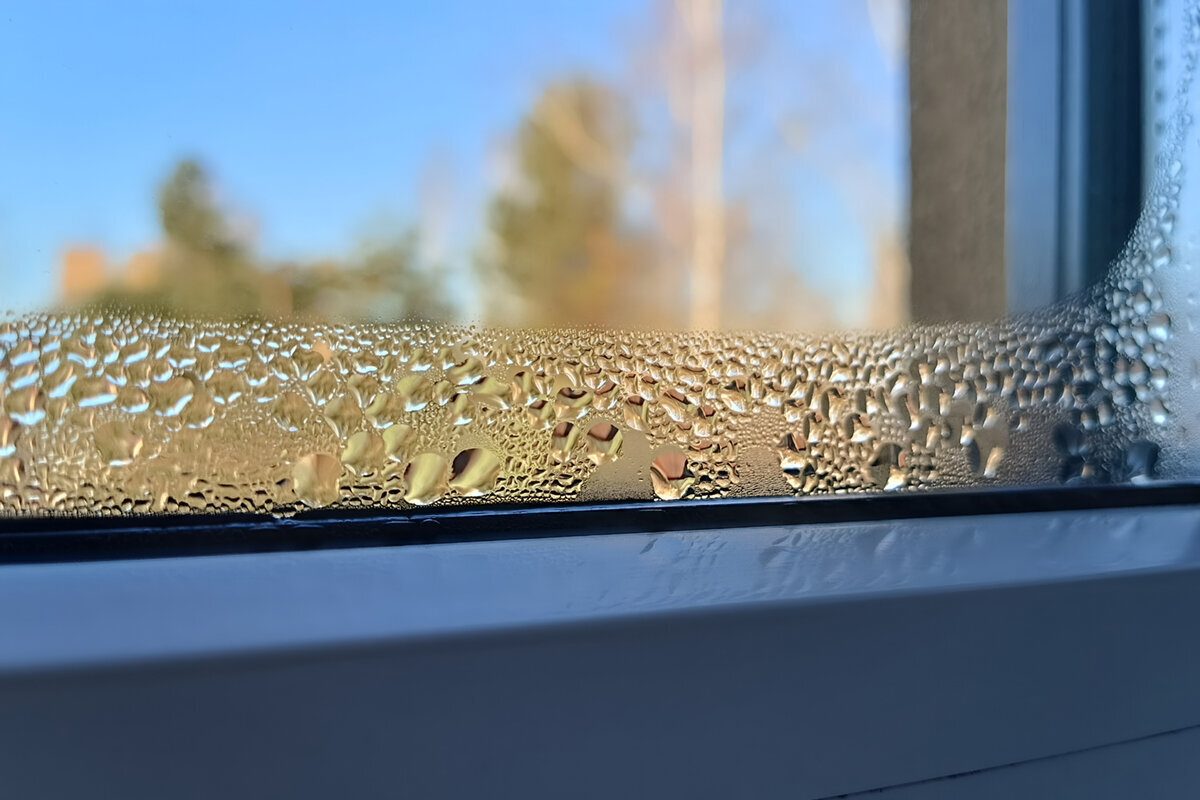
A window may be dry in the afternoon and covered with droplets by breakfast. Before blaming the glass or ordering a replacement, identify the operating type and the exact location of the water. Fixed glazing, casement windows, inward-opening windows, roof windows, and sliding patio doors differ in ventilation, access, drainage, and surrounding conditions. Moisture on the room-facing glass, dew on the exterior surface, and haze trapped between panes are separate observations with different next steps. Wipe the reachable surfaces, note what happened indoors, record the weather, and see whether the pattern returns. Also check whether water is actually on the glass or collecting at the frame, track, sill, or wall. A short record can distinguish an ordinary dew event from a recurring indoor-moisture, installation, drainage, or insulated-glass concern.
Locate the moisture before judging the window
Start with a clean, dry cloth on the room-facing glass. If the moisture wipes away there, it is interior condensation. If that surface stays dry while the outdoor face is damp, inspect from outside or through the glass in daylight. Haze or droplets that cannot be reached from either side may be between the panes. Reflections can mislead at night, especially across patio-door panels, so verify the location when lighting is better. Separate glass moisture from water at a lower frame, sill, track, trim joint, or wall; those locations can require a different investigation.
Record the outdoor conditions, recent indoor activities, and shape of the wet area. A broad film after showers, cooking, or overnight occupancy suggests a different starting point from a narrow, persistent patch on one unit. Note whether shades were closed, furniture restricted airflow, or an operable sash was fully shut and locked. Photograph the same window from the same side over several days. This gives a supplier or contractor more useful evidence than the word “foggy,” which could describe room-side condensation, exterior dew, surface residue, or trapped moisture.
Understand why room-side condensation forms
Indoor air contains water vapor. When it meets a surface colder than the air’s dew point, moisture can collect. During cold weather, interior glass and frame edges may become cool enough for this to occur. Showers, cooking, drying laundry indoors, gatherings, and other household activities can raise indoor moisture. A change in heating or ventilation may also alter the pattern. Condensation therefore does not automatically prove that a window has failed; it shows an interaction among indoor moisture, surface temperature, and local airflow. Compare several windows, exterior door glass, and other cool surfaces after the same night.
The distribution provides clues. A band along the bottom of the pane can appear as air cools against the glass and moves downward. Moisture behind a tightly closed shade may reflect a cooler pocket with little room-air circulation. A pattern restricted to one edge or one opening deserves closer comparison with nearby units. Do not block intentional ventilation routes or assume that opening a window is a complete moisture-control strategy. For persistent conditions, discuss indoor humidity, exhaust, heating, airflow, and the window assembly with appropriately qualified professionals rather than relying on one observation.
Test practical indoor changes without overreacting
Begin with the timing of everyday moisture sources. Use kitchen and bathroom exhaust during moisture-producing activities, and operate any whole-home ventilation system as designed. Check whether supply and return grilles are blocked. Open blinds or drapes for part of the day, and leave space between furniture and the window so room air can circulate. These are useful diagnostic changes: if condensation decreases after airflow improves or a moisture source is addressed, the window was only one part of the condition. If one opening remains wet while comparable windows stay dry, document the difference for inspection.
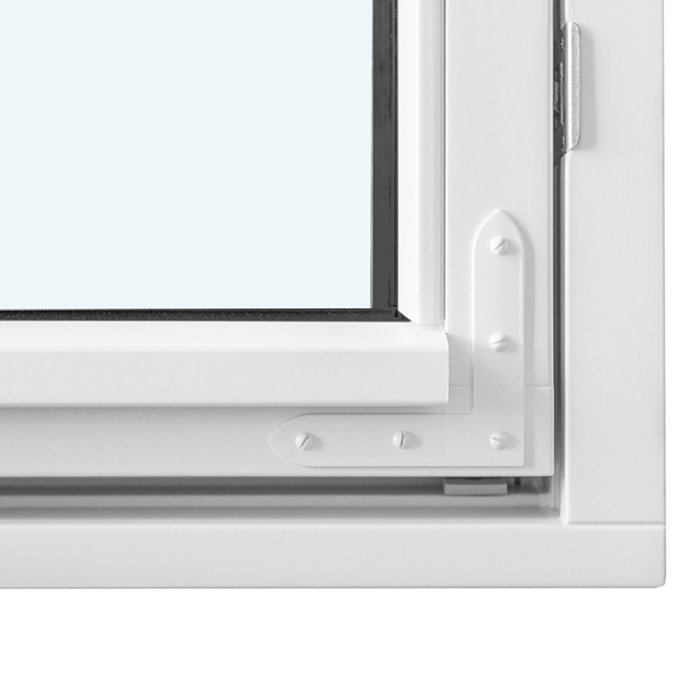
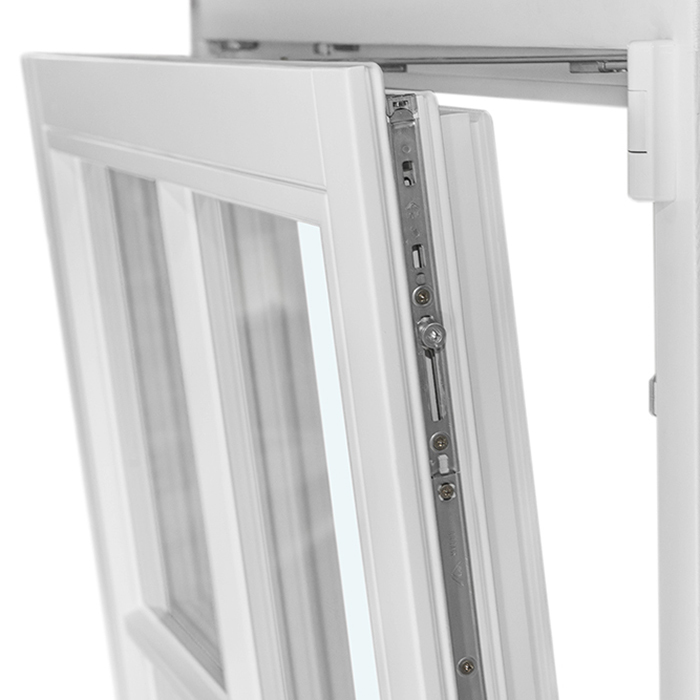
Wipe standing water from glass and sills instead of allowing it to remain against finishes. Once the area is dry, look for staining, softened paint, deteriorated trim, or a musty odor. Those signs broaden the issue beyond a temporary film on glass. When planning replacement, remember that an inward-opening single-sash window changes interior clearance, cleaning access, and occupant use, but its opening direction alone does not prevent condensation. Tell the seller how the room is occupied and where blinds, furniture, and heat sources will sit so operation and airflow can be considered together.
Recognize exterior condensation as outdoor dew
Exterior condensation forms when the outside glass surface becomes cooler than the outdoor air’s dew point. It is often noticed during still, humid mornings and may disappear after sun, wind, or warmer air changes the surface conditions. Indoor humidity is not the direct source because the water is on the outdoor face. Confirm the location from outside before treating it as a leak or glazing failure. If the room-facing glass remains dry and the moisture clears with changing weather, record it as an exterior dew pattern rather than evidence that water has entered the home.
Exposure explains why neighboring windows may look different. Roof overhangs, landscaping, screens, orientation, wind, and the amount of open sky visible from the glass can affect surface cooling. Decorative bars and reflections may make a light exterior film look as though it is trapped in the glazing cavity. Exterior dew can obstruct a morning view, but it calls for a different response from between-pane haze. A fixed window provides no ventilation through the unit itself, so a room containing large areas of fixed glazing still needs a separate, intentional approach to indoor ventilation.
Treat between-pane haze as a separate concern
Moisture between panes cannot be wiped from either reachable surface. It may appear as milky fog, droplets, streaks, or a persistent haze that changes with sunlight and temperature. Clean both sides first, remove any temporary film, and examine the glass from several angles. If the mark remains enclosed, focus the investigation on the insulated glass unit. Do not confuse it with exterior residue or room-side condensation concealed behind a shade. A confirmed cavity pattern differs materially from dew forming on an exposed surface and should be documented for the supplier or installer.
Photograph the affected panel in clear light and retain the order information. Ask whether the proposed assessment concerns the glass unit, sash, or entire window, and how appearance will be matched if only one component changes. Bloomcabin windows and doors carry a 5-year warranty, but the specific order documents and reported condition still need review. Trapped moisture does not establish its own cause; the assessment may consider glazing, sash condition, installation, and drainage. Do not drill, puncture, or dismantle the unit to release the haze, because that can create another problem and complicate evaluation.
Distinguish runoff, drainage, and surrounding leaks
Water at a sill or frame is not automatically condensation. It could be room-side moisture running down the pane, rain entering around the opening, water retained in a track, a drainage concern, or moisture coming from an adjacent building surface. Timing is the best separator. Note whether the area becomes wet after a shower without rain, only during wind-driven rain, while snow is melting, or after exterior cleaning. Dry the area and observe it during the next comparable event. A repeatedly wet sill with no visible glass condensation should not be dismissed as ordinary indoor humidity.
Opening type changes the investigation. A sliding door has tracks and threshold details unlike a casement window, while a pivoting roof window occupies a sloped roof location rather than a vertical wall. Keep accessible tracks free of loose debris and follow product care instructions, but do not enlarge drainage openings, cut seals, or apply improvised caulk without understanding the intended water path. Where wall, roof, cladding, or interior finishes are damp, arrange an appropriate site inspection that considers the whole opening and surrounding construction instead of evaluating the glass in isolation.
Let opening operation guide the buying questions
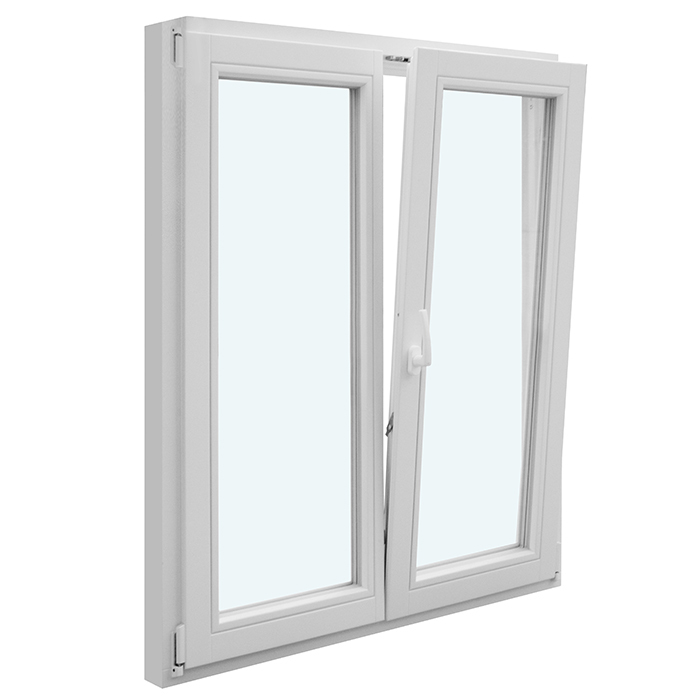
Operation affects ventilation choices, cleaning access, furniture clearance, and how occupants use a window. Outward-opening sashes need unobstructed exterior movement; inward-opening units require room-side clearance; pivoting units follow their own movement path. None is a universal condensation cure. Choose among them according to room use, cleaning needs, exterior exposure, shade placement, and the ventilation plan. A deep blind or nearby nightstand may interfere with an inward-opening sash, while landscaping or a walkway may affect outward movement. With a two-sash inward-opening window, account for the movement and clearance of both sashes rather than judging the opening from a closed display image. Resolve these practical conflicts before comparing minor options.
Ask for an operating demonstration based on the proposed size and room. Confirm handle location, opening direction, screen arrangement, cleaning access, and interaction with shades. A single-sash outward-opening casement window establishes a single-sash, outward-opening configuration; glass, color, decorative bars, hardware, and other selections must still be confirmed. If condensation occurs mainly overnight, changing the sash format may not address the underlying room moisture and airflow pattern. A sound choice connects daily operation to the building plan instead of assigning an unverified performance outcome to one opening style.
Define whether the project involves glass or the whole opening
Condensation alone does not determine whether to replace an insulated glass unit, a sash, the complete window, or nothing. Consider operation, visible damage, repeat patterns, drafts reported by occupants, and moisture affecting nearby finishes. A confirmed issue inside one insulated glass unit may justify a focused evaluation. A larger remodel may be the better time to coordinate sizes, sightlines, opening directions, color, decorative bars, and wall finishes. Establish what portion of the assembly is involved before treating a replacement window as the automatic answer to every wet-glass observation. Use a simple scope table listing each opening, the observed condition, the reachable surface, any operating problem, and the requested work. This keeps an isolated glazing assessment separate from optional design changes and helps prevent an estimate for one component from being mistaken for a complete opening replacement.
For a room with several windows, sketch each elevation and label fixed and operable elements. A combination window can bring multiple window elements into one composition, so the quote should show the arrangement and identify which portions open. Provide interior and exterior photographs, wall information, finish plans, and known exposure rather than relying only on rough dimensions. Bloomcabin delivery is typically 4–6 weeks, subject to order confirmation. Settle measurement responsibility, operation, color, glass layout, and installation coordination before confirming the order; delivery timing does not resolve an undiagnosed building condition.
Compare specifications for the exact configuration
When replacement is justified, compare written information for the complete proposed unit. Whole-window thermal information, dimensions, glass makeup, frame design, decorative bars, and fixed versus operable areas can influence the assembled result. One favorable glass value should not be treated automatically as the value for the entire opening. Ask what the stated information covers, whether it applies to your dimensions and selected operation, and which options change it. Better thermal performance may support comfort goals, but it does not remove the need to manage indoor moisture or install the opening correctly.
Do not infer unseen specifications from a product title. The super-low-Uw outward-opening passive house window is identified as an outward-opening passive house window, but documentation for the exact proposed size and options should guide comparison. Put competing proposals side by side and mark any item that is described differently or left blank. Confirm whether each quote covers the same number of units, operating portions, glass layout, finish, hardware, screens, delivery scope, and installation responsibilities. An apparent product difference may instead be a scope difference. If the project raises structural, egress, coastal, wildfire, wind, permit, or other compliance questions, have an appropriate local professional determine what applies to the site and scope. Requirements vary by jurisdiction and project conditions; this guide does not establish a mandatory rating, dimension, permit path, or incentive eligibility.
Prepare a useful supplier and installer discussion
Bring photographs showing the moisture location, dates and weather notes, room use, recent cooking or bathing, and any water at the sill or wall. Identify whether the opening is fixed, casement, pivoting, roof-mounted, or a patio door. Explain the desired outcome as well: easier cleaning, controlled ventilation, a different layout, fewer decorative bars, or coordination with a remodel. This prevents a diagnostic question from becoming an unfocused product search. It also helps the supplier ask about measurements, swing clearance, wall condition, exposure, and installation responsibility. Arrange the evidence chronologically: first appearance, conditions when it returns, steps already tested, and changes observed afterward. Include one full-opening photograph and closer images of the pane edge, frame, sill, and nearby finish. That sequence helps reviewers understand scale without relying on an extreme close-up.
Review the quote line by line. Confirm handing, opening direction, sash or panel count, fixed sections, colors on visible sides, decorative bars versus glass-dividing bars, hardware, and field-measurement responsibility. For a two-panel outswing patio door, discuss the two-panel outswing arrangement along with exterior swing space, threshold integration, and adjacent finishes for the actual project. Ask how a changed site measurement would affect the proposal and which documents must be approved before order confirmation. Clear scope supports both an accurate condensation diagnosis and a better-controlled purchase.
Common questions
Is inside condensation always a sign that a window has failed?
No. It means the room-facing surface became cool enough for moisture in indoor air to collect. The cause may involve a temporary activity, recurring indoor moisture, restricted airflow, surface temperature, or a localized condition. Track the timing, compare nearby windows, and inspect surrounding finishes before deciding that replacement is necessary.
Why is the outside glass wet while the inside stays dry?
Outdoor moisture can condense on exterior glass when that surface is cooler than the outdoor air’s dew point. It may appear on still, humid mornings and clear as conditions change. Verify it from outside. Exterior dew is not, by itself, evidence of a failed window or water entering the building.
Can between-pane moisture be wiped away?
No. True between-pane moisture remains after both reachable surfaces have been cleaned. Examine the glass from different angles, photograph the condition, and contact the supplier or installer with the order information. Do not puncture or dismantle the insulated glass unit in an attempt to release haze or droplets.
Should every window be replaced if one unit is foggy between panes?
Not necessarily. One confirmed between-pane condition may require evaluation of that glass unit and its surrounding sash or frame while other windows remain unaffected. Consider the other units’ condition, operation, appearance, and the renovation scope. Ask the supplier which component can be assessed and what replacement paths are available.
Do blinds and curtains cause condensation?
They do not generate water vapor, but tightly closed coverings can restrict room-air movement and leave the glass surface cooler. If moisture occurs only behind a covering, adjust its position and compare the result over similar nights. Continue examining indoor moisture sources rather than assuming the blind or curtain is the only factor.
What to check next
Window condensation becomes easier to address once you identify its location. Room-side water calls for a review of indoor moisture, airflow, and surface temperature. Exterior dew is an outdoor surface event. Haze trapped between panes warrants a focused insulated-glass and warranty discussion, while water at a frame, track, sill, or wall needs a broader diagnosis. Before buying, define the intended opening operation and decide whether the scope involves glass, sash, window, installation, or surrounding construction. Bring photographs and pattern notes to qualified professionals, verify project-specific requirements locally, and base the next step on the condition you have confirmed rather than the failure you initially assumed.
