







Polycarbonate High Tunnel Greenhouse
High Tunnel Greenhouse: durable polycarbonate protection for vegetables, seedlings, and season extension
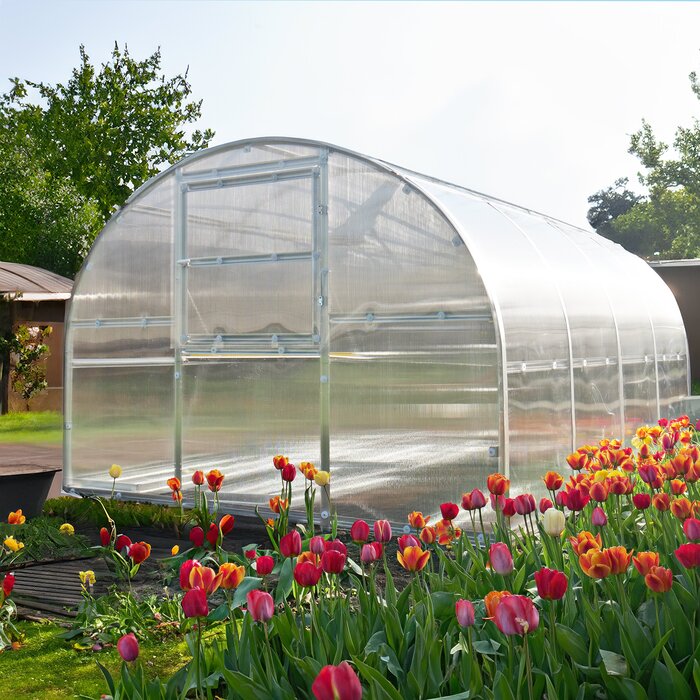
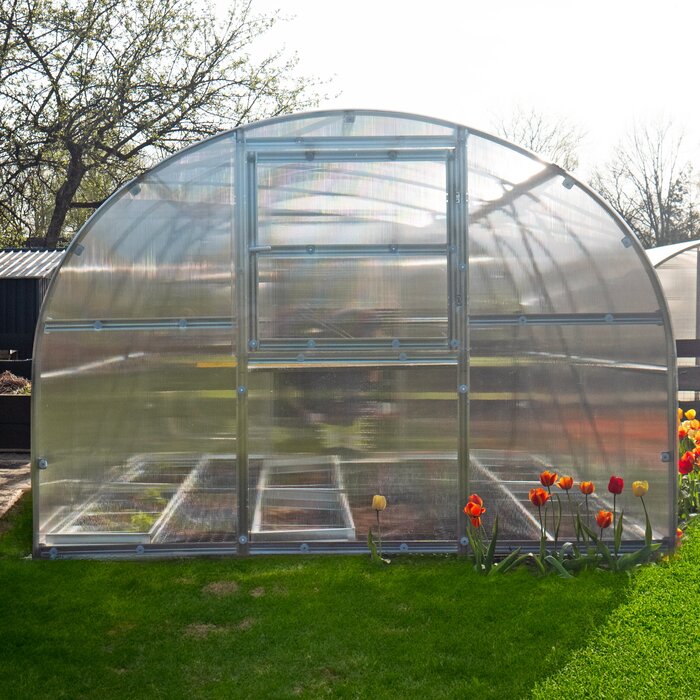
Our Bloomcabin High Tunnel Greenhouse gives U.S. growers generous protected space in a durable alternative to a lightweight, film-covered tunnel. Its fixed polycarbonate covering, reinforced zinc-coated steel frame, and closely spaced arches make it a practical choice for productive home gardens and small-scale growing.
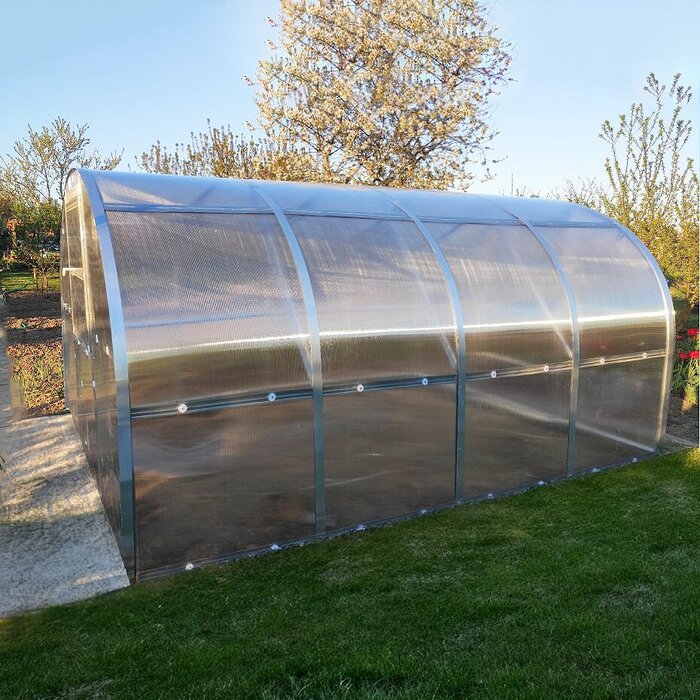
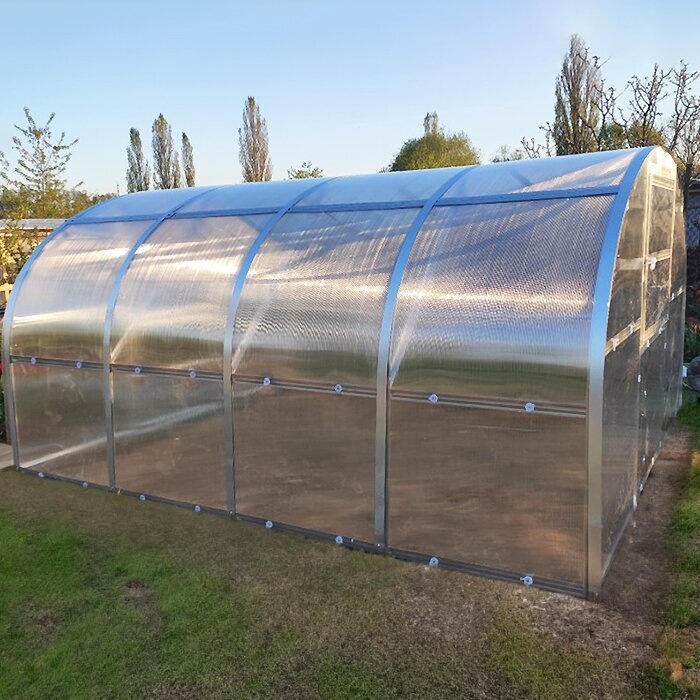
The tunnel is approximately 9 ft 10 in wide and 6 ft 11 in high. The base length is approximately 13 ft 1½ in and can be extended in sections of about 6 ft 6¾ in. The Omega-shaped steel profiles are about 2.2 in wide and 0.039 in thick. Arches are spaced approximately 3 ft 3 in apart, and each arch is anchored about 13.8 in into the ground. The structure's rated snow-load capacity is 43 lb/ft². Explore our Greenhouses & Conservatories and Useful Information.
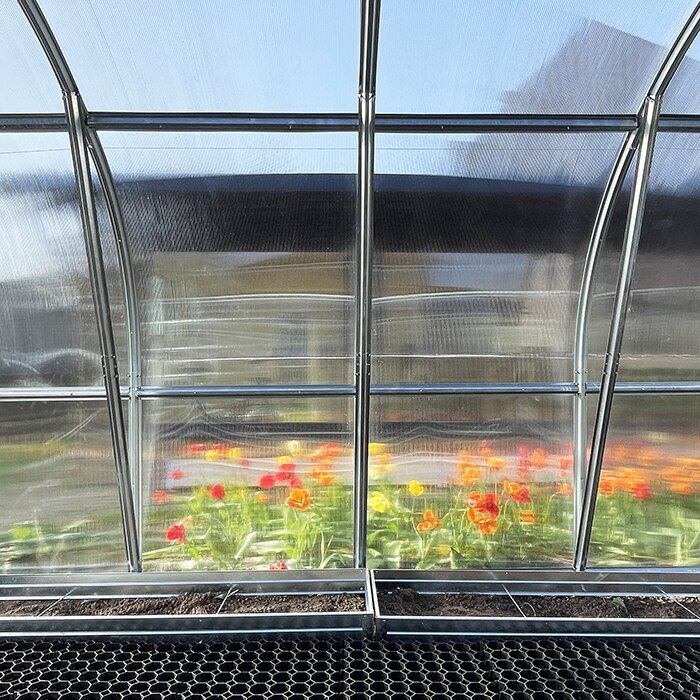
Frame construction
Closely spaced arches, rigid Omega profiles, and deep ground anchoring strengthen the tunnel from end to end
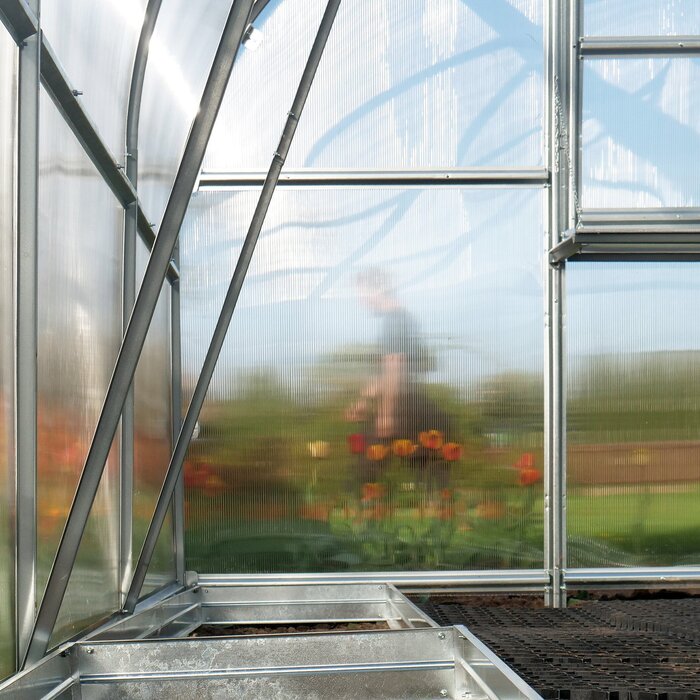
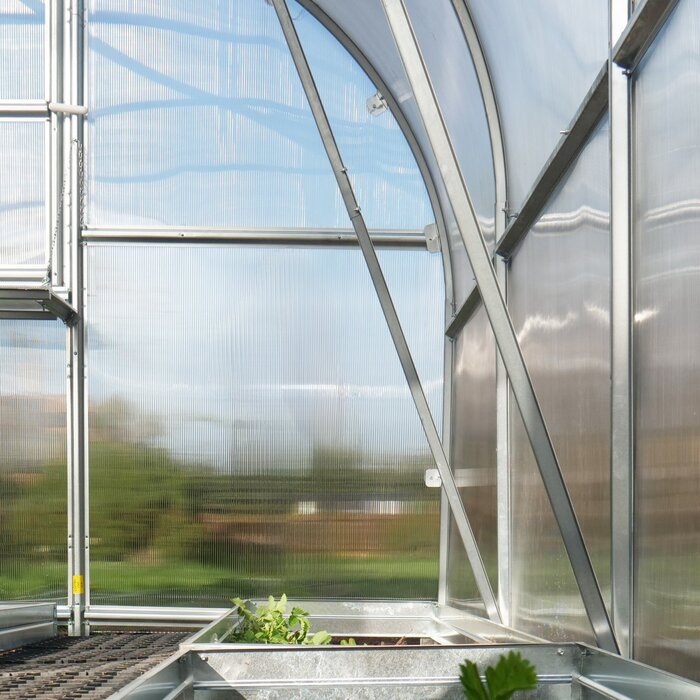
Zinc-coated steel gives the frame rigidity and corrosion protection for long-term outdoor use. The Omega-shaped profiles form the primary support members throughout the tunnel.
The reinforced arches are positioned close together so loads are shared across the structure instead of being concentrated on only a few frame members.
Every arch is set into the ground to stabilize the tunnel. The required anchoring must be considered when evaluating the soil and preparing the installation site.
Benefits of a rigid-panel high tunnel
A rigid-panel alternative to a film-covered tunnel, with more growing room than many compact garden greenhouses
Use the width for parallel beds and a working aisle, then select a length that suits your current planting plan and available expansion space.
Generous width
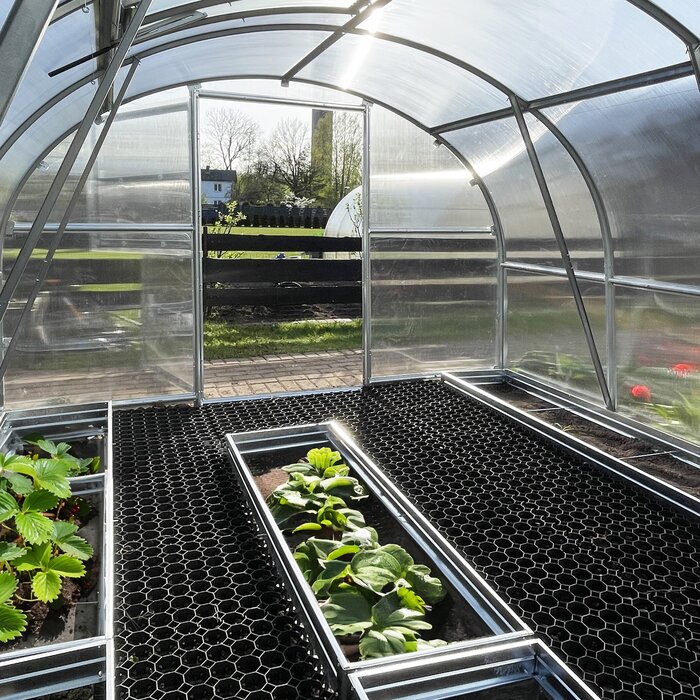
The broad interior accommodates multiple beds, a practical aisle, upright work, and tall crops.
Modular length
Choose the base tunnel for a compact layout or extend it in modules as your planting capacity grows.
Closely spaced arches for distributed support
UV-protected rigid polycarbonate
Covering and panel attachment
Rigid polycarbonate replaces seasonal film and fastens securely to the steel frame
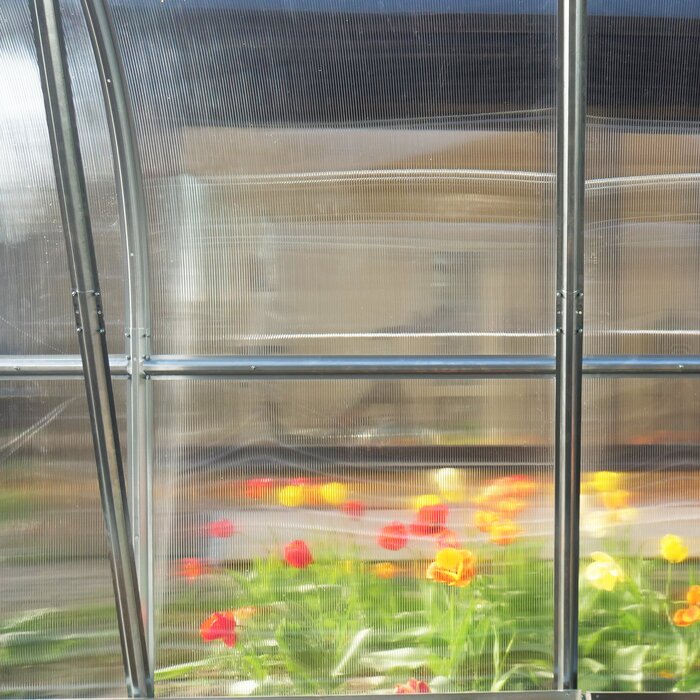
The tunnel is clad in polycarbonate measuring 0.24 in (6 mm) thick. Compared with plastic film, the rigid panels form a fixed outer shell while remaining lightweight and allowing light into the growing area.
M5 fasteners and D40 plastic tabs secure the panels firmly to the steel frame.
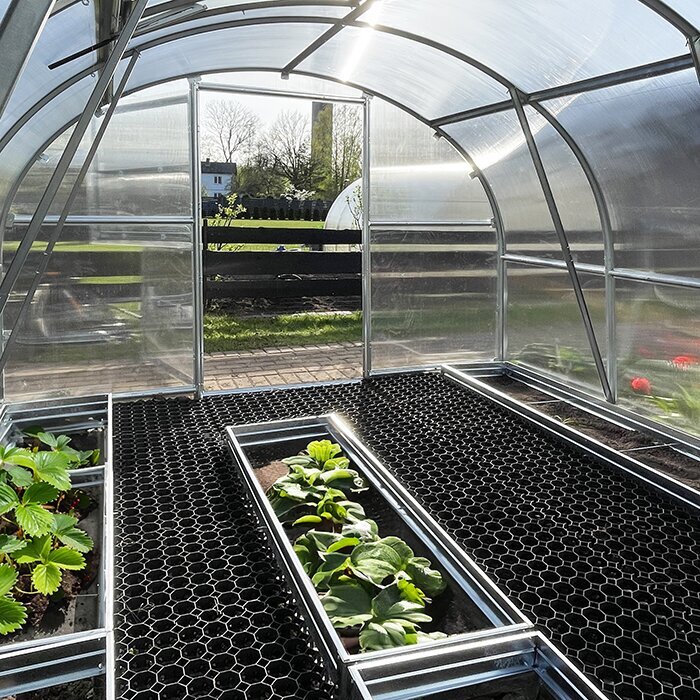
U.S. Specifications
Key specifications of the Bloomcabin High Tunnel Greenhouse
Width: approximately 9 ft 10 in (3.00 m).
Height: approximately 6 ft 11 in (2.10 m).
Length: base model approximately 13 ft 1½ in (4 m), extendable in approximately 6 ft 6¾ in (2 m) sections.
Frame: zinc-coated steel, approximately 0.039 in (1 mm) thick.
Profile: Omega-shaped profile, approximately 2.2 in (56 mm) wide.
Arch spacing: approximately 3 ft 3 in (1 m).
Panel attachment: M5 fasteners and D40 plastic tabs.
Ground anchoring: each arch extends approximately 13.8 in (35 cm) into the ground.
Covering: polycarbonate, 0.24 in (6 mm) thick, with UV protection.
Access: one front door.
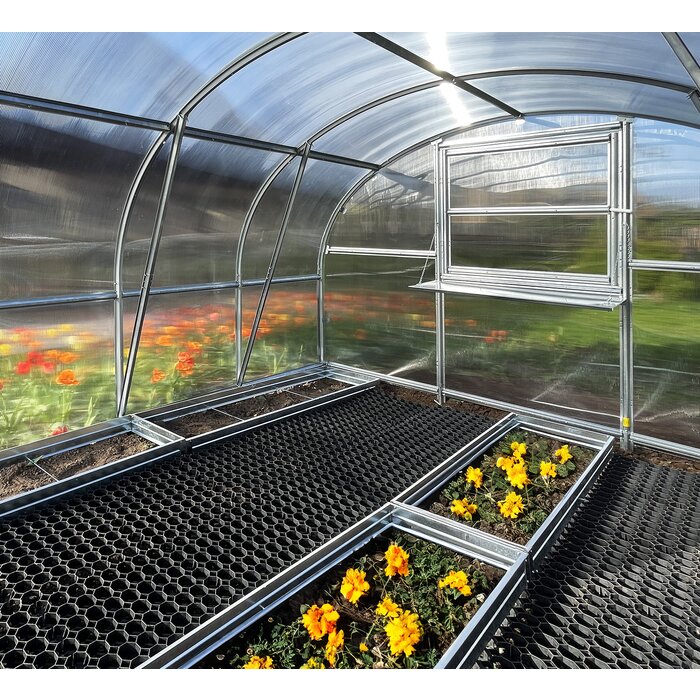
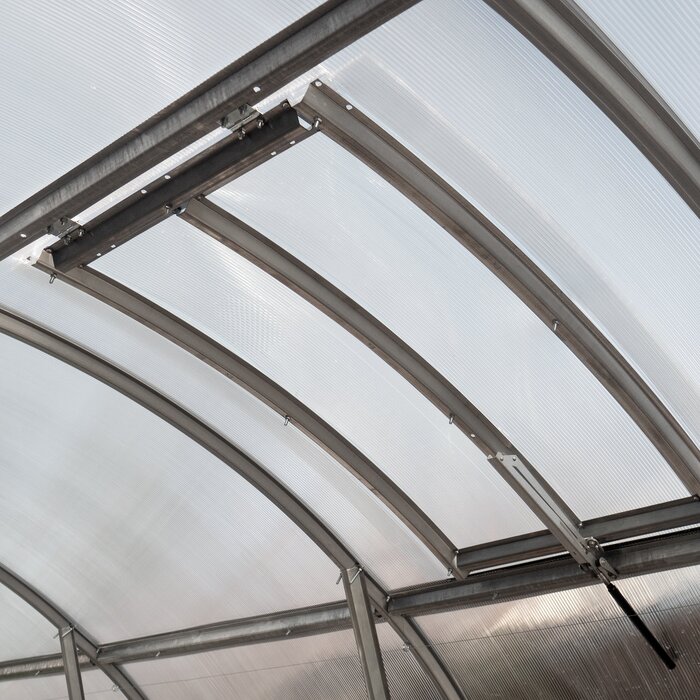
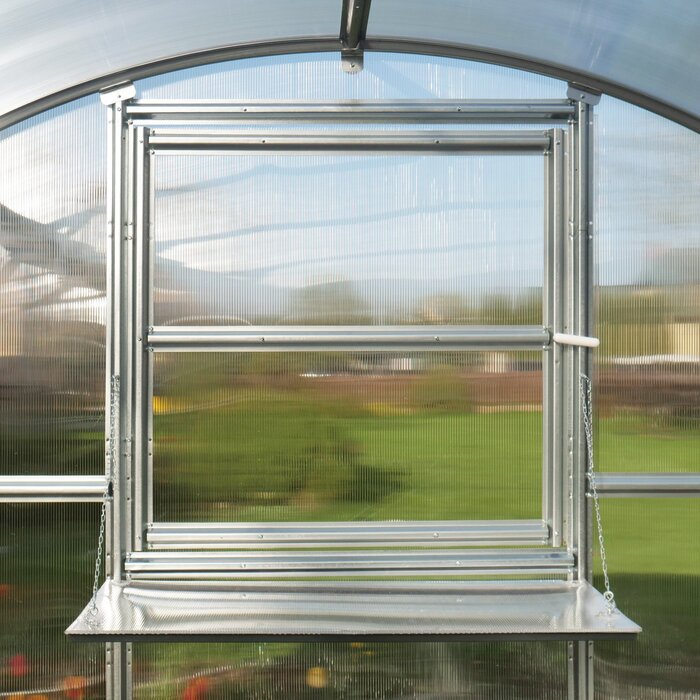
Ventilation: two side windows for airflow and temperature control.
Warranty: 12 years, subject to the applicable product terms.
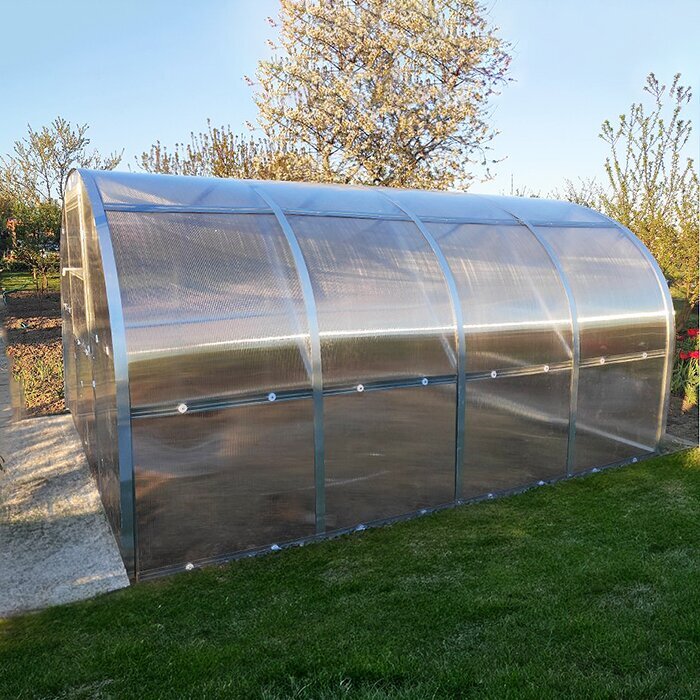
Day-to-day growing
A front door and two side windows support convenient access, airflow, and temperature control
The interior height provides comfortable working room and space for tall crops such as tomatoes and cucumbers.
The two side windows increase airflow when the interior begins to warm. Timely ventilation is especially important on bright days, when temperatures inside a protected structure can rise quickly.
Keep foliage and trellises clear of the window openings so air can move through the crop canopy. Leaves, ties, and tools should not interfere with closing the windows securely.
Growing layouts
Organize the high tunnel for different crops and tasks throughout the growing season
Divide the interior by crop height, planting date, and water needs so multiple growing areas remain manageable without sacrificing a clear route to each bed.
Tomatoes & cucumbers
Train climbing crops vertically while preserving clear working access between the planted rows.
Early propagation
Use the protected space to start seedlings earlier and shield young plants from unfavorable outdoor conditions.
Vegetable production
Create several productive rows with a central path for planting, maintenance, and harvesting.
Season extension
Continue growing later into fall while reducing direct exposure to rain, wind, and colder conditions.
Installation essentials
Choose the site, prepare the ground, and plan access and ventilation before assembly
Select a reasonably level, sunny site with enough clearance from trees, walls, and other obstructions.
Confirm that the soil can accommodate the specified anchor depth, and account for rock, roots, or other underground obstacles when laying out the footprint.
Map beds, aisle widths, irrigation lines, and the clear route to the front door before selecting the final tunnel length.
For additional planning and ordering guidance, see our Useful Information.
Product comparison
Is a high tunnel or a classic aluminum greenhouse the better fit?
A classic aluminum greenhouse generally places greater emphasis on appearance, frame colors, glazing options, and coordination with a landscaped garden.
The high tunnel prioritizes productive growing space, a sturdy working structure, and straightforward expansion. Its width remains fixed while additional sections increase the length.
Choose the high tunnel when crop production and protected growing space come first. Choose a classic greenhouse when customization and garden appearance are higher priorities.
Regional growing priorities
Adapt the same structure for northern, humid, hot, or dry regions
A high tunnel serves different purposes in Maine or Minnesota than it does in Texas, Georgia, California, or the Mountain West. Northern growers may focus on earlier spring planting and later fall harvests, while hot southern locations often require more ventilation and careful summer crop selection.
In humid regions, the covering limits direct rain on foliage, but trapped moisture still needs to escape. In arid climates, it protects crops from wind and weather while the grower supplies the irrigation.
Decide whether the tunnel's primary regional role will be spring warm-up, rain exclusion, wind protection, or cool-season production. That choice should guide crop succession and the attention given to ventilation and irrigation.
Orientation and exposure
Prioritize sunlight and access, then account for prevailing winds
For most U.S. home gardens, start with a sunny, unobstructed site. Morning sun is particularly useful after cool nights, while reliable afternoon ventilation becomes more important in warmer regions.
Wind exposure should also guide placement. Avoid narrow gaps between buildings where wind can accelerate. On open rural properties, a windbreak may help if it does not shade the tunnel or restrict airflow around it.
Mark the full footprint and have buried electrical, irrigation, drainage, gas, and other utility lines located before installation. Never reduce the required anchor depth to avoid difficult soil or an underground obstruction.
Cold-climate crop rotation
Begin with early greens, then transition to warm-season crops
In colder states, the tunnel can be productive well before tomatoes are ready to transplant. Lettuce, spinach, herbs, brassica starts, and other cool-season crops can occupy the beds while outdoor growing conditions remain less dependable.
As the days lengthen and nights become warmer, those early crops can give way to tomatoes, cucumbers, peppers, and other heat-loving plants. After summer crops are removed, sections can return to greens and fall plantings.
This succession plan makes the tunnel useful across several seasons instead of limiting it to one summer crop. Base planting dates on local conditions rather than a national calendar.
Warm-region growing
In the South and Southwest, ventilation may matter more than added warmth
Check conditions inside the tunnel rather than relying only on the outdoor forecast. Heat can build around dense foliage, so adjust window use to the crop stage and conditions at plant height.
Irrigation timing matters as well. Watering near the root zone in the morning can limit unnecessary humidity compared with wetting foliage late in the day. Temporary shading may also be useful during the hottest part of the season in very sunny locations.
Growers in warm regions may use the tunnel most intensively in fall, winter, and spring instead of trying to carry every crop through peak summer heat. The space can be replanted as seasonal conditions change.
Irrigation planning
Install irrigation before crops, stakes, and trellises fill the interior
The polycarbonate roof prevents rainfall from reaching the beds directly. Drip lines or other targeted irrigation are therefore easier to install before crops, stakes, and trellises occupy the interior.
A longer tunnel can be divided into irrigation zones so tomatoes, cucumbers, seedlings, and lower-water crops do not have to follow the same schedule. Use the soil texture and crop needs to determine how often each zone runs.
If you plan to collect rainwater, position the tanks where they will not shade the tunnel or obstruct the front door. In drought-prone regions, consider both storage capacity and a backup water supply when planning irrigation.
Winter storm care
In northern and mountain states, snow density can vary considerably. Wet snow and wind-drifted accumulation may place very different demands on a structure than light powder, even when the visible depth appears similar.
Inspect the tunnel after significant storms for uneven accumulation, unusual frame movement, loose fasteners, or damage around the windows. If snow needs to be removed, use a method that will not scratch the polycarbonate or concentrate force on one area.
Before winter, inspect the ground anchoring, M5 fasteners, D40 tabs, reinforcements, door alignment, and window hardware. Addressing a loose or misaligned component beforehand is easier than repairing it during an extended freeze.
Planning for expansion
Match the base tunnel and extension modules to your garden workflow
The base tunnel can accommodate distinct growing zones, while the modular design allows later expansion. Before adding sections, confirm that you also have enough irrigation capacity, compost, trellising, and time to manage the additional space.
Keep one end of the structure clear if future expansion is likely. Consider this when positioning permanent paths, fences, water tanks, and raised beds outside the tunnel.
Use module boundaries as planning points for crop zones, irrigation runs, or staggered plantings. A consistent layout from one section to the next can simplify routine care and harvesting as the tunnel grows.
Wind readiness
Plan around the 67 mph wind rating—and assemble and inspect the tunnel correctly
The rating assumes that the frame is assembled as instructed, the arches reach the specified anchoring depth, and the panel connections, door fittings, and window fittings remain secure. Buildings, fences, slopes, and open fields can also change how wind reaches the structure.
Before forecast high winds, close and secure the side windows and make sure the front door latches firmly. Remove loose tools, containers, and other nearby objects that could strike the polycarbonate. After the weather passes, inspect the entire exterior, including panel edges, tabs, fasteners, reinforcements, openings, and the ground around each arch.
Repeated rattling, a misaligned door, a window that has become difficult to close, or a panel that no longer sits evenly should be addressed before the next storm. A small loose component can place added stress on nearby connections. Follow the product instructions for adjustments and repairs, and seek site-specific professional advice for unusual exposure or difficult soil conditions.
Layouts by growing scale
Adapt the interior layout for a family garden or a small growing operation
A family garden may dedicate one side to tomatoes and cucumbers while keeping the other side flexible for herbs, peppers, or seasonal greens. A small farm may prefer repeatable bed widths, drip zones, and trellis lines that continue through several modules.
Keep the main access route clear and size the aisle for the tools and harvest containers you use. Overfilling the interior with beds or containers can obstruct plant care, harvesting, and access to the windows.
If you plan to use the tunnel for commercial production, verify the local requirements that apply to the structure and to any electrical or water work before installation.
High Tunnel Greenhouse FAQs
Planning, care, and expansion questions answered
How should I plan the interior before assembly?
Sketch the beds, paths, irrigation lines, trellises, and turning space at the entrance before setting the tunnel's final position. Plan around frequent tasks such as carrying harvest containers, pruning climbing plants, and moving soil amendments. Leave enough room for mature foliage without blocking access to crops or the side windows.
What should be checked when preparing the installation area?
Confirm that the footprint is reasonably level, accessible for assembly, and large enough to provide working room around the exterior and a clear approach to the front door. Stage components where they will not be bent, scratched, or mixed with excavated soil, and follow the product instructions for assembly order and anchoring.
Can raised beds be used inside the tunnel?
Yes. The interior can use in-ground rows, raised beds, or a combination of both. Plan around each bed's full outer width, not just its planted surface, and leave enough room to reach crops without stepping into the soil. Do not let bed ends restrict the entrance, window operation, or access to the lower frame and panel connections.
How can condensation be managed?
Manage condensation by addressing airflow, irrigation, and plant spacing together. Open the side windows when conditions allow, direct water toward the root zone, and keep wet plant material away from the covering. If moisture persists, review both irrigation timing and ventilation rather than changing only one.
How should the polycarbonate be cleaned?
Gently remove loose debris before washing so grit is not dragged across the panels. Follow the polycarbonate care instructions, using clean water, soft materials, and only permitted cleaning methods; avoid abrasive pads and sharp tools. While cleaning, inspect panel edges and fittings for scratches, loose tabs, or developing gaps.
What routine maintenance should be recorded?
Keep a dated log covering the arches, reinforcements, M5 fasteners, D40 tabs, door, windows, panel edges, and ground anchoring. Record every adjustment or damaged part so it can be checked again at the next inspection. Update the log after winter weather, strong winds, or trellis work that may have affected nearby components.
What should I check before adding an extension section?
Confirm that the extension area is clear, reasonably level, and accessible for assembly. Recheck the planned anchor locations for underground obstacles, then extend paths and irrigation so the new section integrates with the existing layout. Keep crops and stored materials away from the work area during assembly.
How should the tunnel be left between crop cycles?
Remove spent plants, fallen ties, empty pots, and other material that could conceal pests or obstruct inspection. Clear the paths and bed edges, check the irrigation system, and examine the structure while the interior is open and accessible. Repair worn paths, secure the door and windows for the expected weather, and prepare the beds for the next crop.
Choose your tunnel configuration
Select protected growing space that fits your crops, site, and expansion plans
Use the specifications above to compare the base length and extension options with the space you have marked at the installation site.
Compare this model with the rest of our Greenhouses & Conservatories.
Planning checklist
✓ Mark the base footprint and any future extension area
✓ Check exterior clearance for assembly and maintenance
✓ Locate buried utilities and other anchoring obstacles
✓ Allow enough aisle and doorway clearance for the tools you use
✓ Route irrigation before installing crop supports
✓ Keep side windows clear of beds, trellises, and foliage
Plan Your High Tunnel