
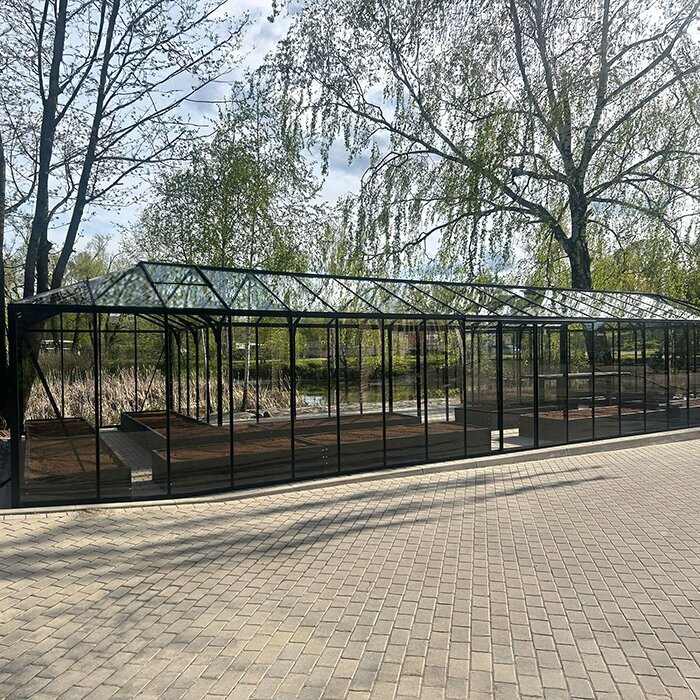
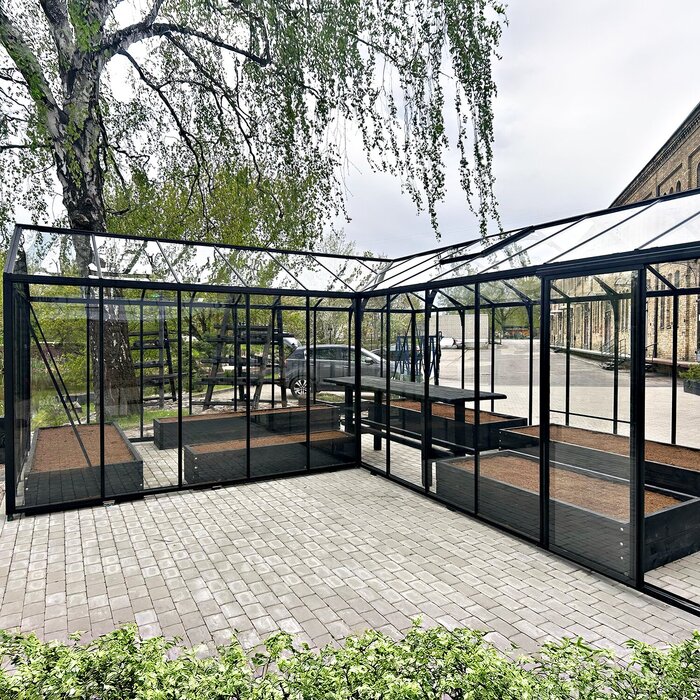
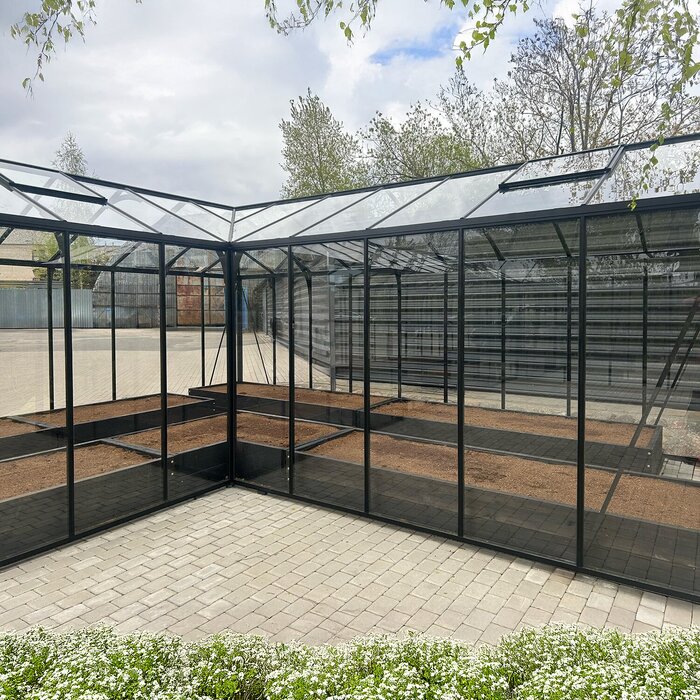
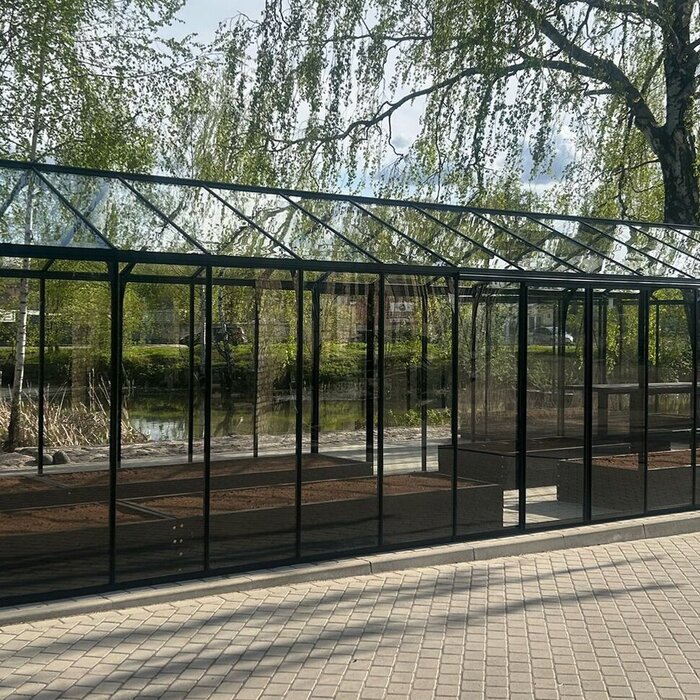
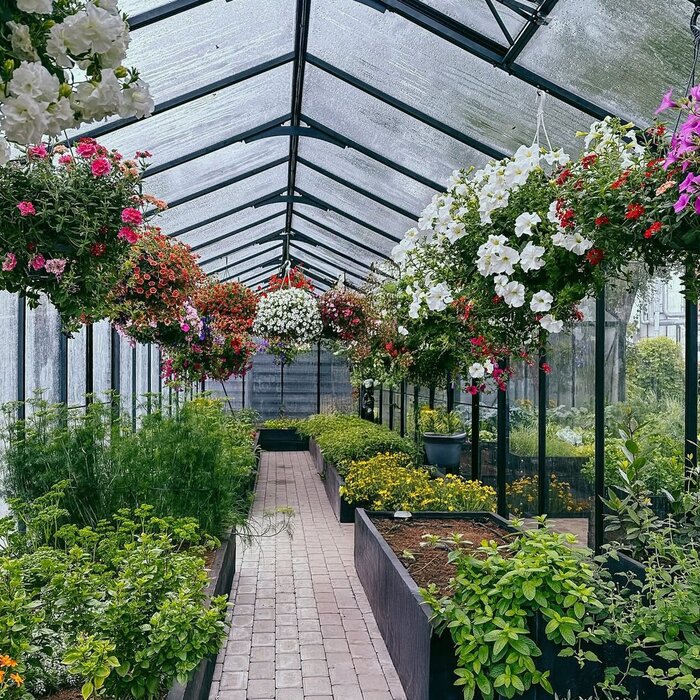
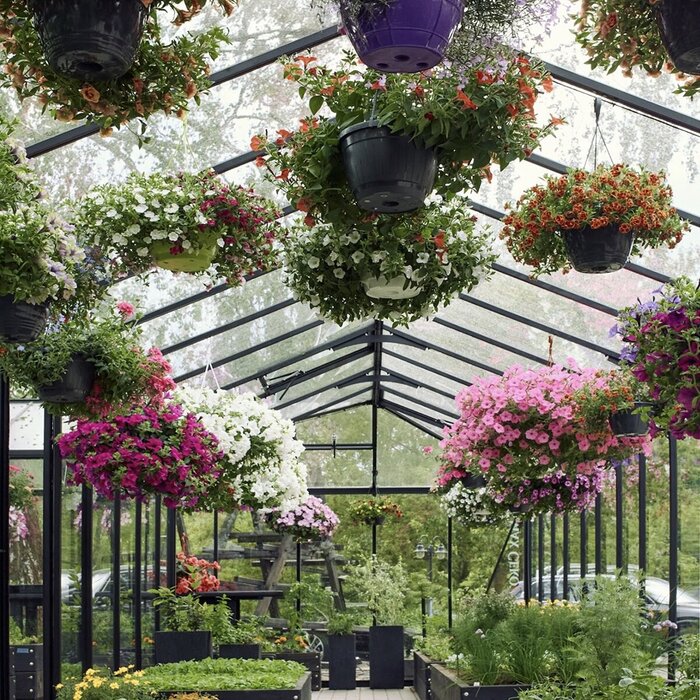
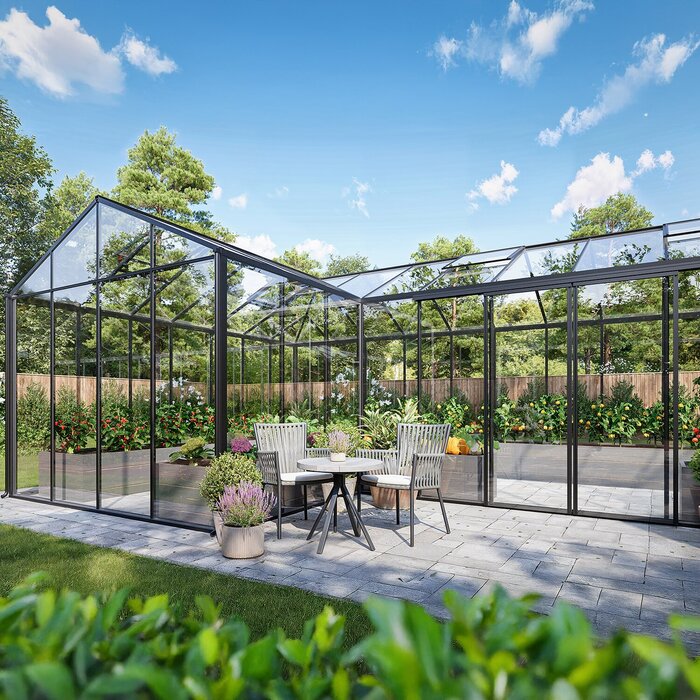








BloomCabin Large Backyard Greenhouse
Meet the BloomCabin Large Orangery Greenhouse
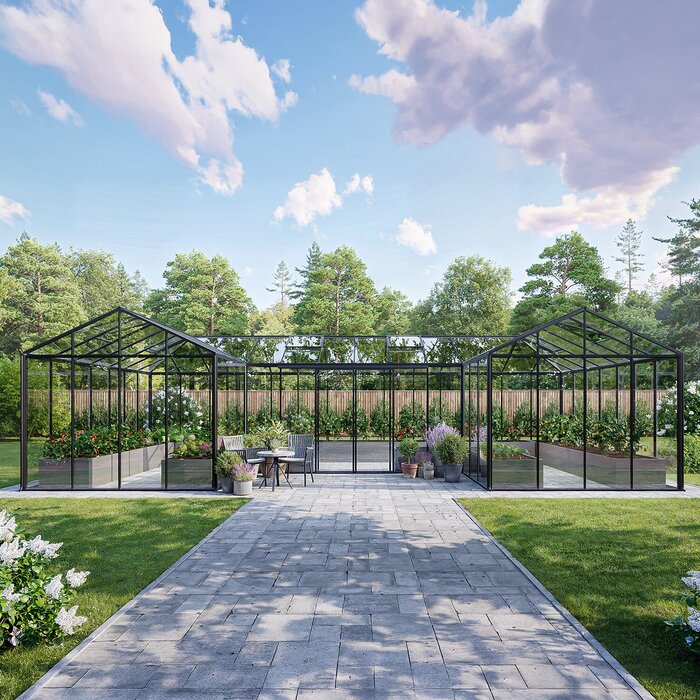
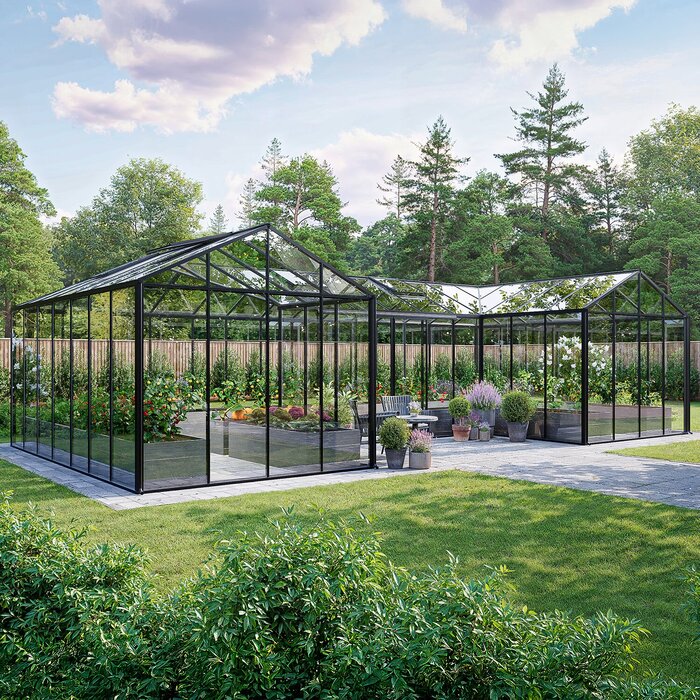
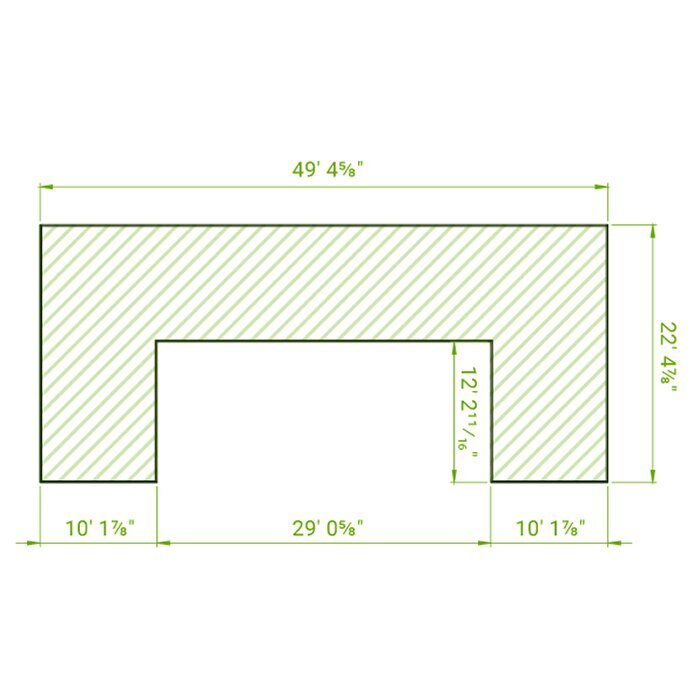
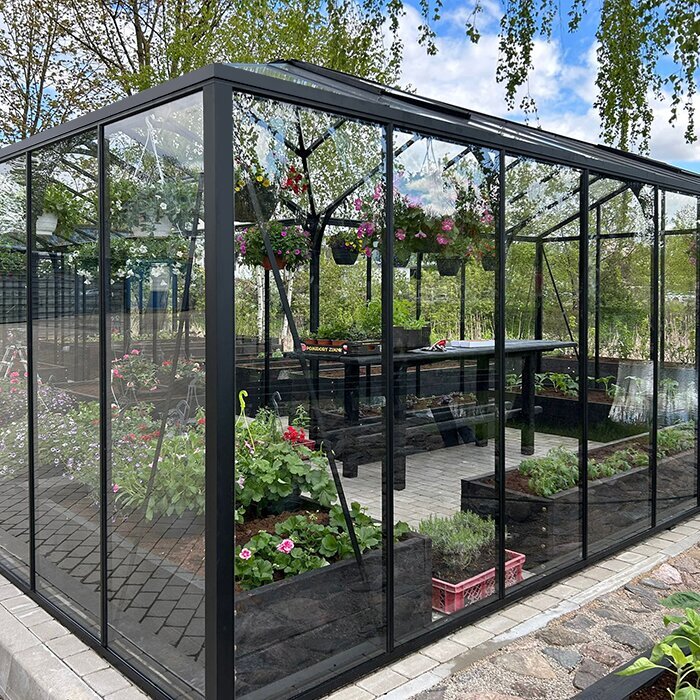
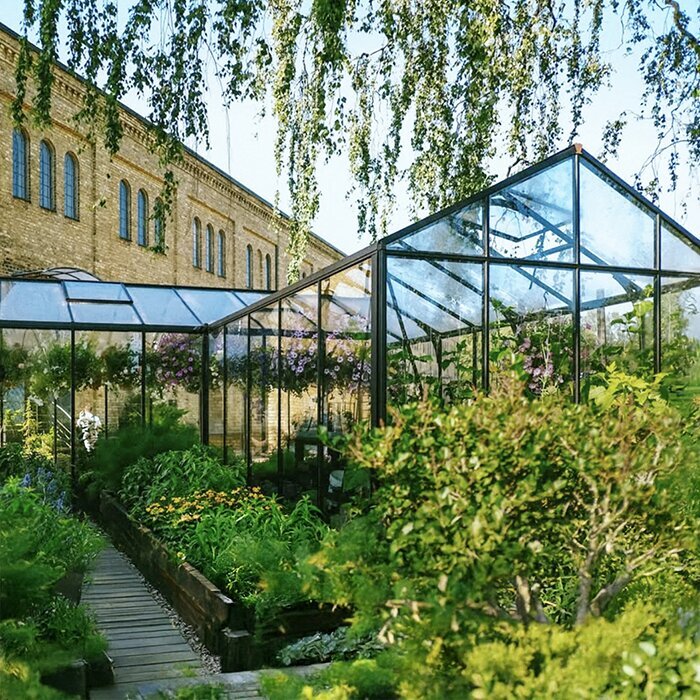
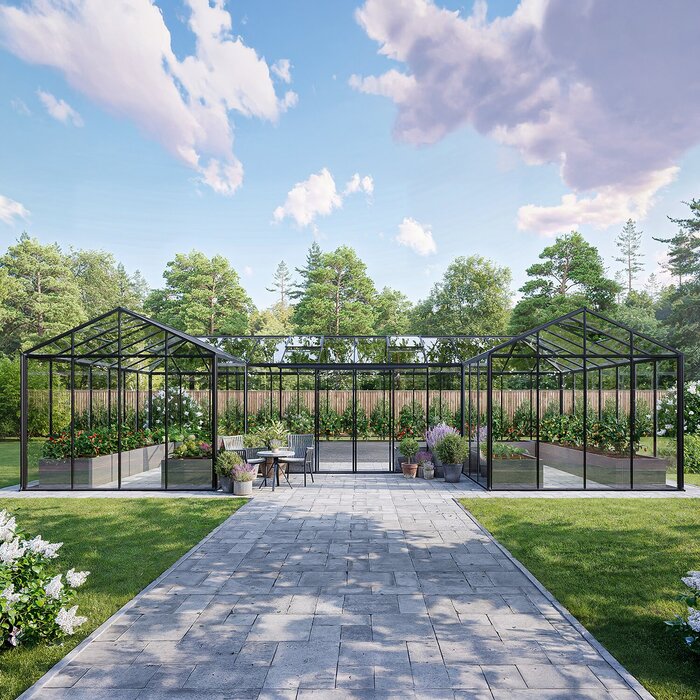
The BloomCabin Large Orangery is BloomCabin’s largest backyard greenhouse, with approximately 506–753 sq ft of interior floor area. It is designed for homeowners who want extensive growing room plus space for dining, relaxing, or creative projects. The generous footprint makes it possible to plan permanent beds, containers, worktables, storage, and seating without forcing everything along one narrow aisle. Compare configurations only after estimating how much room each fixed element will need.
Allow room for collections and routines to evolve. A growing container plant, trained vine, or expanding propagation program can require more space over time, so avoid filling every open area at installation. Preserving an adaptable zone makes seasonal changes easier without disturbing permanent beds.
Before comparing configurations, identify the project constraints that cannot change: property boundaries, access points, existing utilities, mature trees, and the area available for site preparation. Then decide which uses deserve permanent space and which can remain flexible. This sequence keeps the greenhouse choice tied to the actual property rather than an idealized floor plan. Explore BloomCabin USA.
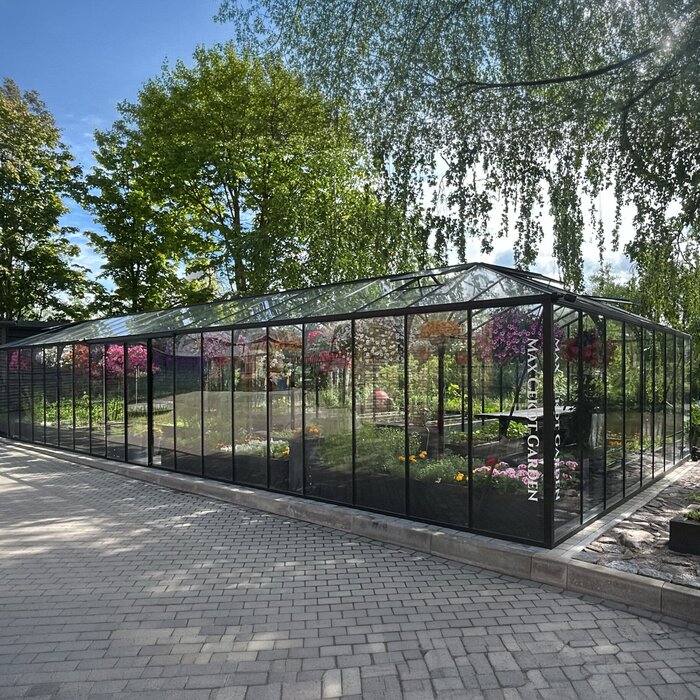
Room for distinct uses
What changes when you have this much greenhouse space?
Propagation, food crops, ornamental collections, and large containers can each occupy a defined area. Grouping plants with similar watering, support, and access needs makes daily care more efficient and keeps gardening work out of social areas.
A dining or lounge area can function as a genuine destination instead of a table squeezed into leftover floor space. Positioning it away from potting work, irrigation connections, and primary crop-care routes helps keep the social side of the greenhouse comfortable and easier to maintain.
The open plan can adapt to the gardening calendar. Spring may call for more propagation space, summer for stronger airflow and shaded seating, and fall for bringing larger plants indoors. Movable furnishings provide that flexibility without disturbing established beds, trellises, or utility connections.
01
506–753 sq ft
Floor area for growing, work, dining, and relaxation
02
Dedicated growing areas
Beds, propagation, vines, and large feature plants
03
Comfortable living space
Room for dining, relaxing, or studio work alongside plants
04
Configuration features
Doors, roof vents, finishes, and an optional chimney outlet
Open-plan flexibility
Create separate growing and backyard-living zones
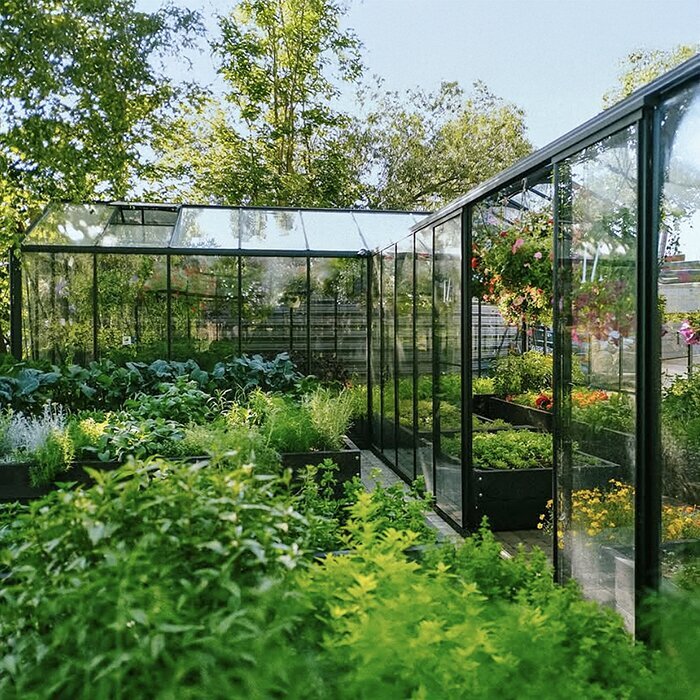
The larger floor plans give each activity enough room to work without competing for the same aisle. Start with features that need fixed infrastructure, such as raised beds, large containers, trellises, and utility points. Arrange flexible uses around them so later changes do not require moving heavy plants or rebuilding established growing areas.
Organized growing space
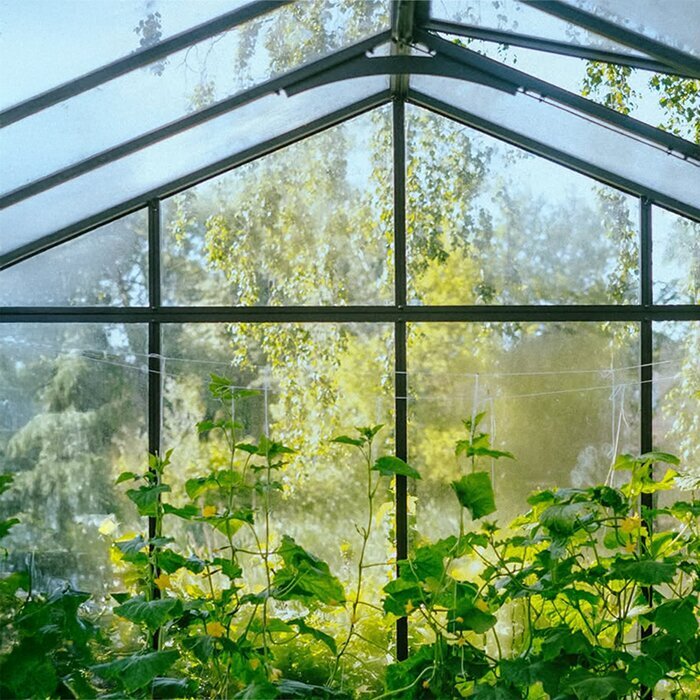
Plan the growing zone vertically as well as across the floor. Place tall crops and trellises where they will not shade lower plants or obstruct roof vents and sliding doors, and keep frequently handled seedlings within easy reach of the potting area.
✓ long raised beds and crop rows
✓ tomatoes, cucumbers, peppers, and vines
✓ propagation tables
✓ citrus and large containers
Backyard living
Treat furniture as part of the working layout: verify that each piece can pass through the selected door, turn into position, and be moved again for cleaning or seasonal changes. Keep the route to beds, containers, and work surfaces open even when the living area is fully arranged.
✓ large dining table
✓ lounge seating
✓ garden studio or potting workshop
✓ private dinners and small events
Product construction
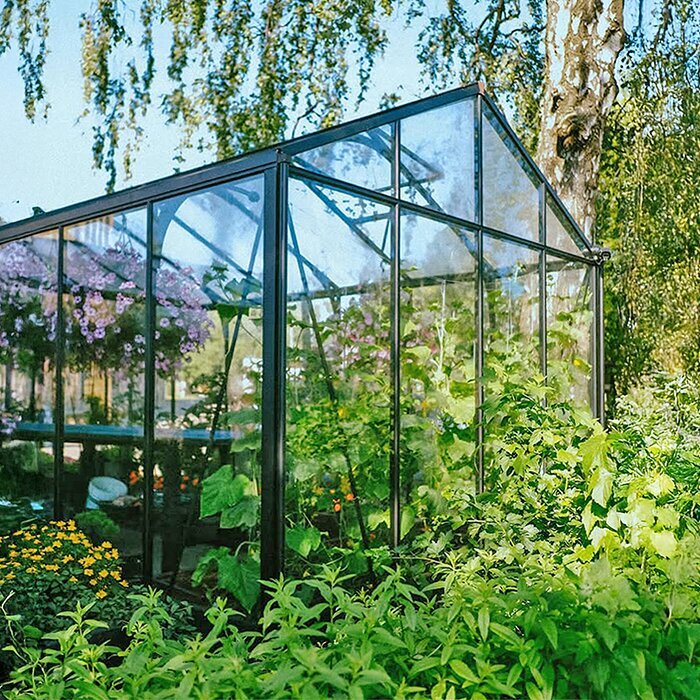
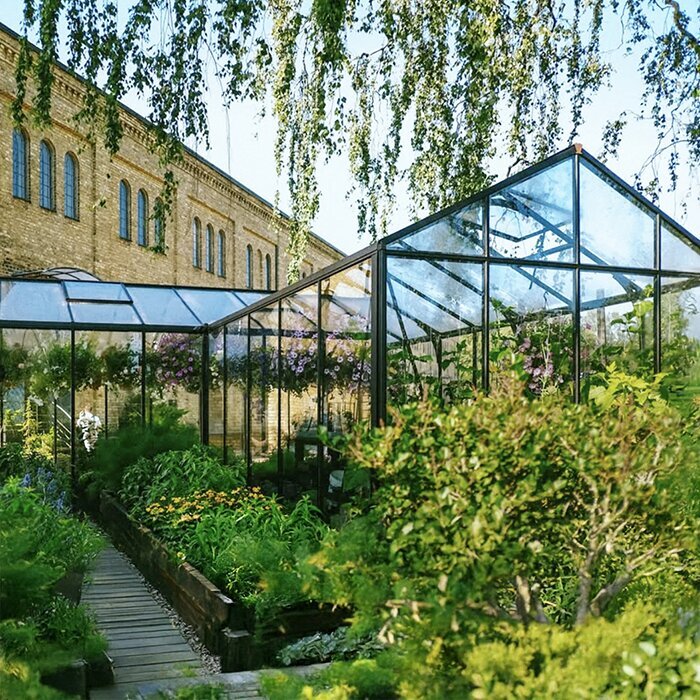
Heavy-duty aluminum, 4 mm tempered safety glass and a built-in base
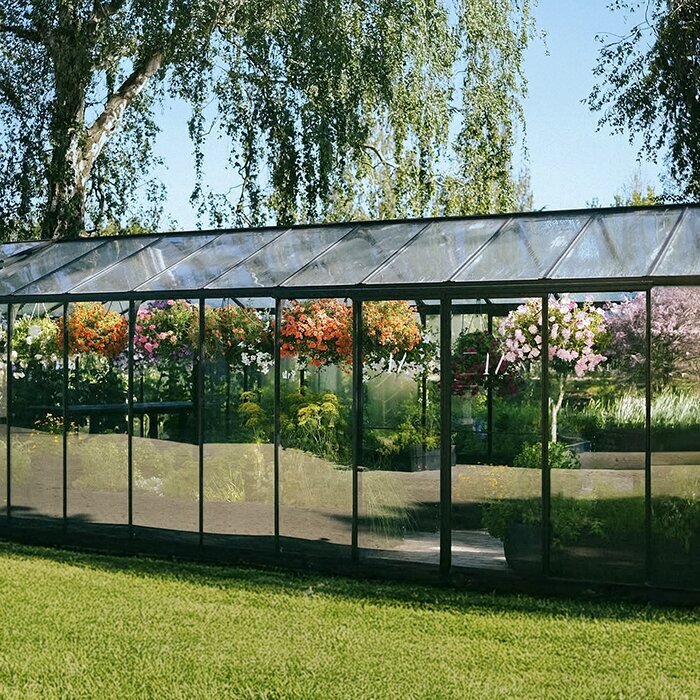
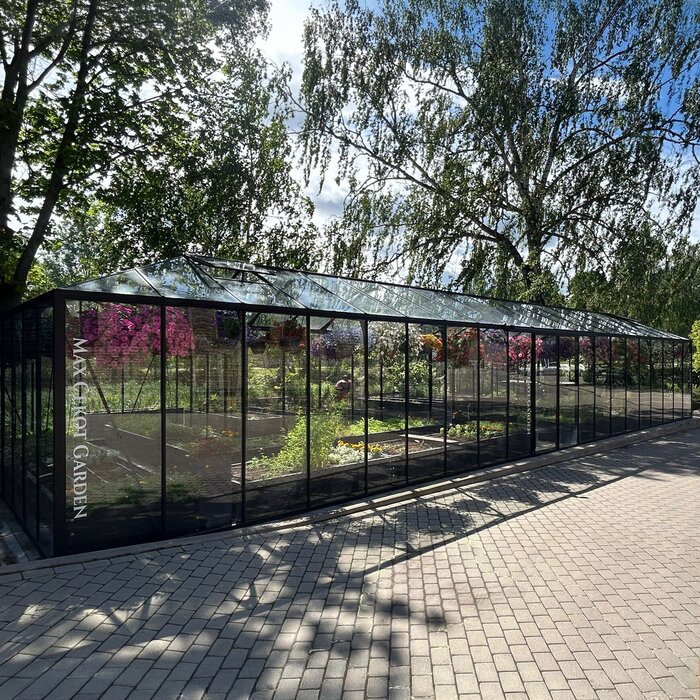
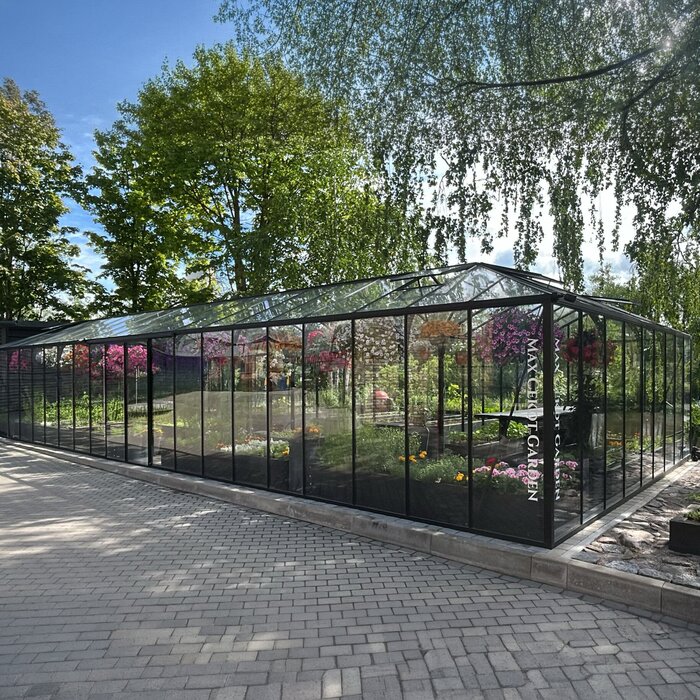
The Large Orangery combines high-strength aluminum profiles with 4 mm tempered safety glass. The aluminum frame does not require the recurring refinishing associated with many outdoor materials, while the clear glass creates the bright, open setting expected from an orangery. Handle the glazing carefully during installation, cleaning, and nearby yard work, and follow the product instructions if any component is damaged.
The ridge height is approximately 105.1 inches, and the door height is 72.8 inches, providing comfortable headroom for people and taller planting arrangements. Keep supports and hanging items clear of roof vents and structural members. Available single and double sliding-door options accommodate different access needs for people, carts, furniture, containers, and bulky garden supplies.
A built-in base, integrated rain gutters, and roof vents are included. The base sits on the prepared support, the gutters collect roof runoff, and the vents allow rising warm air to escape. An optional chimney outlet is also available for projects that incorporate a separately designed heating system.
Materials and dimensions
BloomCabin Large Backyard Greenhouse at a glance
Interior area
Approximately 506–753 sq ft
Expansive floor plans for growing and backyard living
Height
105.1 in ridge height / 72.8 in door height
Comfortable headroom and convenient door access
Frame
High-strength aluminum profiles
No recurring frame refinishing required
Glazing
4 mm tempered safety glass
Clear glazing for a bright, open interior
Doors
Single or double sliding doors
Access options for people, carts, and bulky items
Included and optional features
Base, rain gutters, roof vents, optional chimney outlet
Support, rainwater collection, roof ventilation, and an optional chimney outlet
Site and climate planning
Consider sun exposure, floor construction, drainage, and intended use together. A sunny location may benefit plants but overheat a seating area, while a low part of the yard may make runoff harder to manage. A solid floor can improve furniture use but still needs a clear plan for irrigation and cleaning water. Resolve these issues before finalizing the greenhouse position and interior layout.
Planning for hot climates
In hot areas such as Arizona, Texas, and inland California, solar heat may be the main operating challenge. Observe when the site receives direct sun, including late-afternoon exposure, and plan ventilation and seasonal shade before placing permanent beds or large containers. A clear airflow path from lower openings to the roof vents is easier to establish before the interior becomes crowded.
Coordinate roof vents, door openings, and seasonal shade so air can move through the full interior. Warm air needs a clear route to the high vents, with replacement air entering through other openings. As vines and large plants mature, review the layout and prune, train, or reposition anything that begins to restrict airflow.
Plants and people may not prefer the same conditions. A tropical collection may benefit from warmth and humidity that feels uncomfortable around a dining table, while frequent door opening for guests may disturb a tightly controlled growing area. Use distance, movable screens, benches, and seasonal furniture placement to reduce these conflicts rather than expecting one uniform indoor environment to suit every purpose.
Planning for cold climates
In northern states, investigate local frost depth, snow conditions, winter access, and foundation requirements before site work begins. The greenhouse is rated for wind up to 67 mph and a snow load of 43 lb/ft². Compare those ratings with the property’s actual exposure, since drifting, elevation, and runoff from nearby roofs can create conditions that regional averages do not reveal.
Plan how snow and ice will affect the approach to the greenhouse, not just the structure itself. Keep the entrance route and gutter discharge points from creating slippery or obstructed access, and avoid directing meltwater toward the prepared support.
Set realistic winter temperature goals for a large glass enclosure. Protecting dormant or cool-tolerant plants is a different task from maintaining living-room comfort or supporting warm-season crops through severe weather. Define the actual target before selecting equipment, because outdoor temperature, wind, desired indoor conditions, plant mass, door use, and operating schedule all influence energy demand.
Flooring and circulation paths
Choose a durable, level surface that can support loaded carts, wet containers, furniture, and regular greenhouse work. Consider how it feels underfoot, how easily soil can be cleaned up, and where wash water will go. Keep door transitions smooth so wheels do not catch on a raised edge.
Size the main path for the largest item that will regularly use it, whether that is a cart, mature container, table, or packaged soil. Test the layout with doors open and chairs pulled out. Secondary paths can be narrower, but every planting area should remain reachable without stepping into beds or moving several heavy objects.
Provide predictable drainage for watering and cleaning, and avoid low spots that hold water around furniture, containers, or the built-in base. Route hoses and portable cords away from primary paths. Store tools where they can dry without blocking an exit, narrowing an aisle, or interfering with the sliding doors.
Structure and drainage
Treat the base, surrounding grade, gutters, doors, and vents as connected parts of the site plan. The greenhouse needs stable support, runoff routes that remain clear, and openings that can be closed without first moving furniture or plants. Include these areas in routine seasonal checks, especially before storms or extended periods when the property will be unattended.
Wind and storm exposure
Coastal, elevated, and open properties may face very different wind conditions from sheltered urban or wooded yards. Buildings, fences, slopes, and tree lines can redirect wind rather than simply block it. Where exposure or local requirements warrant it, have the actual placement evaluated by a qualified professional rather than relying on another installation in the same region.
Confirm local building-code, permitting, foundation, and structural requirements before ordering or beginning site work.
Establish a simple severe-weather routine for the doors and vents. Everyone responsible for the greenhouse should know how each opening closes and secures, and movable furniture, shade materials, tools, and containers should not block access. Check tracks, fittings, and vent operation during routine maintenance so problems are found before the weather changes.
Water management
Plan gutter discharge before finalizing the foundation and surrounding grade. Trace where each outlet will send water, how overflow will move during heavier rain, and whether leaves or debris could block the route. Roof runoff should not pool against or erode the prepared support.
Where local rules and site conditions allow, the integrated gutters can feed suitable storage tanks or controlled discharge points. Any storage setup needs a stable location, an overflow route, and practical maintenance access. If the water will be used for plants, route it without creating long hoses across walkways or persistent moisture beside the structure.
Direct overflow away from the foundation perimeter and neighboring property. Follow the complete drainage route to make sure water will not cross the main entrance, saturate beds beside the base, or freeze across a winter access path.
Interior planning and growing
Design the work zone around the sequence of bringing in supplies, potting or harvesting, cleaning tools, and removing waste. Short, unobstructed steps between these tasks reduce cross-traffic and help keep the living zone presentable.
Backyard entertaining
The available floor area can accommodate a full dining table while leaving substantial room for plants. Check the table with chairs pulled out and occupied, not just by measuring the tabletop. Preserve a comfortable route to a door, and keep hanging equipment, thorny plants, carts, and supplies away from guest seating.
Where the layout allows, separate guest movement from gardening routes. Visitors should not have to step over irrigation lines or pass through a propagation area to reach their seats. Doors, vents, controls, and utility shutoffs must remain accessible when the greenhouse is arranged for a gathering.
Select furniture materials with greenhouse exposure in mind. Condensation, splashes, soil, and strong sunlight can affect indoor-only finishes, cushions, and hardware, so choose pieces that are practical to clean and inspect.
Planning productive growing areas
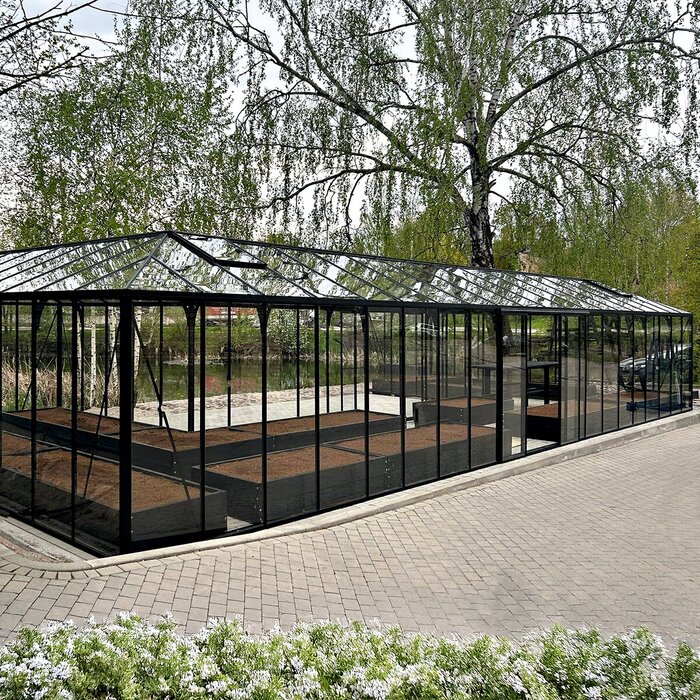
Large beds can support crop rotation, staggered sowing, and crops with different harvest schedules. Divide the available ground according to planting sequence and access requirements, not simply into equal rectangles. Leave room to maintain supports, remove spent plants, amend soil, and carry harvest containers without reaching across an excessively deep bed or disturbing an adjacent crop.
Place propagation tables where seedlings can be checked and handled easily, give trellised vines secure training space, and leave access around the rims and bases of large containers. Maintain a clear route for carrying harvested crops out of the greenhouse. An easy-to-follow layout reduces accidental damage and makes routine care simpler for everyone in the household.
Divide irrigation into practical zones based on plant needs rather than watering the entire interior alike. Beds, seedlings, and established container plants may dry at different rates. Position connections so lines can follow edges or dedicated service routes, and include a convenient way to isolate areas when they are empty. Avoid any arrangement that requires dragging hoses through dining or primary circulation space.
Project logistics
Confirm delivery access, component staging, utility routes, worker circulation, and future maintenance access before construction starts. The finished greenhouse may fit the site even when the route to it is too narrow or sharply angled for moving long profiles and glazing. Check installation access and everyday access separately, using actual site measurements.
Delivery access and staging
A kit of this size needs an organized area for unloading, checking, and grouping components. Choose a reasonably level staging area that does not block the driveway or assembly route. Keep glass and long aluminum profiles protected and separated from soil, debris, and routine yard traffic, following the installation instructions for handling and storage.
Measure gates, driveway width, overhead clearances, corners, steps, and side-yard passages along the complete delivery route. Account for gateposts, utility equipment, roof overhangs, tree branches, and soft ground that may reduce usable clearance. If direct access is limited, determine how components will be transferred safely before delivery rather than improvising while materials are being unloaded.
Sort components near the prepared site in installation order while keeping the foundation perimeter and assembly routes clear. Protect glazing, profiles, fasteners, and seals according to the supplied instructions. A controlled inventory reduces unnecessary handling and helps identify missing items or questions before they delay a later assembly stage.
Utility planning
Plan water, electrical service, lighting, drainage, and any optional heating before the foundation and finished floor limit access. Start with the tasks each service must support, such as irrigation, cleaning, evening visibility, tool use, or climate management. Position connections where they remain accessible without running permanent lines across doors, paths, or planting areas.
Use qualified local professionals for electrical, plumbing, heating, foundation, and structural work. Moisture, condensation, temperature changes, and outdoor exposure may make ordinary indoor solutions unsuitable. Each professional should evaluate the selected equipment, installation location, applicable requirements, and how the work interfaces with the aluminum-and-glass structure.
Keep shutoffs, connections, drains, controls, and service points visible after beds and furniture are installed. Label systems clearly enough for another household member to respond to a leak or equipment problem. Routine maintenance should not require emptying a permanent bed, moving a mature plant, or dismantling shelving.
Climate expectations
Plan for the conditions a glass greenhouse can realistically maintain
Regional climate is only a starting point. Conditions at the property can shift with elevation, nearby buildings, tree cover, slopes, and exposure, so evaluate the exact greenhouse location rather than assuming it will behave like another site in the same state.
Write down your seasonal goals before selecting options: which plants need protection, when people will use the space, how often doors will open, and who will adjust vents or seasonal shade. These practical questions help turn broad climate concerns into a workable operating plan.
A glass greenhouse does not perform like a fully insulated living room. Interior temperature can change quickly with sun, clouds, open doors, and outdoor weather, while humidity responds to watering and plant transpiration. Year-round use requires regular observation and realistic targets, along with plants, furnishings, and routines suited to the conditions you intend to maintain.
Four key layout decisions
1
Set space priorities
Decide how much room to reserve for plants, paths, work areas, and people.
2
Map traffic flow
Trace the routes used by carts, soil, plants, guests, and furniture.
3
Position utilities early
Locate water, electrical service, lighting, drainage, and optional heating before finishing the foundation.
4
Keep adaptable areas open
Separate fixed beds and large plants from movable benches and furniture.
Frequently asked questions
BloomCabin Large Orangery FAQ
How do I choose the right size?
Start with a measured site plan and a proposed interior layout. Compare the available configurations only after reserving room for beds, containers, paths, furniture, utilities, and door access. The largest option is not automatically the best fit for every property or intended use.
Can the greenhouse also be used for dining or hobbies?
Yes. The floor area can combine growing zones with dining, lounge, studio, or workshop space. Keep wet gardening tasks and equipment traffic away from furniture, preserve clear access to doors and vents, and use movable pieces if the balance between plants and people will change during the year.
What routine frame maintenance is recommended?
Inspect the aluminum frame, fasteners, door tracks, vents, seals, gutters, and connection to the prepared base as part of routine care. Follow BloomCabin’s maintenance instructions, keep moving parts clear, and address looseness, obstruction, or damage before it affects nearby components.
How should I care for the glass?
Clean the 4 mm tempered safety glass with suitable nonabrasive tools. Avoid impacts from mowers, string trimmers, ladders, furniture, and stored equipment. Inspect the glazing after installation and severe weather, and keep rigid branches and plant supports from pressing against the panes.
How can I keep the roof vents working effectively?
Keep each roof vent and its surrounding area clear so it can open and close fully. Mature vines, tall plants, stored items, and shade materials should not obstruct the mechanism or the path of rising air. Test the vents as part of seasonal maintenance.
Can a heating system be added?
Yes. An optional chimney outlet is available for a separately designed heating installation. The outlet alone does not determine the heating equipment, venting, electrical supply, or complete installation. Have the system selected and installed by qualified local professionals for the property and intended greenhouse conditions.
What warranty comes with the Large Orangery?
BloomCabin provides a 12-year warranty. Review the applicable terms and retain your order documents, installation records, and maintenance information for future reference.
What determines whether double sliding doors are available?
Double sliding doors can be used on sufficiently wide walls. Where the available wall width does not allow them, choose a single sliding door and plan the main aisle around that access point.
BloomCabin Large Orangery
Plan a large backyard greenhouse that can adapt over time
The BloomCabin Large Orangery can combine extensive growing space with a comfortable backyard destination. Choose the configuration from a measured site and a clear use plan, then coordinate the foundation, delivery access, drainage, utilities, ventilation, and interior circulation before installation.
Final checks before ordering
✓ select the configuration that fits your measured site
✓ mark growing, circulation, work, and living zones
✓ confirm gates, delivery routes, and staging space
✓ prepare an accurately laid out, level foundation
✓ confirm the door configuration, ventilation plan, and color
✓ plan utility locations with qualified professionals
