
10 Common Mistakes to Avoid When Buying a Pergola
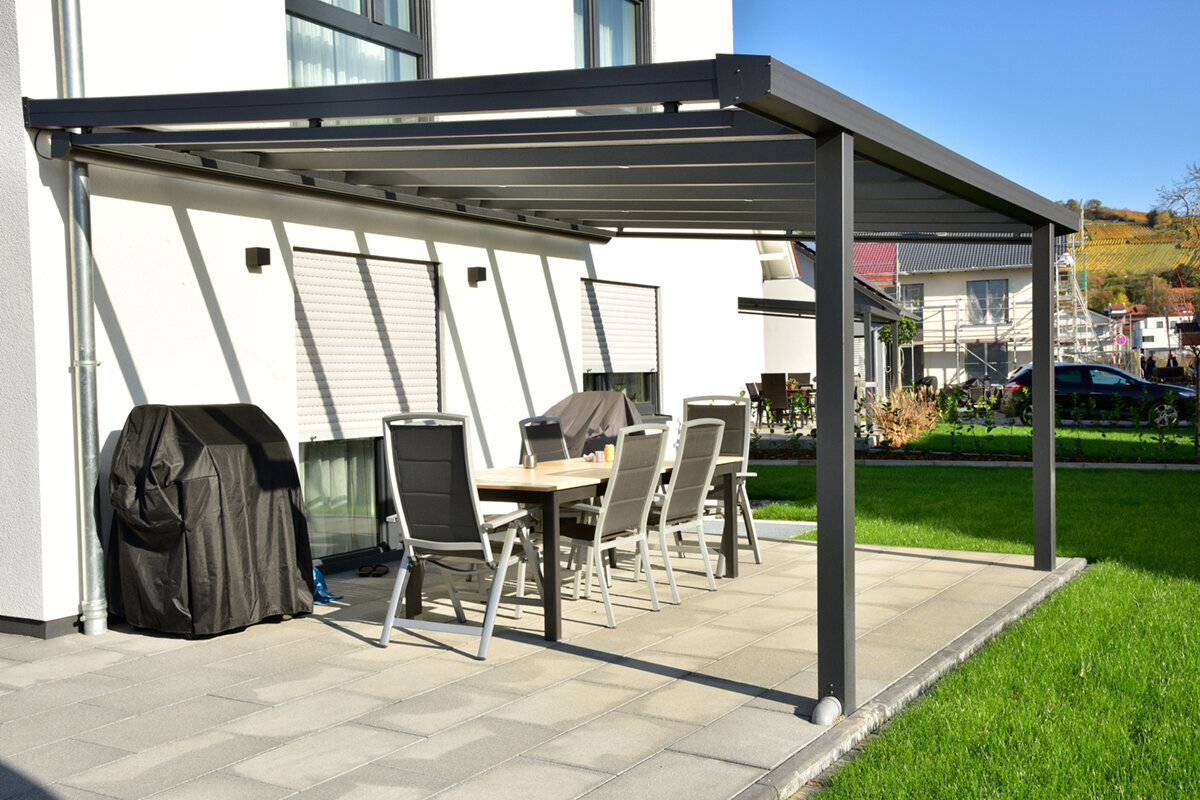
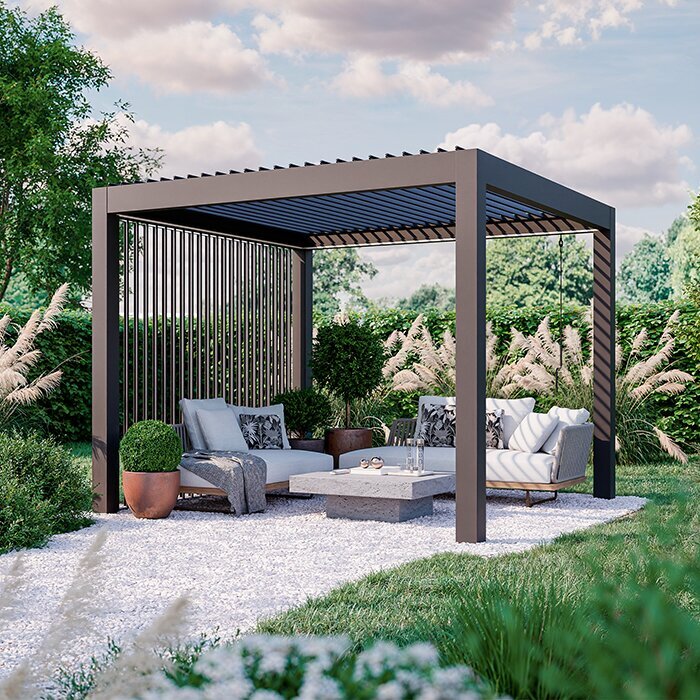
A pergola can make an outdoor area feel more usable, defined, and inviting, but the purchase is not simply about selecting a shape and a color. It is a small building project with real connections to your patio, home, landscape, and habits. Rushing the early choices often leads to compromises that become obvious only after installation.
This guide groups the ten most frequent buyer mistakes into practical decisions. Some are visible, such as choosing a footprint that crowds circulation. Others are less obvious, including overlooking water flow, assuming every option can be added later, or treating the installer’s scope as understood. Addressing them early makes conversations with suppliers and contractors more productive.
Use the advice as a framework, not as a substitute for site-specific professional input. Local rules, ground conditions, utility locations, building attachments, and insurance considerations can vary. Before committing, confirm the details that apply to your property with the relevant local authority, qualified installer, and insurer where appropriate.
Stage one
Mistake 1: Choosing style before use
It is easy to begin with a visual idea: a dark frame against a light facade, or a garden feature that echoes modern windows. Appearance matters, but it should follow the purpose of the space. Decide whether the pergola is mainly a shaded lunch spot, an outdoor lounge, a dining area, or a flexible gathering place. Each use calls for different clearances, furniture, light, and weather-management priorities.
The related mistake is assuming a roof concept delivers the same experience in every setting. Exposure, orientation, nearby trees, and how often you use the patio all change the brief. List the conditions that make you leave the space now: glare, sudden rain, heat, wind, or lack of privacy. That list gives you a grounded basis for deciding which design features deserve attention.
Sketch a typical weekday and a weekend gathering, including where people enter, sit, carry food, and place temporary items.
Photograph the patio at several times of day so sun direction, shadows, and views inform the design conversation.
For adaptable overhead control, explore a bioclimatic aluminum pergola after identifying how you want the space to work.
Stage one
Mistake 2: Measuring only the patio
A tape measure is essential, yet the number buyers most often capture is the patio’s overall width and depth. That misses the area the pergola must share with circulation and existing features. A structure that technically fits can still make a doorway awkward, conceal a valued garden view, or leave no comfortable route around chairs. Map the usable rectangle with furniture, doors, steps, and boundaries included.
Height deserves equal care. Look at eaves, gutters, exterior lights, upper windows, branches, and the visual relationship to the house. If the pergola stands apart, consider how it aligns with paths and sightlines from indoors. A paper plan or simple ground marking reveals scale surprisingly well. It also helps distinguish a generous entertaining area from a structure that merely occupies available space.
Mark proposed posts and outer edges with painter’s tape, string, or temporary stakes before making a final size decision.
Allow space for chairs to move and for people to pass without forcing guests through the center of seating.
If a simple open-air framework suits the brief, compare regular aluminum pergola designs against your marked-out footprint.
Stage two
Mistake 3: Ignoring sun, water, and drainage
Drainage is often treated as an installation detail, but it shapes the whole project. Study the patio after rain and note low spots, splashback zones, downspouts, and areas where water already collects. Consider where runoff from the pergola will go and whether that route conflicts with doors, foundations, planting, neighbors, or walking paths. An attractive plan can become frustrating if it creates a wet threshold or a persistent puddle.
Sun deserves the same site-specific attention. Morning glare, afternoon heat, reflected light from paving, and shade from mature trees can change the comfort of the patio across seasons. Do not rely on a single visit or a property listing photo. Observe the area when you actually use it. That evidence lets you discuss orientation and roof behavior in a way that is specific to your outdoor routine.
Watch a rainstorm from a safe position and record where water enters, crosses, and leaves the patio area.
Note seasonal shade from trees and buildings; a midsummer snapshot may not represent spring or fall use.
Where adjustable shade is part of the goal, consider a bioclimatic pergola roof system within a complete drainage plan.
Stage two
Mistake 4: Treating the base as an afterthought
An aluminum pergola needs a foundation approach appropriate to its configuration and the conditions on site. Buyers sometimes assume an existing patio automatically answers that question. In reality, slab condition, thickness, reinforcement, slope, cracks, concealed services, and edge distances may all need review. A deck, pavers, or uneven ground introduces different questions. Confirm what assessment is needed before ordering rather than discovering constraints when installation is due to begin.
The broader error is leaving site preparation between the supplier and installer without a written handoff. Ask who is responsible for leveling, anchors, footings if needed, access protection, and any removal or reinstatement work. If electrical elements are planned, identify a qualified professional and coordinate routes before surfaces are closed. A clear scope does not eliminate surprises, but it gives every party a shared starting point.
Request a site review process that addresses the actual surface, slopes, access route, and visible obstructions.
Locate irrigation lines, drainage runs, and other utilities before excavation, anchoring, or changes to hardscape are planned.
Discuss foundation needs early when considering a regular pergola for an existing patio rather than assuming the surface is ready.
Stage three
Mistake 5: Buying features without a priority list
Accessories can transform the atmosphere of an outdoor room, but they also add decisions about use, placement, wiring, storage, and future maintenance. The mistake is not choosing extras; it is choosing them without ranking needs. Start with the one or two conditions most likely to limit enjoyment, such as late-day sun, lack of evening light, or an exposed side. Then decide which options genuinely address those conditions.
Another frequent problem is treating every feature as equally urgent. Some choices must be integrated during planning because they affect layout or electrical preparation. Others may be better postponed until you have used the finished space. Ask specifically what can be incorporated later, what must be selected upfront, and what preparation preserves your options. This keeps the project focused without closing off sensible future improvements.
Rank features as essential, useful soon, and optional later, then compare each category against your actual outdoor habits.
Plan lighting locations around dining, circulation, and task areas rather than adding fixtures only after the furniture arrives.
For buyers comparing adaptable shade and light control, review a bioclimatic pergola with integrated options alongside the site plan.
Stage three
Mistake 6: Forgetting the surrounding outdoor room
A pergola does not exist in isolation. Furniture scale, a grill zone, planters, steps, screens, and nearby landscaping determine whether the completed area feels calm or cramped. Buyers sometimes select a large structure and then discover their preferred sectional, table, or dining chairs no longer fit gracefully. Begin with the furniture arrangement you want, including enough clearance to pull chairs back and move through the space without interruption.
Think about the edges as well as the center. A pergola can frame a view, but it can also block one from a kitchen window or create a visual collision with a mature tree. Consider privacy from adjacent properties and how the structure looks from indoors. A few well-chosen sightlines will guide placement better than trying to make the pergola solve every landscape problem at once.
Place scaled furniture cutouts on a plan and test both everyday seating and the larger setup used for guests.
Identify views worth preserving from inside the house, the patio, and key garden paths before setting the final position.
A traditional regular aluminum pergola can define a dining zone without overcomplicating the wider landscape plan.
Stage four
Mistake 7: Assuming installation is self-explanatory
Installation includes more than assembling the frame. Delivery access, parking, carrying distance, gates, overhead branches, surface protection, weather windows, and site readiness can all affect the work. Review the route from the street to the installation area, especially on narrow side yards or properties with slopes and stairs. Tell the provider about constraints early, using photos and dimensions where requested, rather than expecting crews to adapt on arrival.
Equally important, clarify who does what before the work starts. A quotation may cover the pergola but not electrical connections, masonry repairs, drainage adjustments, or landscaping restoration. Ask for the sequence of work and the conditions required before installation can proceed. If multiple trades are involved, give them the same layout so conduit, drainage, and finish work are coordinated instead of competing for the same space.
Mistake 9: Failing to confirm the final configuration. Before work begins, review the drawing, post locations, roof orientation, accessories, finish, and any controls or electrical allowances with every involved party. This last check can reveal conflicts between the selected pergola and site preparation before materials, labor, and schedules are committed. It also gives installers a shared reference for the planned work.
Measure gates, side passages, and turns along the access route, including any low branches, eaves, or exterior equipment.
Confirm the project sequence in writing, from base preparation through final electrical and landscape touch-ups.
When installation planning includes adjustable overhead control, ask about the requirements for a bioclimatic pergola installation at your specific property.
Stage five
Mistake 8: Skipping local checks and total scope
A final common error is equating the product order with the complete project cost and responsibility. Depending on the site, the wider scope may include surveying, base work, electrical labor, drainage changes, permits, approvals, removal of existing elements, and landscape repairs. Do not assume which items apply or who carries them. Build a project list that separates the pergola itself from site and trade work, then ask for current quotations where needed.
Planning rules and insurance questions deserve the same disciplined approach. Requirements may depend on location, dimensions, placement, attachment, zoning, and other property-specific factors. Check with the relevant local authority before committing, and contact your insurer if you need to understand coverage implications. This is not bureaucracy for its own sake; early confirmation protects your schedule, budget, and freedom to make design changes before work is underway.
Mistake 10: Overlooking care and handover. Before the project closes, ask how to operate, clean, and inspect the pergola, then keep its product documents accessible. Confirm who retains manuals, care guidance, and records after installation. That simple handover makes seasonal upkeep and later questions easier to manage without relying on memory.
Create one combined project budget that includes preparation, professional services, finishing work, and a contingency for site discoveries.
Keep approvals, drawings, contracts, and product documentation together so installers and future homeowners can reference the same record.
Use a detailed scope when requesting a quotation for a regular aluminum pergola project so site work is not mistaken for product supply.
Comparison
Which buying approach fits your project?
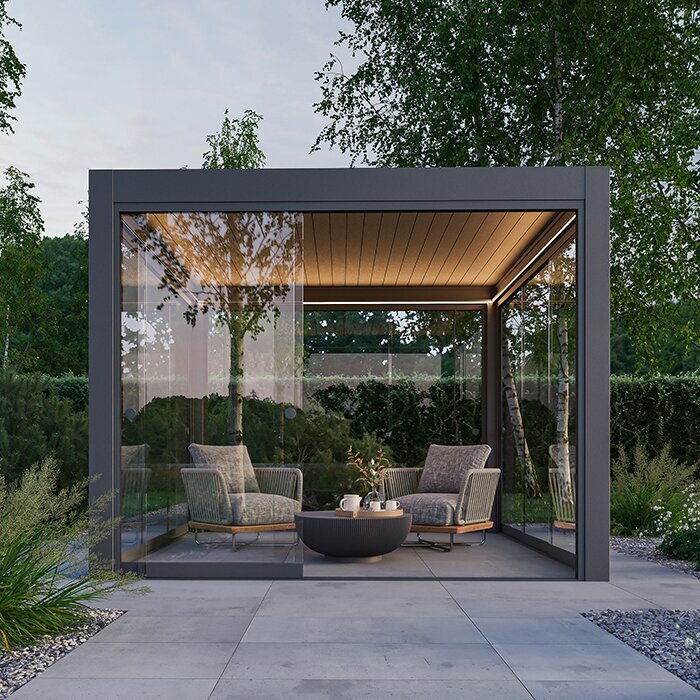
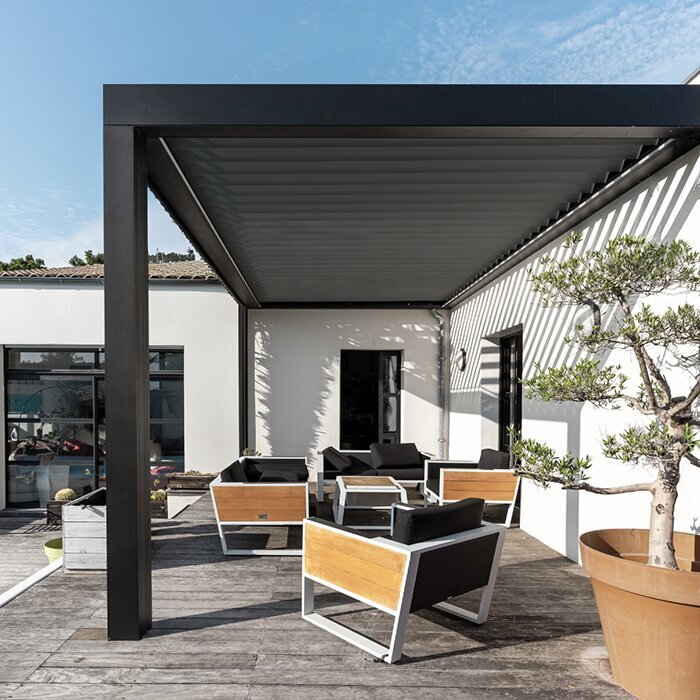
The right choice depends less on a trend than on the relationship between your site and intended use. Use this matrix to frame supplier conversations. It highlights the decision questions that prevent a design-led purchase from overlooking practical project requirements.
| Decision area | Bioclimatic pergola approach | Regular pergola approach |
|---|---|---|
| Primary question | Do adjustable overhead conditions support how you use the patio? | Does a fixed, simpler structure match the desired outdoor setting? |
| Site planning | Coordinate orientation, drainage, controls, and electrical preparation early. | Focus on footprint, posts, base conditions, and surrounding circulation. |
| Feature priorities | Separate essential integrated elements from later enhancements. | Choose a clear core design before adding decorative surrounding elements. |
| Budget scope | Include product choices plus installation and connected site work. | Compare the structure with preparation, anchoring, and finish restoration. |
| Best next step | Review the daily comfort problems the design should address. | Mark out the footprint and test it with intended furniture. |
A five-step buying path
Move from broad inspiration to a site-ready request. Each step reduces ambiguity for you, your supplier, and the professionals who may prepare or install the outdoor area.
01
1. Write the use brief
Describe who uses the patio, when they use it, and what stops them from staying outside. Keep the list focused on real routines rather than a catalog of possibilities.
02
2. Survey the site
Measure the area, photograph access, note doors and services, and observe rain and sun. Include slopes, trees, existing drainage, and any structure that constrains placement.
03
3. Test the footprint
Mark the proposed perimeter on the ground. Arrange approximate furniture positions and walk the routes to the house, yard, grill, and storage areas before finalizing dimensions.
04
4. Define responsibilities
List base preparation, utility checks, electrical work, drainage, installation access, and finishing tasks. Assign each item to a named party instead of relying on informal assumptions.
05
5. Compare complete proposals
Ask comparable questions of each provider and review exclusions carefully. Select the solution that addresses the site and intended use, not simply the most appealing isolated image.
Pergola purchase checklist
Bring this list to your planning call, site visit, or quotation review. A completed checklist is more valuable than a fast decision made from dimensions and photos alone.
01. I have defined the main use of the space and the comfort issues the pergola should address.
02. I measured the usable area, including doors, steps, furniture clearance, paths, and planting edges.
03. I observed sun, shade, wind exposure, and water movement at more than one time.
04. I marked the proposed footprint and tested movement around a realistic furniture arrangement.
05. I understand the condition of the intended base and any preparation it may require.
06. I identified access constraints, visible utilities, drainage routes, and coordination with other trades.
07. I separated product choices from installation, electrical, landscaping, and other project-scope costs.
08. I will check applicable local requirements and insurance questions before final commitment.
Frequently asked questions
What is the first thing to decide when buying a pergola?
Define the job the pergola must do in your everyday outdoor life. Identify the main activity, number of users, preferred furniture, time of day, and conditions that currently make the patio less comfortable. This prevents a style-first choice and creates a useful brief for comparing layouts, roof concepts, and options.
How do I know what size pergola to choose?
Start with the furniture arrangement and circulation, not the patio’s maximum dimensions. Allow room to enter the house, pull out chairs, pass around the perimeter, and reach adjacent areas. Marking the outline on site is particularly helpful because it exposes visual and practical conflicts that a measurement alone will not show.
Why should drainage be considered before ordering?
A pergola changes the way the outdoor area is experienced during wet weather and may interact with existing water routes. Review slopes, low points, downspouts, doors, and nearby planting early. A qualified installer or relevant site professional can advise on conditions and preparation appropriate to the specific property.
Can I add lighting or other features later?
Possibly, but that depends on the feature and the product configuration. Some choices may affect wiring routes, placement, or preparation that is easiest to address before installation. Ask which items require an upfront decision, what can be added later, and whether early electrical planning would preserve options without committing to every accessory.
Do I need a permit for an aluminum pergola?
Requirements vary by local authority and can depend on placement, dimensions, attachment, zoning, and property conditions. Check directly with the relevant local authority before ordering or scheduling work. If a homeowners association or similar body applies to your property, review its requirements separately as well.
What should a pergola quotation make clear?
It should help you distinguish product supply from the work needed to make the site ready and finished. Ask about the stated configuration, installation scope, base assumptions, access needs, exclusions, electrical coordination, drainage responsibilities, and restoration work. Request clarification in writing whenever a responsibility is not plainly assigned.
Plan with confidence
Buy the outdoor room, not just the structure
The most avoidable pergola problems begin with assumptions: that the patio is ready, that the dimensions tell the whole story, or that drainage and installation will resolve themselves. A better process starts with the way you live outside and works outward through the site, the base, features, access, and complete scope.
Take time to mark out the footprint, observe the property in different conditions, and ask direct questions about responsibilities. With a clear brief and a realistic project plan, Bloomcabin can be part of an outdoor setting that feels intentional from the first meal outside to the years of use that follow.
Explore pergola options after turning your site notes and priorities into a clear project brief.
