
How to Plan a Comfortable, Accessible Greenhouse
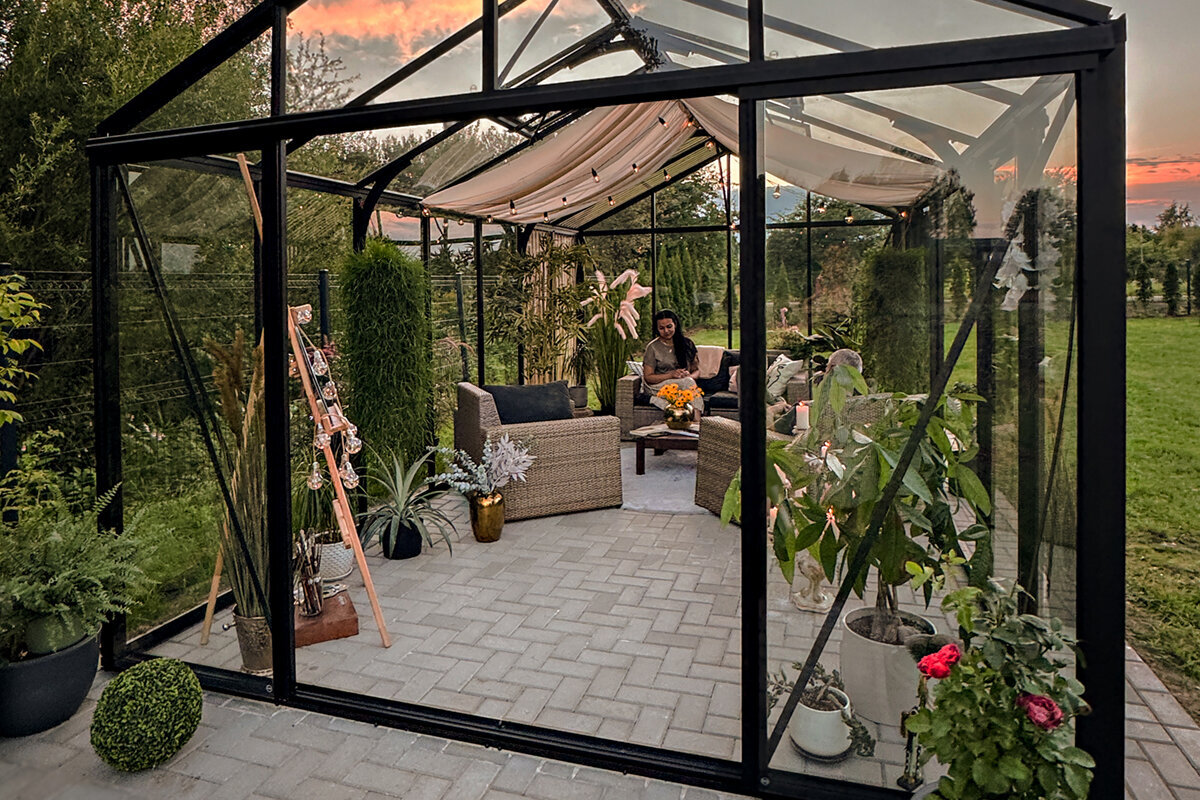
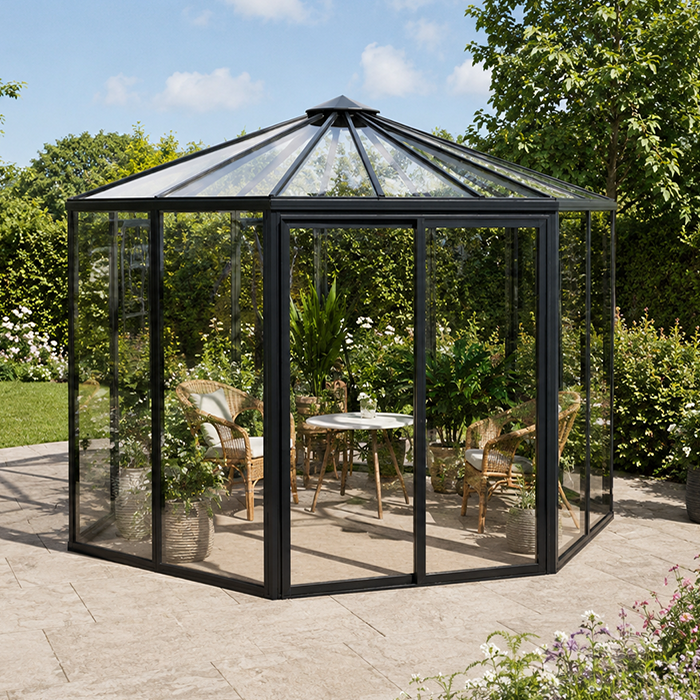
Greenhouse planning guide
Plan a greenhouse that feels easy to enter, navigate, and use every day.
Accessible greenhouse design is practical garden planning: create a welcoming route, reduce awkward reaching, and give each task a workable place. A thoughtful layout can support gardeners with different routines, mobility needs, and levels of experience without making the space feel institutional.
A comfortable greenhouse is not defined by one feature. It is the result of connected choices: where the entrance sits, how the path meets the threshold, whether an aisle stays open when plants mature, and how benches relate to the person using them. Thinking through those relationships early makes seasonal gardening more enjoyable and less physically demanding.
Start with real routines rather than an idealized floor plan. Notice which supplies you carry, where you pause to pot up seedlings, how often you water, and whether another person may garden alongside you. A layout that accommodates turning, setting down a tray, and moving between growing zones remains useful long after the first planting day.
Accessibility also benefits the garden itself. Clear circulation makes it easier to spot dry pots, prune a crowded plant, clean up fallen leaves, and adjust ventilation. Instead of filling every inch with growing space, reserve room for movement and work. That balance helps a greenhouse feel calm, capable, and ready for everyday use.
01 · Start with the site
Map the journey before the layout
The most useful accessible decisions often happen outside the greenhouse. Trace the route from the home, parking area, or main garden path in every season. Consider gates, slopes, loose gravel, standing water, and places where hoses cross the way. A convenient greenhouse can still be frustrating if reaching it requires carrying pots over an uneven or narrow approach.
Choose the greenhouse position with daily use in mind, not only sunlight and views. Leave enough surrounding space to approach the door, unload supplies, and maintain the structure without forcing a tight turn. If the garden has a change in level, explore a gradual route or a carefully planned transition rather than relying on an improvised step later.
- Walk the intended route while carrying a watering can or tray to identify pinch points before construction begins.
- Reserve an outdoor landing area near the entrance for deliveries, pots, tools, and a brief pause before going inside.
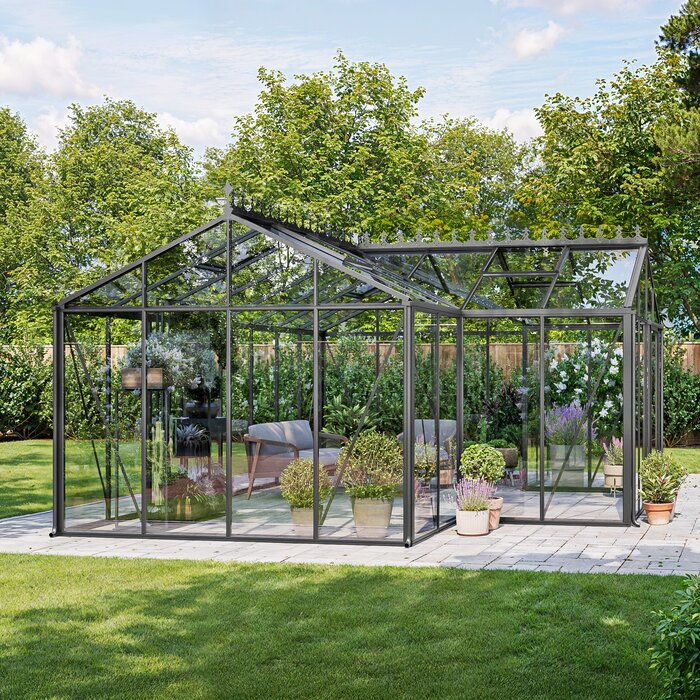
For a freestanding starting point, explore a standard Classic greenhouse and plan its surrounding circulation as carefully as its interior.
02 · Make entry easy
Treat the doorway as a work zone
A greenhouse door does more than provide entry. It must accommodate a person, a bundle of canes, a tray of seedlings, and the occasional wheelbarrow or cart if your routine calls for one. Review how the door opens, where its swing or panel sits, and whether it blocks the approach when open. The entrance should feel predictable and easy to use with one hand.
Aim for a smooth threshold transition with no unexpected lip that catches footwear, containers, or rolling equipment. The finished floor level, drainage strategy, and path surface need to be considered together. Before finalizing the base, rehearse arriving with your largest everyday item. This simple test often reveals whether the landing space and doorway location truly support your gardening habits.
- Place frequently carried supplies near the entrance, but outside the clear route through the greenhouse.
- Check door operation from both sides, including when baskets, pots, or seasonal plants occupy nearby space.
Where a wall-side location suits the garden, consider a full-size regular Lean-To greenhouse with enough clear space to approach and operate its entrance comfortably.
03 · Keep circulation clear
Design an aisle that stays usable
A generous-looking aisle on paper can disappear quickly once tomatoes lean outward, watering cans are parked, and seed trays arrive in spring. Define the travel route first, then arrange growing surfaces along it. Keep the path visually legible from door to far end, avoiding a layout that requires sidestepping around a bench or backing out of a dead end.
Think about the way bodies and objects move, not just the footprint of furniture. A gardener may need room to turn toward a shelf, set down a tray, or pass another person. If a cart, stool, or mobility aid is part of the plan, use its real size when testing clearances. Marking the proposed aisle on the ground is an excellent reality check.
- Avoid storing empty pots, bags of compost, or spare tools in the aisle; assign them a separate home.
- Keep tall or spreading plants away from route edges so foliage does not gradually narrow the passage.
A well-proportioned Classic greenhouse with a clear central aisle can make circulation easier to maintain as the growing season becomes busy.
04 · Build a comfortable floor
Choose surfaces for steady movement
Flooring influences comfort, cleanup, and confidence underfoot. Select a surface that is firm, even, and appropriate for the wet, soil-filled reality of greenhouse gardening. Consider how it behaves after watering, how easily it can be swept, and whether joints or loose materials create obstacles for small wheels or unstable containers. Good drainage is part of the decision, not an afterthought.
The floor should support the layout rather than compete with it. Paths can be distinguished from growing areas through material, edging, or a simple change in visual tone, provided transitions remain smooth. Allow enough room around water sources and potting areas for occasional spills. A practical surface encourages regular maintenance because it makes everyday movement and cleaning less complicated.
- Test sample surfaces when wet, dirty, and shaded rather than judging them only in dry showroom conditions.
- Plan drainage so routine watering does not direct puddles across the primary route or doorway landing.
A full-size regular Lean-To greenhouse for level access works especially well when its floor and adjacent patio are planned as one continuous route.
05 · Grow within reach
Use raised beds with purpose
Raised beds can bring planting closer to the gardener, but their best height depends on how work is done. Someone who gardens standing may prefer a different arrangement from someone who uses a seated position or alternates between both. Consider where hands will reach, where knees or feet need room, and how deep the bed can be worked without straining across it.
Avoid assuming that taller always means more accessible. Very high beds can make lifting heavy containers or managing tall crops awkward, while overly deep beds create unreachable centers. Separate narrow growing runs may be more useful than one broad bed. Include at least one flexible area for pots, propagation trays, or crops that need a different working position through the year.
- Reach toward a mock-up bed from your usual gardening position before committing to its depth and height.
- Choose bed edges that are smooth, easy to lean against briefly, and free from sharp protrusions.
A standard Classic greenhouse for raised-bed layouts gives you a clear envelope for balancing planting area with a reachable circulation zone.
06 · Set up the work
Create an ergonomic potting station
Potting is often the most repetitive task in a greenhouse, so give it a deliberate home. Position the work surface near storage and water if possible, while keeping it out of the main route. Its most comfortable height will depend on whether you work standing or seated, the depth of your trays, and the kind of tasks you do most often, from sowing seeds to transplanting larger plants.
Build adaptability into the station. Open space below a bench can allow a seated gardener to pull closer, while shelves above should hold lighter, occasionally used items rather than everyday essentials. Keep a landing surface beside the work area for finished pots and labels. Good organization reduces reaching across soil, tools, and delicate seedlings during a busy session.
- Store heavy bags and frequently used tools between knee and shoulder height whenever the layout allows.
- Use movable trays or a small rolling cart only if it can be parked without obstructing circulation.
A full-size regular Lean-To greenhouse with potting space can connect naturally to a patio or utility area used for preparing plants and supplies.
07 · Plan for changing seasons
Make comfort easy to maintain
An accessible greenhouse should not depend on constant rearranging. Leave room to water, clean glazing, remove tired plants, and inspect crops without climbing over benches or moving a collection of containers. Seasonal changes are easier when storage is intentional: keep propagation gear, supports, and empty pots accessible without letting them colonize the walkway.
Also consider the controls and items used throughout the day. Watering equipment, shade materials, hand tools, and plant labels should have logical homes that do not require repeated bending or searching. A small stool may be useful for some tasks, but it needs a safe parking place. The goal is a greenhouse that remains orderly even at the height of the growing season.
- Create a simple seasonal reset routine that clears the route before spring sowing and before winter storage.
- Keep daily-use items in visible, reachable locations rather than on high shelves or behind large containers.
A standard Classic greenhouse for organized growing supports a simple zoning plan for propagation, planting, storage, and a protected route.
08 · Plan with others
Future-proof the greenhouse experience
Gardens change, and so do the people who use them. A layout may need to welcome children learning to sow seeds, a friend helping with watering, or a gardener whose comfort and mobility evolve over time. Favor flexible benches, movable containers, and uncluttered routes over tightly fixed arrangements that only suit one season or one person.
Before ordering, make a scaled sketch and invite the regular users to review it. Discuss where they would enter, turn, sit, place a tray, and wash hands after potting. For site work, foundations, drainage, and any local requirements, check with the relevant local authority and qualified professionals. If insurance questions apply to your property, ask your insurer about its current requirements.
- Revisit the plan after marking it out at full scale; measurements become more meaningful when you physically move through them.
- Leave at least one adaptable growing zone so the greenhouse can respond to new plants, tools, or users.
For a garden beside the home, a full-size regular Lean-To greenhouse for shared use can help create a convenient everyday growing room when the surrounding access is carefully planned.
Comparison
Layout choices at a glance
Use this comparison as a conversation starter, not a substitute for measuring your own site and routines. The strongest accessible layout is the one that supports the people, containers, and tools that will use it most often.
| Planning element | Compact approach | More flexible approach |
|---|---|---|
| Entrance landing | Direct path with room to pause | Broader landing for carts and shared entry |
| Central route | Straight, dedicated passage | Turning space beside key work areas |
| Growing surfaces | Narrow reachable runs | Mixed-height beds and movable containers |
| Potting area | Simple bench near supplies | Adaptable station with open leg space |
| Storage | Small designated shelf zone | Separate storage area outside travel path |
Five steps before you choose a layout
A measured planning process prevents attractive features from working against daily comfort. Make decisions in the order people experience the greenhouse: approach, entry, movement, work, and long-term upkeep.
01
Observe current habits
List the plants you grow, the supplies you carry, and the tasks that feel awkward now. Include who uses the space and when.
02
Measure real equipment
Measure trays, carts, stools, watering cans, and large pots. Use those dimensions when testing doorways, routes, storage, and work areas.
03
Mark out the footprint
Outline the proposed greenhouse, doorway, beds, and aisle on the ground. Walk it repeatedly, carrying a realistic object rather than imagining the movement.
04
Zone the interior
Assign distinct places for entry, planting, potting, storage, and watering. Protect the travel route before adding optional shelving or display plants.
05
Review site details
Confirm drainage, base preparation, nearby access, and local planning considerations with appropriate professionals or authorities before committing to installation work.
Accessible greenhouse design checklist
Use this list during early planning and once more before installation. It is designed to uncover everyday friction points before plants and equipment make changes harder.
01. The route from the home or garden gate is firm, direct, and manageable in wet weather.
02. The entrance has a clear landing area that is not used for permanent storage.
03. The threshold transition is smooth and coordinated with the finished path and floor levels.
04. The main aisle remains clear when mature plants, watering cans, and seasonal supplies are present.
05. Growing beds and shelves can be reached from the gardener’s usual working position without excessive stretching.
06. The potting surface has nearby storage, a landing space, and room for the user’s legs or stance.
07. Watering, cleanup, and drainage can be managed without creating slippery or obstructed areas.
08. At least one zone can be rearranged as gardening routines, equipment, or user needs change.
Questions gardeners often ask
What makes a greenhouse accessible?
An accessible greenhouse supports comfortable arrival, entry, movement, and gardening tasks for the people using it. Common priorities include a firm approach, a low-transition doorway, a protected aisle, reachable growing surfaces, and a useful potting height. The best arrangement is tailored to actual routines instead of relying on one standard layout.
How wide should a greenhouse path be?
There is no single width that suits every gardener or every piece of equipment. Determine the route by considering who will use it, whether someone needs to turn, and the size of trays, carts, or mobility aids involved. Mark the proposed path at full scale and test it with realistic objects before finalizing the layout.
Are raised beds always easier to use?
Raised beds can reduce bending and improve organization, but they are not automatically suitable for every person. Their height, depth, edge detail, and surrounding space all matter. A narrow bed that can be reached comfortably may be more useful than a wide bed with an inaccessible center or limited room beside it.
What is a good height for a potting bench?
A good potting-bench height depends on the gardener’s posture, whether tasks are done seated or standing, and the containers being handled. Test a temporary surface with common jobs such as filling pots and labeling trays. Aim for a setup that reduces repeated bending and reaching while leaving the main aisle unobstructed.
Should I plan accessibility before selecting a greenhouse?
Yes. Site access, doorway placement, base levels, drainage, and interior circulation are easier to resolve before a greenhouse is selected and installed. Start with the path people will take and the work they need to do. Then assess which greenhouse form and placement can support that plan without compromising movement.
Do I need approval for an accessible greenhouse project?
Requirements can vary by location, property conditions, size, placement, and associated site work. Check with the relevant local authority before proceeding, especially if foundations, drainage, boundaries, or utilities are involved. If the greenhouse affects your property insurance, discuss the planned installation and any documentation with your insurer.
Plan your greenhouse layout
Comfort is a layout decision
A greenhouse becomes more welcoming when access is considered as a complete sequence: the path to the door, the transition inside, the route between plants, and the surface where work gets done. These details can make ordinary tasks feel more relaxed, organized, and enjoyable across the season.
Choose a plan that reflects your real gardening life, then test it before installation. Bloomcabin greenhouse options can form part of that plan, but the lasting value comes from a site and interior arranged around the people who will use it. Measure carefully, preserve clear space, and leave room to adapt.
Explore greenhouse forms with your site access, growing routine, and comfortable working zones in mind.
