
How to Plan a Pergola for a Small or Narrow Patio
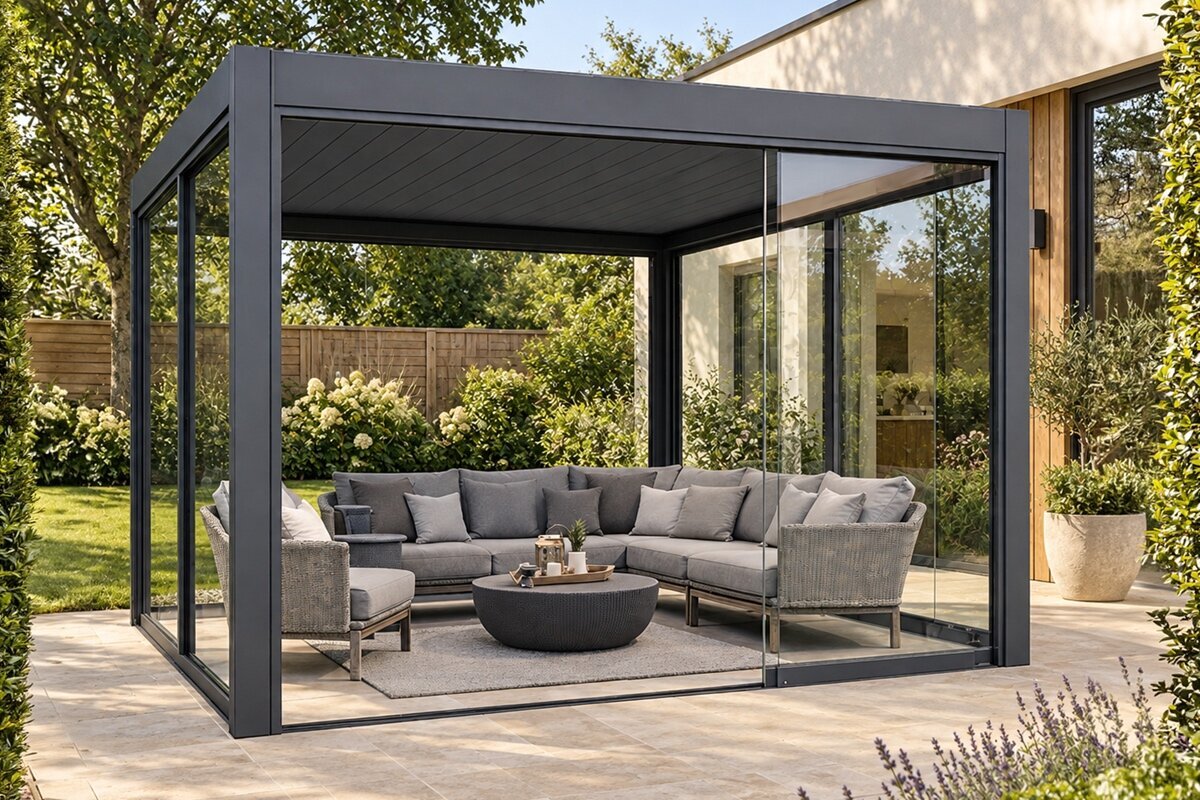
Small-space outdoor planning
Plan a pergola that gives a narrow patio room to live.
A small or narrow patio can support a generous outdoor routine when the pergola, furniture, and walking routes are planned as one composition. Start with the usable footprint, protect clear passage, and let post placement respond to real daily movement.
The practical starting point
Plan the furniture first, then draw the pergola around the activity area and the route through it. Mark chair pull-out space, door clearance, steps, drains, and any service access on a simple sketch. This reveals whether the patio needs a centered structure, an edge-led layout, or a smaller zone with breathing room around it.
For a narrow terrace, avoid treating every inch as coverable space. Leaving a clear strip at one side or end often improves circulation, makes maintenance easier, and prevents the roofline from dominating the view. Confirm the chosen configuration against the site, foundation, and installation guidance before ordering.
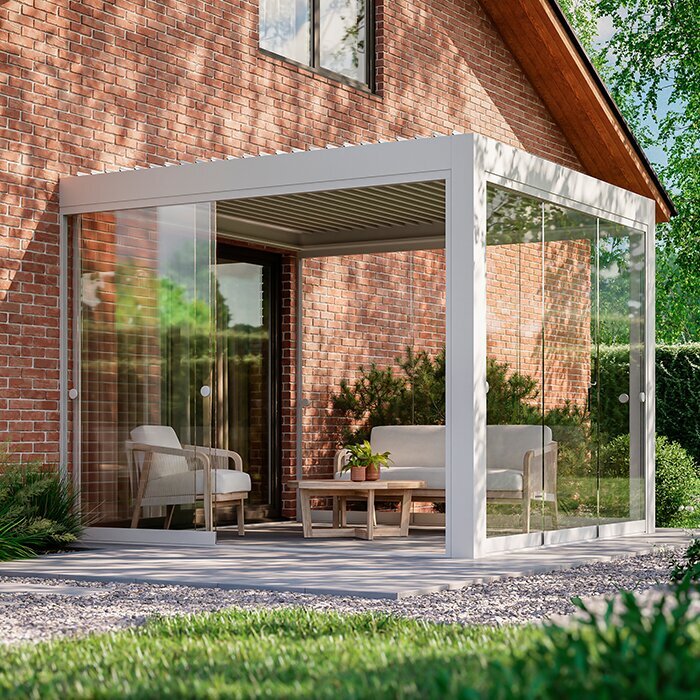
01
Measure the lived space
Record fixed edges, door swings, utility points, level changes, and the furniture you will genuinely use, not an empty-patio ideal.
02
Keep a circulation route
Protect a natural path between house, seating, and garden so nobody has to squeeze around posts or moving chairs.
03
Place posts deliberately
Post locations should support the structure while avoiding chair corners, door thresholds, planting beds, and the patio’s most useful walking line.
A measured layout makes a compact outdoor area feel intentional rather than crowded.
A pergola for a small narrow terrace should frame outdoor living, not consume it. The most successful compact layouts begin with observation: where people enter, where doors swing, which view deserves attention, and where sunlight is strongest. Measuring only the patio’s outer edges misses the decisions that make the finished area comfortable.
Think of the project as a sequence of zones rather than a single covered rectangle. A dining spot, a lounge chair, a grill position, and a path may all be possible, but they need different proportions and access. On a tight patio, one well-resolved primary use usually feels more relaxed than several undersized ones competing for space.
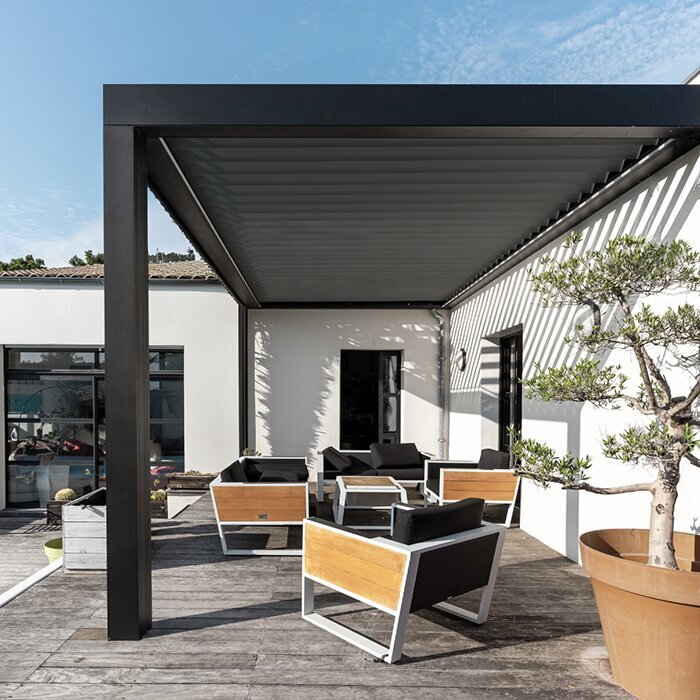
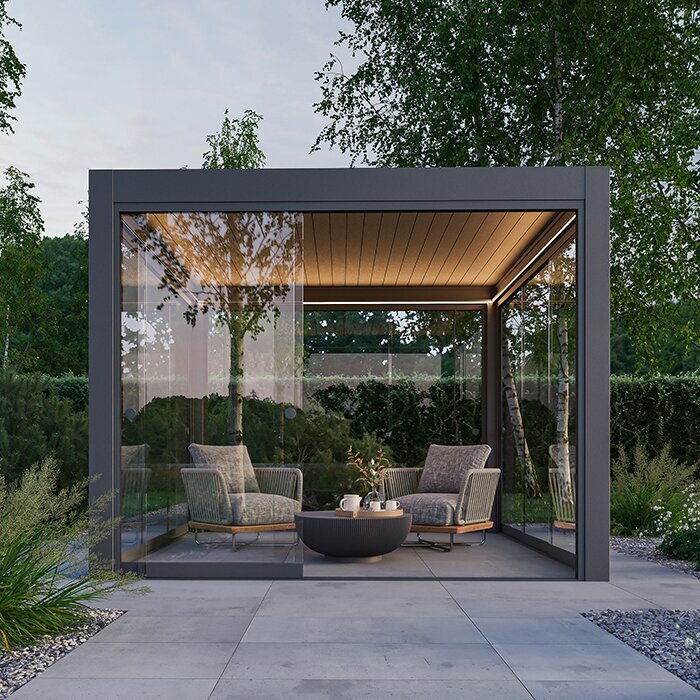
Material and visual weight matter as much as dimensions. A clean-lined aluminum pergola can provide structure without the bulk of a heavy garden building, especially when its posts align with patio edges or existing architectural lines. The goal is a layout that feels calm from indoors and practical once chairs, plants, and people are actually in place.
Inspection 01 · Inspection 01
Start with the usable patio footprint
Measure the patio as it is used, not simply as a rectangle on a property plan. Include the depth lost to open doors, stair landings, planters, drainage covers, and edge conditions. If the terrace narrows toward one end, note that change separately. A pergola that fits the broadest point can still pinch the daily route at the tightest point.
Then make a scaled sketch with the house wall, property-side boundaries, and any permanent features. Stand inside at the main interior sightline and consider what the frame will do to the view outward. On compact patios, a structure aligned to existing paving joints, window lines, or a façade rhythm often looks more composed than one placed by available space alone.
- Measure between finished surfaces, and record obstructions that cannot move before comparing any pergola footprint.
- Mark the narrowest passage separately; it is usually the dimension that determines whether the layout feels comfortable.
For adjustable overhead character in a compact setting, explore a bioclimatic pergola for narrow patios after mapping the active area and clear routes.
Inspection 02 · Inspection 02
Choose one primary outdoor use
A narrow patio becomes easier to plan when it has a clear job. A dining area needs space behind chairs; a lounge setting benefits from a calm view and a side surface; an outdoor cooking zone needs a safe, usable approach. Decide which activity happens most often, then allow secondary pieces only if they do not weaken the main arrangement.
Match the pergola footprint to that chosen use rather than buying the largest possible roof. A focused dining zone can feel inviting when the table sits comfortably within the frame and guests can move around it. A lounging terrace may work better with a smaller canopy-like structure and an open edge for plants, sunlight, or access to the rest of the yard.
- Choose the activity used most frequently, then test the layout with its largest everyday furniture pieces.
- Reserve the least convenient corner for occasional storage or planting rather than forcing main seating into it.
If you want a fixed, straightforward structure around a focused sitting zone, consider a regular pergola for compact seating that suits the terrace’s primary purpose.
Inspection 03 · Inspection 03
Build furniture clearance into the drawing
Furniture occupies more space in use than it does in a catalog image. Dining chairs move backward, recliners extend, and side tables need an approach from more than one direction. Lay out furniture footprints with tape, cardboard, or temporary markers before settling on the structure. Walk the route with another person and notice where elbows, bags, and chair legs create bottlenecks.
Keep the most frequently used seat from being trapped between a post and a wall. On a slender terrace, placing seating parallel to the long edge generally preserves a more readable central path. Consider visual clearance, too: lower-profile pieces and carefully selected planters can make the pergola feel integrated instead of turning the patio into a series of obstacles.
- Test dining chairs in their pulled-out position, not only tucked beneath the table.
- Allow access to each seat without asking guests to step over planters, rugs, or another person’s place setting.
Where adaptable shade and a refined dining setting are priorities, a bioclimatic pergola with flexible coverage can be assessed against your furniture plan.
Inspection 04 · Inspection 04
Treat posts as layout tools
Posts are not leftover details; they establish the usable corners of the patio. Locate them where they reinforce the structure’s geometry and stay out of the natural travel line. On a narrow terrace, an awkwardly placed post can make a comfortable table suddenly feel inaccessible. Use a temporary stake or a marked floor position to test how each proposed corner affects movement.
Look beyond the immediate seating arrangement. Posts may influence where you clean, store cushions, tend nearby planting, or carry food outside. They should also be evaluated alongside existing thresholds, downspouts, steps, and paving edges. A small adjustment to the overall placement can protect a valuable clear path and make the entire layout appear more intentional from the house.
- Mark proposed post positions at floor level and walk the patio before committing to the final layout.
- Avoid locating a post at a door swing, chair corner, stair approach, or the most direct garden route.
For a clean fixed-frame approach, review a regular pergola with purposeful posts while testing each corner against everyday circulation.
Inspection 05 · Inspection 05
Preserve a clear circulation spine
A patio feels larger when the route through it is obvious. Identify the path from the house to the garden, gate, grill, or storage area, then protect it before adding decorative elements. In a narrow layout, the route may run beside the seating instead of through its middle. That simple decision keeps the social zone settled and prevents every trip outdoors from interrupting it.
Consider how circulation changes when the patio is in use. Guests standing near a table, a door held open, or a serving tray can all temporarily narrow the passage. Plan for those ordinary moments rather than an empty photograph. If a full furniture arrangement compromises movement, reduce the number of pieces or choose more compact forms before enlarging the structure.
- Keep the main route legible from the doorway so visitors do not have to navigate around furniture.
- Test circulation with chairs occupied, doors open, and the items normally carried between kitchen and patio.
To shape a sheltered gathering area while retaining a side route, look at a bioclimatic pergola for slim terraces as part of the whole circulation plan.
Inspection 06 · Inspection 06
Work with doors, walls, and thresholds
The house-facing edge deserves particular attention because it governs how the patio is entered and seen. Note the full swing of hinged doors, the track area of sliders, exterior lights, vents, and outlets. Keep access to these elements practical. A pergola should support the transition outdoors, not create a visual or physical hurdle immediately beyond the threshold.
Wall-adjacent planning also calls for careful site review. Surface condition, drainage behavior, attachments, and any architectural details may shape what configuration is appropriate. Do not assume that a preferred placement suits every wall or patio. Discuss the actual site conditions with a qualified installer and check whether local approval or homeowner-association review applies to your project.
- Trace every exterior door swing on the sketch and retain comfortable standing room beyond it.
- Keep service points and drainage features accessible for inspection, maintenance, and routine use.
For an open-framed patio composition set away from sensitive wall details, a regular pergola for open patios may offer a useful planning direction.
Inspection 07 · Inspection 07
Control visual weight and proportion
Small patios benefit from restraint. The pergola should relate to the scale of the home’s openings and the depth of the terrace without making the façade feel crowded. Use the long dimension to create order, but avoid a layout that reads as a tunnel. Open perimeter space, a measured planting band, or an intentionally unroofed end can provide welcome visual relief.
Color and furnishing choices can either clarify or complicate the scheme. Repeat a limited palette between the frame, seating, and pots so the structure reads as part of one outdoor room. Choose planting with mature spread in mind; lush foliage is valuable, yet oversized containers or dense growth can erase the very clearance the layout was designed to protect.
- View the proposed placement from indoors, the garden, and the patio before finalizing its visual proportion.
- Use a restrained furniture and planting palette to keep a compact pergola setting visually calm.
For a streamlined architectural focal point, compare a bioclimatic aluminum pergola design with the scale and sightlines of your patio.
Inspection 08 · Inspection 08
Confirm the site before you commit
A finished sketch is a decision tool, not a substitute for site verification. Recheck dimensions at several points, especially on patios with irregular walls or paving. Consider the base condition, slopes, drainage, nearby trees, and access for installation. Product configuration and installation requirements matter, so review the relevant documentation and make sure the intended location can support the selected solution.
Planning questions can extend beyond the patio itself. Local rules, property-line considerations, and homeowner-association requirements may affect your project, while insurance questions should be discussed with your insurer. Requirements vary by location and circumstance, so seek confirmation from the relevant local authority or association before work begins. Request a current quotation only after the layout and site scope are clear.
- Recheck dimensions at the house edge, outer edge, and every change in patio width or level.
- Confirm local review requirements and site suitability before ordering or scheduling installation work.
When a simple structure fits the verified site plan, explore a regular aluminum pergola option with the final footprint, foundation, and access conditions in view.
Comparison
Compact patio layout options
Compare layouts by how they protect the patio’s most valuable resource: usable movement. The right option depends on the terrace shape, chosen activity, and fixed conditions at the house edge, not on a single ideal size.
| Layout approach | Best suited to | Planning advantage |
|---|---|---|
| Centered activity zone | Wider compact patios | Balances seating access on both sides. |
| Long-edge alignment | Narrow rectangular terraces | Preserves a direct circulation strip. |
| End-zone placement | Patios with garden access | Leaves the house-to-yard route open. |
| Partial coverage | Multi-use small patios | Maintains visual breathing room and flexibility. |
| Furniture-led footprint | Dining or lounging priorities | Prevents an oversized empty covered area. |
Five steps to a workable plan
Use this sequence before comparing configurations. It converts a vague wish for shade or structure into a tested layout that accounts for the patio’s real constraints and daily habits.
01
Measure fixed conditions
Record patio width and depth, irregular edges, thresholds, steps, drains, walls, and service points. Photograph the area from indoors and from each access route.
02
Name the main activity
Choose dining, lounging, or another primary use. List the furniture needed for that activity, including pieces that move or require approach space.
03
Mock up the footprint
Use tape, string, or temporary markers to outline the structure, furniture, and post locations. Check the layout with doors fully open and chairs in use.
04
Walk every route
Carry out normal movements from house to garden, seating, and storage. Revise the plan wherever a post, chair, or planter interrupts an intuitive path.
05
Verify before purchase
Confirm the selected configuration, base, installation access, and applicable local or association requirements. A current quotation is most useful once these fundamentals are settled.
Small patio pergola checklist
A final walk-through catches issues that measurements alone can hide. Use this checklist at the patio with your sketch, furniture dimensions, and a clear idea of how the space will be used.
01. The intended pergola footprint fits the patio’s narrowest point without consuming the main walking route.
02. Exterior doors can open fully, with practical standing space beyond the threshold and around hardware.
03. The primary furniture arrangement works with chairs pulled out and seats occupied by real people.
04. Each proposed post position has been marked and tested against paths, steps, planting, and furniture corners.
05. Drainage covers, outlets, wall features, and maintenance areas remain reachable after the structure is installed.
06. The layout looks balanced from the main indoor room as well as from the garden-facing approach.
07. Foundation conditions, level changes, and installation access have been reviewed for the chosen configuration.
08. Local authority, association, and insurance questions are checked with the relevant organizations before proceeding.
Questions about narrow patio pergolas
Can a pergola work on a very narrow patio?
Yes, provided the layout starts with circulation and the intended activity. A narrow patio often benefits from long-edge alignment, a focused furniture group, and an open strip for movement. Mark the structure and posts on the ground first, then test doors, chairs, and garden access before choosing a final configuration.
Should I cover the entire patio?
Not necessarily. Full coverage can be appropriate when the patio has sufficient depth and a clear route remains. On tighter spaces, a partial footprint may feel more comfortable because it preserves an open edge, protects views from indoors, and leaves room for planting or access. Let use and proportion decide the extent.
Where should posts go on a small terrace?
Place them where they support the planned structure without interrupting the most important movements. Avoid door swings, chair corners, stair approaches, and the direct path to the yard. Temporary markers are invaluable: they reveal whether a post location works when people, furniture, and everyday items occupy the patio.
How do I plan around a patio door?
Start by tracing the door’s full operating area and allowing room for someone to stand or pass through. Keep the threshold visually open, account for lighting and outlets, and avoid placing furniture where it blocks the transition. If wall-related conditions affect the proposed configuration, have the site reviewed before proceeding.
Do I need approval for a patio pergola?
Requirements can depend on location, property conditions, structure type, and community rules. Do not rely on a general assumption or a neighbor’s project. Check with the relevant local authority and, where applicable, your homeowner association. If coverage is a concern, discuss your specific plans with your insurer as well.
What should I bring when requesting a quotation?
Bring accurate patio measurements, photos, a sketch showing doors and fixed features, your intended furniture arrangement, and notes on access and ground conditions. Explain how you expect to use the space. This information helps ensure that the quoted configuration responds to the real site rather than an incomplete outline.
Plan your patio layout
Make the small patio feel intentional
A compact terrace does not need a grand footprint to become a satisfying outdoor room. The strongest plan puts daily use first: comfortable furniture, an unbroken route, practical door clearance, and posts that disappear into a sensible layout. Once those elements are resolved, the pergola becomes an organizing feature rather than another constraint.
Take time to mark the proposal at full scale and observe it from every approach. That modest planning step can clarify what should be covered, what should stay open, and where the structure belongs. Bloomcabin can then be part of a considered choice that supports the way your patio is actually used.
Use your measured sketch and furniture plan to compare pergola configurations suited to a compact outdoor space.
