
What Should a Complete Greenhouse Kit Include?
Greenhouse buying guide
A complete greenhouse kit is more than a beautiful frame and panels.
A greenhouse package can look complete at first glance while leaving important decisions for later. This guide explains what should be included in a greenhouse kit, which pieces often vary by offer, and how to build a practical checklist around the way you plan to grow.
The most useful way to assess a greenhouse kit is to separate the building itself from the setup needed to use it comfortably. A frame, glazing, door, and roof ventilation may form the core structure, but a workable growing space also depends on its base, airflow, water access, shade, storage, and internal layout. Those elements are not always bundled together.
Start with your intended use. A compact greenhouse for spring seedlings needs a different interior from a light-filled garden room for citrus trees, cut flowers, and a chair. The location matters just as much: sun direction, access from the house, drainage, prevailing wind, and clearance around the structure influence what you need to plan before installation.
Rather than assuming one package is more complete because it lists more items, ask what each listed component does and whether it suits your site. A clear, item-by-item comparison helps you identify structural essentials, useful accessories, and work you may need to arrange separately. It also makes current quotations easier to read on equal terms.
01 · Start with the shell
Identify the structural kit components
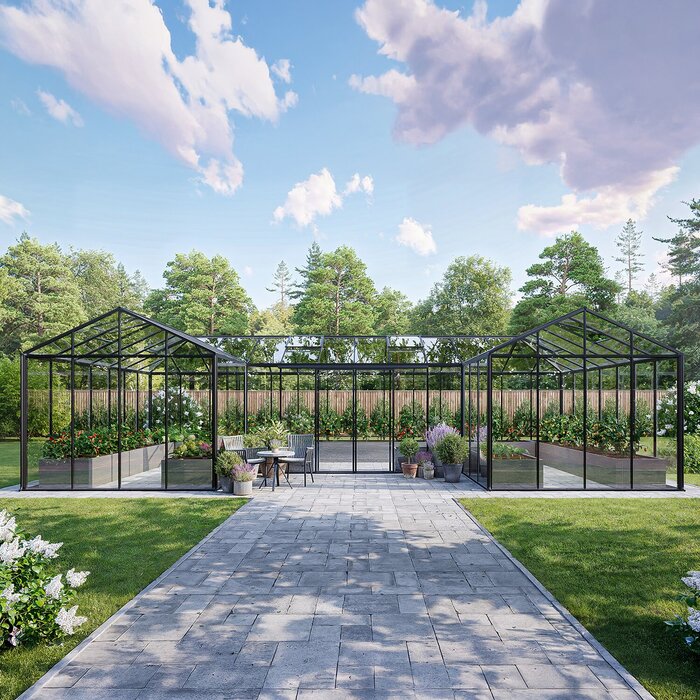
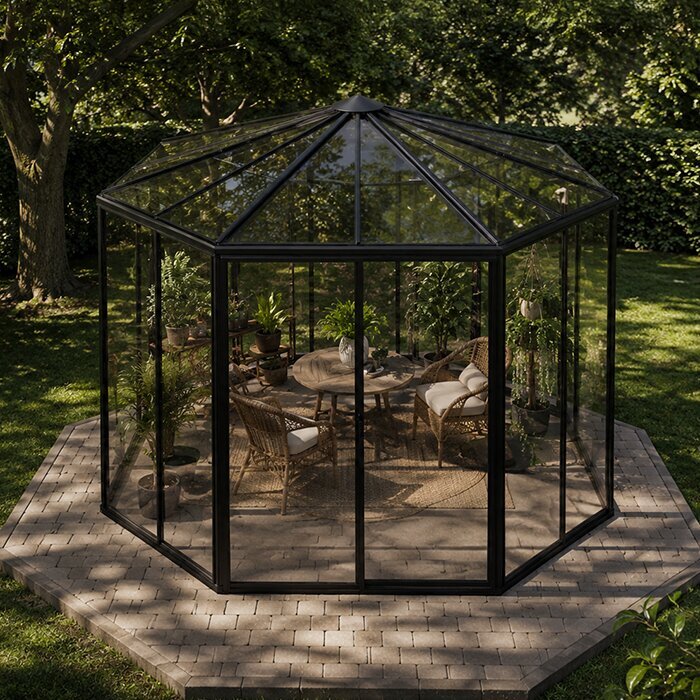
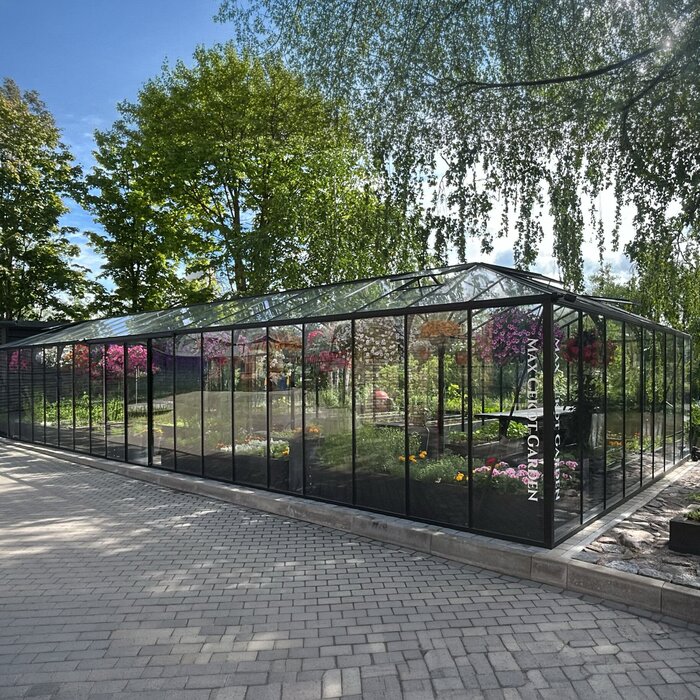
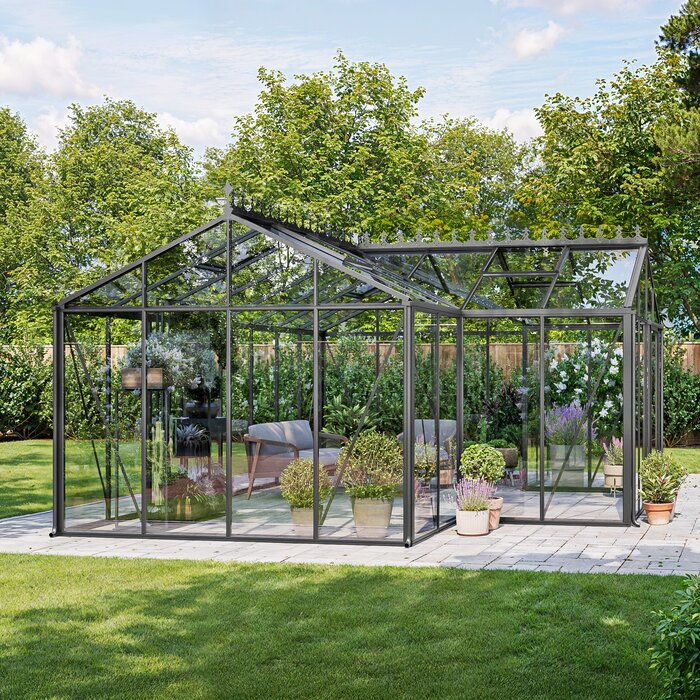
The first checklist is the greenhouse shell: the load-bearing frame, glazing, roof system, door, opening windows or vents, connectors, seals, and fastening hardware. A good product description makes these parts easy to identify. Do not rely on a gallery image alone, since the appearance of a finished greenhouse does not tell you which openings, trims, or fittings are included in the package.
Ask how the components work together at joints, edges, and openings. You want clarity about which pieces arrive as part of the structural kit and which are selected separately. Assembly instructions and a parts list are especially valuable because they reveal the scope of the package before delivery. Keep the specification with your own notes so you can compare like with like when reviewing options.
- Frame members, glazing panels, door parts, vents, gaskets, connectors, and fixings should be named clearly in the kit contents.
- Look for a component list that distinguishes standard supplied pieces from finishes, upgrades, accessories, and any work arranged on site.
For a freestanding starting point, explore a standard Classic greenhouse and review its listed structural components carefully.
02 · Foundation first
Treat the base as a separate decision
A greenhouse needs a level, stable, well-considered support beneath it, but that support is often not the same thing as the kit. Depending on the site and chosen structure, you may be planning a concrete slab, perimeter foundation, paving approach, or another suitable base. The right approach depends on soil conditions, drainage, local climate, dimensions, and the manufacturer’s installation requirements.
Do not leave the base until the greenhouse arrives. Measure the proposed location, consider how water moves across the yard, and ensure there is practical access for construction and future cleaning. If the greenhouse will sit near a home, wall, fence, or mature planting, allow working room around it. Discuss site-specific questions with an appropriate local contractor and check applicable local authority requirements before work begins.
- Confirm the finished base dimensions, level tolerance, anchoring points, and any required edge clearance before preparing the site.
- Consider drainage paths, nearby downspouts, underground services, and room to open doors, wash glazing, and maintain exterior edges.
Where a house-side layout suits your plan, consider a full-size regular Lean-To greenhouse alongside its stated base and anchoring guidance.
03 · Light and enclosure
Compare glazing, doors, and ventilation
Glazing affects the look, light quality, cleaning routine, and overall character of a greenhouse, so it belongs near the top of your kit checklist. Read the description for the exact enclosure material and the areas it covers, including roof and sides. Also examine the door arrangement: its location, opening direction where stated, threshold details, and how comfortably you can bring in trays, soil, or larger plants.
Ventilation is not an afterthought. Opening roof vents, windows, and doors help you manage warm days and stale air, but the number and placement supplied can vary with the greenhouse design. Think about your climate, orientation, and how often someone can check on plants. Automated openers, insect screening, fans, shade, and thermometers may be valuable additions, yet they should be treated as separate choices unless explicitly listed.
- Verify glazing coverage, door configuration, included roof vents, seals, and handles instead of assuming every visible opening is standard.
- Match ventilation accessories to your routine, sun exposure, and plant collection; convenience matters most during rapidly changing spring and summer weather.
A standard Classic greenhouse with roof ventilation can be a useful reference point when comparing light and airflow features.
04 · Make it grow-ready
Plan the interior before you buy
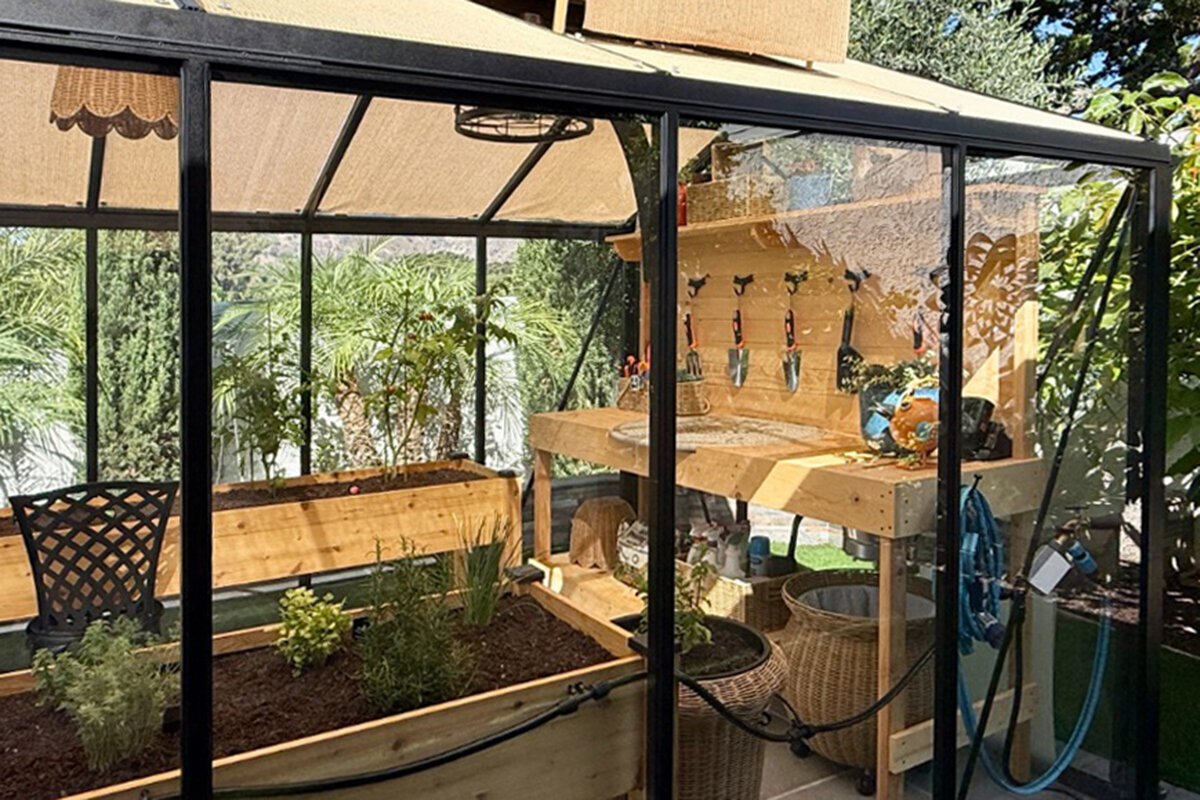
An empty greenhouse is flexible, but it becomes genuinely useful only when its interior supports your workflow. Sketch where you will enter, pot up plants, place seed trays, store tools, and reach every shelf without knocking over foliage. Benches, shelving, staging, hooks, potting surfaces, and floor paths may be optional, but they affect capacity and day-to-day comfort far more than many first-time buyers expect.
Choose fittings for the tasks you actually do. Vegetable starts may benefit from open bench space and tray storage; tender specimen plants may need taller clear areas; cut-flower growers may prioritize accessible rows and water. Avoid filling the footprint immediately. Leave an aisle that feels practical when carrying compost or watering cans, and retain enough open floor for seasonal rearrangement and cleaning.
- Map a clear route from door to rear wall, with reachable bench depth and space for watering, cleaning, and plant movement.
- Choose durable interior furnishings suited to moisture, soil, and repeated use rather than treating decorative storage as a substitute for workspace.
For a wall-adjacent growing room, a full-size regular Lean-To greenhouse interior deserves the same careful aisle and bench planning.
05 · Water, power, and control
Decide which utilities you need
Water is one of the first practical needs to resolve. A nearby outdoor spigot may be enough for a small collection, while a larger or more intensively used greenhouse may benefit from a planned irrigation setup. Consider the route for hoses, where runoff will go, and how you will avoid soaking paths or the foundation. Watering cans remain useful, but they are not always the simplest answer during busy growing periods.
Electricity can broaden your choices for lighting, fans, propagation equipment, or other tools, but it introduces site-specific safety and installation questions. Never assume a greenhouse kit includes wiring, outlets, or electrical equipment. If power is part of your plan, consult a qualified local professional and consider cable routes before the base and landscaping are finished. Simple monitoring tools can also help you observe conditions without overcomplicating the setup.
- Plan water access, hose storage, drainage, and irrigation controls before benches and plants make changes difficult.
- Treat electrical work as a separate project, with appropriately qualified advice and equipment selected for the intended environment.
A standard Classic greenhouse for seed starting may need a different water and utility plan than a display-focused space.
06 · Seasonal management
Budget for shade and temperature tools
Greenhouses extend the ways you can garden, but they still require active seasonal management. Sun can raise interior temperatures quickly, while cool nights can challenge tender plants. Your kit may provide the enclosure and openings, but shade materials, ventilation aids, temperature monitoring, and plant protection are usually decisions made around your garden routine. Consider what you can realistically adjust each day, especially during vacations or busy workweeks.
Shade can be arranged internally or externally depending on the product and your preferences; the important point is to confirm compatibility before purchasing accessories. A thermometer helps you understand conditions rather than guess at them. Fans, heaters, and automated devices each need careful selection and operation according to their own instructions. Avoid treating any accessory as a universal solution: plant types, weather patterns, sun exposure, and ventilation all affect the right combination.
- List the hottest and coolest periods in your gardening calendar, then choose shade, airflow, and monitoring tools around those specific challenges.
- Check accessory compatibility, placement, power needs, and operating instructions before adding automated equipment to your greenhouse plan.
A full-size regular Lean-To greenhouse for seasonal growing benefits from a shade strategy matched to its particular exposure.
07 · Know the exclusions
Separate kit costs from project costs
The kit is only one part of the overall project. Before you compare offers, create a second list for costs and tasks outside the product package: site survey, excavation, base materials, drainage, utility work, assembly assistance, interior furnishings, tools, plants, and landscaping repairs. This approach does not predict a total cost; it gives you a clearer way to ask for current, itemized quotations from the relevant providers.
Also identify responsibilities. Some buyers are comfortable assembling a greenhouse themselves; others prefer to arrange experienced help. Access constraints, slopes, existing paving, and the weight and handling of components can change the scope of site work. Request written clarification wherever an offer is vague. For planning questions, consult the relevant local authority; for property coverage questions, ask your insurer how your intended project may be treated under your policy.
- Create separate columns for supplied kit parts, optional accessories, site work, installation labor, utilities, and interior growing equipment.
- Ask each provider to clarify exclusions in writing, then compare the scope rather than relying on a single headline figure.
When reviewing a standard Classic greenhouse package , keep its product contents separate from the wider site project.
08 · A smarter final review
Match completeness to your gardening goals
The best complete greenhouse kit is not the one with the longest accessory list; it is the one whose supplied structure and planned additions support your real priorities. Revisit your first season: what will you grow, when will you use the space, who will maintain it, and how much daily attention can it receive? This turns an abstract feature comparison into a decision rooted in your garden and schedule.
Before ordering, review the final configuration against the product documentation, your base plan, and your accessory list. Confirm dimensions, access, opening clearances, and the separation between included and optional items. Read applicable written terms and conditions for the precise scope of any product coverage. Keep copies of drawings, selections, and correspondence, since they can make installation coordination and future additions much easier.
- Prioritize structural suitability and a workable site plan before adding convenience accessories, decorative items, or equipment you may not use.
- Save the final specification, installation guidance, and written terms with your project notes for straightforward reference later.
Finish your review by comparing a full-size regular Lean-To greenhouse configuration with the needs of your site, plants, and routine.
Comparison
What may be included, optional, or separate?
Use this table as a conversation starter, not a substitute for the exact product specification. Package contents vary by model and configuration, while site work and growing equipment are commonly planned separately.
| Category | Often part of the structural kit | Often optional or separately arranged |
|---|---|---|
| Structure | Frame, glazing, door, hardware | Base construction, anchoring labor, installation help |
| Airflow | Specified vents or openings | Automatic openers, fans, insect screening |
| Interior | Open growing space | Benches, shelving, staging, potting surface |
| Water | No assumed utility connection | Hose route, irrigation, water storage, drainage work |
| Climate tools | Basic enclosure only | Shade, thermometer, heating, circulation equipment |
Build your kit-content checklist
Work through these decisions before requesting or accepting a quotation. The result is a practical brief that makes missing items and unnecessary extras much easier to spot.
01
Define the use
Write down your main purpose: propagation, food growing, overwintering, display planting, or a mix. Add the seasons and frequency of use you expect.
02
Measure the site
Record available footprint, access route, sun patterns, drainage, nearby structures, and clearance for doors and maintenance. Photograph the location for reference.
03
List structural inclusions
Check the frame, enclosure, door, vents, seals, fittings, and assembly documentation line by line. Flag any component described ambiguously.
04
Choose working equipment
Plan benches, shelves, paths, water access, shade, monitoring, and storage around your preferred gardening tasks instead of buying accessories at random.
05
Confirm outside scope
Separate base, site preparation, utilities, installation, and landscaping from the product kit. Seek appropriate local advice for questions specific to your property.
Before you call a greenhouse complete
Use this final checklist to test whether the package and your project plan are aligned. Each checked item reduces the chance of an avoidable surprise later.
01. The exact frame, glazing, door, vents, seals, and fixings are listed in the selected configuration.
02. The required base dimensions, anchoring approach, and finished level have been considered for the proposed location.
03. You know which site preparation, drainage, utility, and installation tasks are outside the greenhouse kit.
04. Door swing, access route, internal aisle, and exterior maintenance clearances work on your actual site.
05. Benches, shelves, potting space, and storage support the plants and tasks you plan to manage.
06. Your watering method has a practical route, storage place, and drainage plan for regular use.
07. Shade, ventilation aids, temperature monitoring, and seasonal protection are considered before the first hot or cool spell.
08. Written product documentation, terms, and selected options are saved with your project notes.
Frequently asked questions
Does a complete greenhouse kit include a foundation?
Not necessarily. The greenhouse structure and the foundation are often treated as separate parts of a project. Check the product documentation for base requirements, dimensions, and anchoring guidance, then decide on a suitable solution for your site. Soil, drainage, slope, and local conditions can all affect the work needed.
Are shelves and benches normally included?
They may be offered as accessories, but do not assume they are included unless the selected configuration says so. Interior fittings are worth planning early because they influence aisle width, usable growing area, and water access. Choose them around your actual plant care routine, not simply the maximum amount of storage.
How many vents should a greenhouse have?
There is no single right number for every garden. Ventilation needs depend on the greenhouse design, its size, orientation, local weather, plant load, and how actively you can manage it. Confirm the openings included with the chosen model, then consider whether compatible accessories would support your seasonal routine.
Should I add irrigation when buying the kit?
If you expect frequent watering or will be away during active growing periods, it is sensible to plan irrigation early. That does not mean every greenhouse needs a complex system. First establish water access, hose routing, drainage, and the plants’ needs, then choose equipment that fits the layout and your comfort level.
Do I need permission for a greenhouse in the United States?
Requirements can vary by location, property, size, placement, and other project details. Before ordering or preparing the base, check with the relevant local authority about rules that may apply to your address. If you belong to a homeowners association, review its requirements as well before making commitments.
How should I compare greenhouse offers fairly?
Make an itemized comparison that separates the structural kit from accessories, base work, utilities, installation, and other outside tasks. Compare the exact selected configuration, not just photographs or broad package labels. Ask for written clarification of exclusions, and use current quotations when evaluating the project budget.
Plan your greenhouse
Complete means clear, not overloaded
A greenhouse kit becomes easier to buy when you stop looking for one universal definition of complete. Start with a clearly specified structure, then plan the base, access, ventilation, interior, water, and seasonal tools that make sense for your garden. That distinction protects both your budget process and your future enjoyment of the space.
Bloomcabin can help you explore greenhouse styles while you use this checklist to ask better questions. Bring a measured site plan, a short list of growing goals, and your notes on essential versus optional equipment. You will be better positioned to select a configuration that feels purposeful from installation through every growing season.
Use your checklist to explore a greenhouse configuration built around your site and gardening routine.
