
What Should a Complete Pergola Kit Include?
Buying guide
Quick answer: define the kit before comparing it
A complete aluminum pergola kit should clearly identify its structural frame, roof type, connection hardware, finishing components, and installation documentation. If a component is necessary to assemble the advertised configuration safely and as intended, ask whether it is included, supplied separately, or expected to be sourced locally.
Accessories and site services commonly sit outside a base package. Lighting, side screens, electrical work, foundations, patio changes, delivery handling, and installation may each be separate decisions. The right package is not the one with the longest list; it is the one whose written scope matches your chosen layout, site, and intended use.
01
Core kit
Look for the posts, beams, roof system, brackets, fasteners, trims, and instructions needed for the stated pergola configuration.
02
Comfort upgrades
Treat lighting, screens, sensors, controls, heaters, and decorative additions as selectable features unless the product specification expressly includes them.
03
Project scope
Confirm who handles foundations, electrical connections, assembly, drainage planning, access constraints, and any checks required for your property.
What Should a Complete Pergola Kit Include—and What Usually Costs Extra?
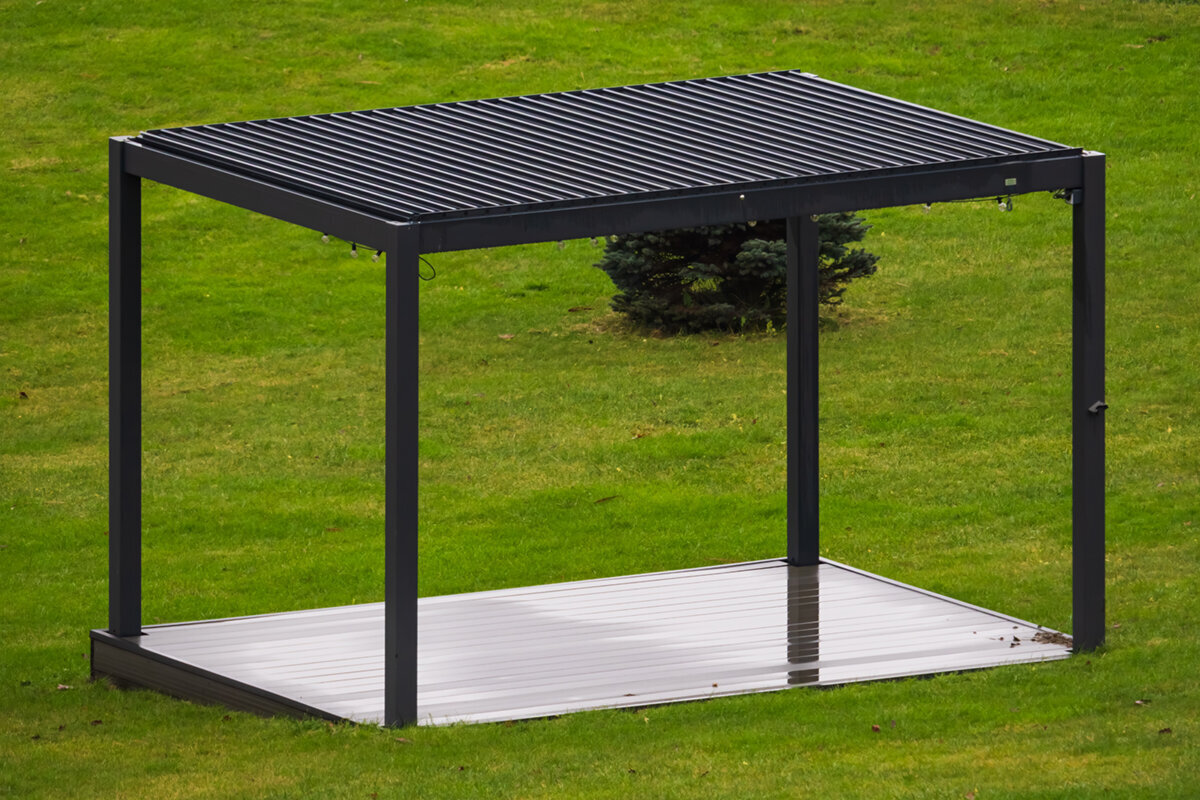
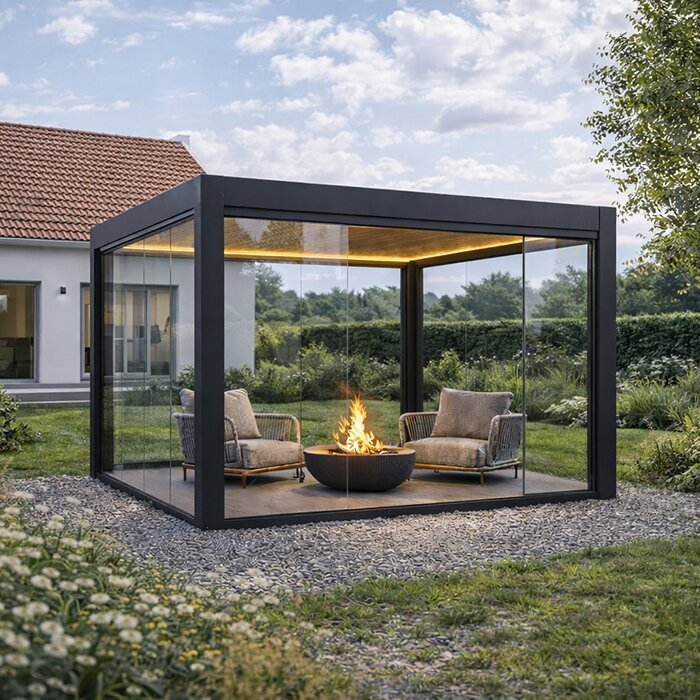
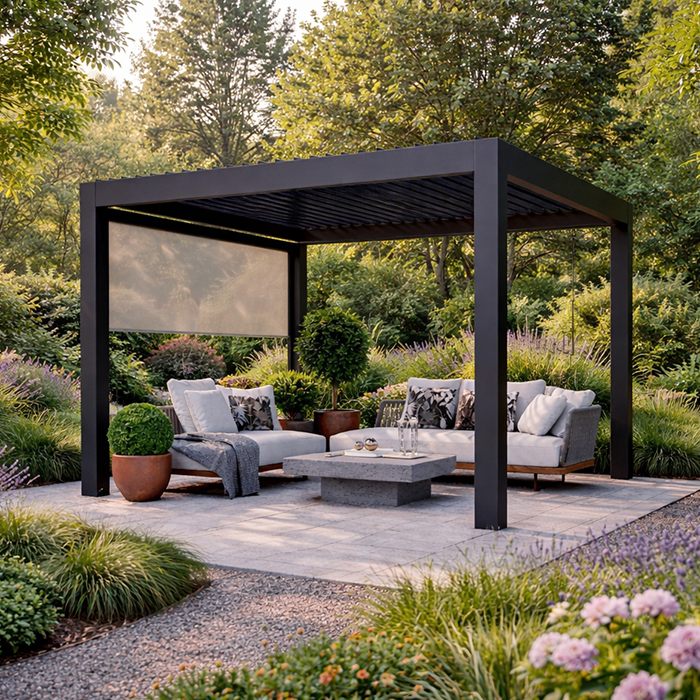
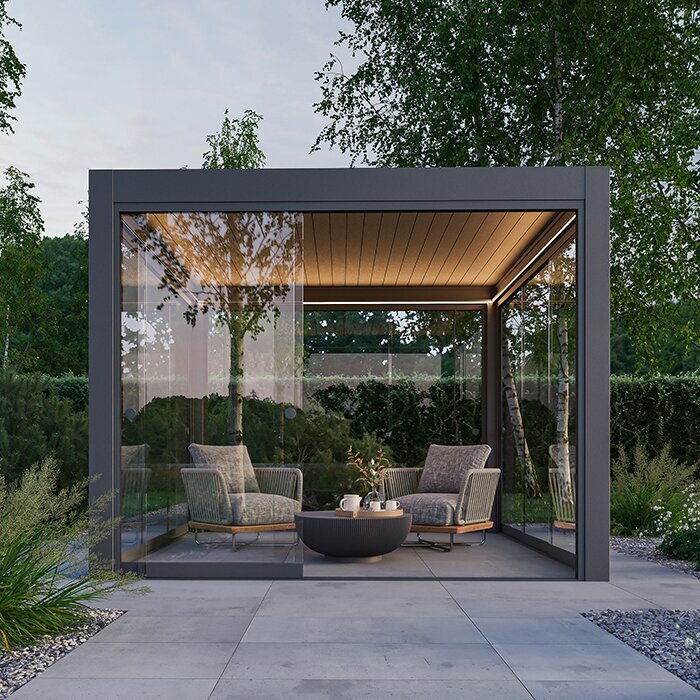
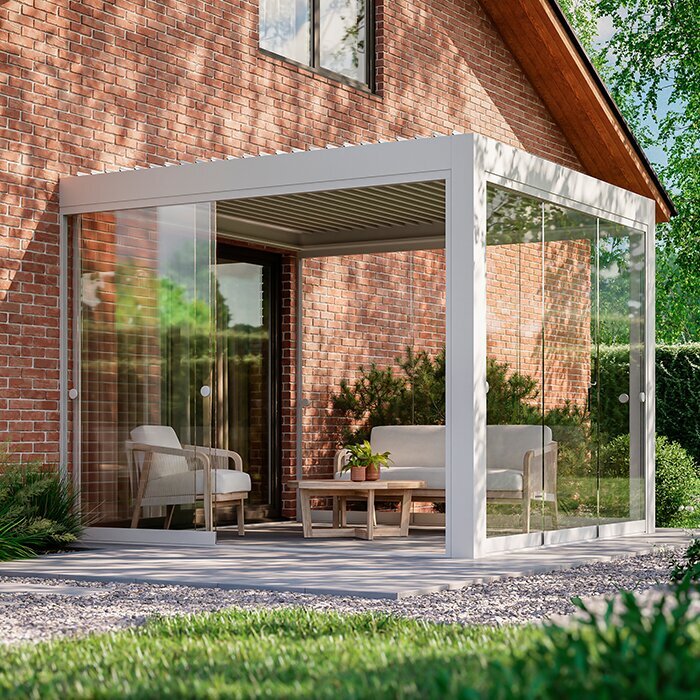
The question “what should a pergola kit include” is really a scope question. A polished image may show lighting, side screens, furniture, and a finished patio, while the base kit may cover only the frame and roof system. Reading the included-items list closely helps you compare like for like and avoid treating a visual presentation as a complete project specification.
Start with the elements required for a stable, usable pergola: posts, beams, roof components, fixings, drainage provisions where applicable, and assembly information. Then identify the choices that alter comfort, appearance, or operation, such as color, integrated lighting, screens, and remote controls. Those additions can be worthwhile, but they should be clearly listed as options rather than assumed inclusions.
The final scope also depends on your site. A freestanding structure over an existing patio raises different questions than one positioned beside a house, pool, or outdoor kitchen. Ground conditions, electrical access, drainage routes, local planning considerations, and installer responsibilities all deserve their own line items. This guide gives you a practical kit-content checklist before you request or accept a quotation.
01 · Start with the frame
The structural package is the real starting point
The core of any pergola kit is the load-bearing structure. That normally means upright posts, horizontal beams, roof-supporting members, and the purpose-made connections that join them. The written description should state the intended configuration, overall footprint, number of supports, and finish options. Do not assume that every visible trim, end cap, or bracket shown in a lifestyle photograph is automatically part of the selected kit.
Hardware matters as much as the larger pieces. A complete structural list should make clear whether anchors, bolts, brackets, cover plates, and component-specific fasteners are provided. Some fixings must suit the surface on site, so a supplier may reasonably separate them from the kit. Ask which items are included and what substrate assumptions apply before preparing a slab, deck, or paved area.
Match the stated number of posts and beams to your chosen freestanding or house-adjacent layout before ordering.
Ask whether surface-specific anchors are supplied, and whether your installer must select fixings for concrete, decking, or another base.
For an adjustable-roof structure, explore bioclimatic aluminum pergola systems and review the listed frame components alongside the roof specification.
02 · Roof scope
Know exactly which roof components are included
Roof language can create the biggest misunderstanding in a pergola quote. A regular pergola may use a fixed canopy, fabric solution, or another specified cover, while a bioclimatic design has a different roof assembly and operating components. The product description should name the roof material or mechanism, the supporting parts, edge details, and any elements needed to complete the advertised roof configuration.
Also separate the roof itself from water management and controls. Where a design incorporates channels, gutters, downpipes, seals, or motorized parts, ask how these are configured and whether they are supplied for your selected arrangement. Never assume that a roof feature shown on a display installation will suit every site. Placement, orientation, clearances, and local weather exposure should inform the final specification.
Confirm whether the listed roof package includes all covers, louvers, fabric, rails, seals, and operating parts for the selected size.
Request a clear explanation of drainage components and where water is intended to discharge after installation.
If you prefer a simpler fixed-cover approach, view regular aluminum pergola options with the roof treatment and included parts stated clearly.
03 · Finish details
Trims and drainage deserve a line-by-line check
Small finishing parts make a pergola look resolved and can affect how neatly it meets the patio. These may include post caps, beam covers, trim pieces, corner details, and concealed channels. A base kit may include the standard finishing set for its own frame, while custom closures or special transitions may be additions. Ask for the component list rather than relying on a rendering or a broad phrase such as “complete system.”
Drainage requires equally careful reading. Roof water should not be treated as an afterthought when the pergola stands near doors, walkways, planting beds, or neighboring boundaries. The product may provide drainage elements, but site drainage connections and ground grading are separate property conditions. Discuss the water route with your installer and check whether it conflicts with local requirements or the design of the existing hardscape.
Check whether visible end caps, fascia details, and post finishes are standard for your selected color and layout.
Plan the outlet location early, especially where paving, planted borders, doors, or utility lines limit routing choices.
See how roof and edge details come together in bioclimatic pergola configurations before selecting any site-specific drainage work.
04 · Comfort layer
Screens, lighting, and controls are often options
The features that make a pergola feel like an evening room are frequently optional. Integrated lighting, side screens, privacy panels, and control upgrades can change how you use the space, but they may not belong to the structural kit. Decide which additions solve a real need: glare, low sun, privacy, insects, wind exposure, or safe movement after dark. This makes the accessory list more purposeful and easier to budget.
Ask whether accessories are designed for the exact pergola configuration you are considering. A screen needs compatible mounting points and enough clearance to operate; lighting needs a planned cable route and suitable electrical work. Confirm the finish, placement, control method, and whether the accessory is supplied as a product only or includes fitting. Leaving these questions until after assembly can limit choices or add unnecessary rework.
Prioritize accessories by how you use the space: daytime shade, privacy, dinner lighting, or seasonal comfort.
Confirm that screens and lighting are compatible with the chosen frame, roof type, dimensions, and intended installation position.
For a straightforward outdoor framework, consider regular pergola designs then add only the privacy and lighting features your space needs.
05 · Electrical planning
A product kit is not the same as electrical work
A kit may contain lights, a motor, controls, or preplanned routes for electrical components, but that does not automatically include bringing power to the structure. Electrical work is site-specific and should be discussed with an appropriately qualified local professional. They can assess the route from the building, exterior-rated components, switching, controls, and how the work relates to the rest of your outdoor area.
Plan power before the patio is finished or the pergola is assembled. Early decisions can help keep cables discreet and avoid reopening surfaces later. Make a simple list of intended uses: roof operation, overhead lighting, wall lights, charging, or an outdoor kitchen. Then ask which components are supplied with the pergola, which are supplied by an electrician, and which controls are included in the selected package.
Create an electrical plan before finalizing foundations, paving, or ceiling finishes around the pergola footprint.
Separate supplied devices from local electrical labor, connection materials, switches, and any required inspection or approval process.
When powered roof features are important, compare bioclimatic pergola roof systems with your electrician’s site plan in mind.
06 · Site preparation
Foundations and installation may be outside the box
Even a well-specified kit needs a suitable base. The surface must be assessed for level, strength, dimensions, and the correct fixing method for the product and site. Existing patios, decks, and slabs can vary widely in construction, so do not assume they are ready simply because they look sound. An installer or relevant professional can advise on the work needed before the structure is assembled.
Installation scope also varies. Some buyers want a supplied kit for their own chosen installer; others need assistance with assembly, access planning, lifting, packaging removal, and final adjustments. Get these responsibilities written down. If work near the home affects drainage, utilities, or exterior finishes, coordinate the trades and sequence before anything arrives. This is more reliable than trying to solve access and base questions on installation day.
Verify the proposed base, finished levels, and anchor locations before ordering a pergola for an existing patio.
Clarify who is responsible for assembly, lifting, waste removal, adjustments, and correcting site conditions discovered during installation.
For a clean, adaptable outdoor structure, browse regular aluminum pergola collections while confirming the preparation required for your chosen surface.
07 · Scope and paperwork
Use the specification to separate inclusions from assumptions
The most useful document is a written specification that divides the project into included products, optional products, and excluded services. It should identify the configuration, finish, roof selection, accessories, and any components that depend on final site measurements. If an item is important to your decision, do not accept a verbal assumption. Ask for it to appear in the order details or supporting documentation.
Planning, property rules, and insurance questions are not one-size-fits-all. Requirements can depend on location, dimensions, placement, zoning, homeowner association rules, and the relationship to the house or lot lines. Check with the relevant local authority and, where appropriate, your insurer before proceeding. A product supplier can explain the kit; local bodies and professionals determine how your particular project should be handled.
Keep a single scope sheet that labels every feature as included, optional, excluded, or to be supplied locally.
Check local authority, association, and insurance considerations early rather than treating them as a last-minute formality.
To specify adjustable shading accurately, start with bioclimatic pergola product details and attach your selected accessories to the written scope.
08 · Final review
Compare complete projects, not just kit headlines
A lower initial kit figure can reflect a genuinely simpler design, or it can omit components and services you expect to receive. The solution is not to demand every conceivable accessory. It is to compare each proposal against the same brief: footprint, roof type, finish, drainage approach, screens, lighting, base preparation, electrical work, delivery handling, and assembly. This turns a vague shopping exercise into a usable project comparison.
Before committing, walk through the selected configuration as if you were standing beneath it. Where do people enter? Where does water go? Which side needs privacy? Where will power come from? Who fits each component? A complete pergola kit is complete only in relation to the product scope stated by the supplier. Your finished outdoor project may require additional site work, trades, and decisions beyond that package.
Compare proposals using one shared checklist so an included roof detail or excluded service does not disappear between quotes.
Ask for clarification whenever phrases such as standard, prepared for, compatible with, or installation-ready are not defined.
For a dependable baseline, explore regular pergola kit choices and build your final scope around the exact configuration you select.
Core kit, options, and project services at a glance
Use this table as a discussion tool, not as a universal promise of inclusion. Product designs and selected configurations vary. Ask for the exact list that applies to your pergola, then identify the local work needed to turn those supplied components into a finished outdoor space.
Structure
Posts, beams, joining components, standard frame finishes
Surface anchors, custom transitions, special layouts
Roof
Specified roof components and supporting parts
Upgraded controls, special additions, configuration changes
Water handling
Product-integrated channels where applicable
Ground drainage connections and patio alterations
Comfort
Basic product scope stated in specification
Side screens, lighting, privacy panels, sensors
Electrical
Supplied devices for selected powered features
Power supply, wiring, switches, qualified labor
How to define your complete pergola scope
A short planning sequence helps reveal missing items before you order. Bring the same notes to every supplier or installer conversation so the choices, exclusions, and site responsibilities remain easy to compare.
01
Describe the use
Write down whether the space is for dining, lounging, cooking, privacy, or daytime shade. This identifies the accessories that have a practical role.
02
Measure the setting
Record the usable patio area, door swings, paths, views, existing drains, utility points, and any obstacles that affect the proposed footprint.
03
Choose the roof approach
Decide whether you want a fixed-cover concept or an adjustable-roof design, then request the exact components for that configuration.
04
Assign site work
Identify who assesses the base, supplies anchors, completes electrical work, manages drainage, and installs the structure on the property.
05
Review the written scope
Before approval, mark every item included, optional, excluded, or awaiting site confirmation. Resolve unclear wording in writing before work begins.
Pergola kit checklist before you place an order
Use this checklist to verify both the product package and the work around it. It is designed to expose assumptions early, while changes are still easier to make.
01. The selected layout, footprint, post positions, and finish are named in the written specification.
02. The roof type, roof components, operation method, and edge details are clearly described.
03. Included brackets, fasteners, trims, caps, and surface-anchor responsibilities are identified.
04. Drainage components and the intended route for water away from the pergola are discussed.
05. Side screens, privacy elements, and lighting are marked included, optional, or excluded.
06. Electrical devices are separated from local wiring, power supply, controls, and installation labor.
07. The existing patio, deck, or foundation has been assessed for suitability and fixing requirements.
08. Local authority, property association, and insurance questions have been checked where relevant.
Frequently asked questions about pergola kit contents
Does a complete pergola kit always include installation?
No. “Complete” can describe the supplied product components rather than the on-site service. Some packages may be intended for professional assembly or self-managed installation, while others may have installation arranged separately. Ask who provides labor, equipment, site assessment, anchoring, adjustments, and packaging removal, and make sure those responsibilities are written down.
Are side screens normally included with an aluminum pergola?
Side screens are commonly treated as an accessory because needs differ by site. One patio may need privacy on a single side, while another needs several screens or none. Check screen compatibility with your selected frame, mounting location, finish, and operation. Also confirm whether fitting is included or arranged as separate installation work.
Should lighting be part of the pergola kit?
Lighting can be part of a selected product configuration, but it should never be presumed from images alone. Confirm the type and placement of any supplied lights, plus the control arrangement. The electrical connection to your home is a separate site matter that should be planned with an appropriately qualified local professional.
Are anchors and foundations included in the same package?
Not necessarily. A pergola may include component-specific hardware while the final anchors depend on the actual surface and its construction. Foundations, slabs, deck reinforcement, and ground preparation are also site-specific. Ask what the kit supplies, what the installer supplies, and what preparation must be completed before assembly begins.
How can I compare two pergola kits fairly?
Create one requirements list and apply it to both proposals. Compare the same footprint, roof type, color, drainage details, accessories, installation scope, and site work. Then label each line as included, optional, excluded, or to be confirmed. This prevents a lower headline figure from masking a different project scope.
Do I need to check permits or insurance before buying?
It is wise to check early because requirements and insurance considerations can vary by location, property, placement, and project details. Contact the relevant local authority for guidance and review any questions with your insurer where appropriate. Do not rely on a general product description as proof that your proposed installation needs no further review.
Plan your pergola scope
A complete kit starts with a complete written scope
The strongest pergola purchase is not built on assumptions. Confirm the frame, roof, connectors, finishes, and drainage-related product components first. Then select the accessories that genuinely improve your outdoor routine, rather than paying for features that look appealing but do not solve a need on your patio.
Finally, treat foundations, electrical work, installation, and local checks as connected parts of the project, not footnotes. Bloomcabin can help you explore pergola configurations, but your final choice should match the documented product scope, site conditions, and responsibilities agreed for your home.
Use the checklist to define your preferred configuration before exploring the right Bloomcabin pergola for your outdoor space.
