
When Should You Order a Greenhouse for Spring?
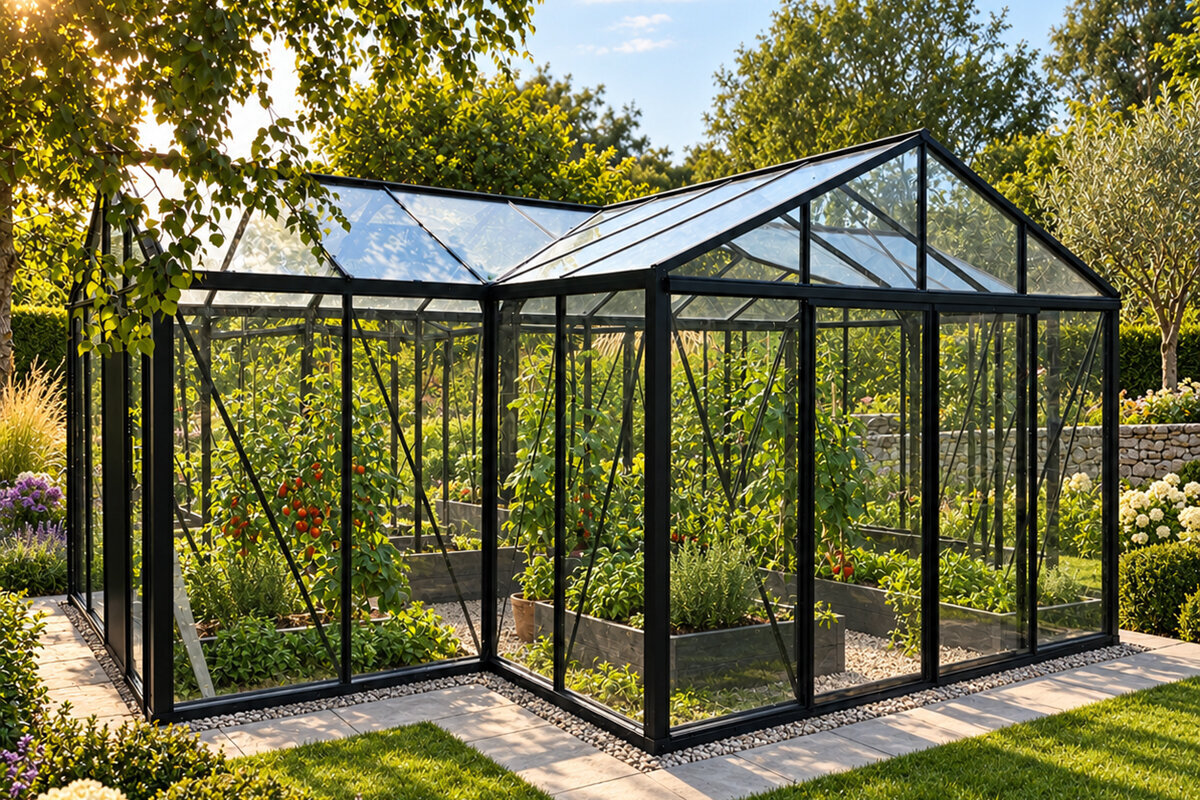
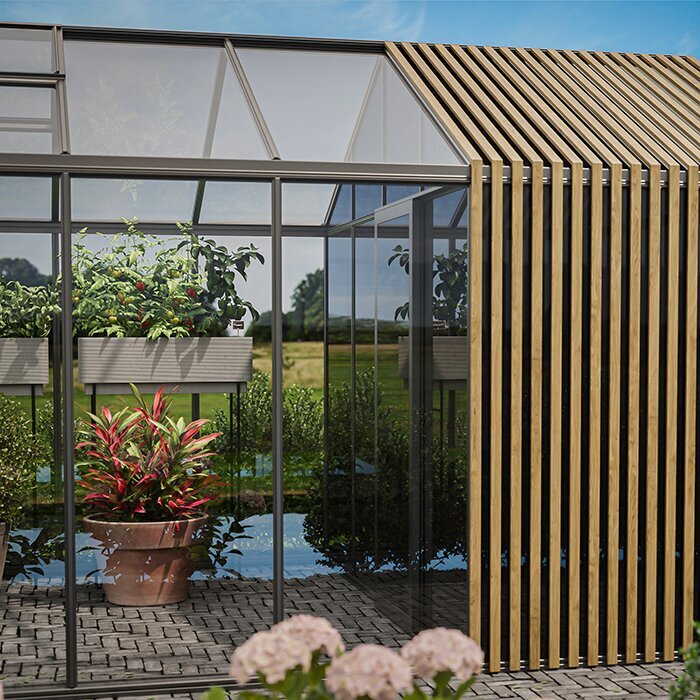
A greenhouse can extend the useful gardening season, but spring is also when outdoor schedules become crowded. Ground conditions, contractor availability, household calendars, and local review processes can all affect the path from idea to finished structure. Starting the planning process well before planting season gives you choices instead of last-minute compromises.
Begin with a target completion window rather than a presumed arrival date. Decide whether your priority is starting seedlings, sheltering tender plants, creating a garden workspace, or simply having the greenhouse ready for warmer weather. That intended use shapes the size, placement, access, interior layout, and amount of preparation the project needs.
The most practical answer to when to order a greenhouse is: after you have a credible site plan, but early enough that site work and installation can proceed calmly. Confirm the product details that matter to you, then leave contingency in your calendar for weather, approvals, and the ordinary decisions that arise once you measure the garden properly.
Stage one
Set your real spring goal
A spring greenhouse means different things in different gardens. One household may want a protected spot for seed trays; another may be planning a potting area or a place to overwinter plants. Define what “ready” means for you: assembled, furnished with benches, supplied with water, or actively planted. This distinction determines how far ahead you need to begin.
Also consider how the greenhouse will fit your gardening rhythm. If spring weekends are already committed to beds, pruning, and family plans, completing construction beforehand matters more than chasing an arbitrary calendar date. A clear purpose helps prevent oversizing, undersizing, or selecting a location that looks attractive but makes everyday access inconvenient.
Write down the first task you expect the greenhouse to support, such as sowing, potting, plant care, or seasonal storage.
Choose a completion window that comes before your personal gardening rush, not simply before the official start of spring.
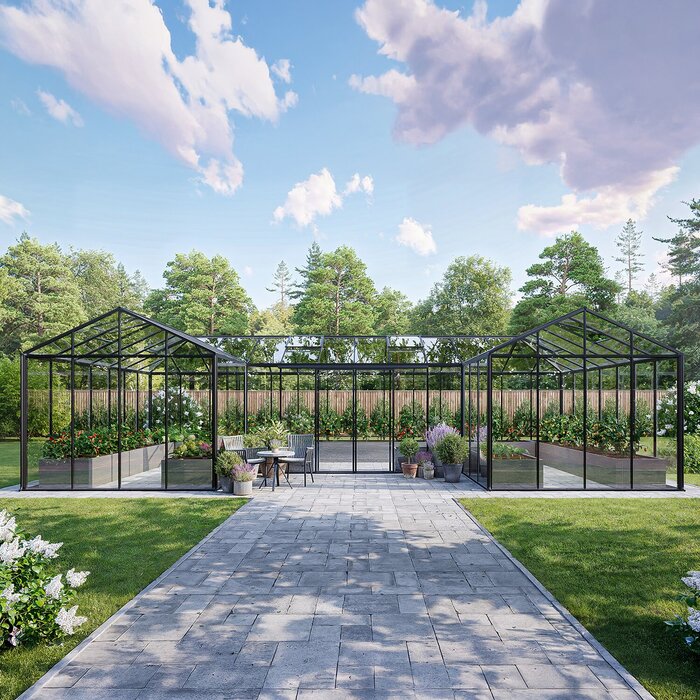
For a freestanding garden centerpiece, explore a standard Classic greenhouse while you compare footprint, door access, and internal working space.
Stage two
Measure the site before shopping
Measure more than the space occupied by the greenhouse. Include room for doors to open, paths, cleaning, maintenance, wheelbarrow access, and the way you will carry soil, pots, and plants. Observe the site at different times of day if possible. Sun, nearby trees, drainage patterns, and prevailing exposure can influence both comfort and the practical use of the structure.
Check the route from the delivery point to the intended location as carefully as the location itself. Gates, narrow side yards, steps, overhead branches, turns, and soft ground may affect how components are moved and where they can be staged. Taking photographs and noting constraints early makes later conversations with installers or helpers much more productive.
Mark the proposed footprint with stakes or a garden hose, then walk around it carrying a tray or wheelbarrow.
Record gate widths, pathway turns, slopes, overhead obstructions, and the nearest practical unloading or staging area.
Where a suitable existing wall is part of the plan, consider a full-size regular Lean-To greenhouse and measure clearance along the entire proposed run.
Stage three
Choose the model with installation in mind
It is tempting to choose solely by appearance or growing area, but installation needs belong in the decision from the beginning. Think about roof height, door position, ventilation choices, glazing preference, shelving, and whether the greenhouse should sit as a garden destination or close to the house. Each choice can affect the base, access, and sequence of work.
Use product research to create a short list, not to postpone site decisions. Compare dimensions against your marked-out area, picture how you will reach plants at the back, and consider where tools and supplies will live. A model that works on paper but leaves no circulation space can turn an enjoyable spring project into a cramped routine.
Compare external dimensions with usable interior circulation, especially if you plan benches, staging, containers, or a potting surface.
Review the selected configuration before committing to the base, since openings and accessories can influence the surrounding layout.
If you want a versatile freestanding layout, review the standard Classic greenhouse range alongside your measured garden plan.
Stage four
Allow time for local questions
Requirements for a greenhouse can vary by location, property type, size, siting, and neighborhood rules. Before ordering, ask the relevant local authority whether permits, zoning review, setbacks, drainage considerations, or other approvals may apply. If you live within an association or historic district, check its process as well. Do not assume a small garden structure is automatically exempt.
Insurance and utility questions deserve similar care. Your insurer can explain whether a planned structure should be reported and what documentation may be useful. Contact local utility-locating services before digging, and identify underground lines, irrigation, drainage, and electrical routes. These checks are not paperwork for paperwork’s sake; they protect the schedule and the site.
Ask local authorities about applicable siting, permit, and setback requirements before finalizing location or beginning foundation work.
Confirm utility locations and discuss the planned structure with your insurer if coverage or property documentation could be relevant.
A house-side project should be reviewed early, especially when considering a full-size regular Lean-To greenhouse design near boundaries, services, or existing openings.
Stage five
Plan the base and drainage
A greenhouse needs a sound, level base suited to the selected product and local ground conditions. Decide who will handle excavation, leveling, drainage, and the foundation approach, then schedule that work independently from the greenhouse order. Wet ground, frost, hidden rubble, and uneven grades often become visible only after the area has been cleared, so a contingency is sensible.
Drainage should be considered across the surrounding garden, not just directly under the structure. Notice where roof runoff and surface water travel after rain, and avoid creating a low point at the entrance. A thoughtful path from the house and a clean edge around the greenhouse can make spring maintenance easier, especially when soil and mulch are moving frequently.
Inspect the area after rain to identify puddling, runoff routes, soft spots, and any grade changes that need attention.
Agree on the base specification and responsible party before arranging assembly, rather than making foundation decisions during installation.
For a freestanding structure with a defined garden presence, a standard Classic greenhouse layout can help you plan surrounding paths, beds, and drainage.
Stage six
Build a flexible order timeline
Once the model and site approach are settled, place your order with enough time to manage the next stages deliberately. Ask for current ordering and delivery information when you are ready, but avoid building your entire spring around an assumed date. Product availability, routing, seasonal demand, and site readiness should be discussed as planning variables, not treated as promises.
Use the interval after ordering to complete tasks that do not depend on having every component on site. Finish the base, clear the access route, confirm the assembly plan, and organize safe storage for materials if needed. This approach keeps progress moving while preserving flexibility if weather or calendars change.
Request current order information directly, then keep your installation sequence adaptable rather than dependent on a single assumed arrival day.
Complete access, base, and staging preparations while waiting, so the garden is ready when the next step can proceed.
For a project integrated beside the home, view a full-size regular Lean-To greenhouse option while coordinating base work with the existing wall area.
Stage seven
Schedule assembly and interior work
Decide early whether you will assemble the greenhouse yourself or hire experienced help. Either route benefits from a clear plan: read the supplied instructions, identify the tools and people needed, allow uninterrupted working time, and plan for safe handling of components. Avoid reserving only one pressured day if the project also includes a base check, cleanup, or accessory installation.
A greenhouse is not fully useful the moment the frame is complete. Plan time for staging, benches, hooks, watering arrangements, containers, and cleaning. Think through how you will manage temperature, ventilation, and routine watering according to the product guidance and your local conditions. Setting up these practical details before sowing reduces the temptation to improvise later.
Choose self-installation or professional help before materials arrive, and reserve enough uninterrupted time for the selected approach.
List interior essentials separately from the structure, including work surfaces, storage, watering access, and plant-supporting accessories.
To create a dedicated freestanding growing zone, browse a standard Classic greenhouse model as you map the interior from door to back wall.
Stage eight
Use the finished greenhouse well
Once installation is complete, begin gradually rather than filling every surface at once. Monitor light, warmth, airflow, and moisture through changing spring weather, and learn how the space behaves at different times of day. Keep pathways open and group plants by their needs. A simple notebook or phone record of sowing dates and observations will improve future seasons.
The first spring is also a useful review period. Notice whether the entrance stays clear, whether water is convenient, and whether your working surfaces are at comfortable heights. Small refinements can make the greenhouse more enjoyable without requiring a major reset. Review the applicable written product conditions and care guidance for the configuration you have chosen.
Observe conditions for several days before placing sensitive plants permanently, adjusting your routine to local weather and daily sun patterns.
Record what works and what feels awkward, then prioritize small changes before adding more plants or equipment.
If your greenhouse sits close to daily household activity, a full-size regular Lean-To greenhouse arrangement can support a convenient, frequently used growing routine.
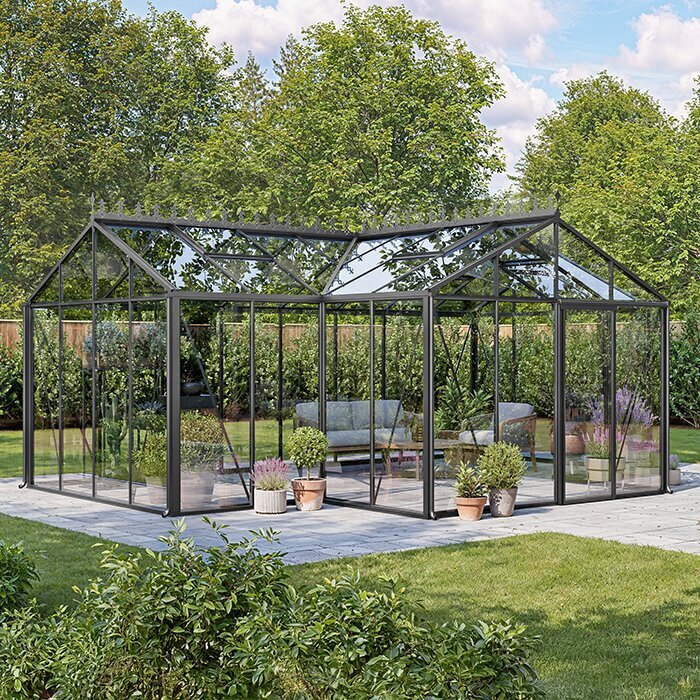
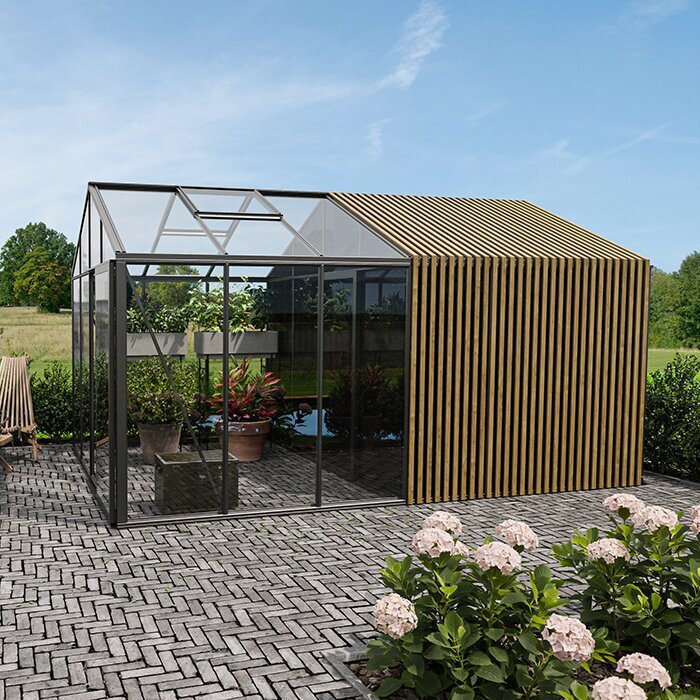
Comparison
What changes your ordering window?
The right lead time is shaped less by a single season than by the complexity of your project. Use this matrix to identify which decisions should be resolved first and where a generous schedule buffer is most valuable.
| Project factor | Simpler situation | More planning required |
|---|---|---|
| Site condition | Level, open area with clear access | Slopes, drainage concerns, tight access, or excavation needed |
| Location | Freestanding position away from structures | Near a house, property line, utilities, or shared boundary |
| Base work | Chosen approach with prepared ground | Foundation design, contractor coordination, or unknown soil conditions |
| Installation | Experienced DIY team with available time | Limited help, complex schedule, or professional coordination |
| Spring objective | General garden use after setup | Early sowing or a deadline tied to seasonal planting |
Work backward from your target date
Use this sequence as a planning framework, then adjust it for your property, local conditions, and the current information available when you are ready to order.
01
Define the finish line
Set the date range when you want the greenhouse assembled, equipped, and ready for its first intended task—not simply delivered.
02
Survey the garden
Measure the footprint, access route, sunlight, drainage, nearby trees, utilities, and working space around the proposed location.
03
Resolve requirements
Check applicable local authority, association, utility, and insurance questions before committing to siting or starting ground work.
04
Select and order
Choose the model and configuration that suit the measured site, then request current ordering information and coordinate the next tasks.
05
Prepare and install
Complete the base and access plan, arrange assembly, then allow time for interior setup, checks, and early-season observation.
Spring-ready greenhouse checklist
Before treating the project as scheduled, make sure each practical dependency has an owner, a realistic time window, and a backup plan where needed.
01. I have defined what “ready for spring” means for my garden and chosen a realistic completion window.
02. I measured the greenhouse location, surrounding working space, door clearance, and route from delivery point to site.
03. I observed sunlight, drainage, slopes, trees, and other conditions that may affect placement or daily use.
04. I checked relevant local authority or association requirements before finalizing the selected location and base plan.
05. I identified underground utilities and considered whether an insurer should be consulted about the planned structure.
06. I selected a suitable, level base approach and assigned responsibility for any excavation, drainage, or foundation work.
07. I decided who will assemble the greenhouse and reserved practical working time, tools, and safe component handling.
08. I planned interior essentials such as paths, staging, watering access, plant storage, and a gradual first-season setup.
Frequently asked questions
When should I start planning a greenhouse for spring?
Start when you can observe and measure the proposed site properly, ideally well before your desired planting period. Planning early gives you time to compare models, investigate local requirements, organize a base, and make installation decisions. The goal is not to predict every date perfectly, but to avoid compressing several dependent tasks into spring.
Should I order before preparing the base?
You can research and select a greenhouse while base planning is underway, but avoid leaving the base as an afterthought. Confirm the product’s installation requirements and your chosen foundation approach before finalizing the work. A prepared, level site is a major part of what makes the project ready to move forward.
How much extra time should I allow for weather?
Allow a meaningful buffer because wet ground, freezing conditions, and wind can affect excavation, concrete work, access, and assembly. The exact amount depends on your region and project scope. Rather than naming one universal allowance, keep non-weather-dependent tasks moving and avoid scheduling every step back-to-back.
Do I need a permit for a greenhouse?
That depends on your jurisdiction, property, greenhouse size and placement, and sometimes association rules. Contact the relevant local authority before work begins and ask about permits, setbacks, zoning, and drainage considerations. If the greenhouse is near a boundary or existing building, clarify those details specifically rather than relying on general advice.
Can I install a greenhouse myself?
Many buyers consider self-installation, but the right choice depends on the product instructions, your tools, practical skills, available help, and comfort handling components safely. Read the current installation guidance before deciding. If your schedule is tight or the site is challenging, professional assistance may be worth considering.
What should be done after the greenhouse is assembled?
Inspect the completed space using the applicable product guidance, then add the practical elements that make it usable: clean pathways, staging, containers, watering access, and organized supplies. Watch conditions through several spring days before relying on it for sensitive plants. This helps you establish a routine suited to your garden.
Plan your greenhouse project
Plan early, then keep the schedule practical
The best time to order a greenhouse for spring is when you can connect your desired finish date with a real site plan. Product selection matters, but the outcome also depends on access, local checks, base preparation, assembly, and the time to organize the interior for everyday gardening.
Work backward, leave room for variables, and make each decision in the order that supports the next one. That measured approach can turn a spring greenhouse from a rushed construction project into a space that is ready to support the season you had in mind.
Compare greenhouse styles with your measured site, growing goals, and preferred spring completion window in view.
