
Will a Pergola Make Your Living Room Dark? Protecting Indoor Daylight
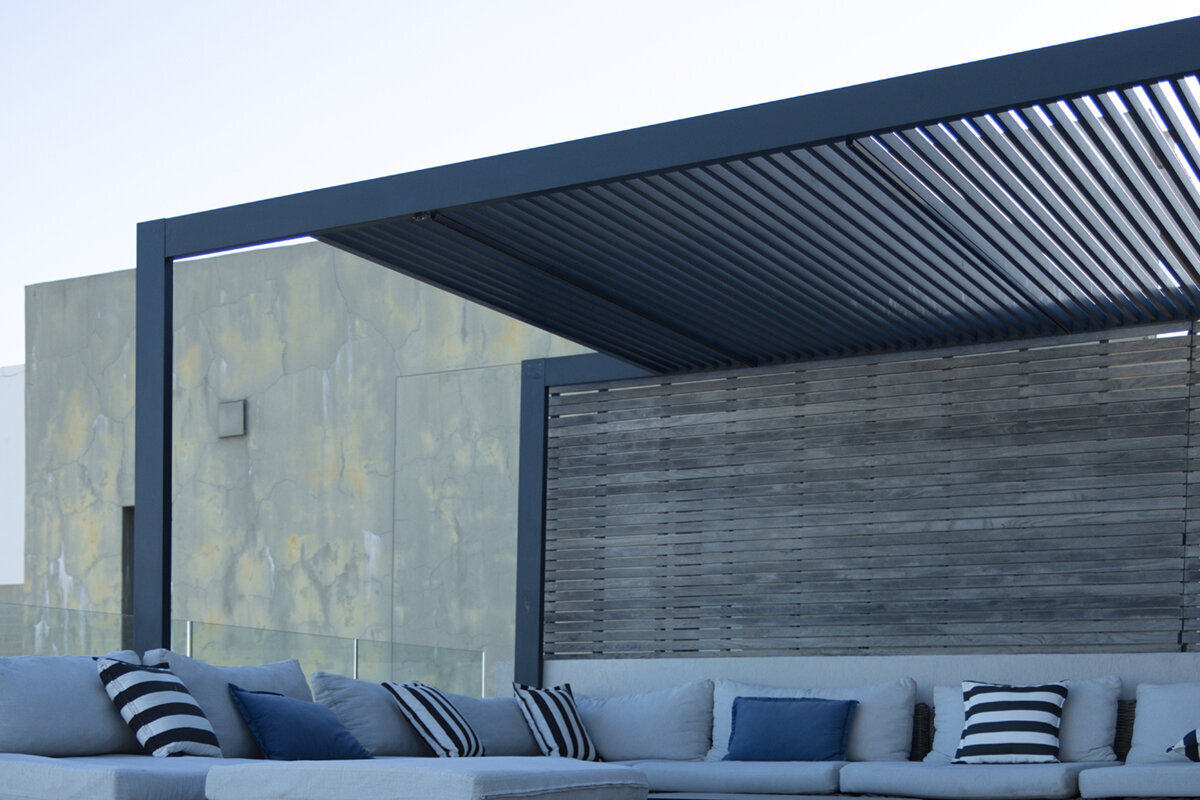
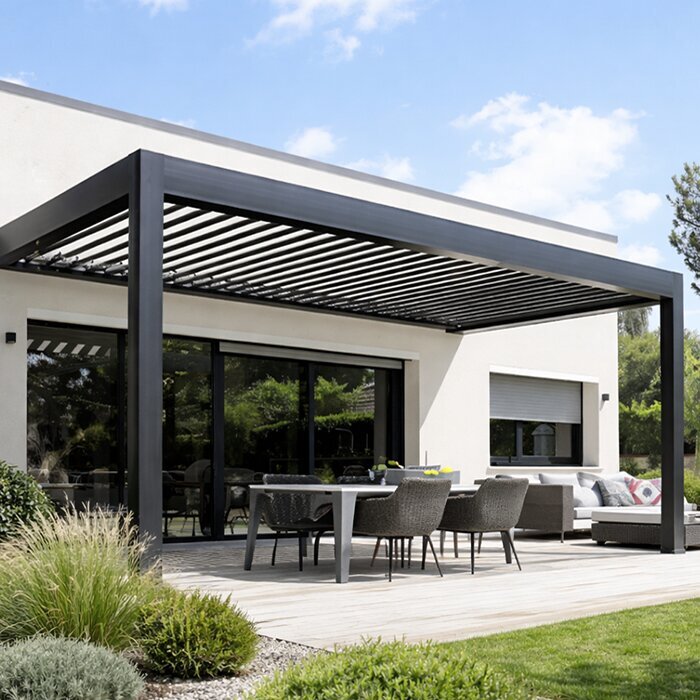
Pergola planning and interior light
Will a pergola make your living room dark? Plan daylight before you build.
A pergola can reduce light at nearby windows, but it does not automatically make a living room dark. Its effect depends on orientation, projection, roof design, window height, surrounding shade, and how you use the roof through the day.
The question is not simply whether a pergola casts shade. Every outdoor structure does. The useful question is when that shade reaches the glass, how much sky remains visible from the room, and whether it blocks welcome summer glare or the daylight you value throughout the year. Looking at the patio and living room as one connected space leads to better decisions.
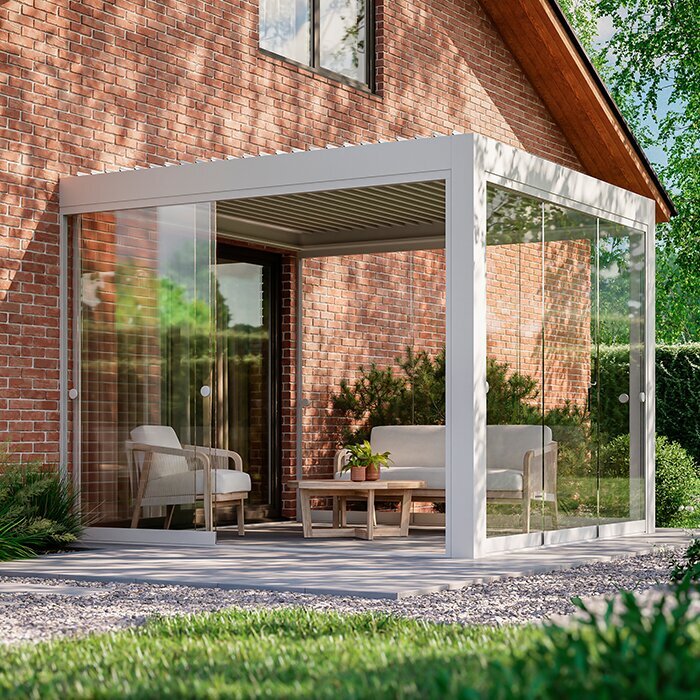
A pergola beside broad patio doors may feel like an extension of the house, yet that closeness makes daylight planning important. A fixed overhead surface can change the character of the room most noticeably on overcast days, in the morning or late afternoon, and where the room already faces a shaded yard. A more open roof can preserve a stronger visual connection to the sky.
Before choosing a style, stand inside at different times and observe the window wall. Note where direct sun enters, which seats need glare control, and whether trees, roof overhangs, neighboring buildings, or screens already limit daylight. Those observations are more reliable than judging a patio structure from a catalog image alone.
01 · Start from indoors
Read the room before the patio
Begin at the place where you notice daylight: inside the living room. Look toward the proposed pergola through each main window or patio door. A structure that looks light and open from the yard can still interrupt the brightest part of the view from a sofa. Consider window size, ceiling height, wall color, and how far daylight currently travels into the room.
Pay particular attention to the upper portion of glazing. Light from the sky enters there even when direct sun is absent, so a roof edge close above the glass may have an outsized effect on the room’s overall brightness. Mark furniture positions too. Reducing glare at a television or dining table can be beneficial, provided the entire room does not become dependent on artificial light.
- Photograph the window wall from key seating positions to compare sky visibility with the proposed roof line.
- Record which parts of the room receive harsh sun and which already feel naturally subdued.
For adaptable overhead shade near large glazing, explore a bioclimatic aluminum pergola that can be considered alongside your indoor light priorities.
02 · Roof character
Fixed coverage creates a steadier shadow
A regular pergola is often chosen for its clear architectural outline and dependable sense of enclosure over a patio. Its daylight effect depends on the particular roof treatment and how much coverage is planned. Where the structure extends directly beyond living room doors, treat the overhead area as part of the window-shading strategy rather than as an isolated garden feature.
Consistency can be a virtue when a room suffers from persistent glare or a west-facing patio becomes uncomfortable later in the day. But a stable overhead condition also means less day-to-day adjustment when clouds roll in or the seasons change. Consider whether your living room needs reliable filtering, or whether it benefits from an outdoor roof that can respond to changing light.
- Sketch the projected roof edge across the exterior elevation, including the top and sides of each opening.
- Avoid assuming slender posts mean negligible shade; the overhead surface and its placement do most of the daylight work.
If a consistent patio canopy suits the architecture, browse a regular aluminum pergola while checking its planned roof treatment against the window wall.
03 · Adjustable shade
Use louvers as a daylight tool
Roof louvers change the conversation from permanent shade to adjustable filtering. When the sun is high, angled louvers can reduce direct light and help make the patio more usable. When you want a clearer overhead opening, their position can be changed. That flexibility can be especially appealing where the same living room alternates between intense glare and gray-day dimness.
Adjustment is not a substitute for sound positioning. Even an open louvered roof has a frame, perimeter beams, and a physical presence in the outlook. Review the angle of sun entering the room and the roof’s apparent depth from indoors. Think about normal daily use as well: a feature only helps preserve daylight if your household will comfortably use it as intended.
- Test glare at eye level, not only on the floor, especially near screens, artwork, and reflective tabletops.
- Discuss how louver orientation relates to your primary view outward, as visual openness affects perceived brightness.
For rooms with shifting glare and cloud cover, consider a louvered bioclimatic pergola as part of a flexible daylight plan.
04 · Sun path
Orientation changes the answer
The same pergola can behave very differently depending on the direction the living room faces. South-facing glazing may receive stronger high sun, while west-facing glass can experience lower, more intrusive afternoon light. East-facing rooms have their own morning pattern. North-facing spaces may rely heavily on diffuse sky light, making it particularly important not to reduce the visible sky without a clear reason.
Seasonal change matters as well. Sun travels at different heights through the year, so a roof that provides welcome midsummer filtering may cast a longer shadow when the sun sits lower. Rather than relying on a single site visit, observe the space in more than one condition if you can. A designer can also help relate the proposed structure to local solar orientation and the house elevation.
- Note when direct sun is genuinely uncomfortable versus when it supplies useful warmth and natural brightness.
- Include nearby fences, mature planting, and neighboring structures in the shade picture; their combined effect can be substantial.
For a clean, consistent outdoor room in a sun-managed setting, a traditional regular pergola can be planned around the home’s specific orientation.
05 · Proportion and placement
Keep the roof line in perspective
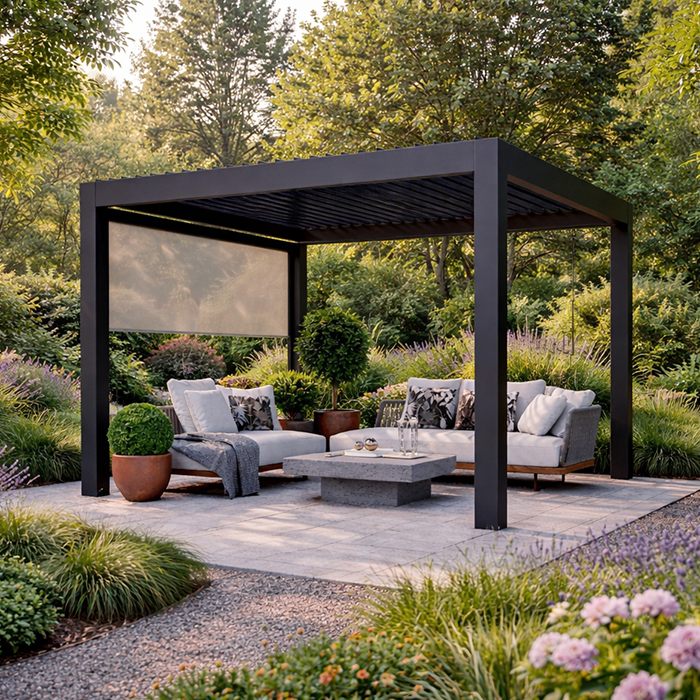
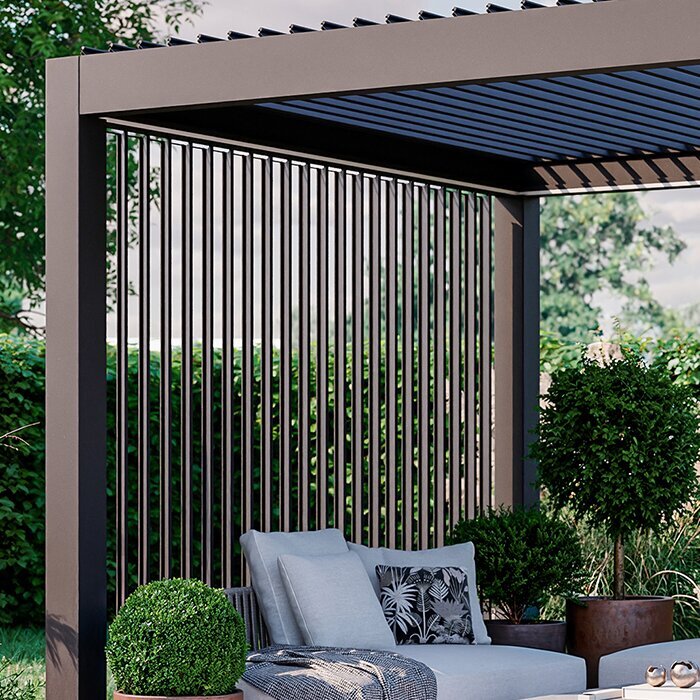
A pergola placed farther from the house usually has a smaller direct influence on interior daylight, though it may no longer provide the seamless patio-to-living-room transition many homeowners want. Attachment point, projection, and mounting height all alter the view from inside. A high, carefully proportioned roof line may leave more sky in view than a low, deep structure immediately outside the glass.
Do not assess dimensions only from the exterior. Tape out the proposed outer edge on the patio, then view it from the room and from outdoors. If possible, use a temporary line or lightweight mock-up to indicate roof height. This simple exercise can reveal whether the design frames a view attractively or places a heavy visual band across the top of the windows.
- Protect the clearest sightline from your main seating area toward the garden or horizon.
- Coordinate post locations with door operation, window views, circulation routes, and the furniture arrangement inside the room.
Where close integration with the house is important, review a bioclimatic pergola for patio doors with the interior sightline clearly mapped.
06 · Existing shade
Add up every layer outside
Pergola shade is rarely the only shade affecting a living room. Deep eaves, awnings, trees, climbing plants, privacy screens, exterior blinds, and neighboring buildings can each reduce direct light or diminish sky exposure. A pergola may be the visible new element, yet the room’s darkness can result from the accumulation of several layers. Audit the entire exterior elevation before deciding what to add.
This wider view can reveal alternatives. Pruning or relocating planting, selecting lighter nearby finishes, or changing a screen position may improve the sense of brightness without abandoning the patio plan. Conversely, if the room overheats or has uncomfortable glare, combined layers may be intentional. The goal is a balanced composition rather than maximum sun or maximum shade at every hour.
- List permanent shade sources separately from seasonal foliage, which can produce a very different winter daylight condition.
- Check whether proposed outdoor curtains or screens would overlap the living room’s principal glazed areas when deployed.
For a defined patio zone among existing landscape elements, look at a classic regular pergola as one layer within the overall shading composition.
07 · Material and visual lightness
Design for openness, not just illumination
Brightness is partly measurable, but it is also perceived. A room may retain adequate daylight while feeling darker because a large dark roof edge dominates the window view. Frame color, beam depth, post rhythm, and the contrast between the pergola and the house all affect that impression. A design that reads as orderly and visually light can make the transition outdoors feel more generous.
Choose finishes and adjacent surfaces with the whole composition in mind. Pale paving or a reflective exterior wall can help bounce light near doors, while dense planting immediately against the glazing can absorb it. Avoid treating color as a shortcut, though. It cannot compensate for a roof that is simply too deep or too low for a daylight-sensitive room. Proportion remains the first decision.
- View finish samples beside the home’s exterior material and through the glass in changing daylight.
- Use post spacing and furniture placement to maintain a legible view rather than creating a crowded exterior foreground.
For a tailored balance of structure and openness, compare a bioclimatic aluminum patio pergola with your preferred exterior finishes and view lines.
08 · Before commitment
Make a daylight decision with confidence
A final decision should bring together the room’s actual light needs, outdoor comfort goals, and the building’s character. Ask whether the proposed pergola solves a defined problem, such as late-day glare, or simply follows an image that may not suit the elevation. Share interior photos, a simple site plan, window measurements, and the intended furniture layout when discussing options with a supplier or design professional.
Planning requirements can vary by location, property type, and the way a structure is installed. Check with the relevant local authority before proceeding, and review any community or property rules that may apply. If coverage under a home policy matters to you, ask your insurer about the proposed work and keep the installation details available. These checks belong alongside, not after, daylight planning.
- Request a current quotation based on the intended configuration instead of comparing incomplete layouts or assumptions.
- Confirm who will assess the supporting surface, attachment approach, drainage considerations, and local approval questions.
When you prefer a straightforward architectural statement, consider a regular aluminum garden pergola after testing its position from inside the home.
Comparison
How roof approaches affect indoor daylight
Neither approach is inherently brighter in every setting. Compare how each roof concept supports your room’s exposure, your tolerance for glare, and how often you expect to change the patio’s shade condition.
| Consideration | Bioclimatic pergola | Regular pergola |
|---|---|---|
| Daylight control | Adjustable louvers allow changing overhead filtering. | Roof treatment creates a more consistent condition. |
| Changing weather | Can be considered for variable sun and cloud. | Best suited to a stable shading preference. |
| Interior outlook | Open settings may preserve more sky visibility. | Visual effect depends on coverage and projection. |
| Glare management | Useful where glare changes during the day. | Useful where steady filtering is desired. |
| Planning focus | Test louver positions from indoors. | Test roof edge and fixed coverage carefully. |
A practical indoor-daylight planning process
Use this sequence before finalizing placement. It turns a broad concern about darkness into observations you can discuss clearly with a supplier, installer, or design professional.
01
Map the important windows
Identify the living room glazing that supplies most daylight. Mark door swings, window heads, ceiling height, and the seats where you spend the most time.
02
Observe real conditions
Watch the room in morning, midday, and late afternoon. Note direct glare, diffuse brightness, reflections, and where existing shadows already fall.
03
Set the patio outline
Mark a proposed footprint and outer roof edge on the ground. From indoors, judge whether it changes the view, sky area, or perceived ceiling height.
04
Choose the shade behavior
Decide whether you need a stable overhead condition or the ability to adjust filtering. Let the room’s daily use guide this choice.
05
Review the complete proposal
Check configuration, support approach, finishes, drainage considerations, local requirements, and current quotation details before you commit to the layout.
Indoor daylight checklist before buying
Bring this list to your first planning conversation. It will help you compare options based on the room you live in, not only the patio image you want.
01. Photograph the living room facing each relevant window at several times of day.
02. Mark the top of the glazing and proposed roof edge on an elevation sketch.
03. Identify whether glare, heat, privacy, or dimness is your primary concern.
04. Record existing shade from eaves, trees, screens, and nearby buildings.
05. Check the view from sofas, dining chairs, and any work-from-home position.
06. Decide how often household members would realistically adjust roof louvers.
07. Keep posts clear of door paths and the most valued garden sightlines.
08. Ask local authorities, property managers, and insurers about requirements relevant to your project.
Frequently asked questions
Will a pergola always reduce living room daylight?
Any overhead structure near a window can alter incoming light, but the degree varies widely. A pergola’s position, height, projection, roof coverage, orientation, and surrounding shade all influence the result. Begin with observations from inside the room, then test the proposed roof line against your main windows and seating areas.
Are roof louvers better for a dark living room?
Louvers can offer a useful degree of adjustment when light conditions change through the day. They are not automatically the right answer, because the framework and placement still affect outlook and sky visibility. They work best when the overall design is already proportioned sensitively to the glazing and the household will use the adjustment feature.
How close can a pergola be to patio doors?
There is no universal distance that protects daylight in every home. The effect depends on window height, roof elevation, the direction the façade faces, and the roof’s apparent depth from the room. Lay out the proposal and assess it from indoors; a local professional can help evaluate the specific building condition.
Can a regular pergola work beside a bright living room?
Yes. A regular pergola can work well when its roof treatment, projection, and placement support the room’s daylight pattern. It may be a logical choice where consistent filtering is wanted. The important step is to evaluate the full exterior elevation and not assume every fixed design will create the same degree of shade.
What if my room is already dark before adding a pergola?
Treat that as a signal to inspect all existing conditions first. Trees, exterior overhangs, dark surfaces, screens, and neighboring structures may already limit light. Consider whether those elements can be adjusted and be especially cautious about adding deep coverage close to major glazing. A site-specific daylight review can be worthwhile.
Do I need approval for a pergola?
Requirements may depend on your location, property, dimensions, installation method, and local rules. Do not rely on a general assumption or a neighbor’s project. Contact the relevant local authority and review any homeowner association or property conditions before moving forward. Your insurer can also clarify questions relating to your own policy.
Plan your patio daylight
A pergola should improve both sides of the glass
A thoughtfully planned pergola can make the patio more inviting without sacrificing the living room’s character. Start with the interior view, study the site’s changing sun and shade, and choose a roof approach that matches how you actually use the room. The strongest layout is one that feels intentional from both indoors and out.
Bloomcabin can help you explore aluminum pergola options while you refine the position, proportions, and preferred shade behavior. Bring your window measurements, photos, and site observations into the conversation, then confirm local requirements and the details of the proposed configuration before placing an order.
Explore pergola options with your living room’s light, views, and daily comfort in mind.
