
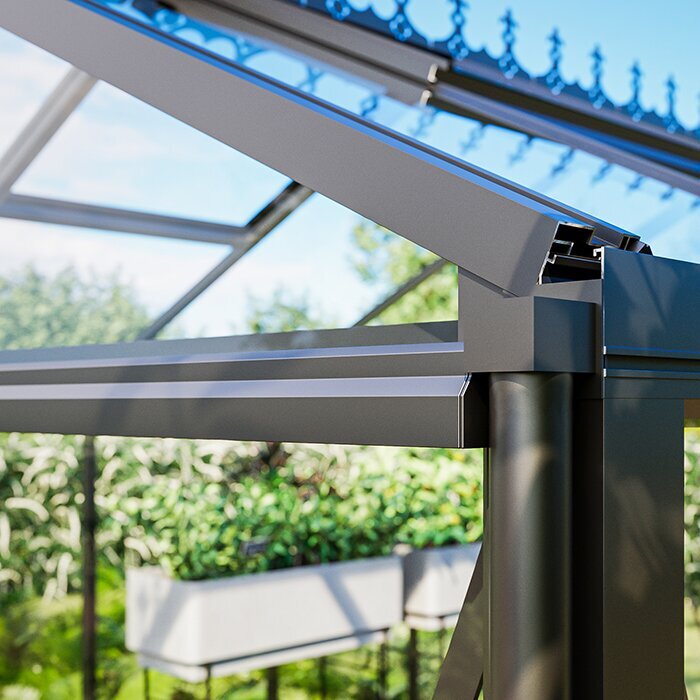
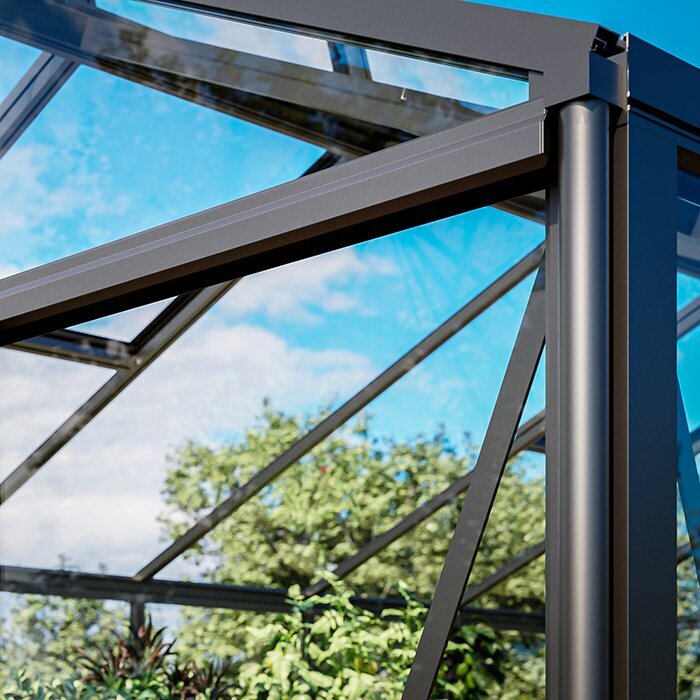








Aluminum Greenhouse with Built-In Storage
A light-filled growing space and dedicated garden storage in one aluminum structure
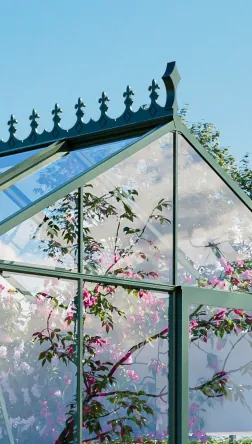
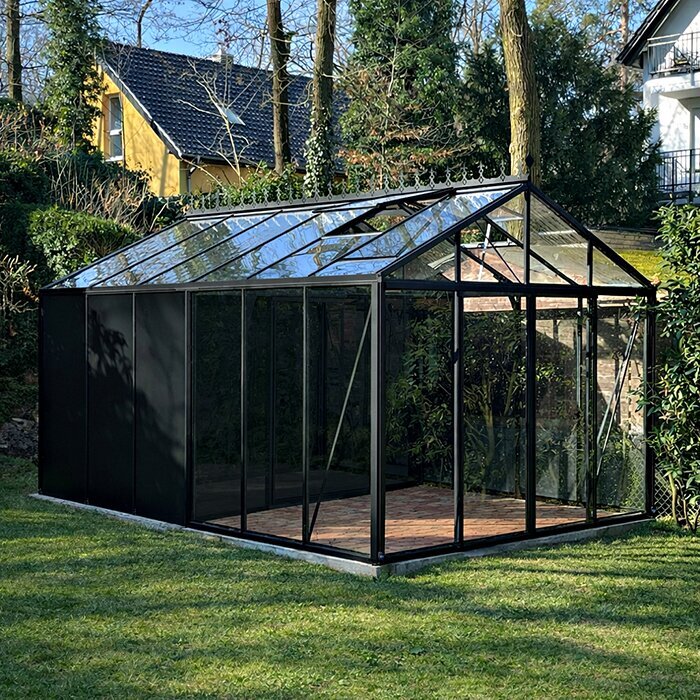
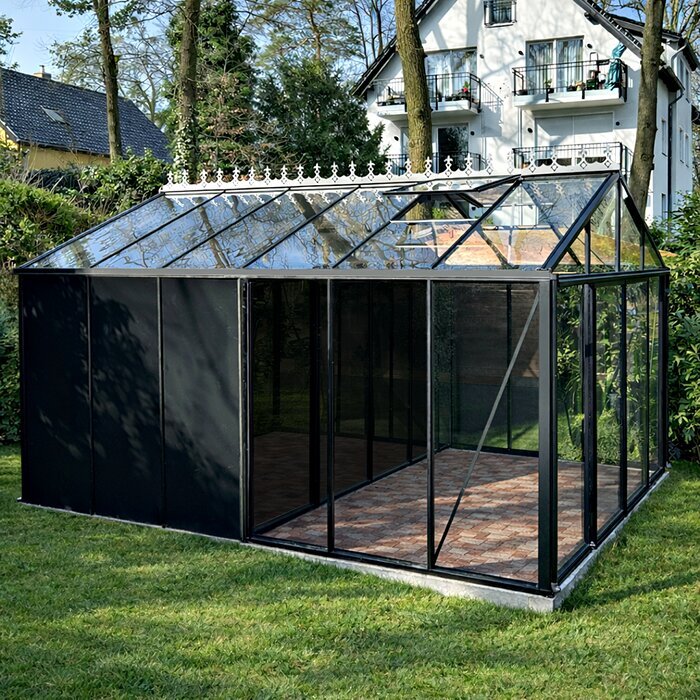
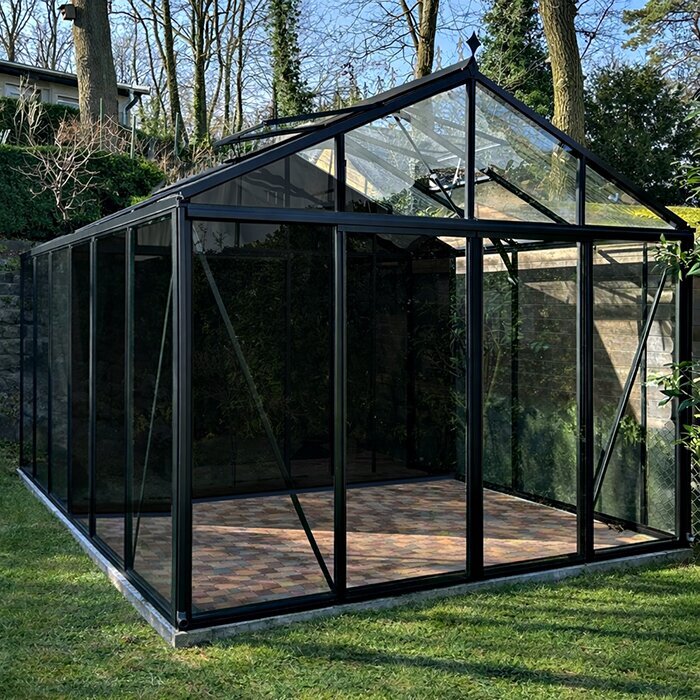
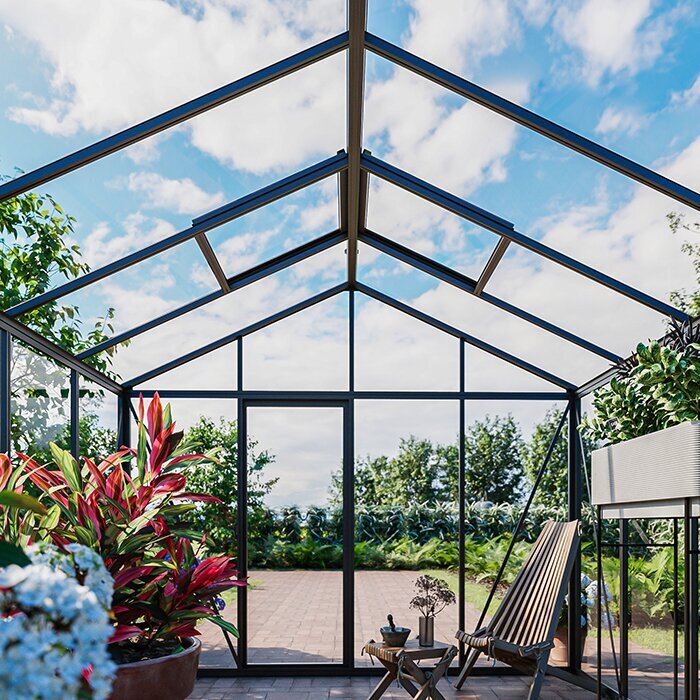
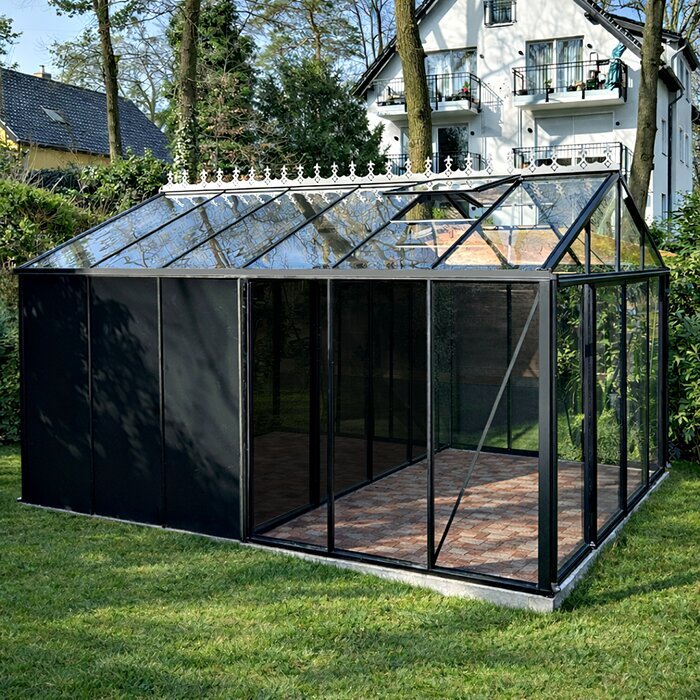
The Bloomcabin aluminum greenhouse with built-in storage combines a light-filled growing area with a separate, integrated storage room. Tools and supplies stay close to the plants without taking over benches, aisles, or floor space. Instead of placing a greenhouse and utility shed in different parts of the yard, both functions sit beneath one consistent roofline. The result is a cohesive backyard structure with a clear division between growing and storage.
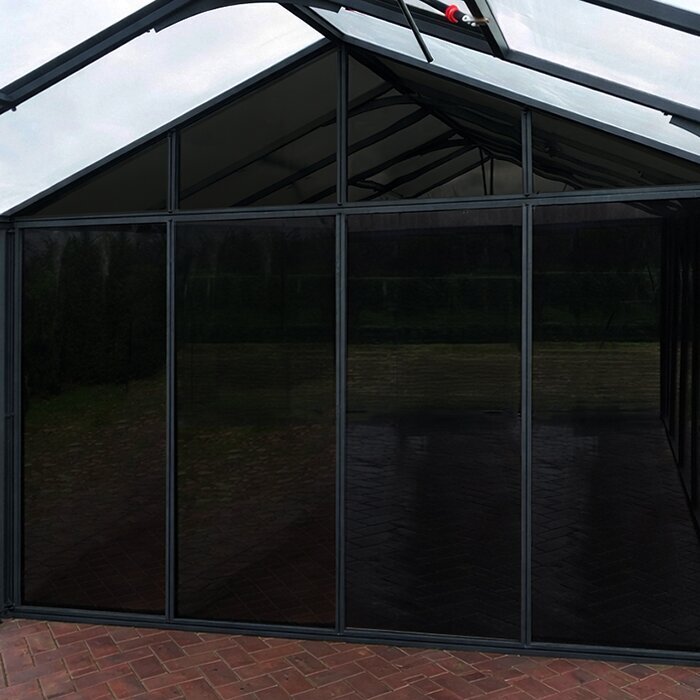
The collection currently includes 22 configurations ranging from approximately 40.6 to 302.3 sq ft. The growing area is available with polycarbonate or 0.16-inch (4 mm) tempered safety glass. The adjoining storage room uses tinted glazing.
Before choosing a size, sketch the intended interior to scale. Mark benches, containers, stored equipment, and door paths in their planned positions, then trace the room needed to enter, turn, and move supplies between the two areas. This quickly shows whether a model’s division between growing and storage suits the way you garden, rather than simply fitting the available yard. Explore Bloomcabin greenhouses.
Inside the greenhouse
Dedicated growing and storage areas keep plants and equipment from competing for space
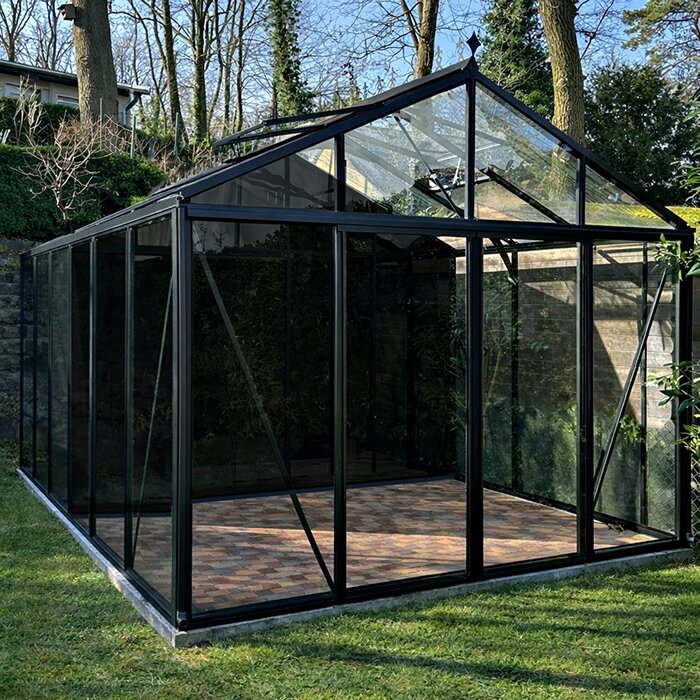
The greenhouse side provides a bright area for vegetables, herbs, flowers, and seedlings. Before selecting a configuration, decide how much room will go to benches, larger containers, propagation trays, and standing or turning space. A layout that seems generous while empty can tighten quickly as foliage spreads beyond pot edges or climbing plants fill their supports. Plan around mature seasonal growth, not just the footprint of starter pots.
The adjoining storage room is intended to keep routine gardening equipment away from the cultivation area. Watering cans, empty pots, supports, labels, hand tools, and packaged supplies can be grouped by task instead of being placed beneath benches or along the perimeter. Reserving fixed locations for frequently handled items reduces clutter and makes it easier to notice when something needs cleaning, replacement, or restocking.
Storage needs change as pots, trays, supports, and packaged supplies move in and out of use. Leave some flexible capacity rather than filling every available surface on the first day. An item is not truly accessible if several other items must be moved to reach it, so test the arrangement with the largest routine supplies in place and make sure they can be removed without dismantling the rest of the room.
A smoother gardening routine
Keep everyday supplies close through planting, plant care, and cleanup
Greenhouse work often moves between sowing, potting, watering, training, and cleanup. Adjacent storage lets you switch tasks without carrying every possible tool into the growing area or walking back to the house or shed. Keep the materials for an unfinished job together in the storage room, then bring them back out at the next session. That continuity is especially useful when weather, watering, or another garden task interrupts the work.
Small essentials
Use separate containers for labels, ties, and hand tools so small items remain visible and easy to retrieve
Pots and trays
Nest clean pots by size and keep propagation trays separate to avoid unstable mixed stacks
Plant supports
Bundle stakes and supports by length so the size you need can be removed without disturbing other supplies
Washed equipment
Allow washed pots, watering cans, and damp tools to dry completely in a designated area before returning them to storage
Tinted storage glazing
Tinted glazing keeps stored supplies less noticeable from the yard
From common viewing points such as the yard, patio, or house, the tint softens the view of bags, spare containers, and seasonal equipment. It is especially practical in a working garden, where supplies may be in active use rather than perfectly arranged. Organization still matters, but the storage area presents a neater-looking exterior than clear panels would.
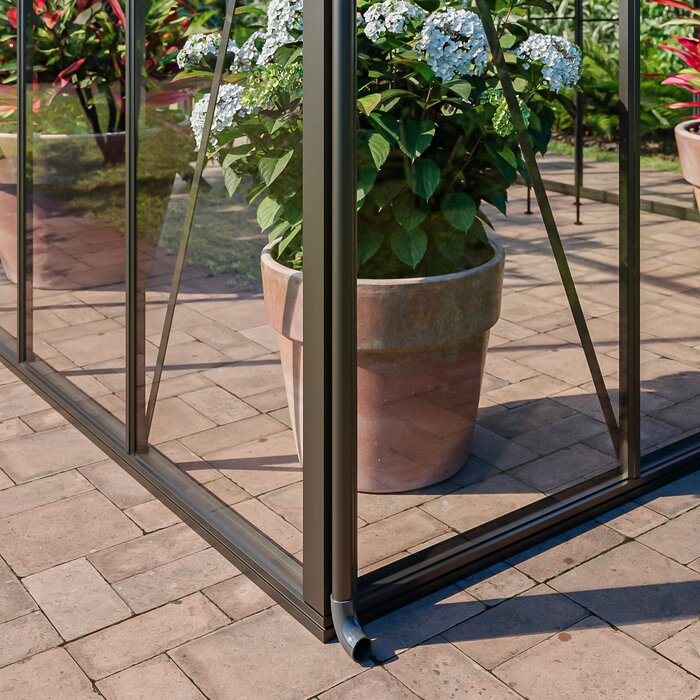
Evaluate the greenhouse from the parts of the property you use most often, not only from the installation site. Check how the exterior doors relate to existing paths, planting beds, and seating areas, and confirm that gutter discharge can be directed appropriately. These details determine whether the structure feels well placed and remains convenient in daily use.
Plan the storage room before bringing supplies inside. Keep the route between the exterior entrance and the growing area open, and reserve easy-to-reach positions for frequently used items. Choose stable, freestanding shelving or supports suited to the loads they will carry; do not attach them to or lean them against the frame or glazing. Place heavy supplies low, secure long-handled tools, and keep sharp edges away from panels, doors, and moving hardware. Use the room for gardening equipment rather than general overflow, and keep product labels facing outward so contents and damaged packaging can be identified promptly.
U.S. specifications
Compare sizes, glazing, doors, and included features before choosing a model
Size and layout: Read each model’s measurements as a complete set. Overall area describes the footprint, while ridge height, door height, glazing choice, and door arrangement help determine how the space will function. Base the installation and interior plan on the exact configuration being ordered, not on another model with similar exterior proportions.
92.5-in models: The 92.5-in models have a ridge height of 91.3 in and a door height of 64.9 in. Check the door height against the clearance you need to enter comfortably and move tall pots, packaged materials, or other bulky items into the structure.
122-in models: The 122-in models have a ridge height of 105.1 in and a door height of 72.8 in. The additional width and height affect interior planning as well as the building’s relationship to fences, trees, roof overhangs, and nearby garden features.
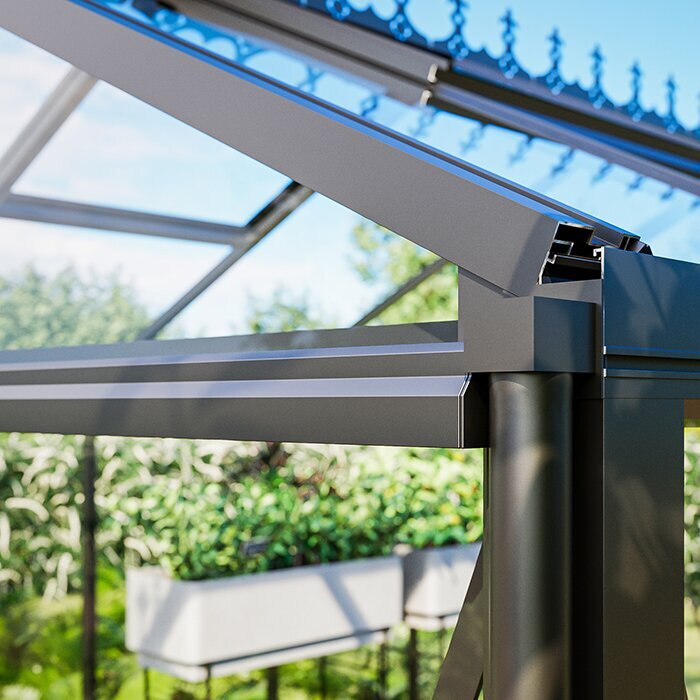
Frame: High-quality aluminum profiles form the shared frame. Keep accessible frame surfaces clean so soil and plant debris do not collect around the profiles. Do not drill into, cut, or otherwise modify structural members unless the instructions for the selected model expressly allow it.
Growing-area glazing: Choose polycarbonate or 0.16-inch (4 mm) tempered safety glass for the growing area. Consider the appearance you prefer, handling during installation, the required cleaning routine, and how the glazing suits your planned use. Review the exact model before ordering to confirm that the preferred glazing option is available for that configuration.
Storage glazing: The tint changes visibility only. It does not control temperature or humidity and is not a security feature, so follow each stored product’s instructions and protect valuable equipment appropriately.
Doors: Depending on the configuration, the greenhouse has a single sliding door or a double sliding door on suitable walls that are at least 122 inches wide. Door arrangement affects circulation and the size of items that can be moved inside. Keep the approach level and unobstructed, with enough exterior space to stand comfortably while operating the door or carrying bulky containers and supplies.
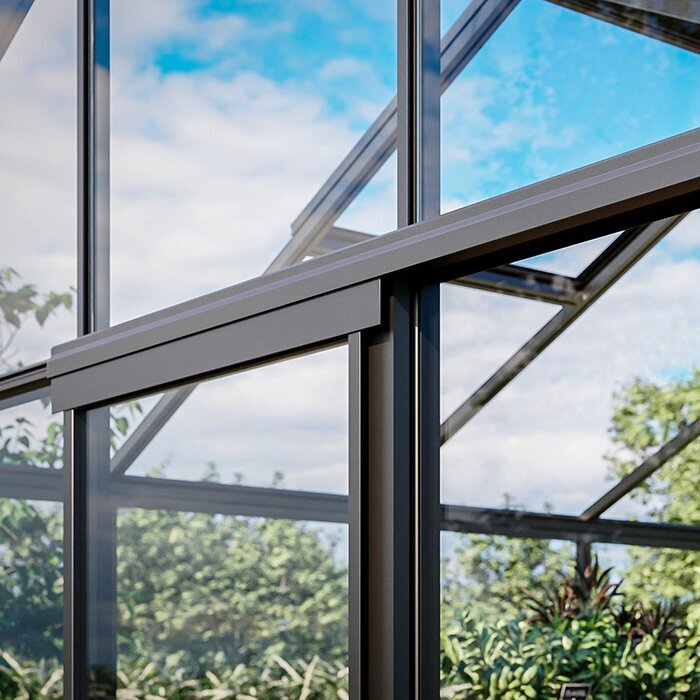
Features: Roof vents, integrated gutters, and a built-in aluminum base are included. The greenhouse is rated for winds up to 67 mph and a snow load of 43 lb/ft². These ratings do not replace the foundation, assembly, anchoring, and maintenance requirements in the product instructions. Follow those instructions for site preparation, installation, inspection, and removal of accumulated material.
Plan the work area
Arrange the interior around the way you actually garden
Create a clear staging area near the passage between the two rooms. Before starting a task, use it to gather the tray, labels, ties, supports, and hand tools you will take into the growing area. Clear the area before setting out materials for the next job. This transition point limits backtracking, keeps packaged supplies away from splashes and loose potting mix, and prevents clean containers and labels from becoming mixed with used ones.
Maintain a continuous aisle through the growing area rather than treating every open patch of floor as extra plant capacity. Clear movement space helps when carrying water, turning with a tray, checking plants at the back of a bench, or removing a container for treatment. If mobility aids, carts, or large planters will be used, account for the room they need before deciding where benches and containers belong.
Use the roof vents as part of day-to-day management of the growing environment. Keep the area around them free of tall plants, hanging items, and stored materials so they remain accessible and unobstructed. Ventilation needs vary with sunlight, outdoor conditions, plant density, and stage of growth, so base adjustments on conditions inside the greenhouse rather than following one fixed opening routine throughout the year.
Before you order
Choose a configuration based on plants, equipment, and comfortable access
List everything the greenhouse needs to accommodate before comparing configurations. For the growing area, include benches, freestanding containers, propagation trays, climbing plants, and the space required to tend them. For storage, count only garden tools and supplies intended for regular use in or around the greenhouse. Separating those needs produces a realistic space plan and helps prevent unrelated household items from taking over the storage room.
Map the route between the greenhouse, house, driveway, water source, compost area, and outdoor beds. Walk it while imagining a full tray or bulky bag in hand, not just an empty-handed trip. The entrance should not face a cramped corner or direct foot traffic through delicate plantings. A direct, stable approach makes routine visits easier and limits the mud and debris carried into either area.
Select a location with suitable light for the plants you intend to grow while accounting for changing shade from buildings, fences, and trees. Walk the proposed footprint at different times before committing to it. Also check overhead and underground constraints, drainage patterns, property boundaries, easements, setbacks, and any permit or association requirements that apply locally. Requirements vary, so confirmation should come from the relevant local authority or property documents.
Site preparation and installation
Prepare a level, stable foundation and leave room to use and maintain the greenhouse
Why does foundation preparation matter?
The built-in aluminum base still requires properly prepared support. A level, stable foundation helps the frame remain correctly aligned, allows sliding doors to operate as intended, and reduces avoidable stress on glazing and connections. Follow the installation instructions for the selected configuration and verify the finished foundation dimensions before assembly. Do not compensate for an unsuitable site with improvised packing or unsupported edges.
What should be checked before assembly begins?
Confirm the model, components, glazing type, door arrangement, foundation, tools, and assembly instructions before work starts. Sort parts in a protected area where they cannot be stepped on, mixed with packaging, or blown away. Tempered glass and polycarbonate require careful handling, and large frame sections can be difficult to control. Use the number of capable installers and protective equipment specified by the instructions rather than attempting unsafe shortcuts.
How much clearance should be left outside?
Leave enough room to use the doors, clean exterior glazing, inspect gutters, and reach each wall without entering a neighbor’s property or damaging nearby beds. Clearance also matters during construction because panels and profiles need space for safe handling. Avoid positioning the structure so closely beside a fence, hedge, or wall that maintenance becomes impractical after plants mature.
How should roof runoff be managed?
Decide where water from the integrated gutters will go before installation is complete. Discharge should not undermine the foundation, create a slippery approach, saturate the storage-room entrance, or direct water toward neighboring property. The site’s grading and normal drainage should guide the solution. Keep gutter channels and outlets free of leaves, growing media, and plant material so water can flow away as intended.
What should be considered near trees?
Nearby trees can affect shade, falling debris, root conditions, and access for cleaning. Consider the mature canopy rather than its current size, and avoid locations where branches could contact the roof or make inspection difficult. Tree-related conditions vary by site, so the owner should assess the proposed position carefully and obtain qualified advice where roots, unstable limbs, or removal restrictions may be involved.
Can the interior be planned after installation?
Yes, but deciding the main floor route, bench positions, and storage categories in advance makes the selected configuration easier to evaluate. Interior additions must not obstruct vents or doors, press against glazing, overload unsupported parts, or interfere with the structure. Any freestanding shelf should be stable on the finished floor and suitable for the weight placed on it.
How should the structure be checked after severe weather?
When conditions are safe, inspect accessible glazing, doors, vents, gutters, visible fasteners, and the connection to the foundation. Look for displaced components, blocked drainage, accumulated debris, or changes in door operation. Do not climb onto the greenhouse roof. If damage is suspected, restrict access and consult the product instructions or an appropriate professional before resuming normal use.
What warranty applies to this greenhouse?
This greenhouse includes a 12-year warranty. Coverage, exclusions, owner responsibilities, and service procedures are set out in the warranty terms supplied for the product.
Seasonal greenhouse care
Inspect the greenhouse before benches and storage areas fill up
At the beginning of an active growing period, remove old plant material and temporarily move portable supplies away from walls and corners. Before benches fill, inspect accessible glazing seals and frame connections, then operate each door and vent and confirm that gutters and runoff paths are clear. Address loose components, trapped debris, or changes in movement according to the product instructions before regular use. Performing this check while the structure is relatively empty provides better access and keeps maintenance work away from new plants.
Practical ownership notes
Keep the model name, configuration, glazing choice, instructions, and purchase documents together. This saves time when checking care guidance, identifying a component, or requesting service, and prevents assumptions based on a similar-looking greenhouse.
Remove grit, leaves, and loose growing media from sliding-door tracks before operating the doors. If a door begins to drag or resist movement, stop and check the track for an obstruction. Consult the product instructions if cleaning does not restore normal operation; forcing the door can worsen the problem or make its cause harder to identify.
Clean polycarbonate and tempered glass according to the care instructions for the selected glazing. Use compatible tools and cleaners, and deal with labels, tape, or dried splashes before they become difficult to remove. If a product’s suitability is uncertain, check the instructions rather than assuming both glazing options are maintained in the same way.
Monitor where condensation and irrigation water collect inside. Persistent moisture can soak stored packaging, leave the floor wet underfoot, and signal that watering practices, ventilation, or the interior layout need adjustment. Correct the source and let affected surfaces and supplies dry instead of concealing the area with more stored items.
After working with unhealthy plants, do not leave tools, trimmings, or used containers in the storage room. Move discarded plant material out of the structure and clean reusable equipment as appropriate before putting it away, so garden debris does not accumulate beside clean supplies.
At the end of an active growing period, separate reusable supplies from empty packaging, damaged pots, expired products, and materials that belong elsewhere. Return clean, dry equipment to its assigned location and leave the main route open. The next planting cycle is easier to begin when the storage room contains only usable garden items and everything can be reached without rearranging the entire space.