







Classic Aluminum Greenhouse with Accoya Wood Accents
A productive aluminum greenhouse finished with genuine Accoya wood details
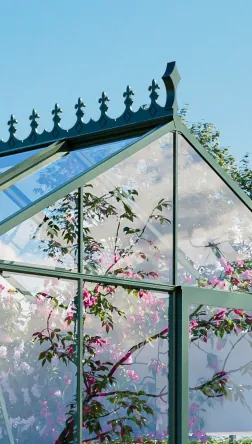
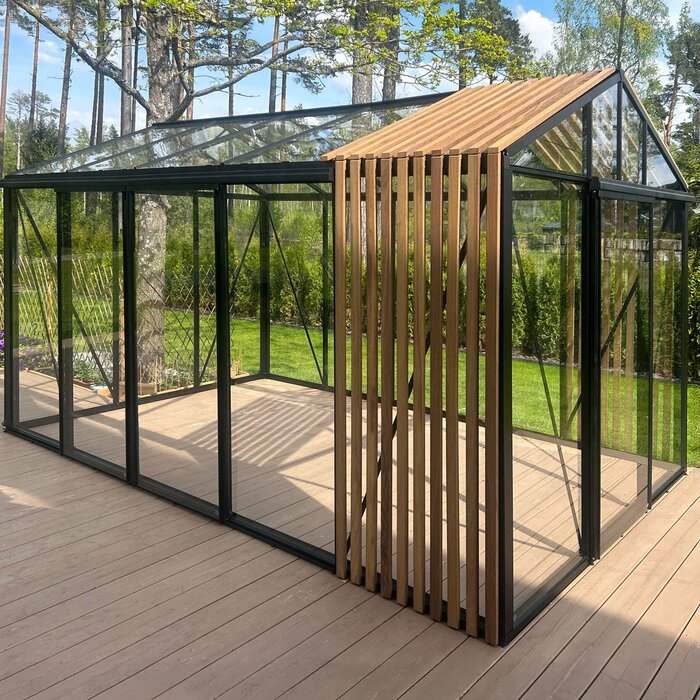
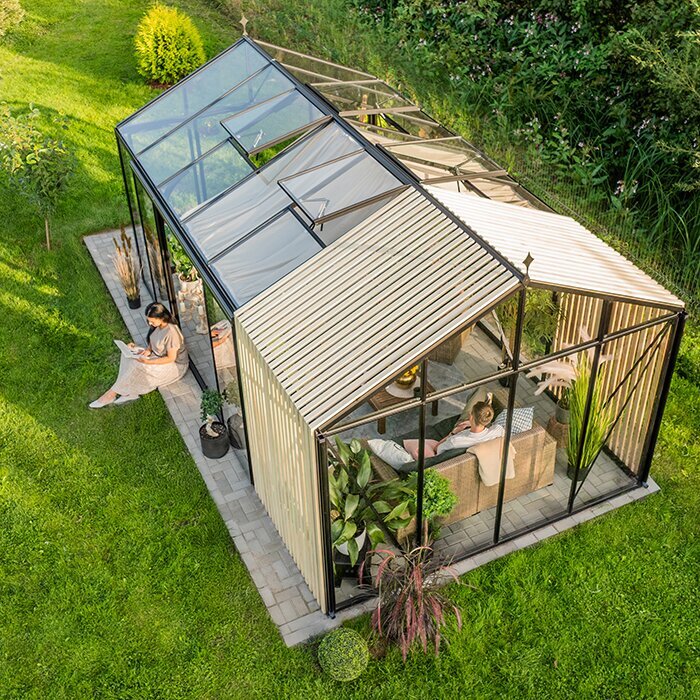
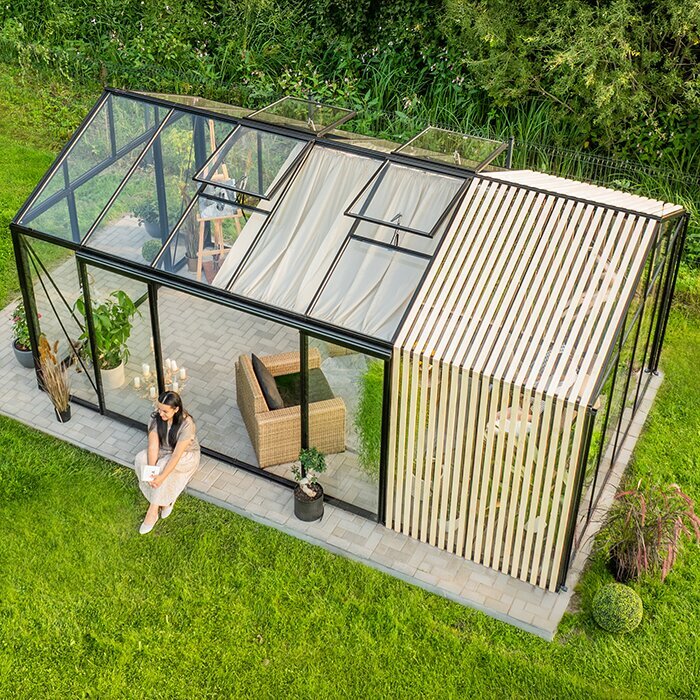
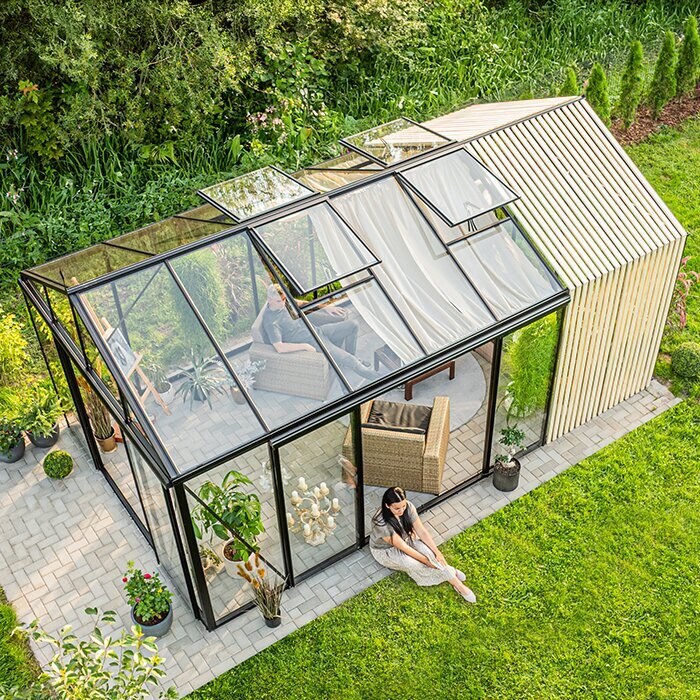
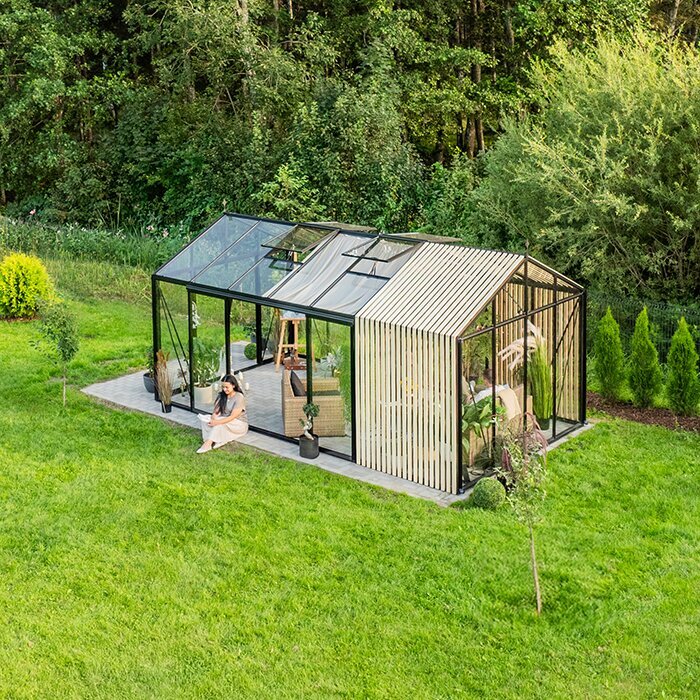
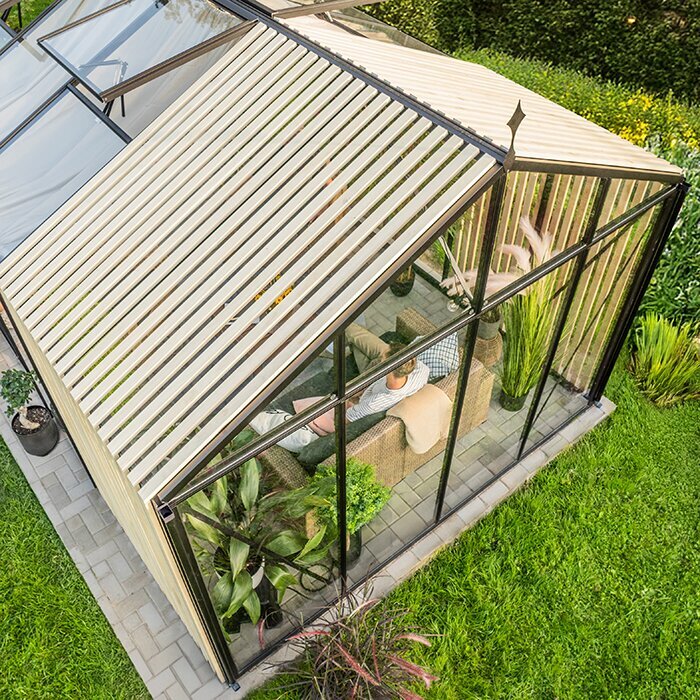
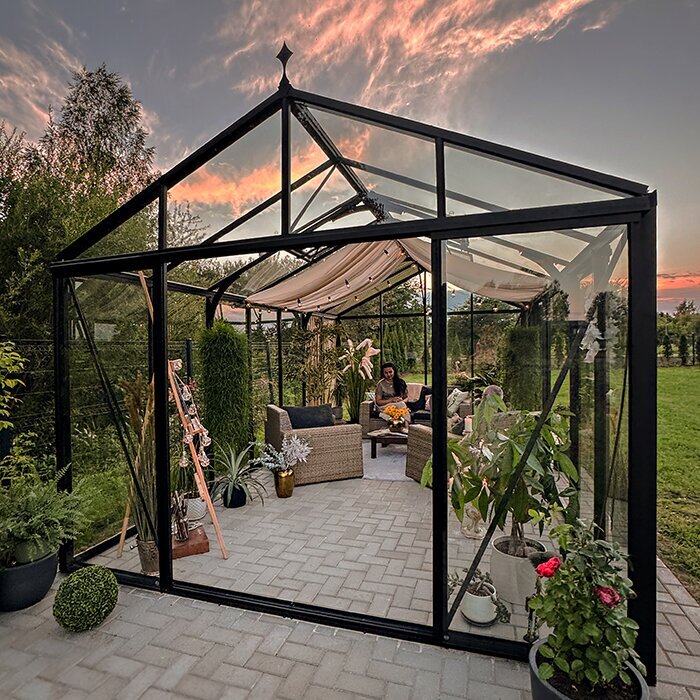
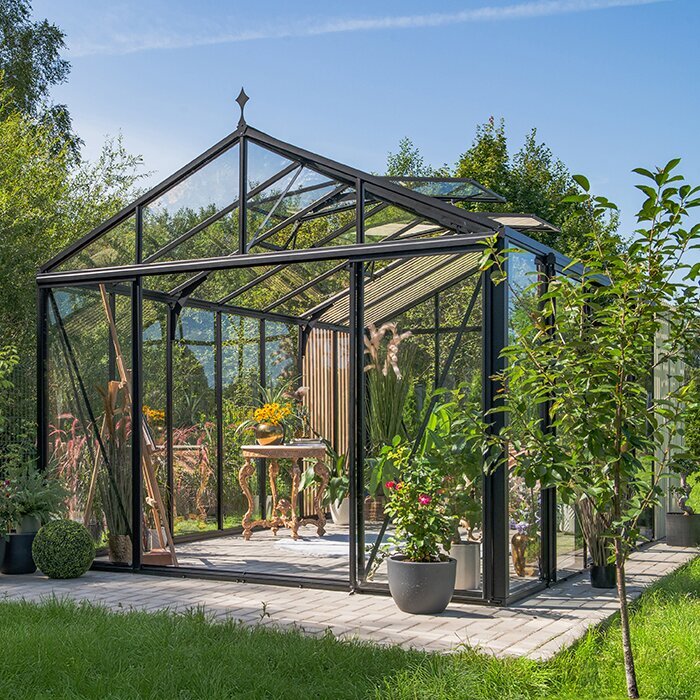
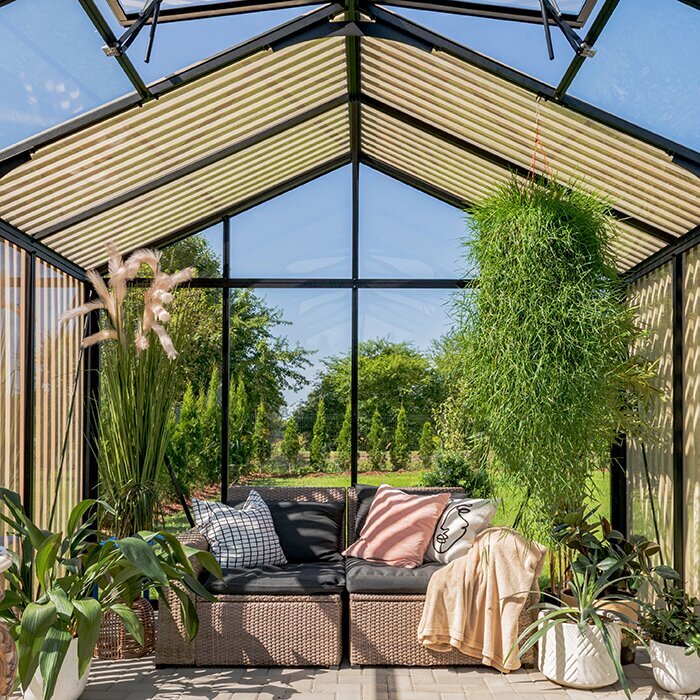
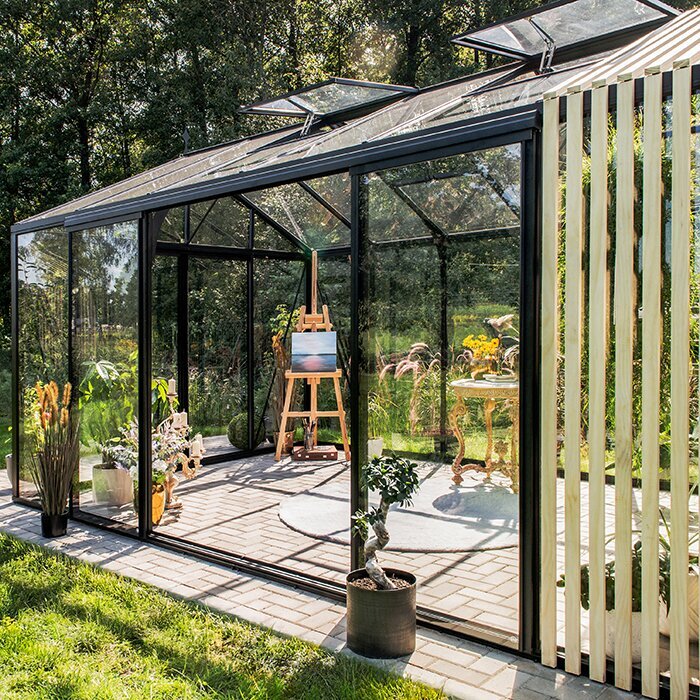
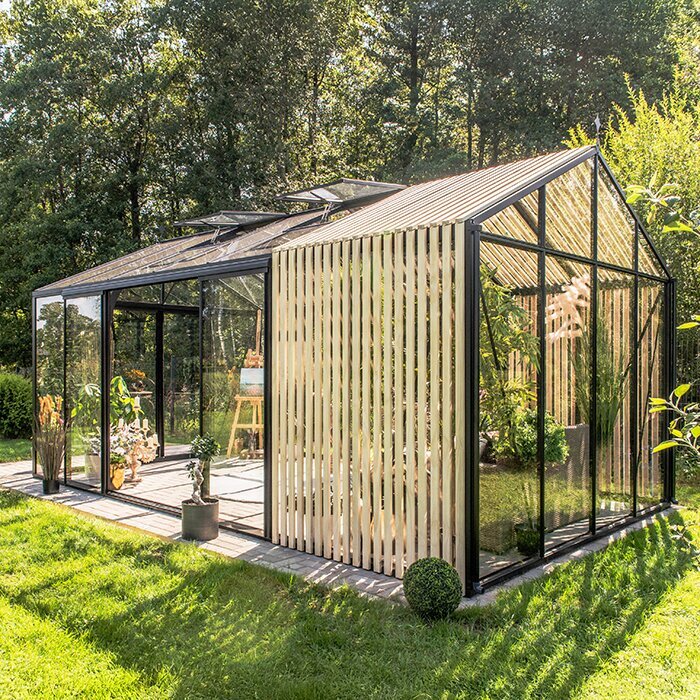
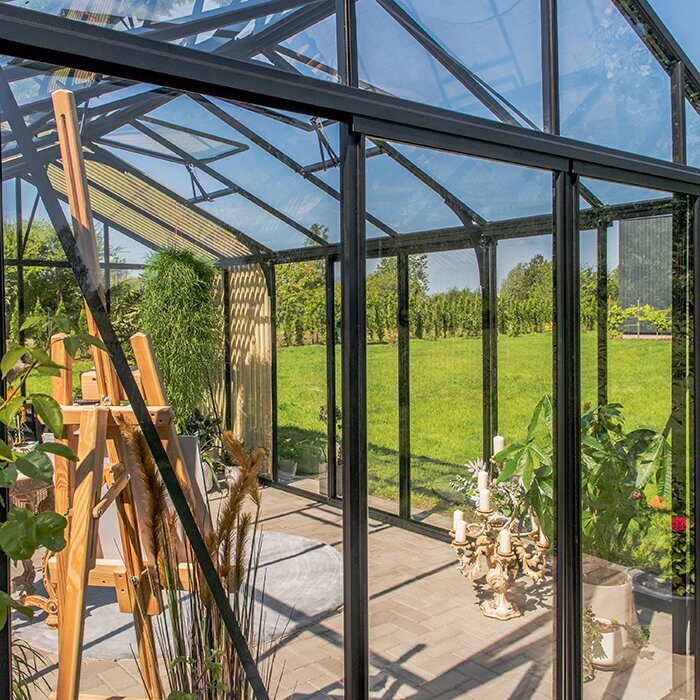
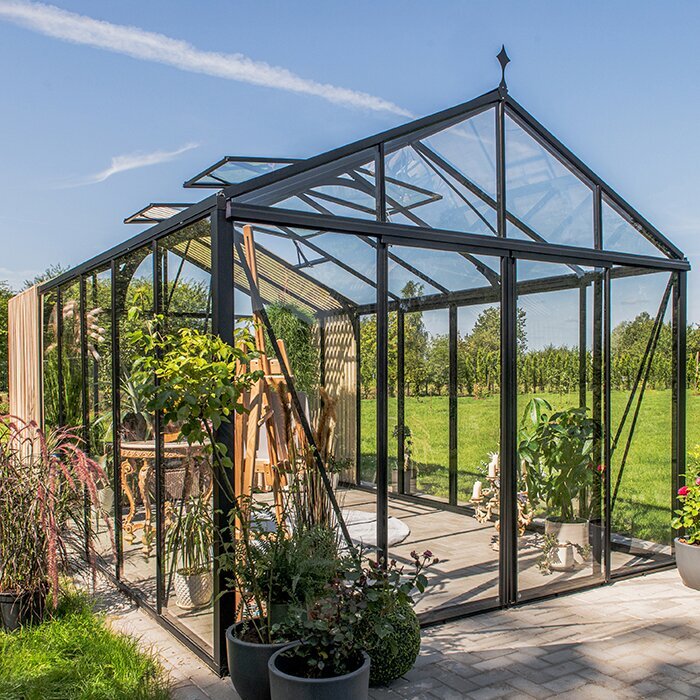
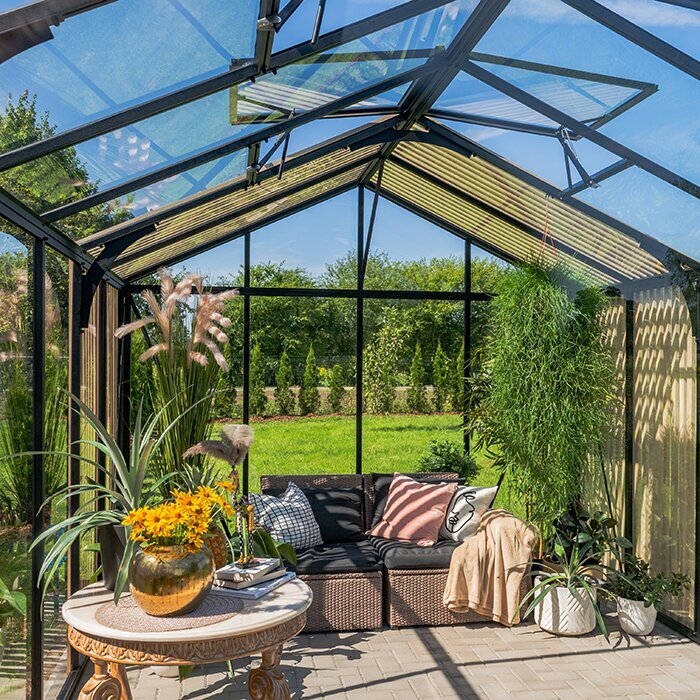
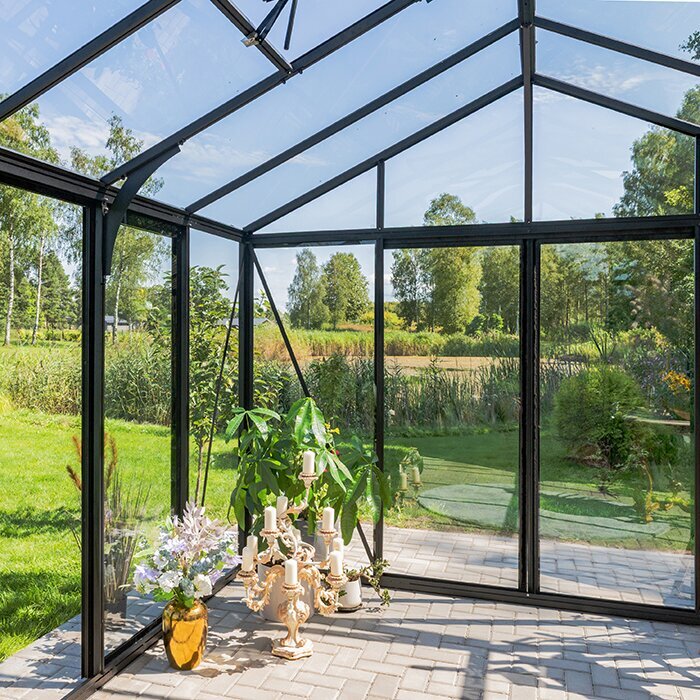
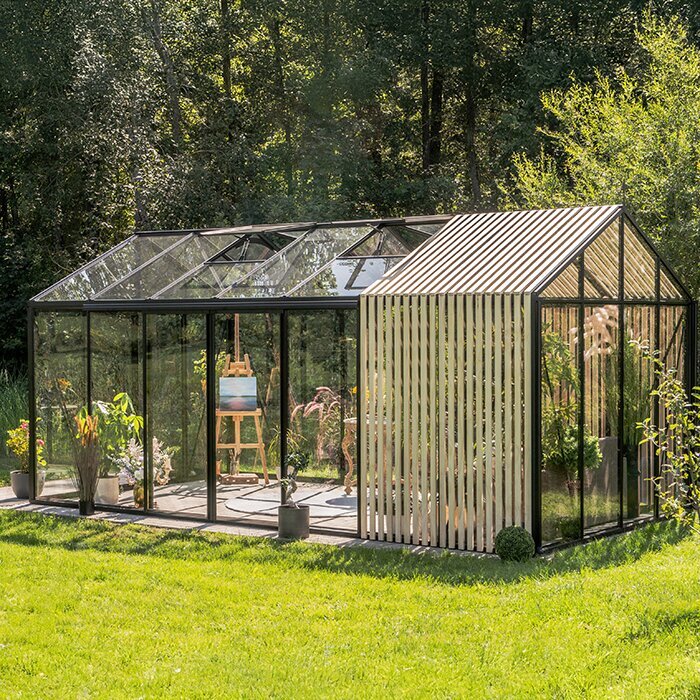
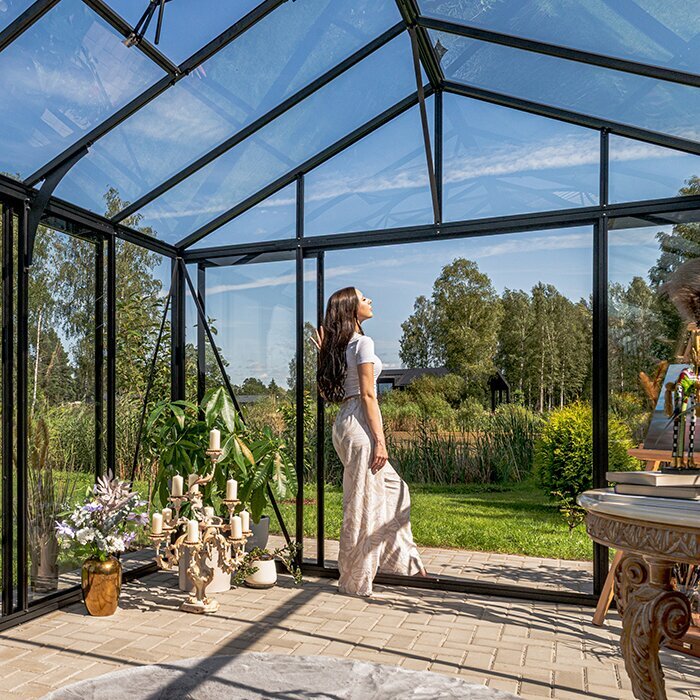
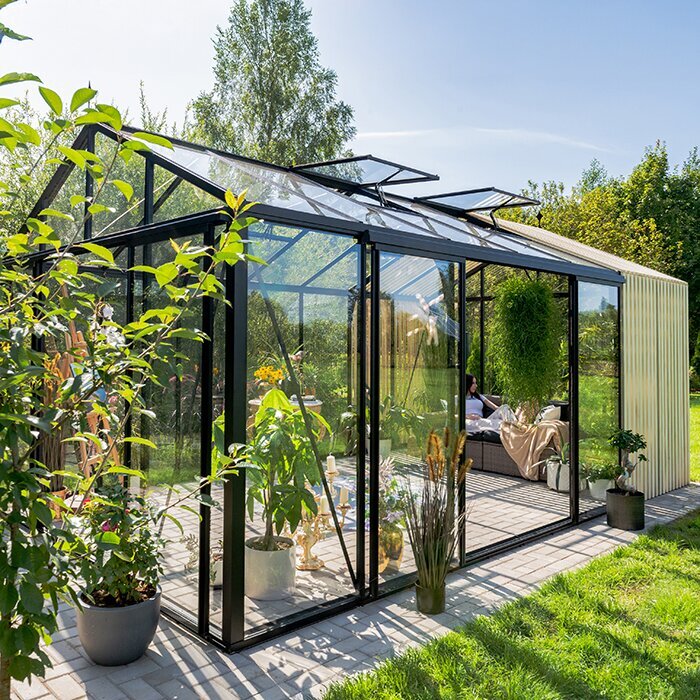
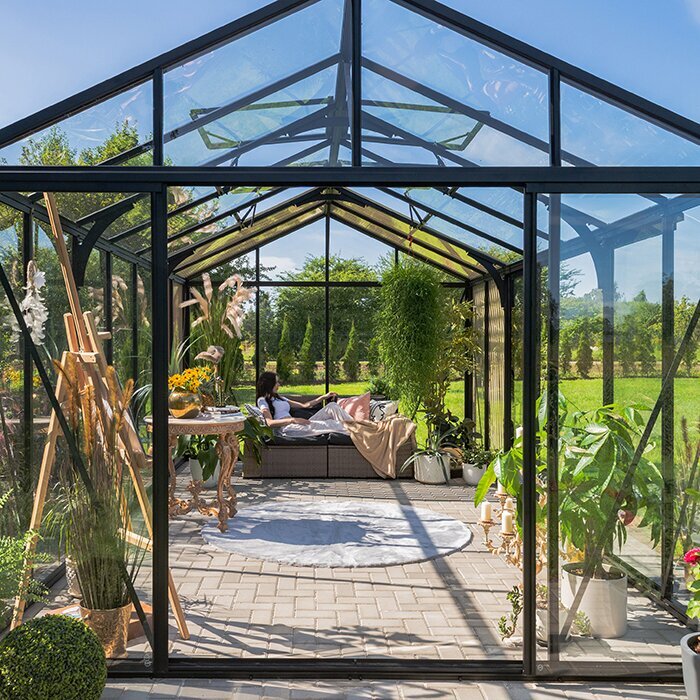
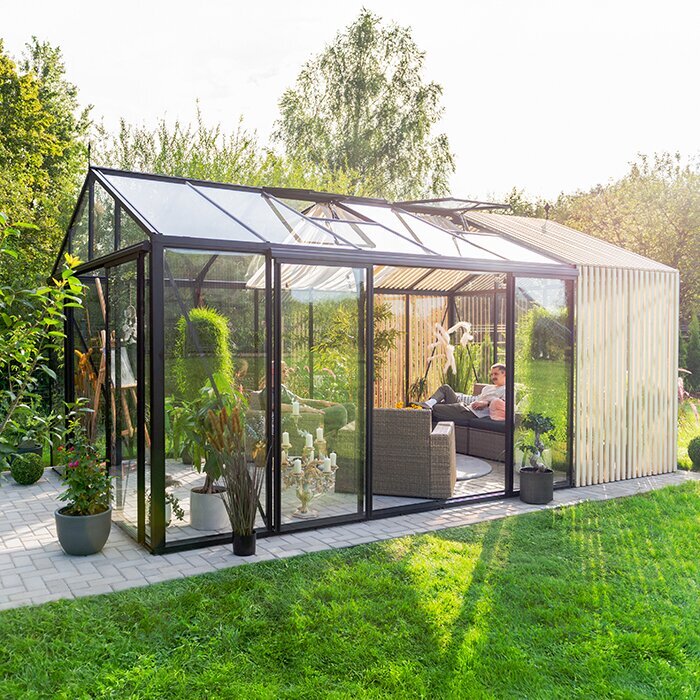
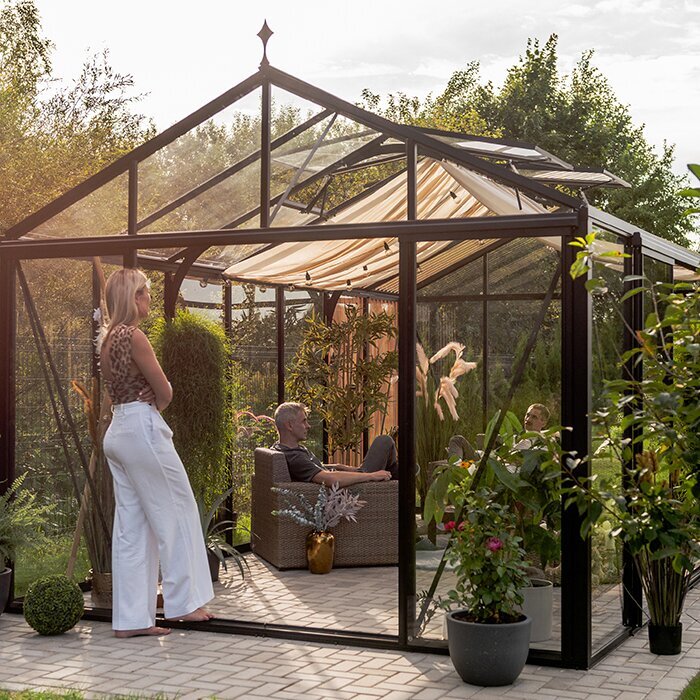
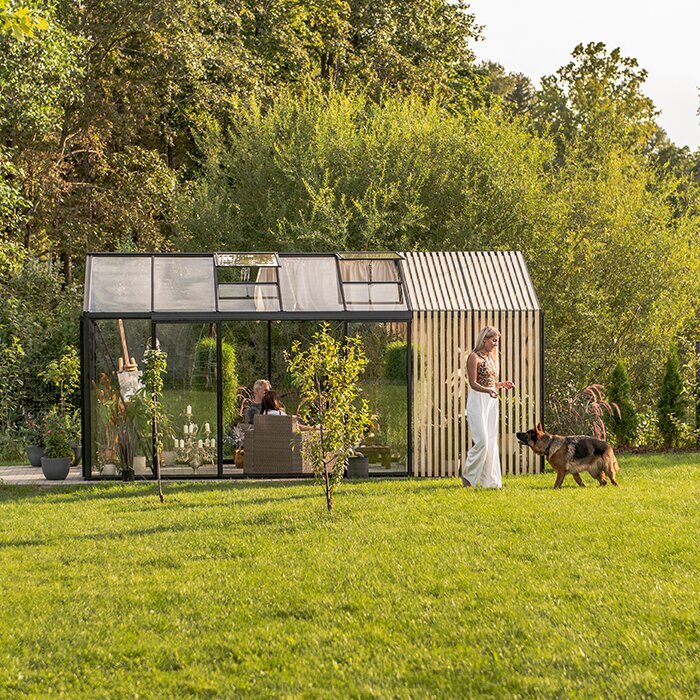
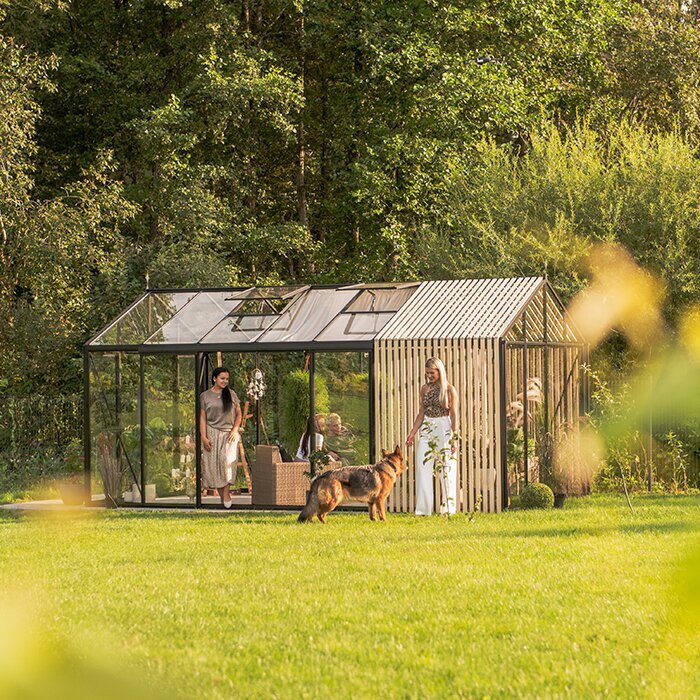
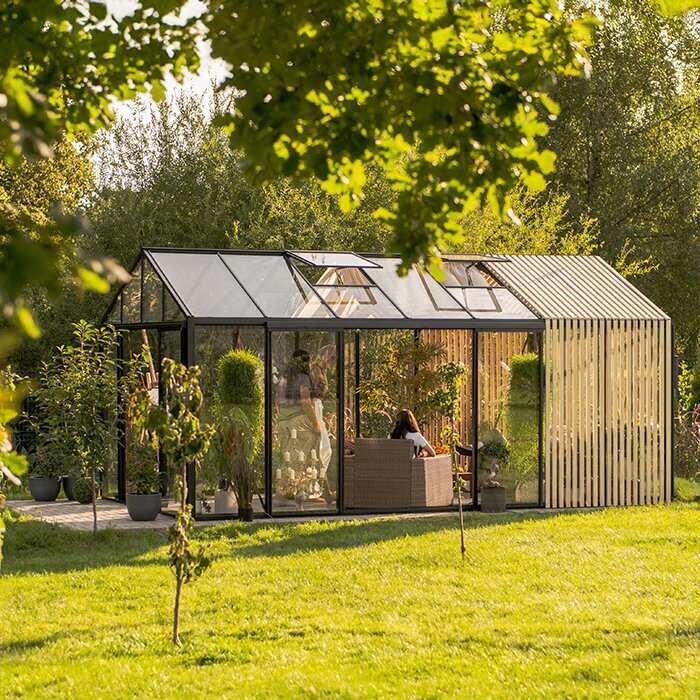
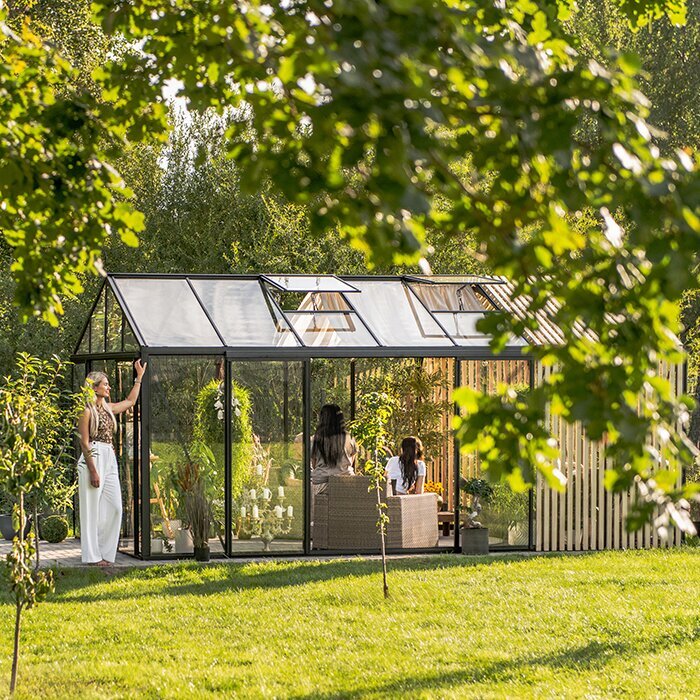
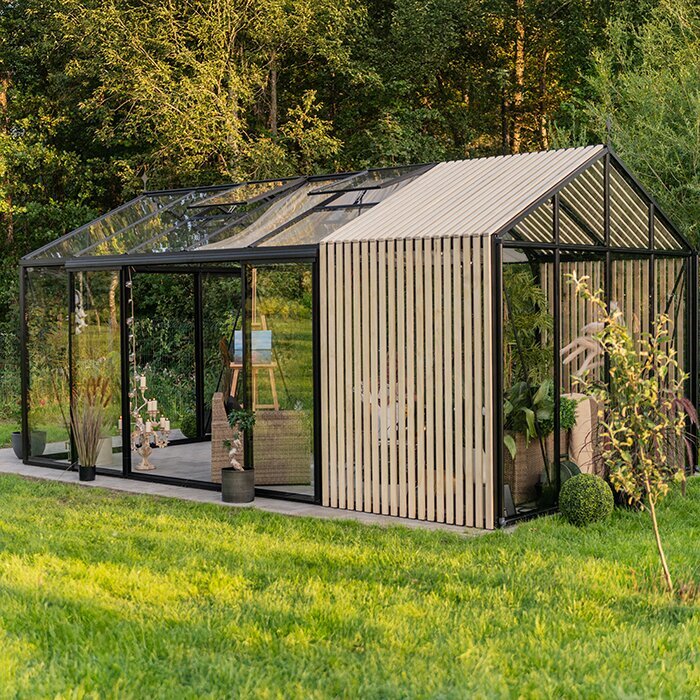
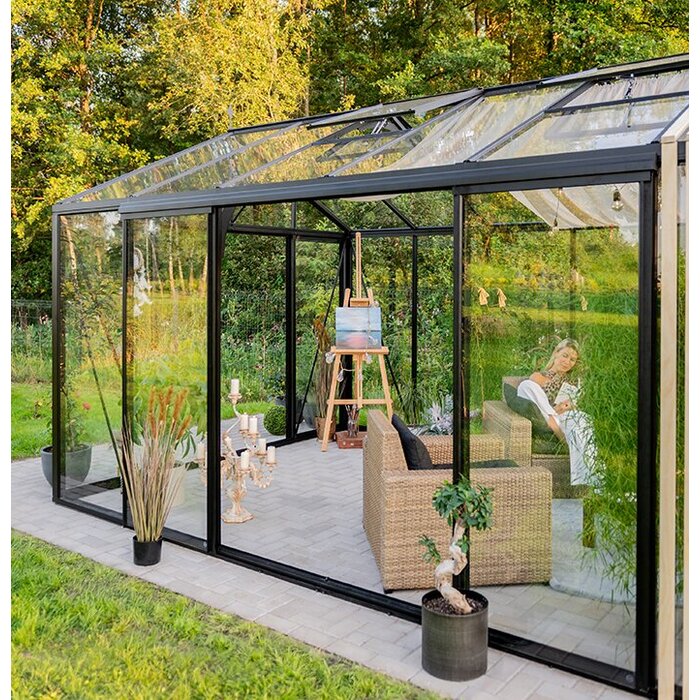
The Bloomcabin Classic Accoya Fusion Greenhouse is an aluminum greenhouse with genuine Accoya wood accents. With no built-in storage compartment, the entire interior can be used for growing, propagation, potting, seating, or a combination that suits your garden. The aluminum frame provides the greenhouse structure, while the natural wood details give the exterior a warmer, more distinctive appearance.
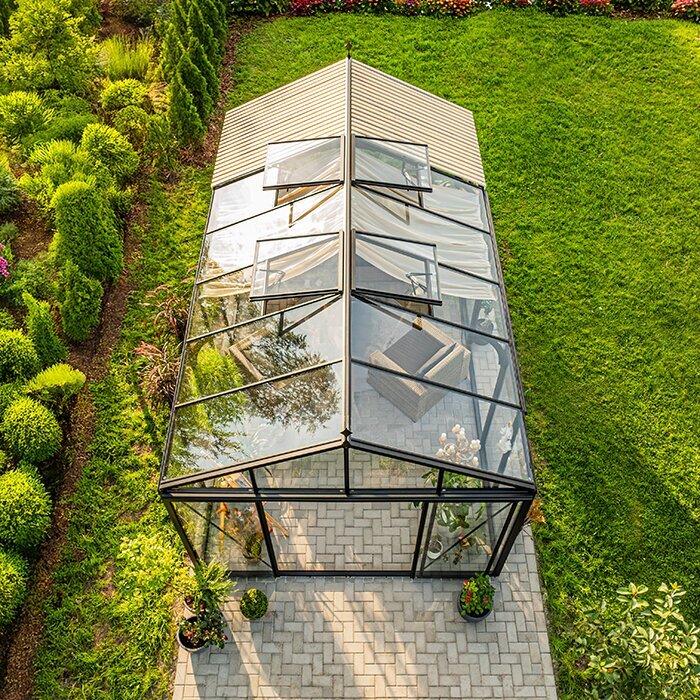
Available sizes range from approximately 41–203 sq ft and a height of about 92 in. Depending on the selected configuration, options include polycarbonate, tempered glass, selected specialty glazing, space-saving sliding doors, roof ventilation, integrated drainage, and up to 37 RAL frame colors. Choose the options based on how you intend to use the greenhouse: glazing influences incoming light, privacy, and the effect of direct sun, while door position and ventilation affect access and temperature management.
Before choosing a size or finish, assess the site at different times of day. Note direct sunlight, shadows from buildings and mature trees, exposure to severe weather, low areas where water collects, and views from the house or patio. Check that the proposed footprint leaves practical access to the entrance and to the sides requiring routine care. A well-chosen location makes the greenhouse easier to use and better integrated with the garden. Visit Bloomcabin USA.
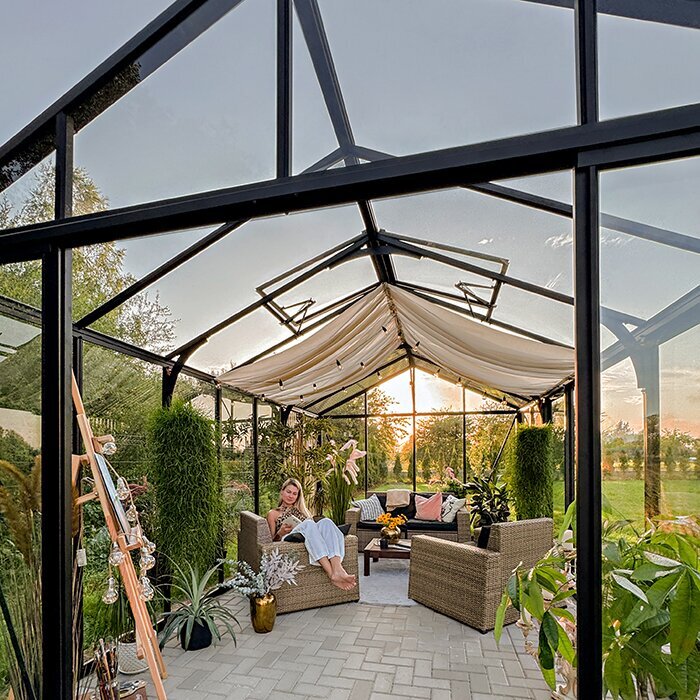
Aluminum meets real wood
A warmer interpretation of the Classic greenhouse
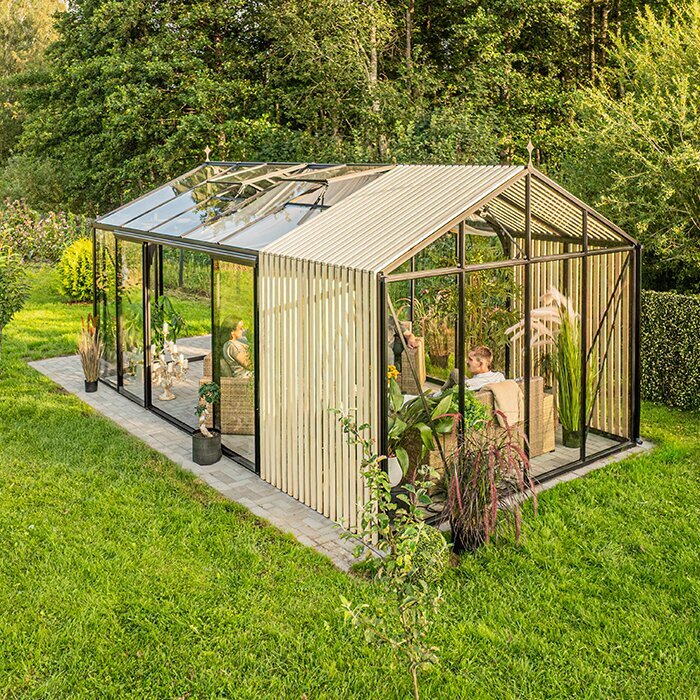
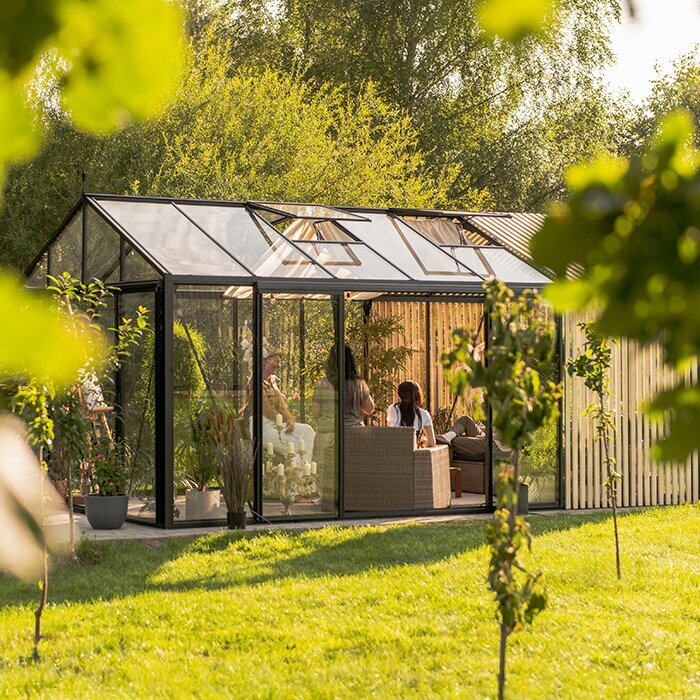
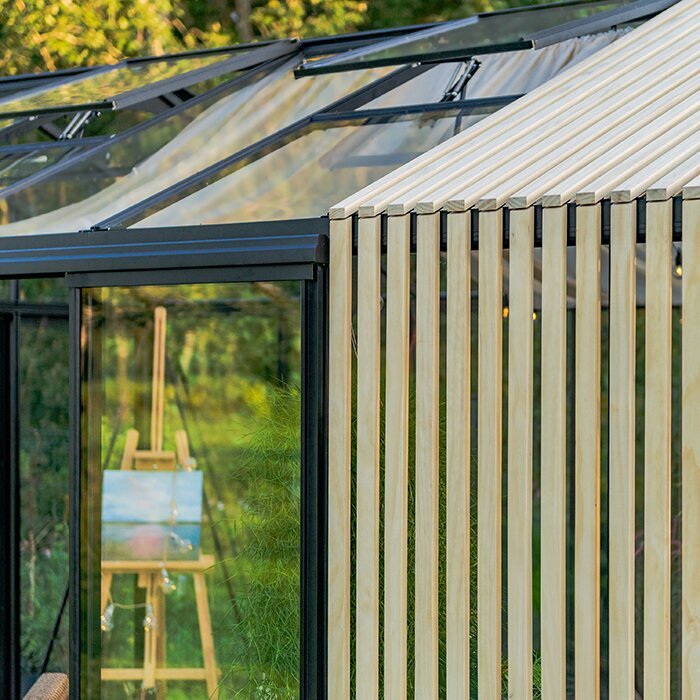
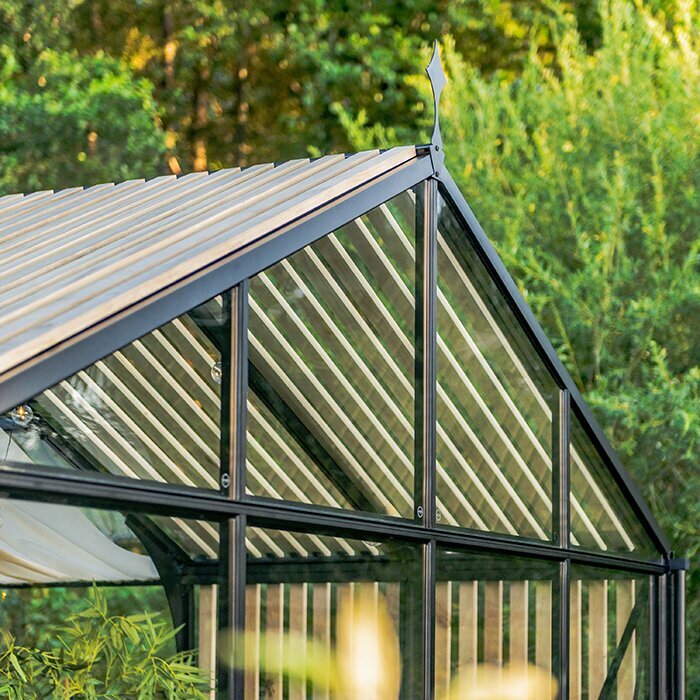
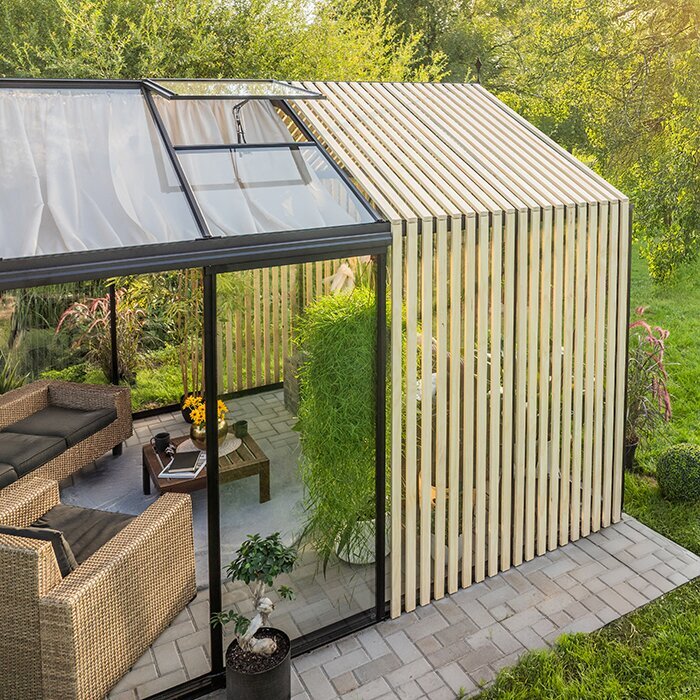
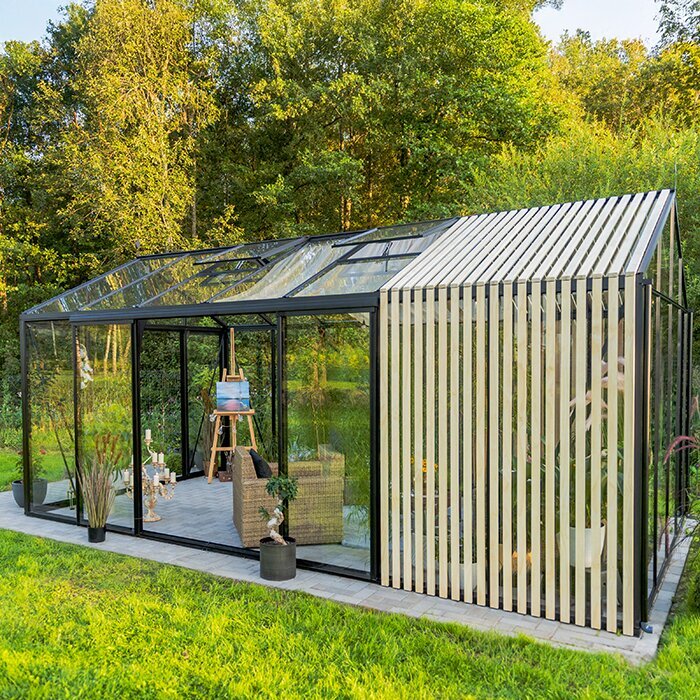
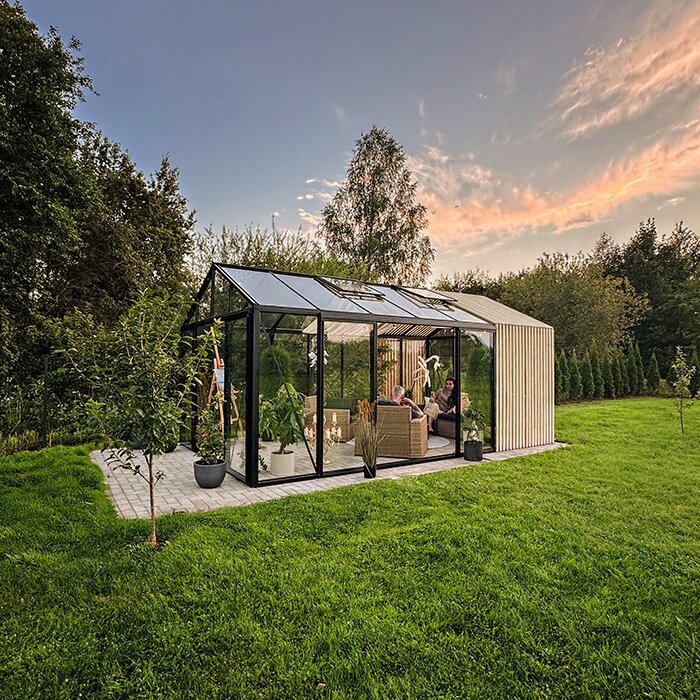
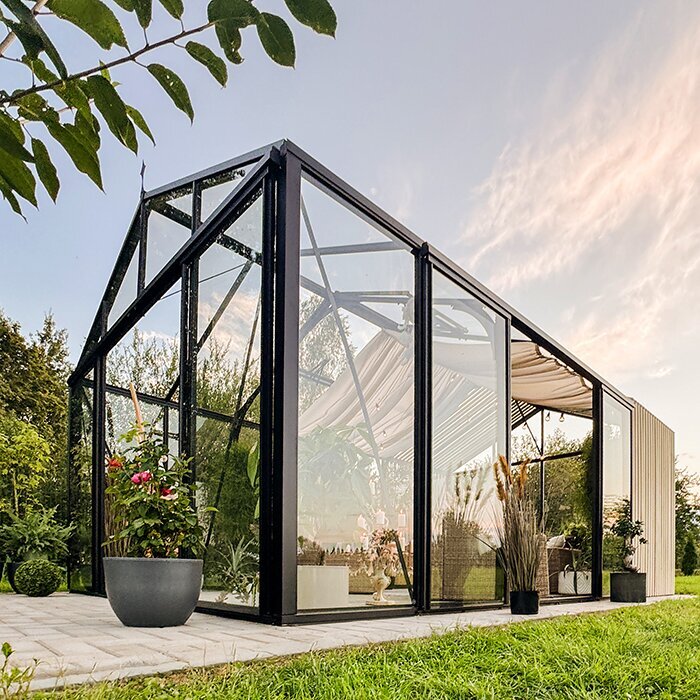
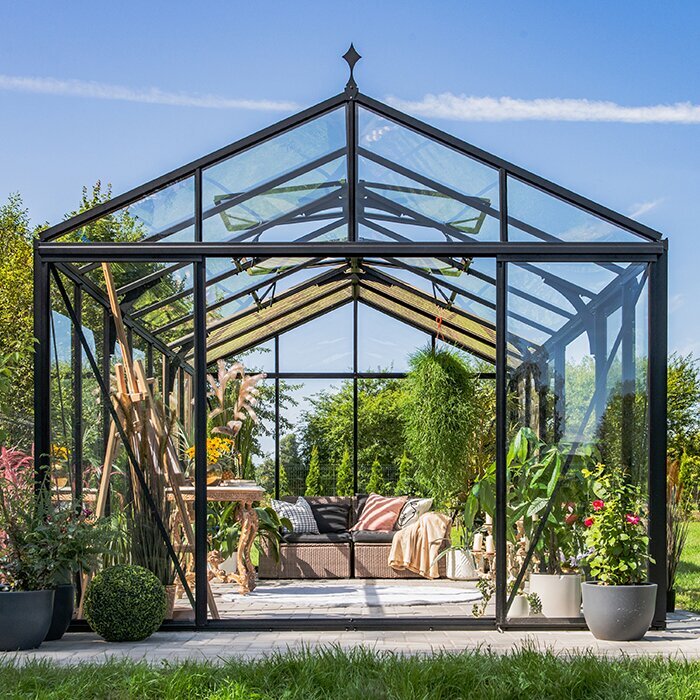
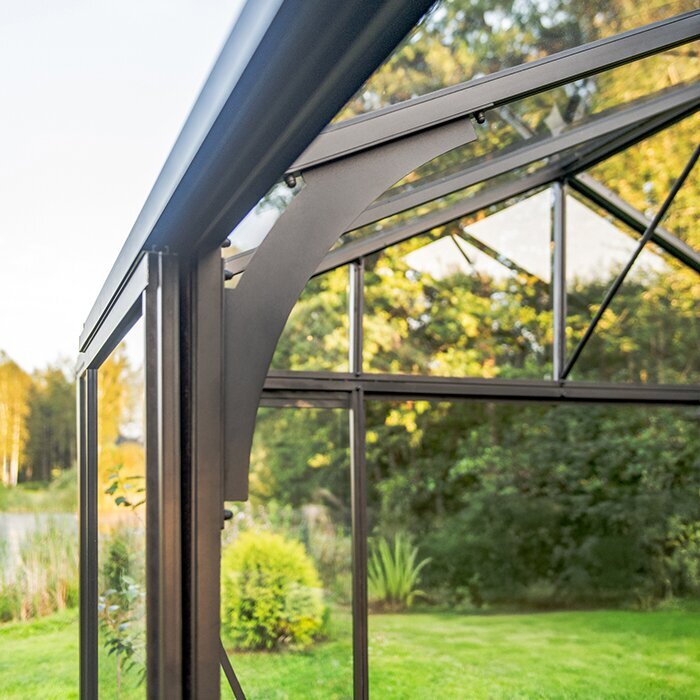
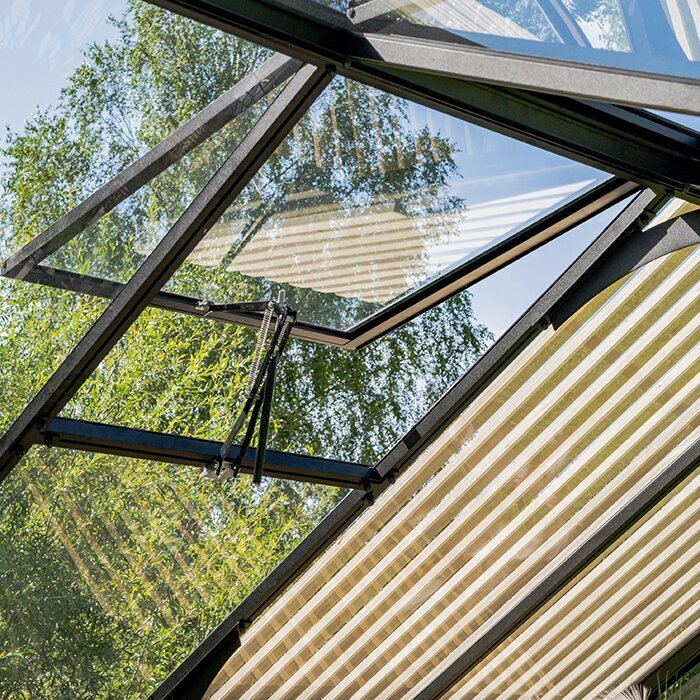
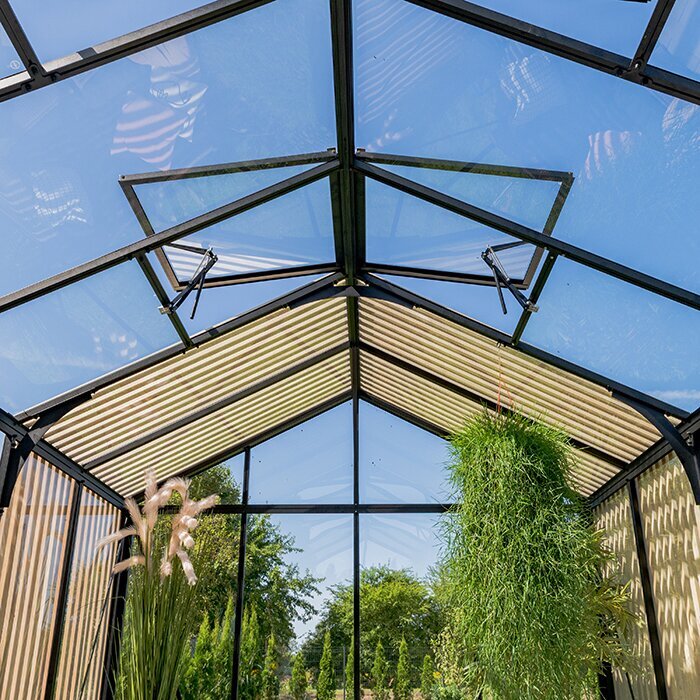
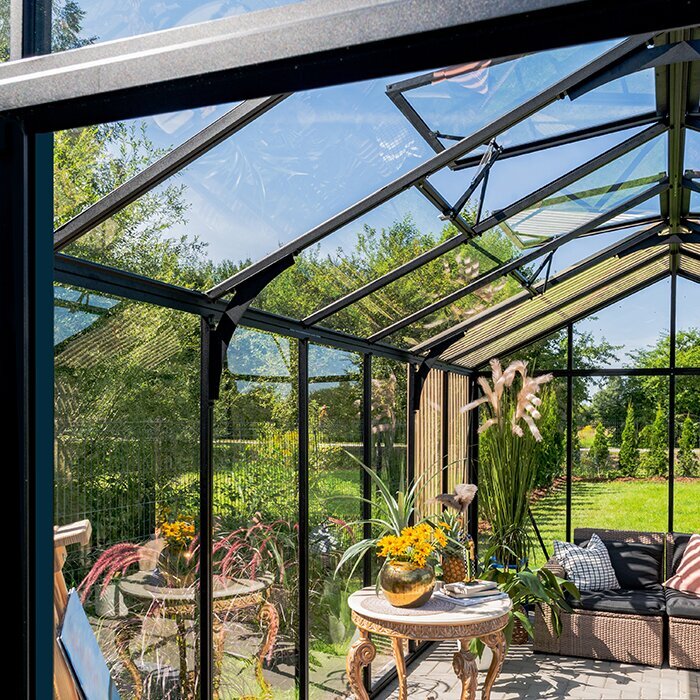
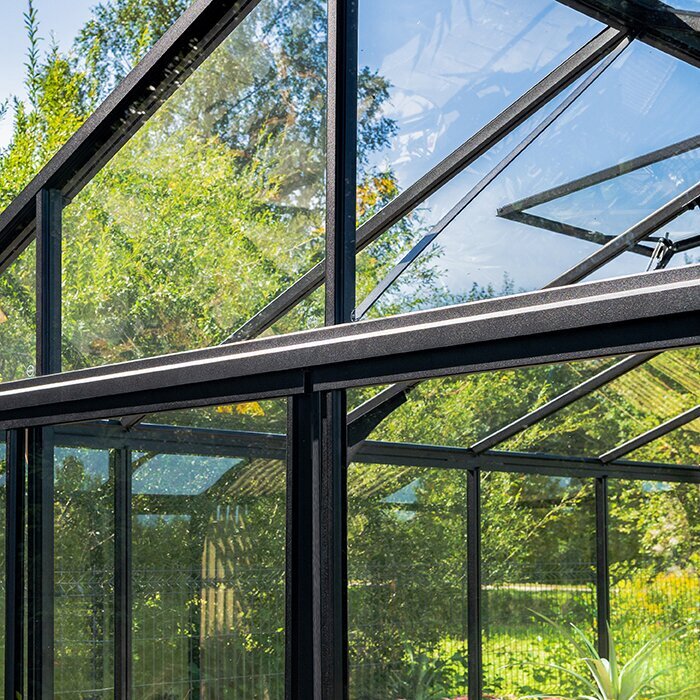
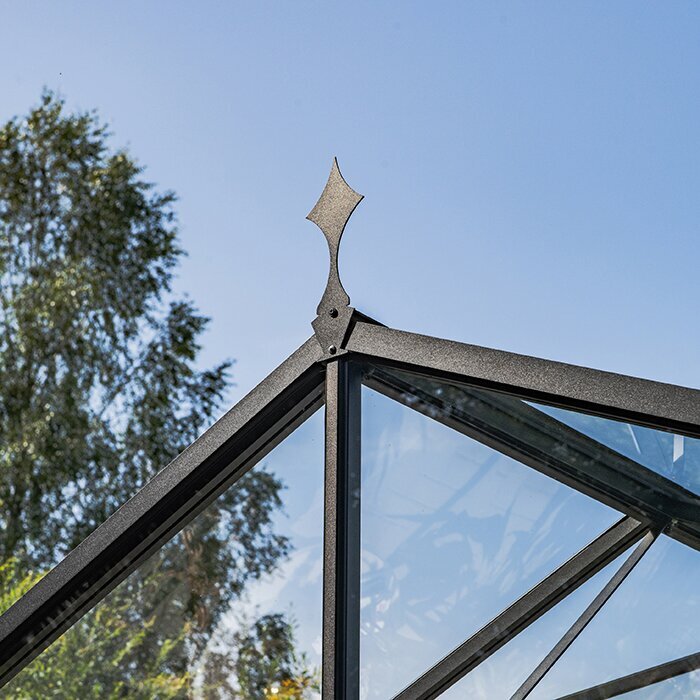
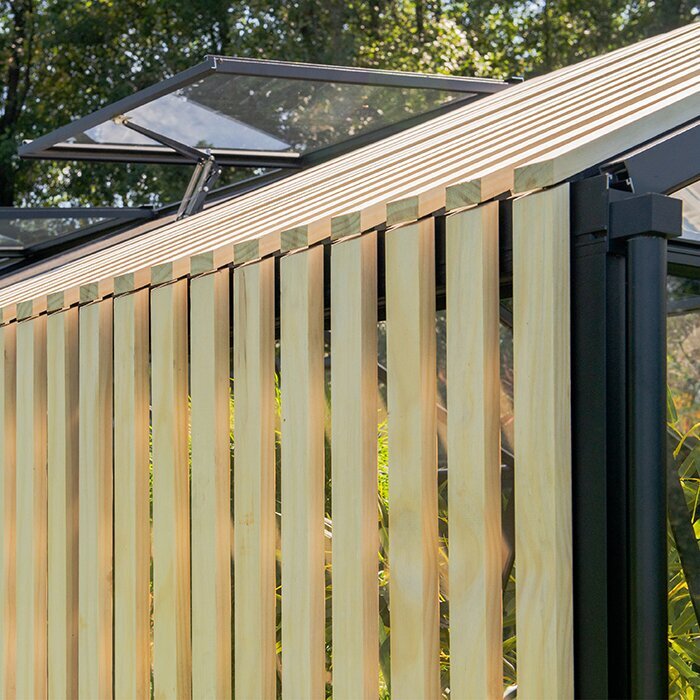
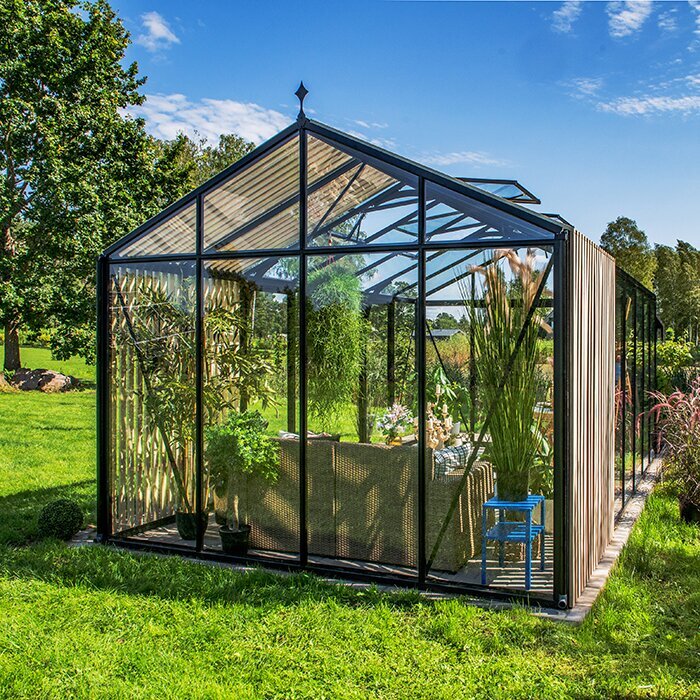
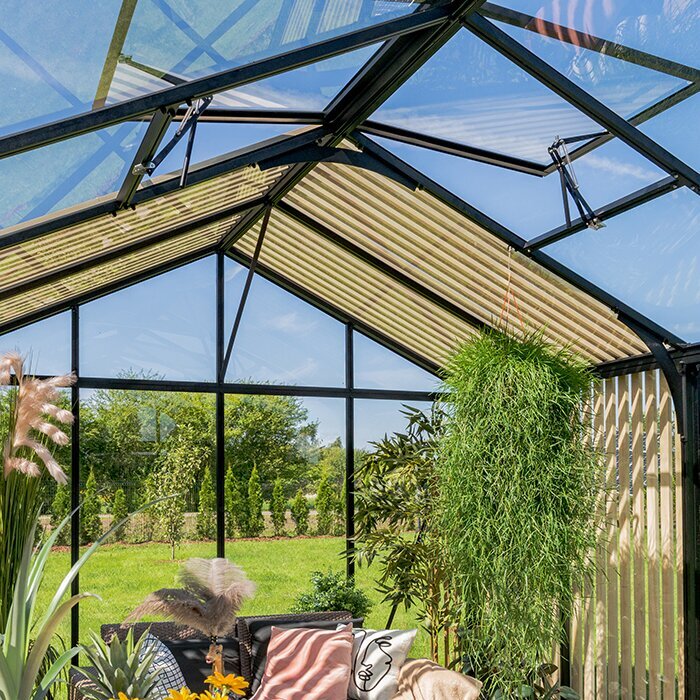
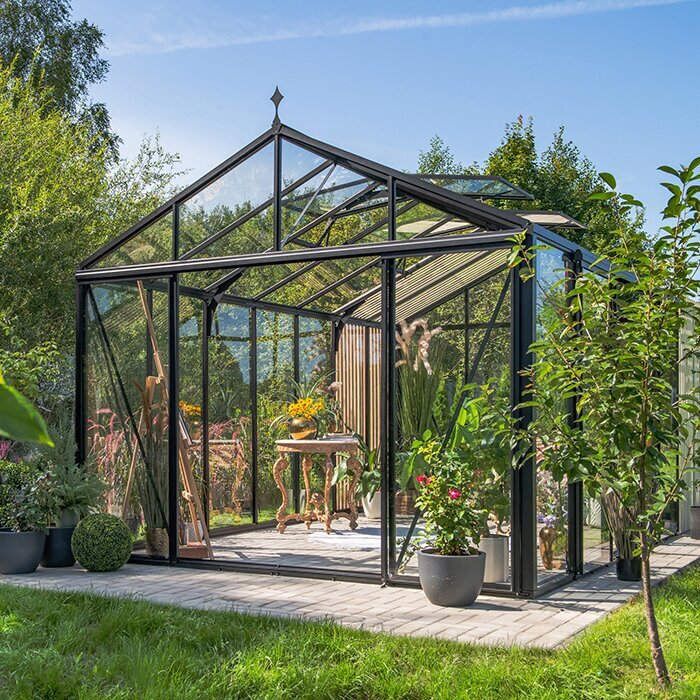
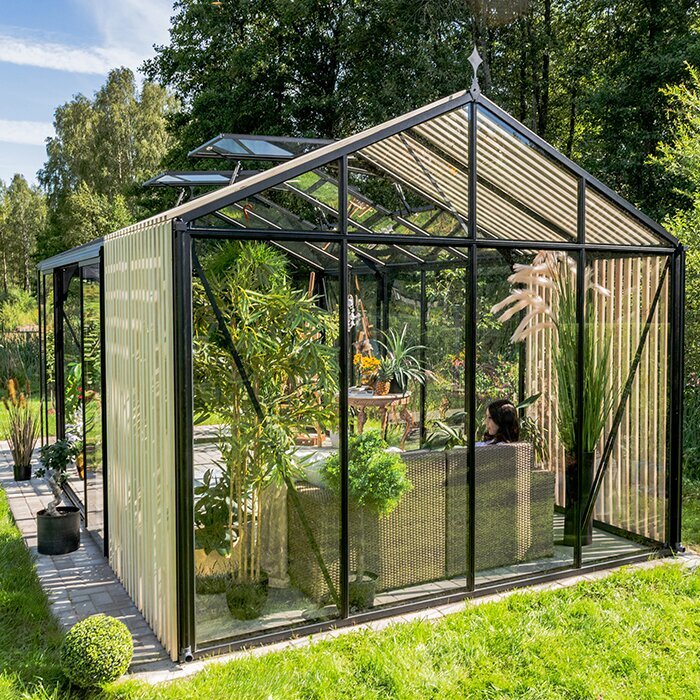
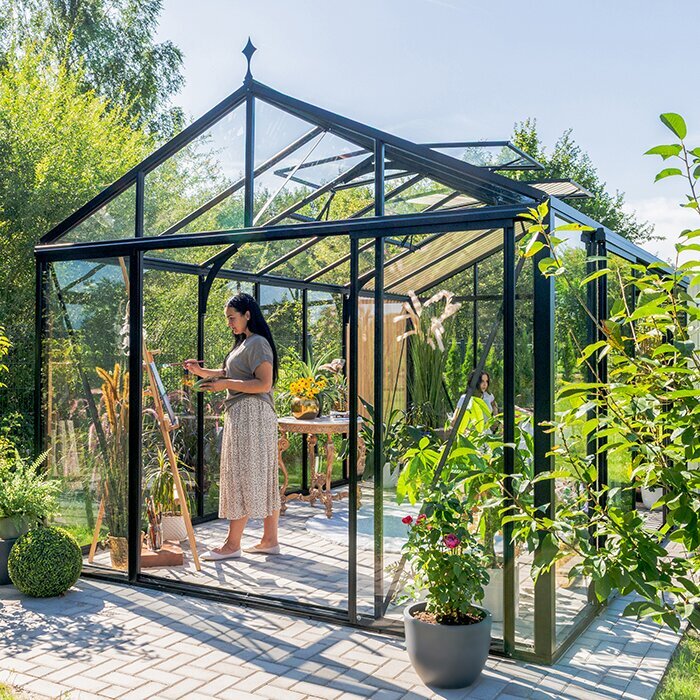
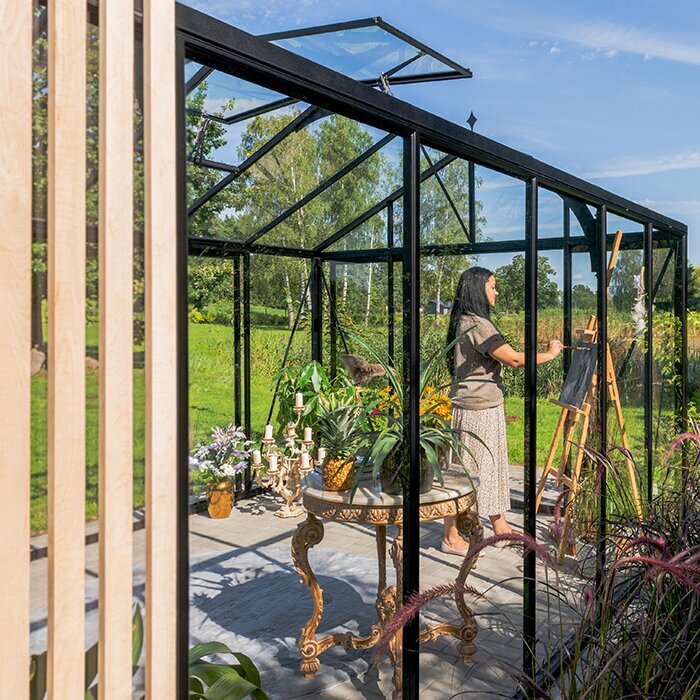
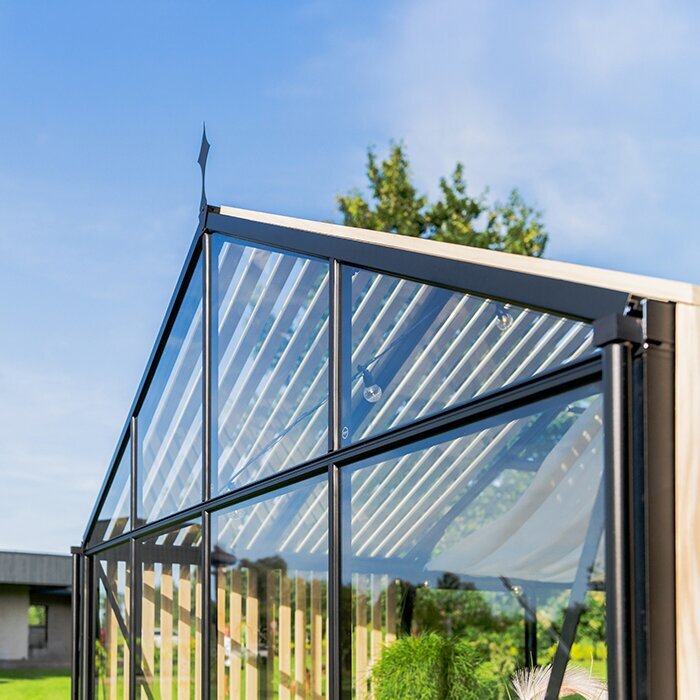
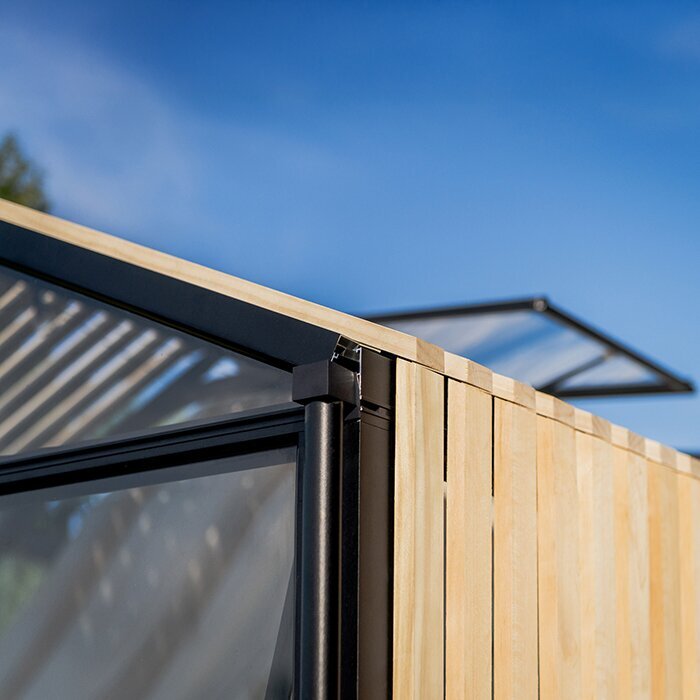
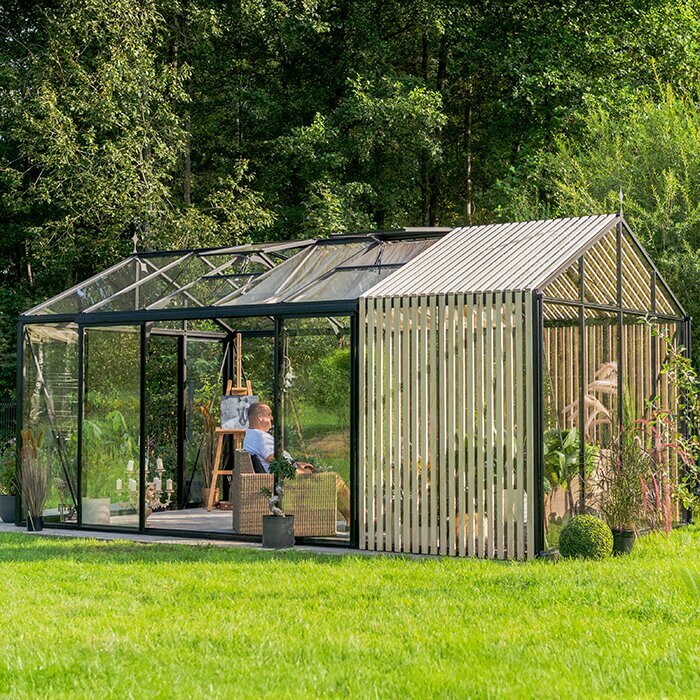
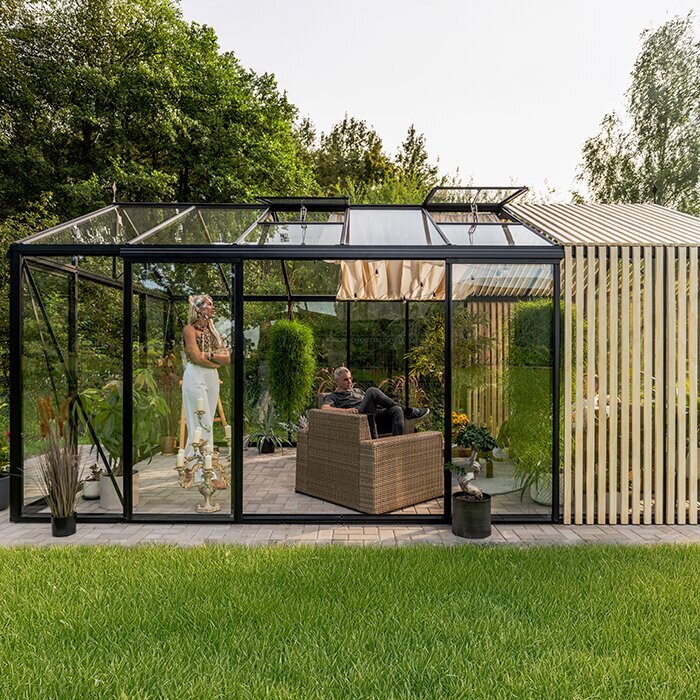
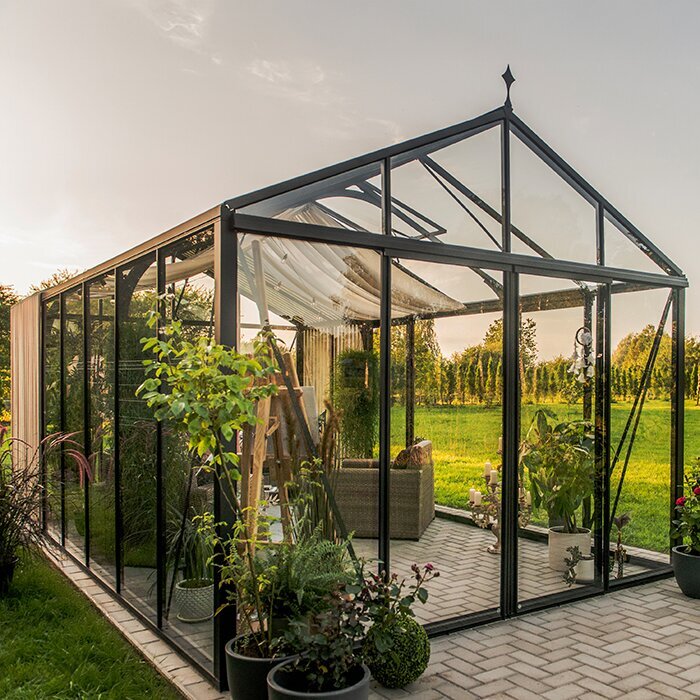
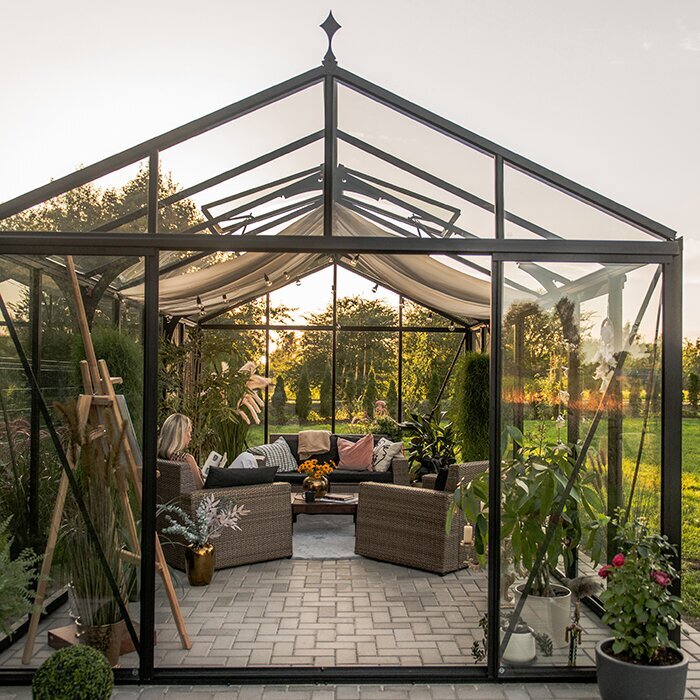
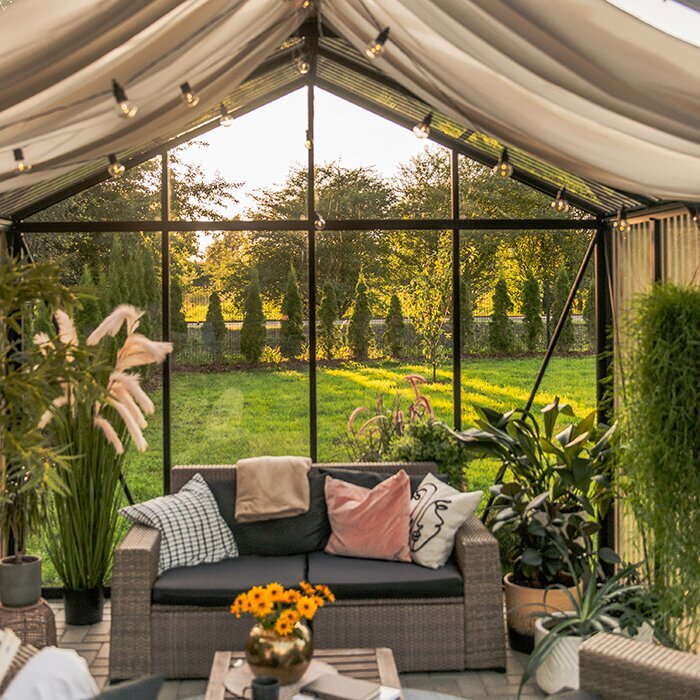
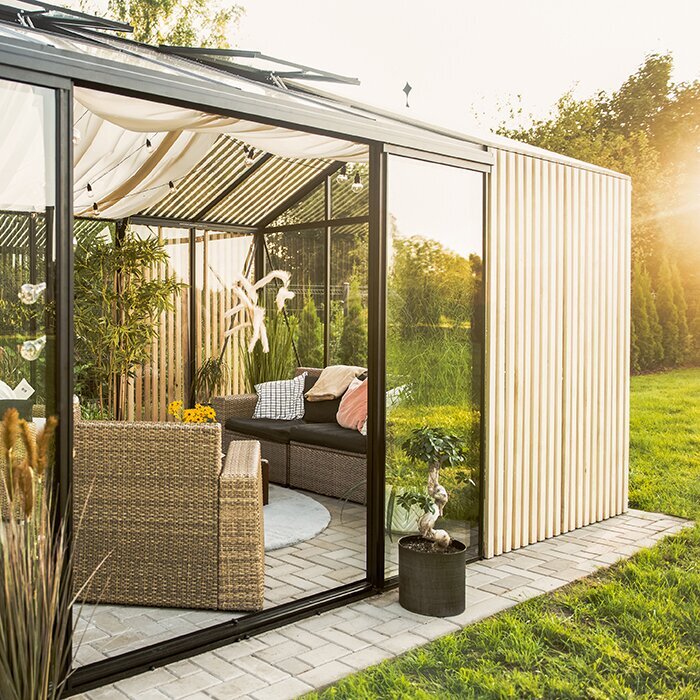
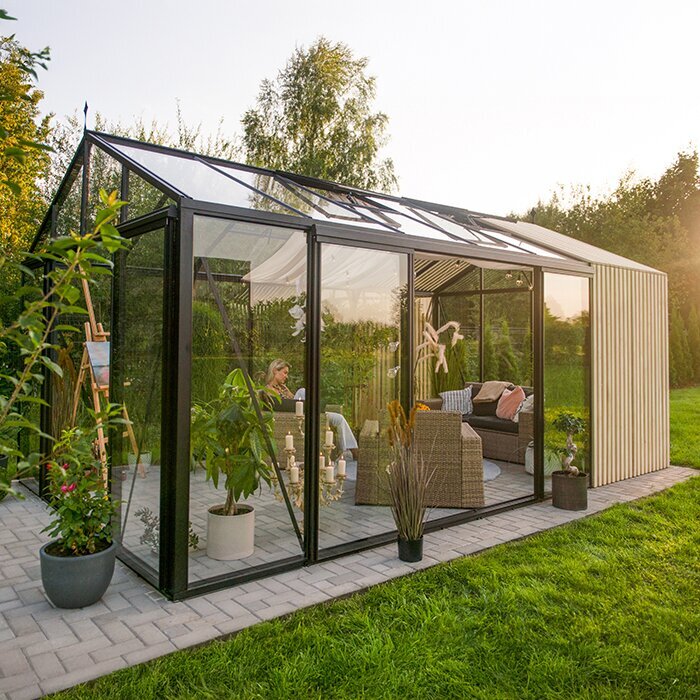
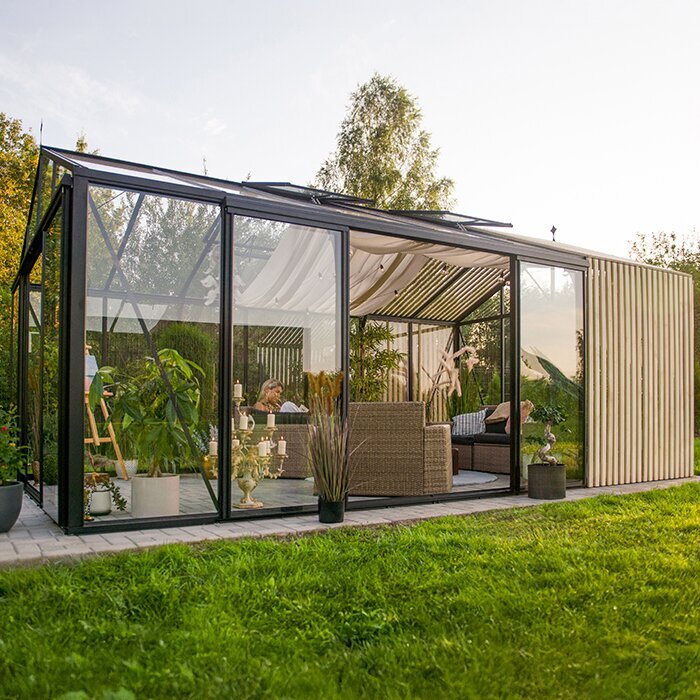
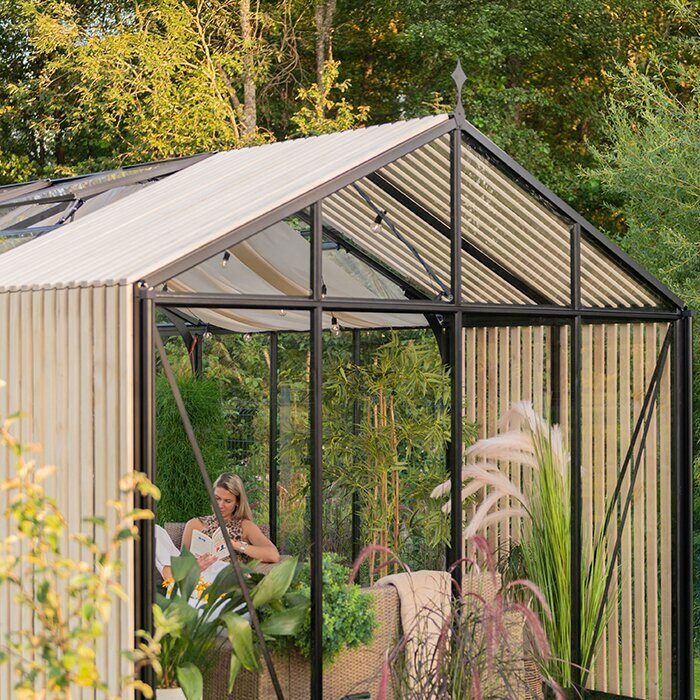
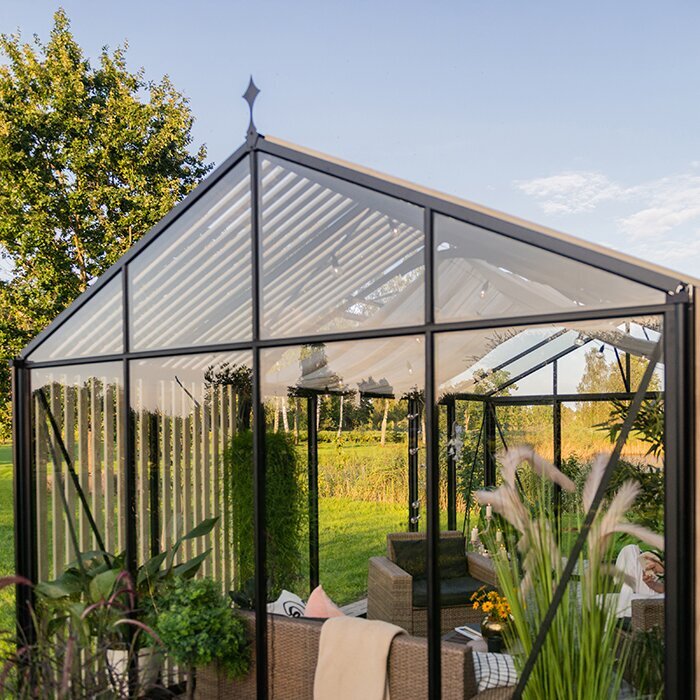
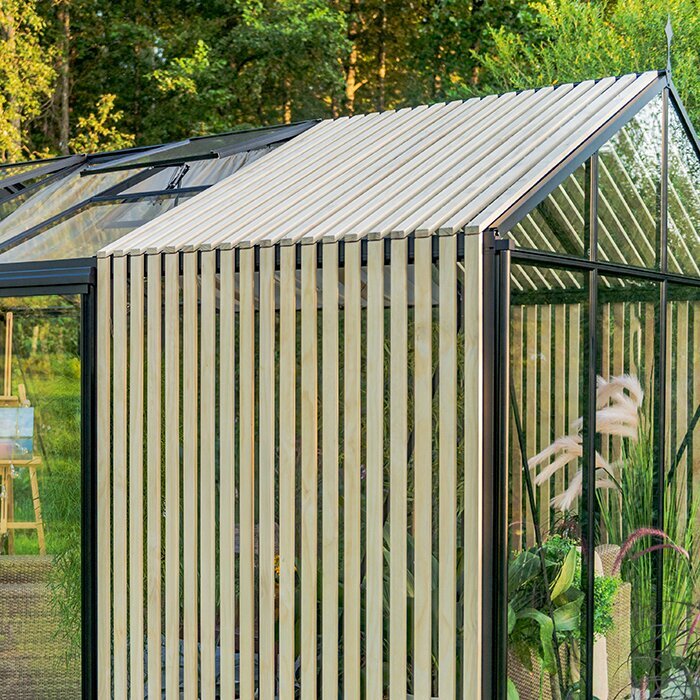
Powder-coated aluminum forms the load-bearing structure, while genuine Accoya adds warm, tactile detail. The pitched roof, slim profiles, transparent panels, and wood accents create a greenhouse that works with both contemporary homes and more traditional gardens.
The Accoya pieces are decorative and do not replace any part of the structural aluminum frame. Compared with an all-aluminum Classic greenhouse, the Fusion model’s main distinction is the contrast of natural wood against powder-coated metal. Choose it when that material combination suits the home and garden better than a uniform aluminum finish.
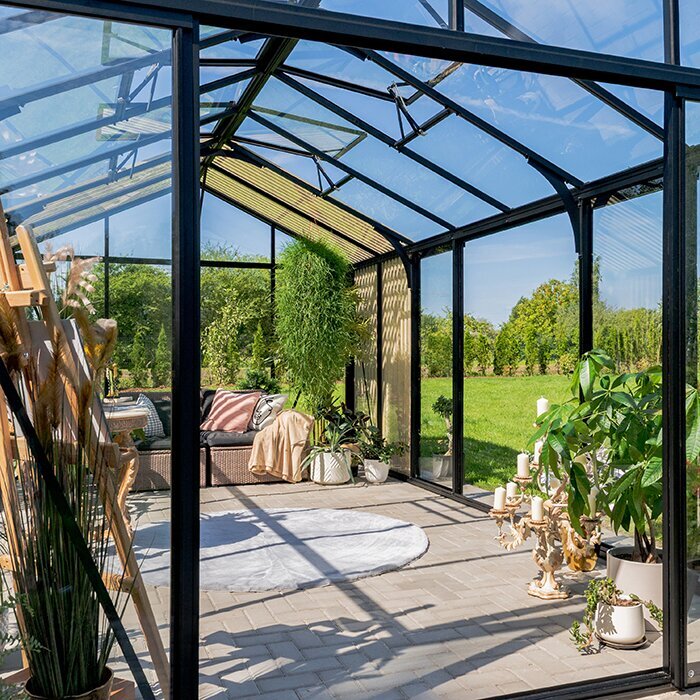
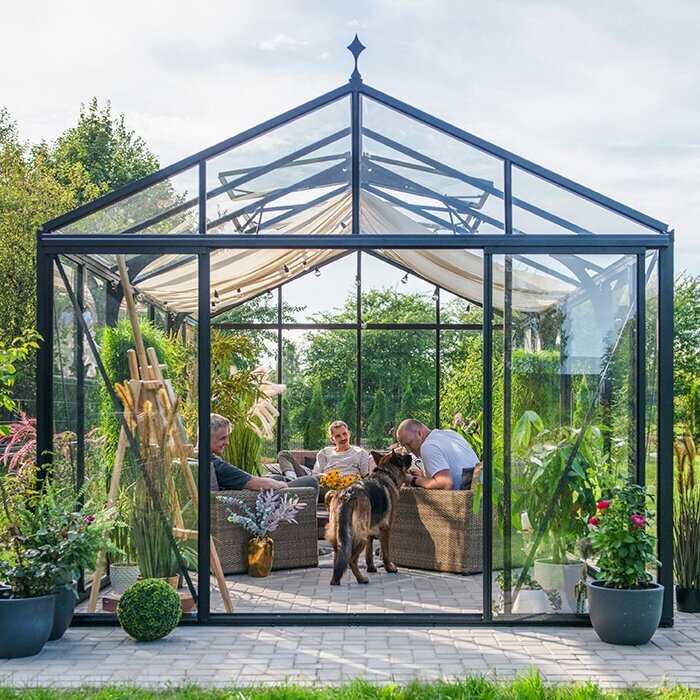
Because there is no enclosed storage room, plan where tools, soil, pots, and fertilizers will be kept before installation. Keeping these supplies in a nearby shed or weather-protected cabinet prevents the greenhouse aisle from becoming crowded. Inside, the uninterrupted footprint can then support longer benches, larger containers, accessible circulation, or a small sitting area, depending on the chosen size and the crops being grown.
Real Accoya accents
Natural wood texture paired with a strong aluminum structure
Classic greenhouse geometry
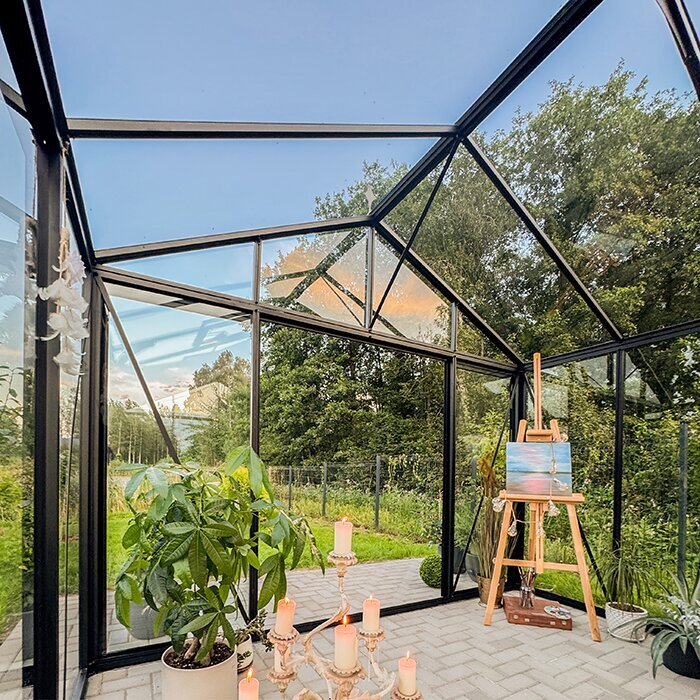
Pitched roof with an open, practical growing area
Up to 37 RAL colors
Coordinate the frame color with your home, planting, and the natural wood tone
Limited collection
A distinctive greenhouse designed to stand out in the garden
What is Accoya?
Real radiata pine modified for outdoor use
Accoya is genuine radiata pine modified through acetylation, a process that reduces how readily the wood absorbs moisture and improves its dimensional stability outdoors. It remains real wood, so natural differences in grain and color are expected. Bloomcabin uses it here as exterior detailing chosen for its appearance and outdoor suitability.
Any warranty applying specifically to the Accoya material is separate from Bloomcabin’s greenhouse warranty and is governed by its own terms. Review both sets of coverage before ordering because they apply to different materials and circumstances.
Bloomcabin leaves the Accoya untreated so sunlight and weather can change its appearance naturally. The original wood tone will gradually weather to silver gray. When choosing the frame color and location, consider how both the new wood and its later color will look beside siding, masonry, paving, fencing, and nearby planting.
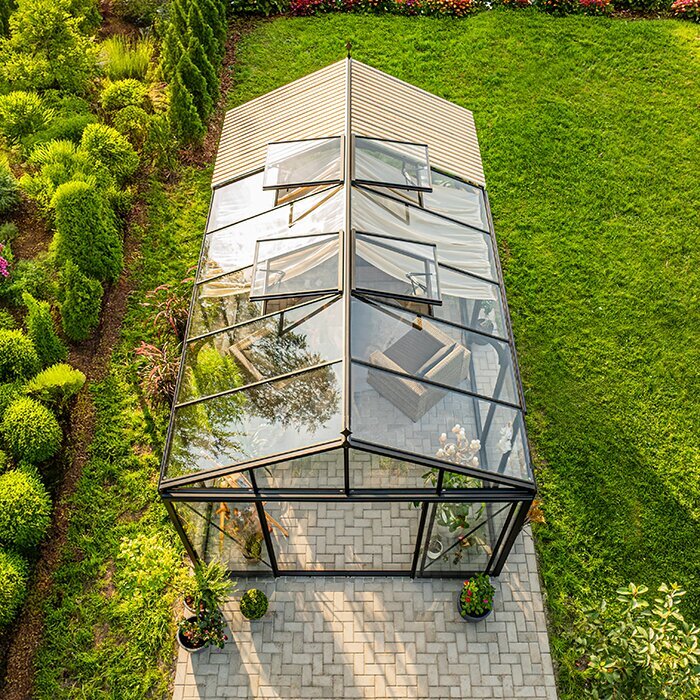
Design details that matter
Choose the frame color, glazing, wood tone, and surrounding planting together
The visible wood makes surrounding colors and textures especially influential. Review the frame finish beside actual samples of nearby siding, brick, stone, decking, or paving whenever possible; colors selected from a screen can appear different outdoors. Also consider the greenhouse in winter, when deciduous planting may no longer soften it. A coordinated material palette helps the structure feel intentionally connected to the property rather than added as an isolated garden object.
Black + Accoya
Creates strong contrast and a crisp, contemporary look.
Muted RAL tones
Grays, sage greens, and other muted colors can blend the wood more gently into the surrounding landscape.
Clear glazing
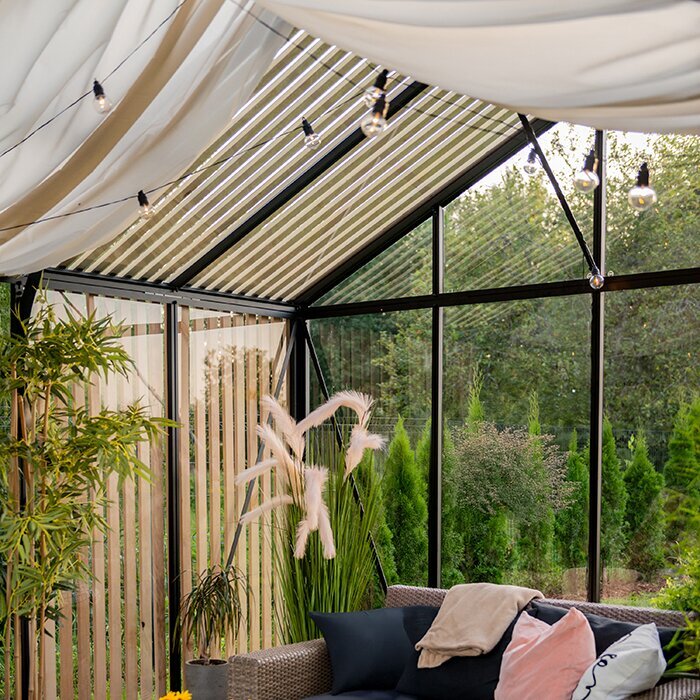
Keeps the greenhouse visually light and lets the timber details stand out.
Planting at the base
Grasses, herbs, and structured plantings can complement the natural combination of wood and aluminum.
Product specification
Classic aluminum greenhouse construction with genuine Accoya detailing
Current range
Approx. 41–203 sq ft
Available U.S. size range
Height
Approx. 92 in
Approximate model height
Glazing
Polycarbonate, tempered glass, and selected specialty glazing
Available glazing combinations depend on the selected configuration. Evaluate the roof and sidewalls separately because orientation, shade, desired views, and privacy can vary around the greenhouse. Match each available panel choice to a defined purpose rather than assuming one glazing type is best for every surface.
Doors
Space-saving sliding doors
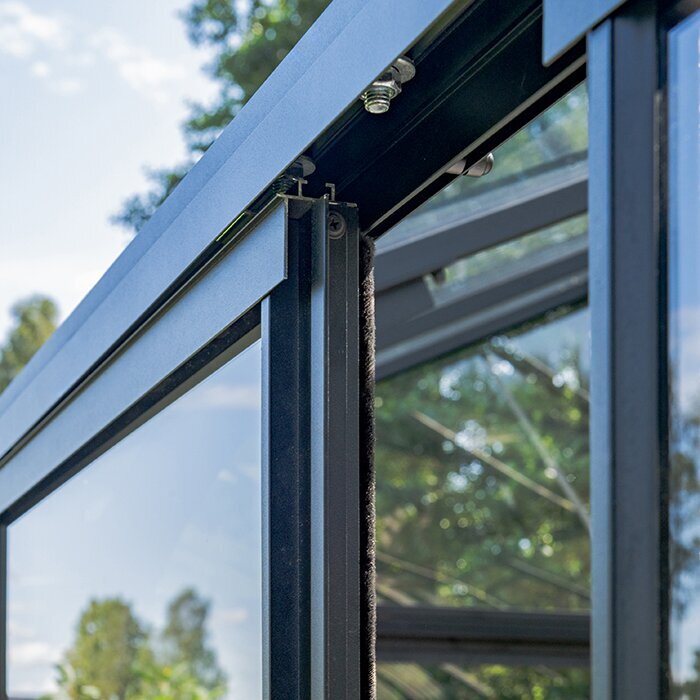
Door placement and additional-door options vary by greenhouse size. Sliding doors conserve space because they do not require an outward swing area, but the approach still needs enough width for people, trays, carts, and the largest planned containers. Mark the proposed opening on the site before finalizing the layout, then check whether paths, steps, planting beds, or irrigation lines would make access awkward.
Accoya detailing
Untreated Accoya accents; removable or preinstalled, depending on the configuration
Frame, features & warranty
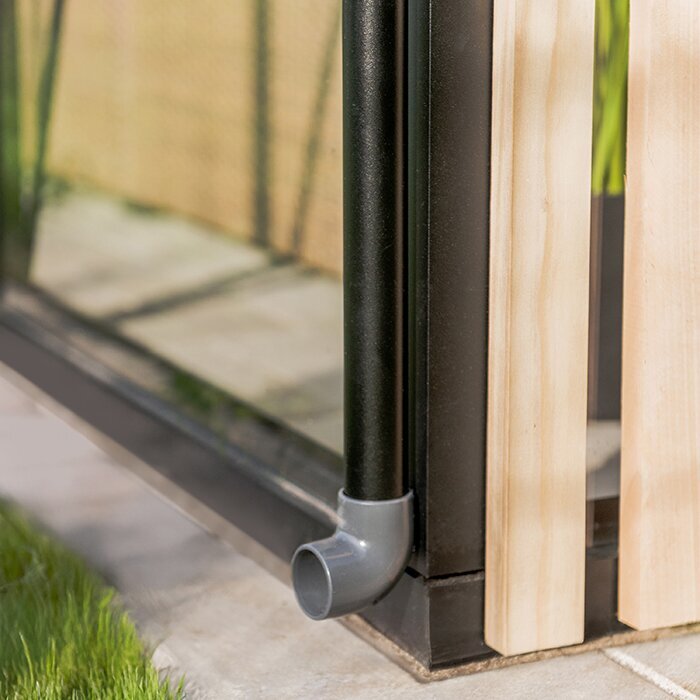
Powder-coated aluminum with roof ventilation, integrated drainage, and up to 37 RAL colors
Bloomcabin’s greenhouse construction is covered by a 12-year warranty, subject to the applicable terms. The greenhouse is rated for wind speeds up to 67 mph and a snow load of 43 lb/ft². Correct site preparation, anchoring, assembly, and routine care remain essential. Follow the installation and maintenance guidance for the selected configuration.
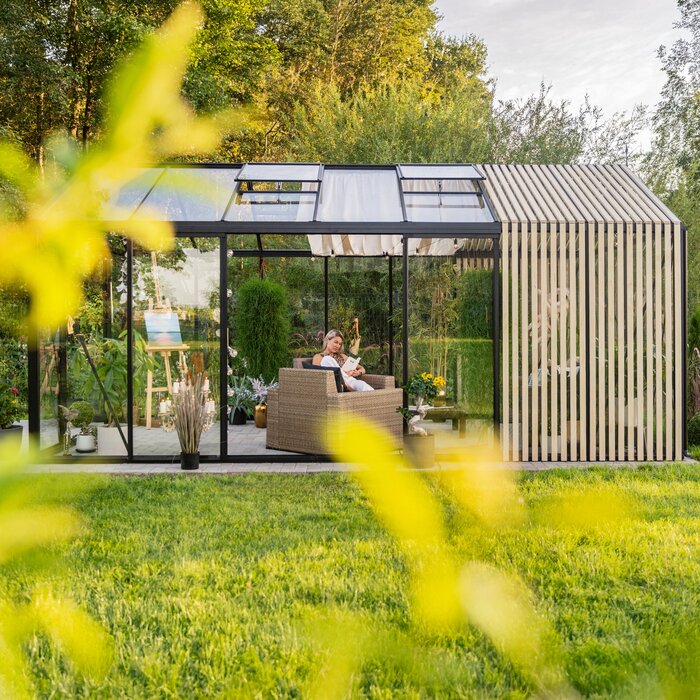
Light & greenhouse climate
Coordinate ventilation, glazing, and interior layout around plant needs
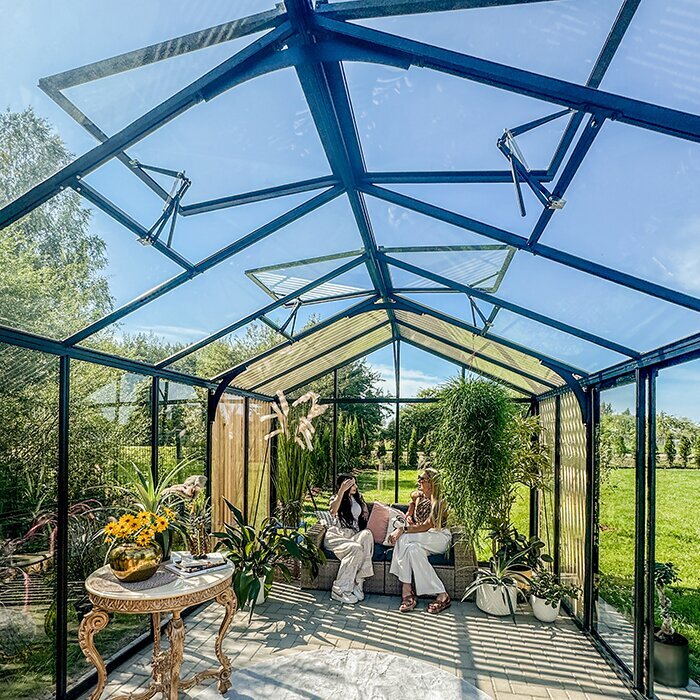
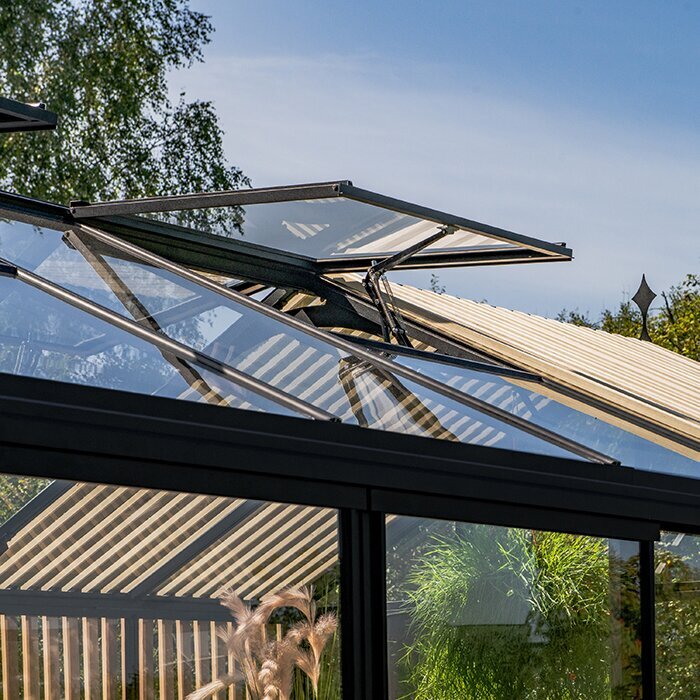
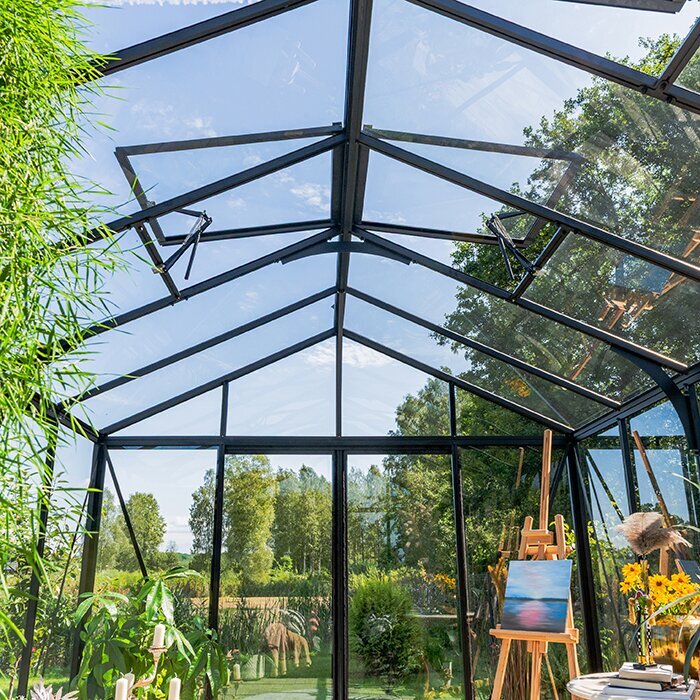
Roof vents allow rising warm, humid air to leave the greenhouse. Glazing influences how light enters, as well as privacy and views. Coordinate the two choices while recognizing that neither one alone controls every aspect of the interior growing environment.
Accoya detailing may create small areas of localized shade. Place seedlings and light-hungry crops where buildings, fences, shelving, and greenhouse details have the least effect. Less exposed areas can hold work surfaces or plants that do not need the strongest available light.
Seasonal shadows and tall crops can change light levels significantly. Begin with a flexible arrangement, observe conditions during the first growing cycle, and adjust benches and containers as needed instead of assuming every part of a transparent greenhouse receives equal light.
More than one garden role
Four ways to use a Classic Accoya Fusion greenhouse
01
Vegetable growing
Use the uninterrupted interior for tomatoes, cucumbers, herbs, seedlings, or other crops suited to your growing plan. Place frequently harvested plants near the entrance. Keep tall crops where they will not shade propagation trays or narrow the aisle, and group plants with similar routine care so watering and harvesting remain efficient.
02
Flowers and seasonal displays
Use benches and containers for flowers, young plants, and seasonal displays. Keep taller plants where they will not shade smaller specimens, and leave enough working room for watering, deadheading, and moving pots.
03
Potting and propagation
Arrange benches for sowing, transplanting, and container care while preserving a clear route for trays and bags of growing medium. A washable work surface near frequently used tools reduces unnecessary movement, and lower shelves can hold empty pots without taking over the main bench.
04
Garden retreat
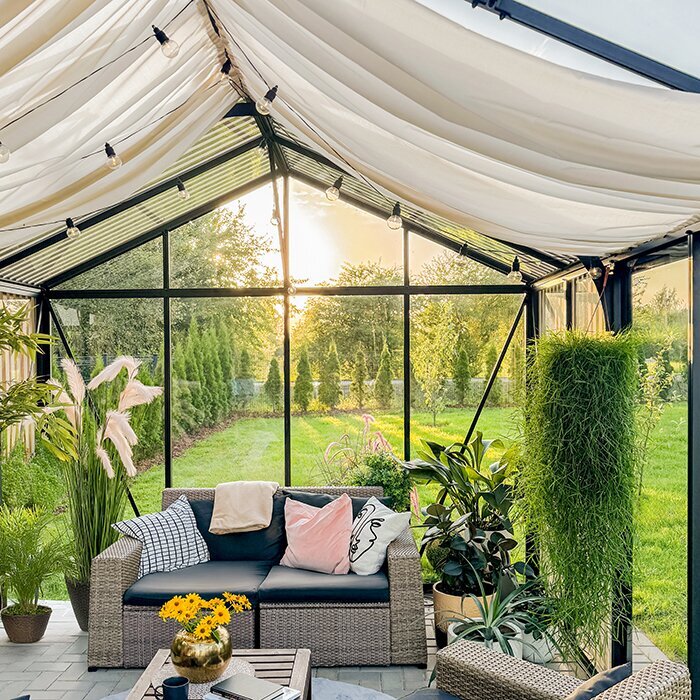
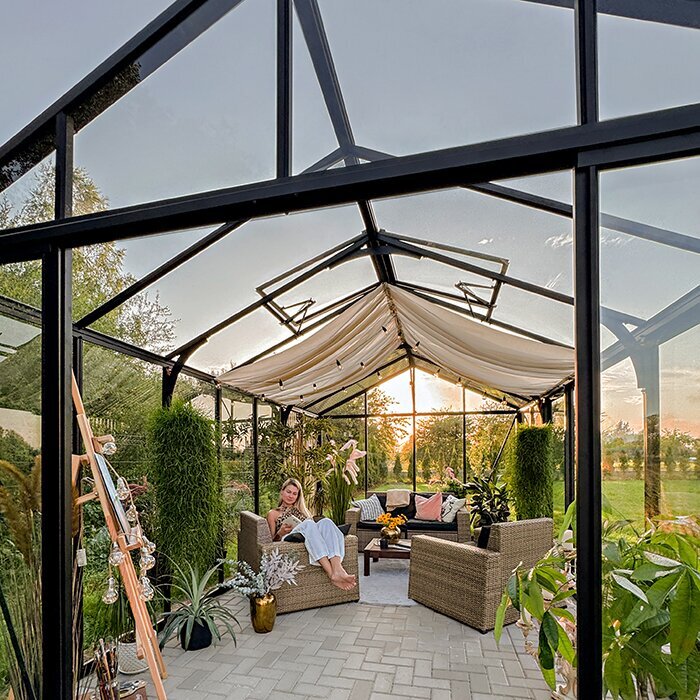
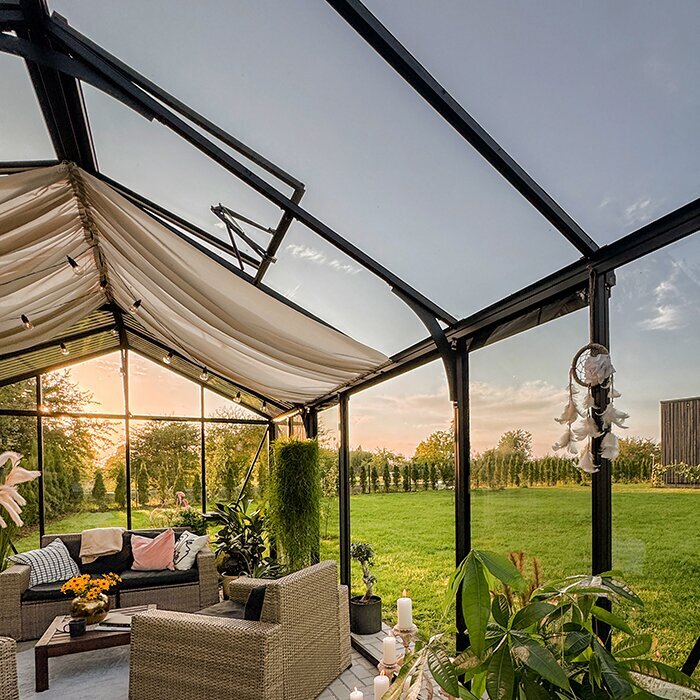
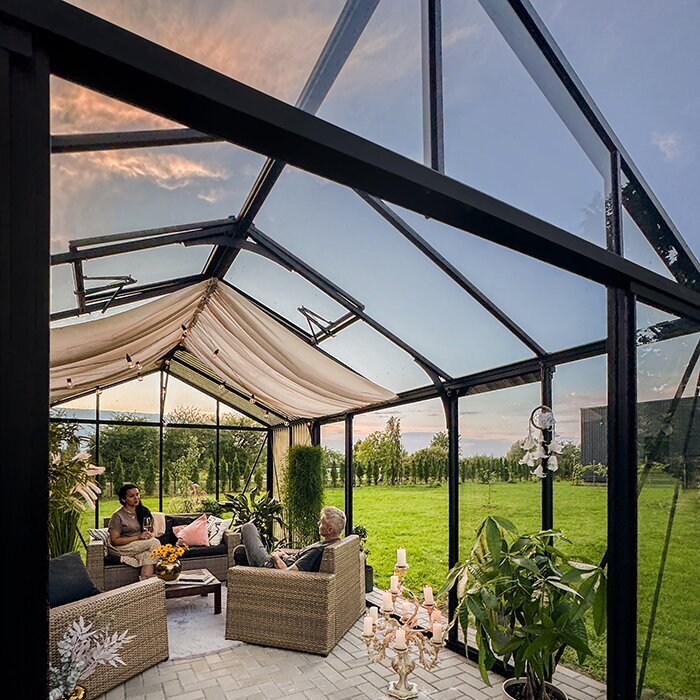
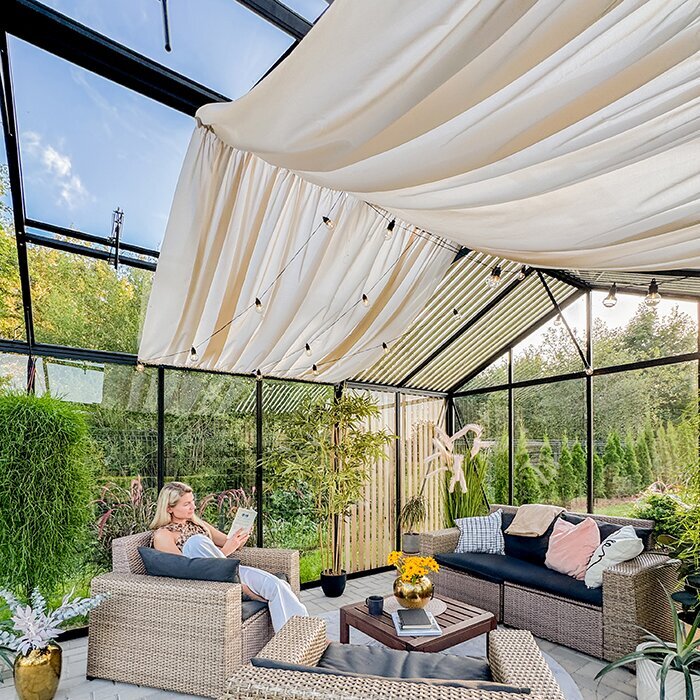
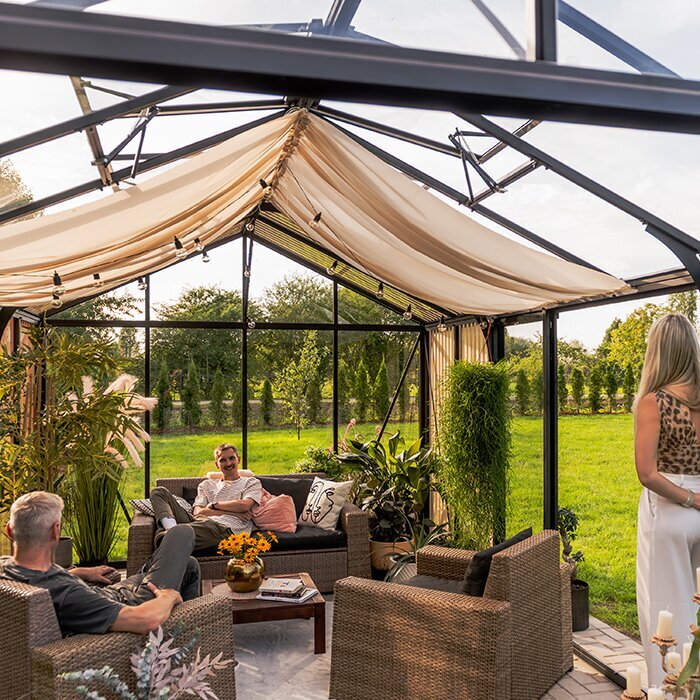
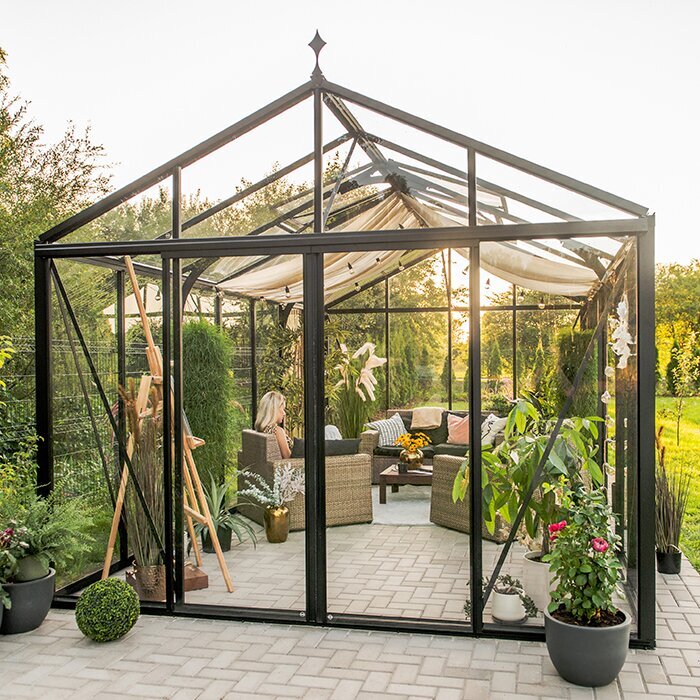
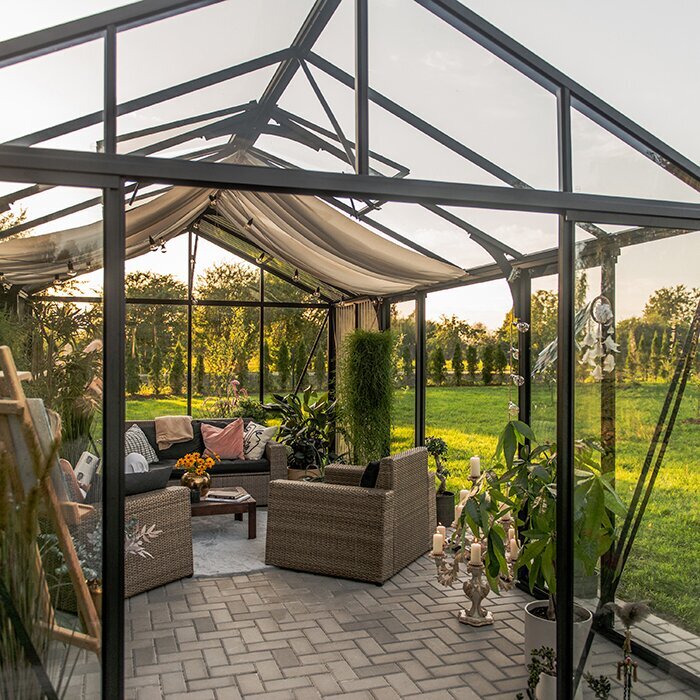
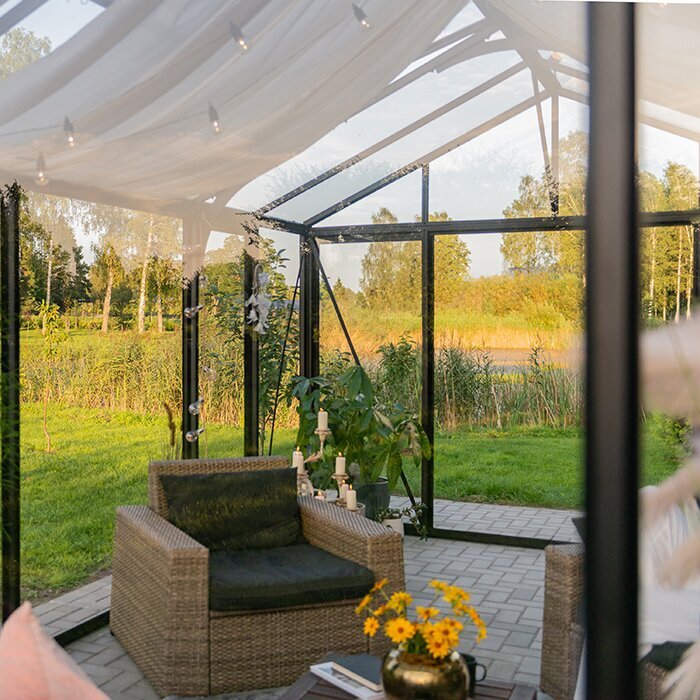
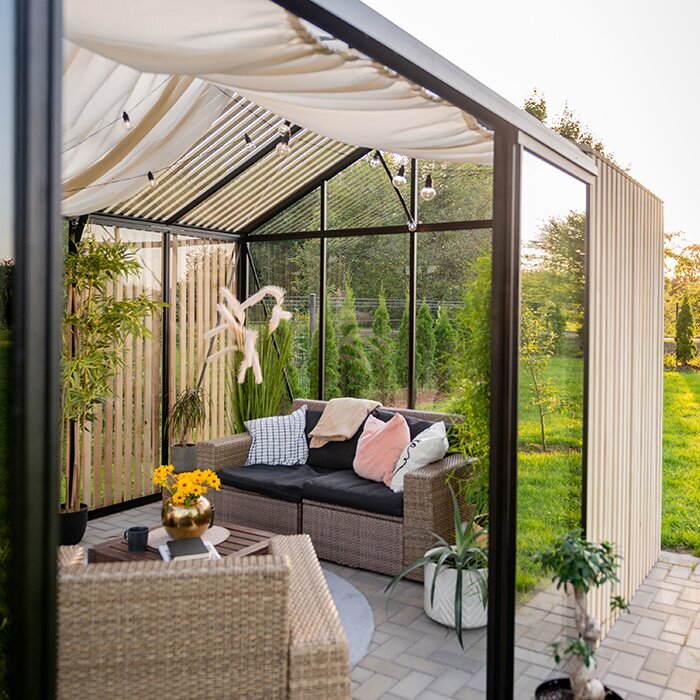
Where the selected size allows, combine a compact chair or table with a defined planting area. Keep seating away from the main aisle and door opening so it does not interfere with watering or moving containers. Choose furnishings that tolerate humid conditions and preserve sufficient light and airflow around the plants.
Site & climate
Plan the site, base, glazing, ventilation, drainage, and access route together. A sunny position may be productive but require more active ventilation in summer, while a sheltered location may receive unwanted shade from the house. Make sure water can leave the surrounding area without eroding the base or flowing toward a building. Resolve these issues before installation.
Hot sites with intense sun
In Arizona, Texas, or inland California, greenhouse temperatures can rise quickly on sites with intense sun. Pay particular attention to roof ventilation, door use, and glazing suited to the orientation. Check afternoon sun, reflected heat from masonry, and nearby surfaces that may intensify conditions. Base the final configuration on what you observe at the property and the needs of the intended plants.
Do not rely on the wood accents to provide meaningful shade. Keep roof vents free to open fully, preserve a clear airflow path beneath them, and prevent plants from obstructing the doorway. If seasonal shading is planned, choose a compatible solution that can be adjusted or removed without interfering with glazing or ventilation.
Plan how the greenhouse will be managed during hot weather and absences. Decide who will operate doors or vents, where sensitive plants can be moved, and how watering will be handled when containers dry more quickly. Movable benches and pots make these adjustments easier, while keeping the integrated drainage paths clear.
Cold-climate sites
Where freeze-thaw cycles occur, the foundation must suit the site so seasonal movement does not affect frame alignment. Follow the applicable installation guidance and consult qualified local professionals when needed. Movement in the base can affect sliding-door operation, glazing fit, and drainage.
Confirm the finished foundation dimensions and levels before assembly. The base must support and anchor the aluminum structure consistently while meeting the approach path without creating an unexpected step or low spot. Coordinate excavation, utilities, paving, and nearby landscape work in advance so later work does not disturb the foundation or direct runoff toward the greenhouse.
Plan the threshold and path for winter use. Snow, ice, leaves, and gravel can obstruct the sliding-door track or hold moisture at the entrance. Keep a practical area available for cleared material and avoid covering drainage points. If a door resists during cold weather, inspect and clear the track before operating it.
Placement near patios and garden paths
A location near a patio or frequently used garden area can make the Accoya details more visible and the greenhouse easier to enjoy throughout the day.
Orient the entrance toward a practical route from the house, potting area, or outdoor water source rather than choosing its position only for appearance.
Avoid placing the entrance where runoff from a roof, patio, or path is likely to collect at the threshold.
Outdoor working clearance
Leave enough room around the accessible sides of the greenhouse for cleaning, inspection, and reaching drainage points.
Dense planting close to the frame may look established quickly, but it can make glazing, wood details, and the base harder to reach. Consider the mature spread of nearby plants and preserve a usable route to the parts of the greenhouse that need routine attention.
Set adjacent bed edges back far enough that routine cultivation does not push loose soil or mulch onto the approach.
Growing & interior
Design the interior around the tasks you perform most often. Draw the benches, main aisle, door opening, large containers, and work area to scale before buying furnishings. Leave enough room to turn while carrying trays and to reach plants without leaning against the glazing. The open interior offers flexibility, but tools and temporary supplies still need an organized place.
Interior benches
Sidewall benches can create an efficient central aisle, provided their depth allows comfortable reach and does not crowd the doorway. Check where bench legs will sit relative to floor drainage and irrigation routes. Freestanding or movable units make cleaning and seasonal rearrangement easier than an interior filled immediately with permanent construction. Select materials suited to regular moisture, soil contact, and repeated washing.
Choose bench height according to the main activity and the people using the greenhouse. Seed starting, potting, and tending mature containers may call for different working positions. If one surface must serve several purposes, test the proposed height with actual trays and pots first. Store heavy items low and lift them with appropriate care; do not create overhead storage that obstructs light, vents, or safe movement.
Leave service access to glazing, vent mechanisms, door tracks, drainage points, and frame connections. A tightly packed greenhouse may appear efficient initially but makes inspection and cleaning difficult. Provide a way to move or remove benches without dismantling the interior. This access is especially useful when washing glazing, checking fasteners, clearing plant debris, or tracing the source of water that is not following the intended drainage route.
Planning around the Accoya details
Treat the Accoya as a finish detail rather than as support for benches, shelves, plant ties, or other interior fittings.
Keep movable furnishings independent of the greenhouse frame so the layout can change without affecting the wood accents.
A clear, uncluttered perimeter also keeps the frame and glazing accessible for inspection and cleaning.
How frame color changes the look
Dark frames clearly outline the glazed panels and emphasize the greenhouse shape.
Softer RAL colors reduce that contrast and place more visual emphasis on the wood and surrounding plants.
Inside the greenhouse, neutral benches and containers keep attention on the plants, while contrasting accessories create a busier appearance. Because these furnishings are easy to change, settle the permanent frame color first and use movable items to test different combinations.
Planning the glazing
Start by identifying the sides where you want the clearest connection between the greenhouse and garden.
Then consider which roof or wall areas need greater privacy or solar control for their particular exposure.
Use mixed glazing only where each panel type has a clear purpose. An overly complicated patchwork can make the greenhouse look unsettled and the order harder to verify. Record the intended panel positions before ordering so the installed arrangement matches the plan.
Plan fixed elements first
Separate choices that are difficult to change from furnishings that can evolve. Settle the foundation, anchoring, door position, glazing, drainage, ventilation, and utility routes early. Benches, pots, plant supports, and compact furniture can remain movable, allowing the interior to adapt to future crops and routines.
Ventilation
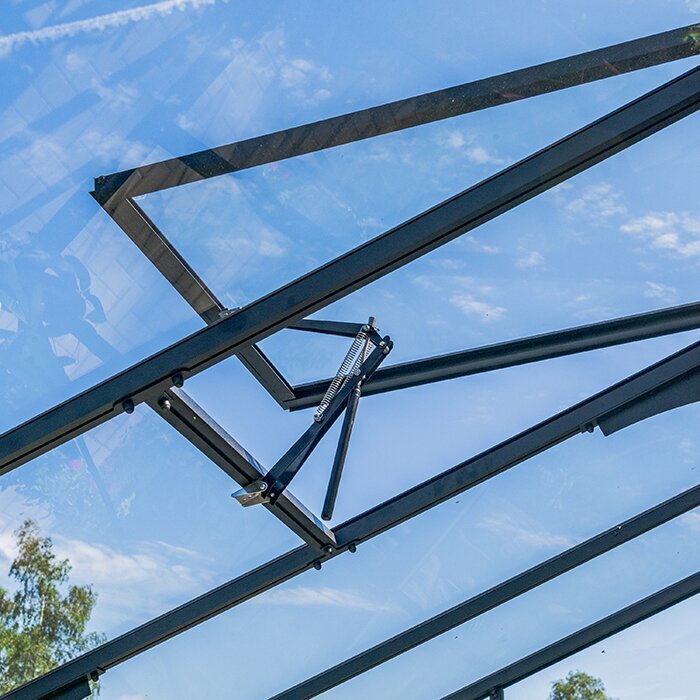
Warm air and moisture naturally collect high in the greenhouse, making roof vents important when outdoor conditions permit their use. Adjust vent operation according to indoor conditions, outdoor weather, and plant needs rather than a fixed calendar date. Inspect opening mechanisms periodically and remove leaves or plant growth that restrict movement. Close and secure vents when conditions require it, following the product guidance.
Arrange tall plants and interior furnishings so they do not obstruct airflow or vent access.
Manual operation suits owners who can check the greenhouse consistently and prefer direct control. Automatic operation can support ventilation when no one is present, but it still requires inspection and does not eliminate the need to monitor plants or doors. Choose between the supported arrangements according to daily routine, seasonal absences, and site exposure. Confirm compatibility before ordering rather than adding an unapproved mechanism later.
Foundation and floor
A flat, stable foundation helps maintain the geometry needed for glazing alignment and smooth sliding-door operation. It must also provide suitable anchoring and remain coordinated with the surrounding grade. Do not use interior furnishings to disguise a base-level problem. Verify the completed foundation before greenhouse assembly, and correct discrepancies at that stage while the working area remains accessible.
Select a floor treatment that can tolerate watering, tracked soil, and regular cleaning while providing secure footing. It should permit water to reach the intended drainage route instead of collecting under benches or against the base. Consider how carts and movable containers will roll across joints or loose surfaces. A practical floor improves everyday use even though it is less visually prominent than the frame, glazing, and Accoya details.
Confirm threshold and finished-floor heights before installing permanent benches or fixtures.
Irrigation
As the greenhouse becomes larger, a loose hose is more likely to obstruct the aisle. Plan where water will enter, how it will reach each growing area, and where it can be shut off quickly. Keep connections visible, protected from impact, and away from the sliding-door track.
A planned drip system can deliver water without leaving a hose across the main route, but it should remain adjustable as containers move or crops change. Group plants with similar watering needs where practical and check emitters rather than assuming every pot receives equal flow. Keep lines away from door tracks, sharp edges, and hot surfaces. Drain or protect the system appropriately when seasonal conditions require it.
Record the route of irrigation lines so they can be found quickly when benches or containers are moved.
Learning from the first growing cycle
Note where condensation appears, where containers dry fastest, and which routes remain easiest to use as plants mature.
Keep benches, pots, and furniture movable while you test the layout under changing conditions.
Add permanent interior fixtures only after their positions have proved useful through a complete growing cycle. This prevents early assumptions about heat, shade, watering, or working space from limiting how the greenhouse can be used later.
Plan the greenhouse and garden together
Choose a size that works for growing and fits comfortably into the garden
Begin with a realistic crop plan and the working space it requires, then test how the proposed greenhouse will appear from the home, patio, driveway, and main garden paths. The smallest footprint that holds plants may not provide a comfortable aisle, while a larger model must still fit the landscape without blocking circulation or important views. Mark the outline on the ground to understand its actual presence.
Consider the view through the greenhouse as well as its exterior appearance. Clear areas may reveal benches, pots, and work surfaces from the house or patio, so place the most orderly growing zones along the most prominent sightlines.
Before delivery, confirm that the base is complete, level, and accessible for installation. Walk the route from the property entrance and check gates, tight turns, overhead obstacles, steps, soft ground, and protected landscaping. Decide where components can be staged without damage and keep the installation area clear for assembly.
Continue planning with Bloomcabin
Find product details, planning advice, ordering help, and warranty information
Common questions
Classic Accoya Fusion Greenhouse – FAQ
Is this a wooden greenhouse?
No. The load-bearing frame is powder-coated aluminum; genuine Accoya is used only as decorative wood detailing. This model combines the structure of an aluminum greenhouse with the warmer appearance of real wood.
What is Accoya?
Accoya is radiata pine modified by acetylation to reduce moisture absorption and improve dimensional stability. It remains genuine wood, with natural texture and variation. On the Classic Accoya Fusion, it is used as exterior detailing alongside the structural aluminum frame.
Will untreated Accoya turn gray?
Yes. Because the Accoya is untreated, outdoor exposure can gradually shift its original tone toward silver gray. Different faces or sheltered areas may weather at different rates. Consider this expected visual evolution when selecting the frame color and surrounding landscape materials.
How should I choose the right greenhouse size?
Start with the plants, benches, containers, and aisle space you expect to need. Mark the proposed footprint on the ground and check access from the entrance to every growing area before selecting a configuration.
Why does the sliding-door position matter?
The door position shapes the main aisle and affects how easily you can move trays, carts, and large containers. Check the approach path, nearby beds, steps, and irrigation lines before finalizing the layout.
What glazing can I choose?
The range includes polycarbonate, tempered glass, and selected specialty glazing, with availability depending on the chosen configuration. Select roof and sidewall glazing according to plant light needs, solar exposure, privacy, and views. Confirm the final panel arrangement before ordering.
How should I choose the frame color?
Compare frame samples outdoors beside the home, paving, fencing, and planting. Consider both the original Accoya tone and the silver-gray appearance it will develop over time.
Does this model include a storage room?
No. The greenhouse interior is left open for growing, potting, seating, or a flexible combination of uses. Plan a separate shed, cabinet, or other suitable location for tools, soil, pots, and supplies.
Configure the Classic Accoya Fusion for your garden
Use your site measurements and growing plan to compare the available configurations. Before ordering, verify that the selected options match the prepared base, intended access, and day-to-day use, then keep the checklist below with your project notes.
Before you configure
✓ Choose the required floor area
✓ Select roof and sidewall glazing
✓ Choose the RAL frame color
✓ Plan for Accoya’s natural weathering
✓ Plan the ventilation and interior layout
✓ Prepare a level, stable base