



Polycarbonate High Tunnel Greenhouse
High Tunnel Greenhouse – durable, flexible growing space for vegetables, young plants and a longer season
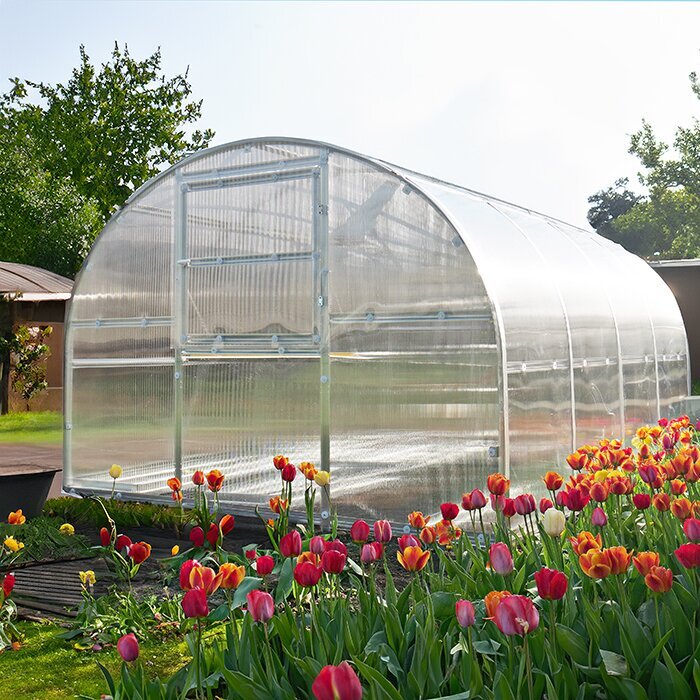
Our Bloomcabin High Tunnel Greenhouse is designed for UK growers who want a generous protected area without relying on lightweight polytunnel film. Its fixed polycarbonate covering, reinforced zinc-coated steel frame and closely spaced arches make it suitable for home gardens, allotments and larger food-growing plots. The useful headroom also makes everyday tasks such as tying in plants, pruning and harvesting easier than under low crop covers.
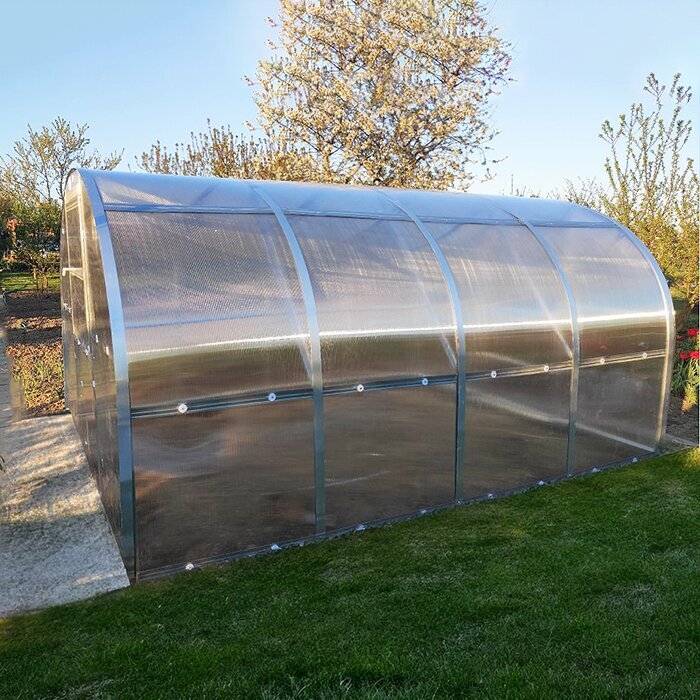
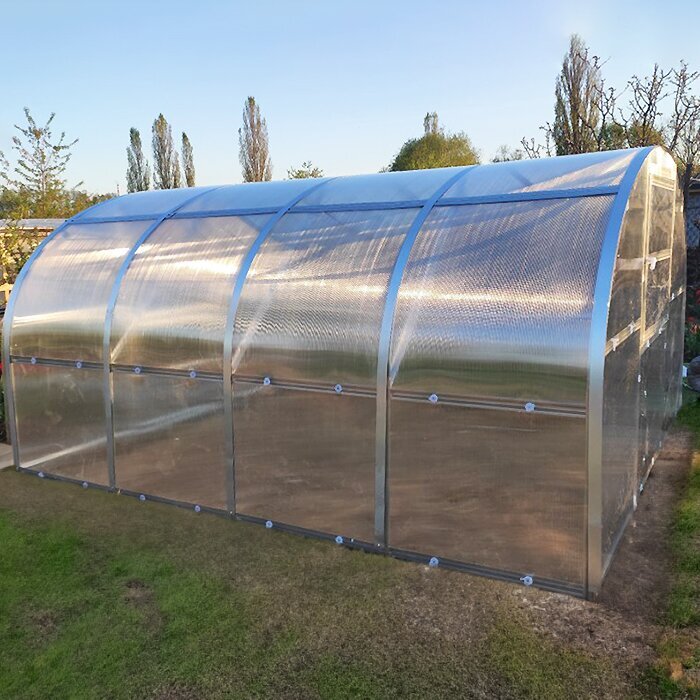
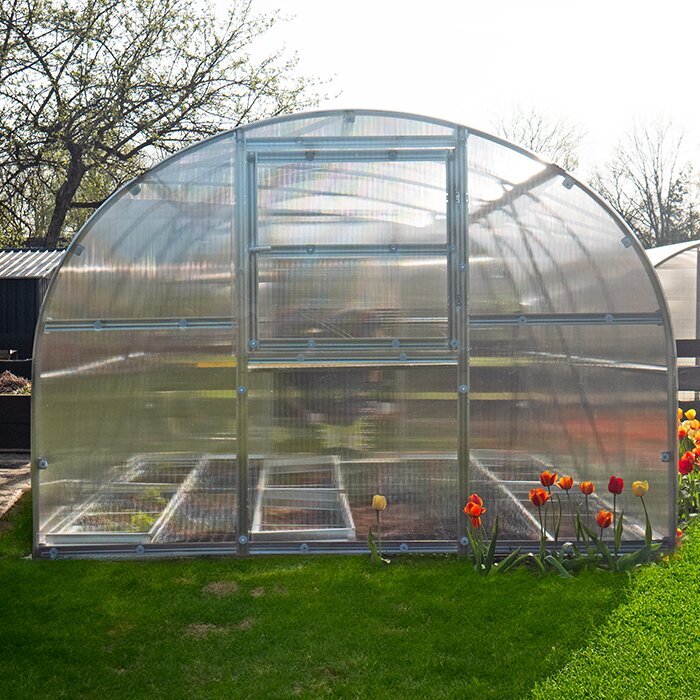
The tunnel is 3 m wide and 2.10 m high. The base length is 4 m and can be extended in 2 m sections. Its Omega-shaped steel profiles are 56 mm wide and 1 mm thick, and the arches are spaced 1 m apart. This regular spacing supports the polycarbonate along the tunnel. As the arches are anchored below ground, the site must be prepared before assembly . Explore our Greenhouses & Conservatories and Useful Information.
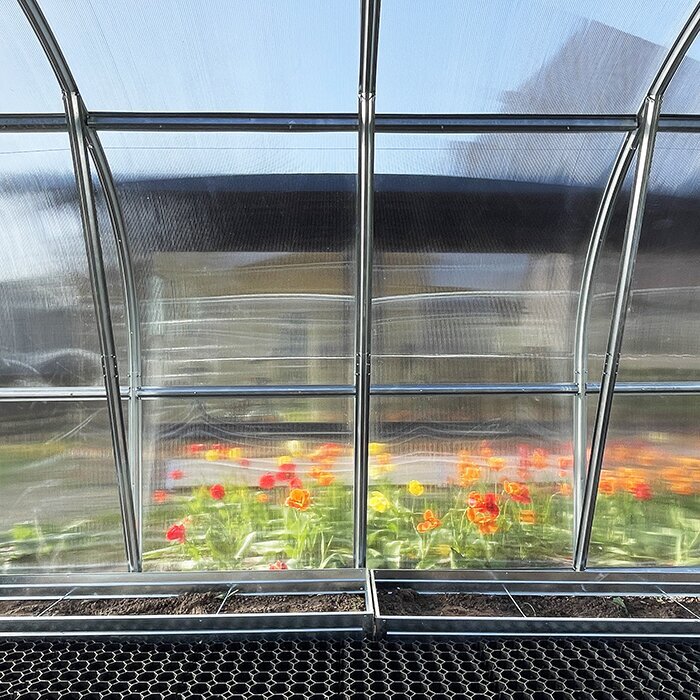
Built around a reinforced steel frame
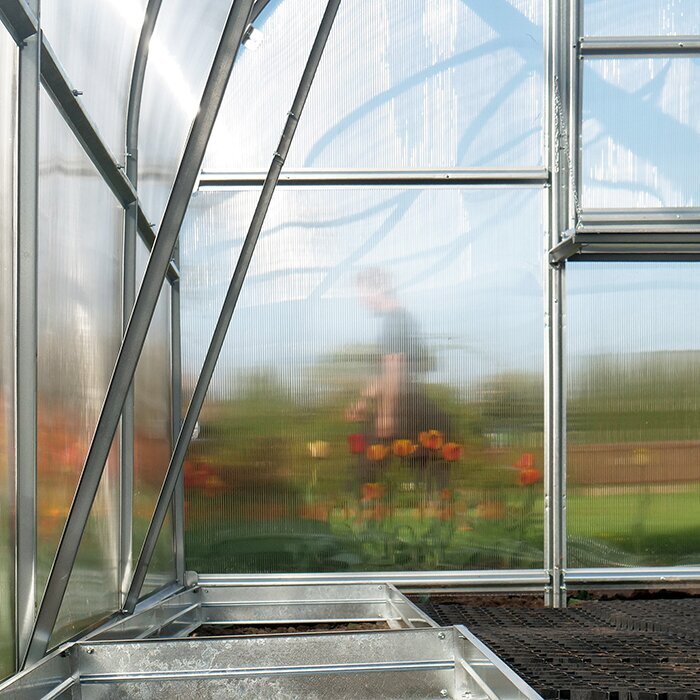
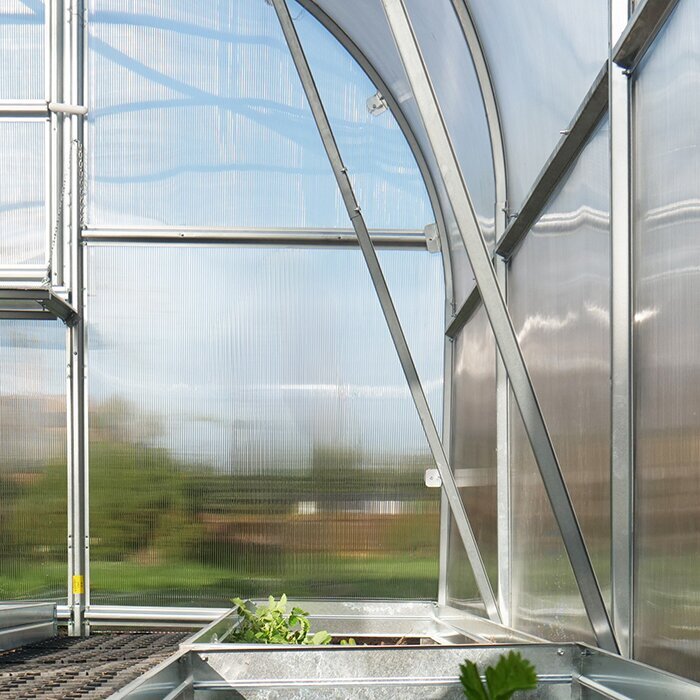
Reinforced Omega profiles, closely spaced arches and in-ground anchoring create a strong, stable frame
The frame is made from zinc-coated steel, providing the rigidity needed to support the polycarbonate covering while helping to protect the steel from corrosion outdoors.
Arches are positioned 1 m apart and include additional reinforcement. This arrangement distributes forces through a larger number of frame members rather than leaving long unsupported spans. During assembly, consistent spacing is important: careful setting out helps the finished tunnel remain straight, keeps the polycarbonate connections aligned and prevents small positioning errors from accumulating along its length.
Each arch extends approximately 35 cm into the ground, so below-ground anchoring is integral to the design rather than an optional finishing detail. Prepare the entire footprint before assembly, identify unsuitable soft spots and make sure every anchoring position can be reached safely. A level reference line is useful even where the surrounding garden has a gentle fall.
Why choose a polycarbonate high tunnel?
A durable alternative to a film polytunnel, with more growing room than many compact garden greenhouses
This model prioritises usable crop space and can be extended as growing needs change. Its 3 m width allows beds to run along either side of a practical central path. Unlike a film-covered polytunnel, it uses rigid polycarbonate panels as a fixed covering. Compare it with a more decorative greenhouse by considering the space required, preferred appearance and importance of future expansion.
Generous width
Its 3 m width and 2.10 m height provide space for beds, paths and tall crops.
Modular length
Start at 4 m and extend the structure in practical 2 m sections.
High snow-load capacity
The reinforced structure is rated for a snow load of up to 210 kg/m² and wind speeds of up to 30 m/s.
6 mm polycarbonate
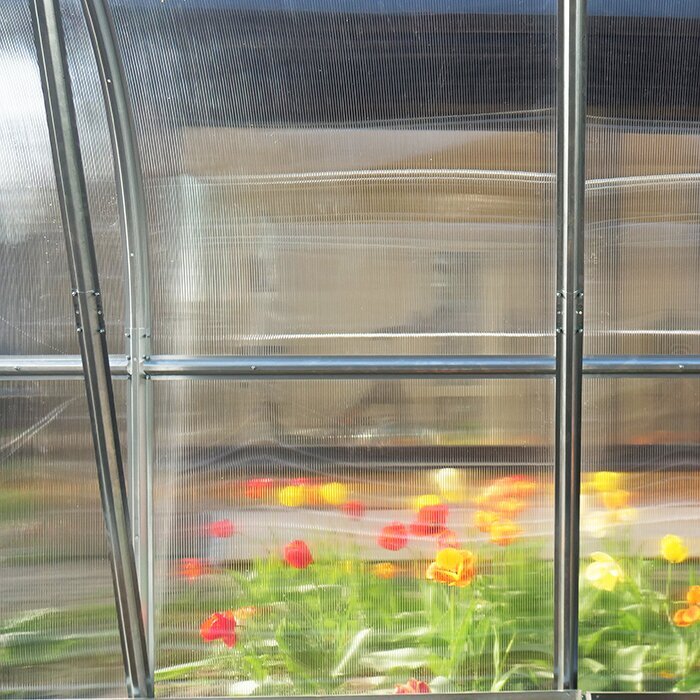
The 6 mm, UV-protected polycarbonate provides a rigid covering designed for long-term outdoor use.
6 mm polycarbonate covering
How the polycarbonate covering affects watering, heat and humidity
The 6 mm polycarbonate panels transmit daylight and keep direct rain off crops. This affects everyday growing conditions: the beds depend on irrigation, warm air can build quickly in sunshine, and ventilation is needed to release excess heat and condensation before humid air lingers around the plants.
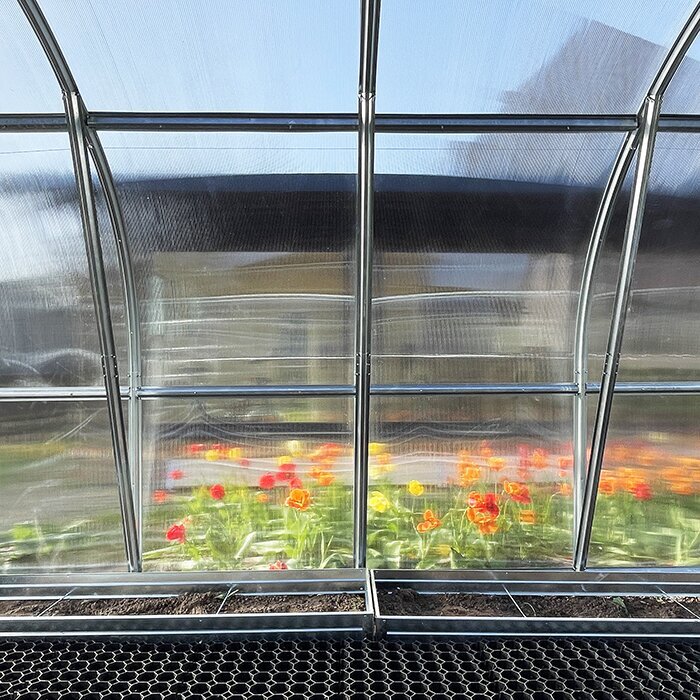
M5 fasteners and D40 plastic tabs secure the panels to the steel frame. Install each component in the specified position and inspect the fixings periodically. If a panel does not sit correctly, check the frame alignment rather than forcing it into place or overtightening the fixings.
The greenhouse comes with a 12-year warranty, subject to the applicable product terms. Its polycarbonate is UV protected for sustained outdoor use, although regular cleaning and inspection are still recommended.
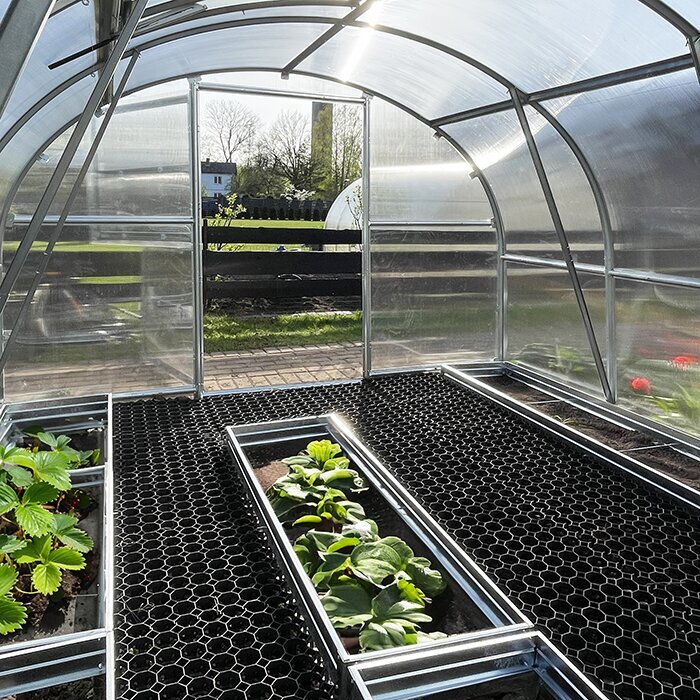
UK specifications
Bloomcabin High Tunnel Greenhouse specifications
Width: 3.00 m.
Height: 2.10 m.
Length: base model 4 m, extendable in 2 m sections.
Frame: zinc-coated steel, 1 mm thick.
Profile: Omega-shaped profile, 56 mm wide.
Arch spacing: 1 m.
Panel fixings: M5 fasteners with D40 plastic tabs.
Ground anchoring: approximately 35 cm of every arch is set below ground level.
Covering: 6 mm polycarbonate with UV protection.
Access: one front door.
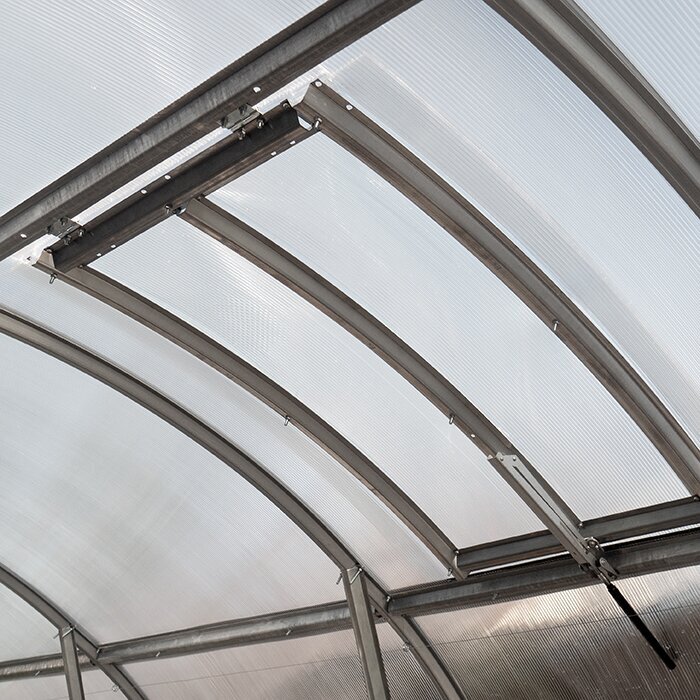
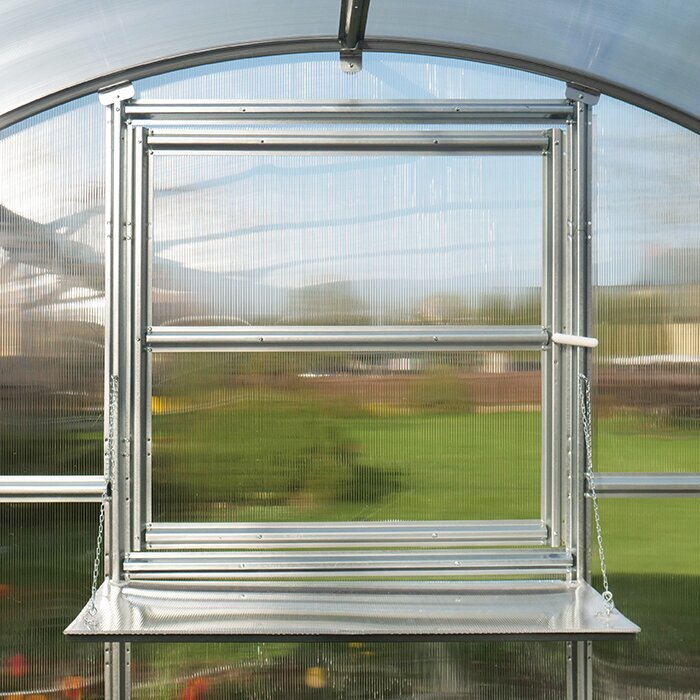
Ventilation: 2 side windows for airflow and temperature control.
Routine checks: inspect the panel fixings, door hardware, side windows and visible frame at regular intervals and after severe weather.
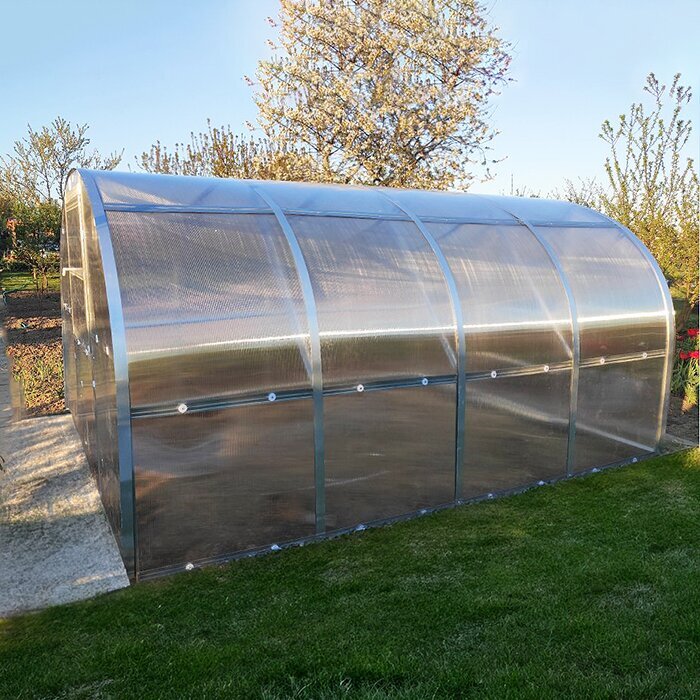
Access and ventilation
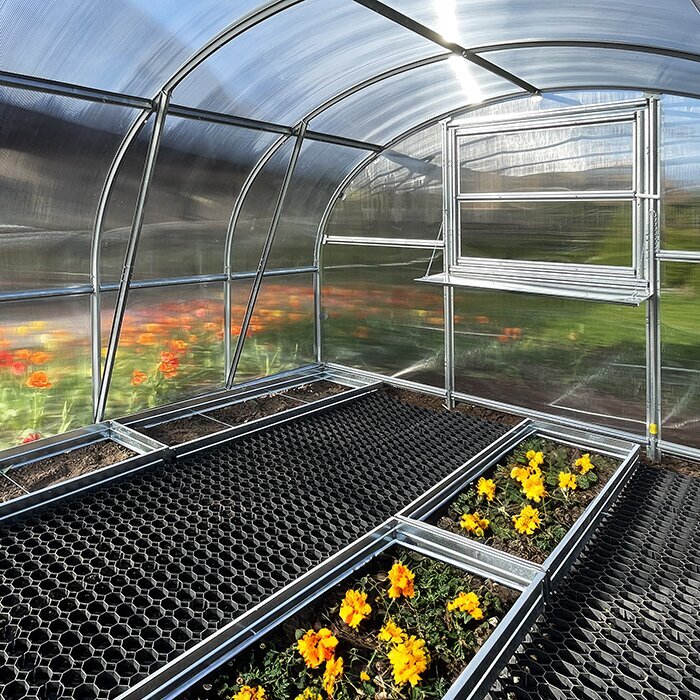
One front door for access and two side windows for adjustable ventilation
Plan crop supports, strings and canes before planting so they do not obstruct the front door or central path. Keeping the main route clear makes it easier to move watering equipment, plant trays and harvest baskets through the greenhouse.
Two side windows provide additional airflow. They should remain reachable after beds and supports are installed, because ventilation often needs adjusting quickly on bright days. Avoid placing tall staging, dense foliage or stored materials directly across the openings. Air must be able to enter the crop zone rather than circulating only above it.
Ventilation decisions should respond to conditions inside the tunnel, not simply the outdoor temperature. Open the side windows when heat or condensation begins to build, then adjust them as conditions change. On cooler days, shorter ventilation periods may be enough to release humid air after watering without unnecessarily losing all accumulated warmth.
Four practical growing uses
Four ways to use the growing space through the season
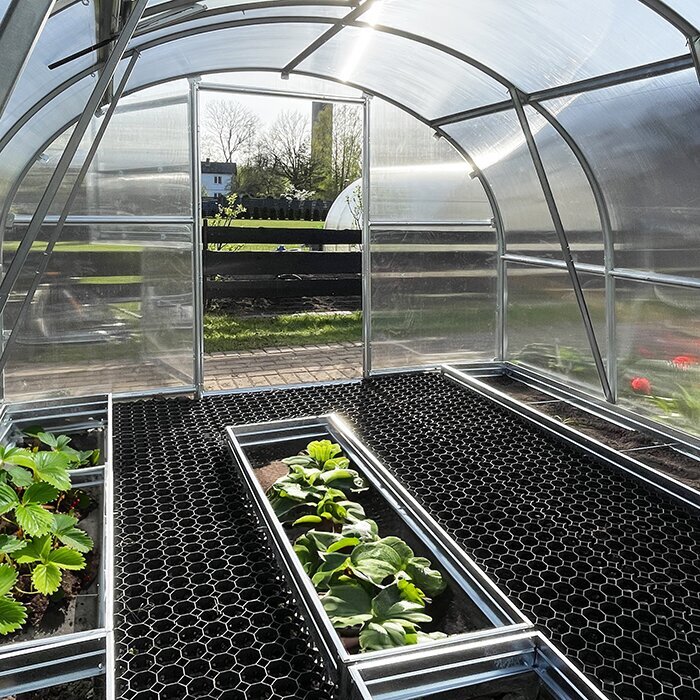
The generous width, modular length and working height allow the interior to support several distinct growing plans. A single central path with beds on both sides gives direct access to most plants, while narrower side paths may suit growers who prefer several rows. Set bed widths according to comfortable reach so routine picking and weeding do not require stepping onto cultivated soil.
Tomatoes & cucumbers
Use the height for trained tomatoes, cucumbers or gherkins, while leaving enough space between rows for pruning and harvesting. Position the tallest crops so their mature canopy does not shade shorter plants, and keep vigorous growth clear of the side windows. Supports are easiest to organise before plants become established.
Early propagation
Use part of the protected area for seed trays and young plants while outdoor beds are still cold or exposed. Propagation within an unheated tunnel must still follow the needs of each crop; protection from rain and wind does not guarantee frost-free conditions. Keep trays accessible for watering, turning and inspection rather than crowding them behind permanent rows.
Vegetable production
Plan productive beds around a route wide enough for regular maintenance and harvesting. Group crops with broadly compatible watering needs where possible, and leave access to both ends of long rows. Permanent bed edges can make the layout clear, but they should not interfere with frame inspection or trap standing water beside the structure.
Flexible growing zones
Divide the interior into clearly defined areas when crops need different treatment. One section might hold established summer plants while another is used for young plants, follow-on sowings or crops with different watering needs. A planned layout makes it easier to adjust irrigation and maintain access as the season progresses.
Plan before installation
Choose the site, prepare the ground and plan access before assembling the frame
Choose a reasonably level position with good light and enough clearance from trees, walls, hedges and other obstructions. Check the proposed site at different times of day, as low winter sun and summer foliage can create shade that is not obvious during a single visit. Leave room outside to clean the panels and reach the fixings without entering a neighbour's plot or squeezing through a narrow gap.
Because each arch is anchored approximately 35 cm into the ground, confirm that the soil is suitable and check for buried services, old foundations, large roots or drainage obstructions before installation. Mark the complete footprint and anchoring line first. If the site slopes, resolve the level difference during preparation instead of allowing the assembled frame to twist across uneven ground.
Before selecting the final length, consider how the components, compost, plants and tools will reach the site. Check narrow gates, sharp corners and shared paths, then leave useful working and turning room near the front door rather than filling the entire interior with beds.
For more planning and ordering guidance, see our Useful Information.
High tunnel or classic greenhouse?
Should you choose a high tunnel or a classic aluminium greenhouse?
A classic aluminium greenhouse often offers more choice of colour, glazing and overall appearance, which may help it blend into a landscaped or formal garden. Straighter side walls can also work well with shelving and staging around the perimeter, especially for ornamental plants and collections grown in pots.
The High Tunnel focuses instead on productive growing area and the option to add more length. Its curved shape suits rows of vegetables and trained crops, while storage and staging need to be positioned carefully so they do not narrow the main path or block airflow from the side windows.
Choose the High Tunnel when crop capacity, long beds and future expansion are the main priorities. A classic greenhouse may suit you better if appearance, colour choice or extensive perimeter staging matters more. Sketch the intended beds, paths and work areas before comparing floor sizes, as practical access is just as important as the overall footprint.
Growing in the UK
Make the most of shelter from rain and wind while managing heat and humidity
In many UK gardens, a rigid high tunnel offers more than extra warmth. It keeps persistent rain off crops and shelters tall trained plants from direct wind. Those benefits require active management: rainfall no longer reaches the beds, and temperatures can rise quickly in sunshine even when it feels mild outside.
Growing conditions vary widely across the UK, so base sowing and planting dates on the actual site rather than a single national calendar. Light levels, soil temperature, elevation and exposure can differ even between nearby plots. Brief seasonal notes will help you refine timings from one year to the next.
Use the protected area for crops that gain a clear advantage from shelter, extra warmth or control over leaf wetting. Hardy vegetables that thrive outdoors can remain in open beds, leaving tunnel space for tender plants, propagation and carefully timed follow-on crops. This also limits crowding and makes watering, inspection and airflow easier to manage.
Drainage first
Prepare a stable, well-drained installation area before erecting the frame
The installation area should not form a basin where roof runoff or water from surrounding ground collects beside the anchored arches. Watch the site during sustained rain before committing to it, noting the direction of surface flow and any places where puddles remain. Drainage work should carry water to an appropriate part of the plot without transferring the problem to neighbouring land or paths.
On heavy clay or a plot prone to winter waterlogging, improve the surrounding ground before installation rather than expecting the greenhouse to correct it. Raised beds can provide better rooting conditions for crops, but they do not stabilise saturated soil around the frame. Keep bed edging and imported soil away from components that must remain visible for inspection.
Complete any drainage improvements before marking the anchoring positions. Later excavation close to the arches could disturb the prepared soil around the frame, so surface-water routes and bed edges should be settled before assembly begins.
Wind exposure
Plan carefully for exposed coastal and open allotment sites
Wind can be a bigger challenge than snow in many parts of the UK. Exposed coastal gardens, open fields and allotments may experience repeated gusts that put doors, vents and panel fixings under regular stress.
Avoid obvious wind funnels between buildings, solid fences or dense hedges. Some well-positioned shelter can reduce exposure, but placing the tunnel tightly against a barrier may create turbulence, shade the glazing and prevent maintenance access. Consider the prevailing direction of severe weather alongside sunlight and drainage, then orient the entrance so routine use remains practical.
After strong storms, inspect the door alignment, window hardware, polycarbonate fixings and visible parts of the frame. Walk around the full exterior rather than checking only from the entrance, and look for movement, loose components or debris rubbing against the covering. Addressing a minor fault promptly can prevent repeated wind action from making it worse.
Tomatoes under cover
Keep rain off tomato foliage without trapping humid air
Tomatoes are a popular choice for protected growing in the UK because the roof keeps repeated rainfall off their leaves and fruit. To retain that benefit, humid air must still be allowed to escape.
Open the side windows whenever conditions permit, particularly after watering and during warm spells. Good spacing and removal of excessive lower foliage can also improve air movement within dense tomato rows.
Gherkins, cucumbers, peppers and chillies can share the protected space, but taller crops should be arranged so they do not shade every lower plant as summer progresses.
Spring and autumn
Make the protected area productive before and after the main summer crop
A high tunnel can support salads, herbs, radishes, young brassicas and propagation trays before tender summer crops take over. This is particularly useful when outdoor soil is wet or cold but daylight is improving.
At the end of summer, fast-growing greens can return to cleared sections. The tunnel does not create winter daylight, so expectations should remain realistic as days shorten, but protection can still extend useful harvest windows.
Prepare a simple succession plan before the season starts. Record when early trays should leave, where summer crops will be planted and which cleared sections can take autumn sowings. This avoids having young plants occupy beds needed for permanent crops and makes compost preparation, support installation and irrigation changes easier to schedule.
Watering under polycarbonate
Rainy weather outside can still mean dry soil inside
It is easy to underestimate irrigation in a wet British summer because outdoor beds may be saturated while the tunnel soil remains comparatively dry. The roof deliberately prevents rainfall from reaching the crop rows.
Drip irrigation or a seep hose can direct water towards roots without repeatedly wetting foliage. Whatever method is chosen, check the soil itself instead of watering by habit; exposed bed edges, containers and dense mature crops may dry at different rates. Morning watering gives surplus humidity more opportunity to escape through the side windows during daylight.
Rainwater collection can be useful, but tanks and hoses must not obstruct the entrance, cast permanent shade on crops or cause overflow around the installation area. Longer tunnel configurations can be divided into watering zones so propagation trays, established tomatoes and newly planted rows can receive different amounts without repeatedly moving equipment.
Allotment planning
Check allotment and property rules before choosing a position
A high tunnel can work well on a productive allotment, but individual sites may have rules covering structures, dimensions, anchoring, materials or appearance. Check the rules and obtain any required approval before ordering or preparing the ground. Make sure access routes can accommodate the components and find out whether assembly work is restricted on shared paths or at particular times.
For a private garden, check any restrictions relating to the property, tenancy or boundaries before marking out the base. This is especially important near shared access, drainage routes or locations where the structure could affect a neighbouring property.
Where space is limited, retain a workable route around the main cleaning and maintenance points. Placing the greenhouse tight against a fence may appear to maximise the growing area but can leave no practical way to wash the panels, remove debris or tighten a fixing. Include this clearance when deciding whether the base model or an extended version will fit.
Winter maintenance
Use quieter months to inspect the shell, clean panels and prepare beds
After the main season, remove dead plants, fallen fruit, used ties and damaged supports. Clear material from corners and around bed edges rather than leaving it beneath staging, as concealed debris can harbour pests and make leaks or loose components harder to notice. Wash reusable pots and supports before returning them to the growing area.
Clean the glazing using products and tools suitable for polycarbonate; abrasive pads or unsuitable chemicals may damage the surface. Begin by rinsing away loose grit, then work methodically so dirt is not dragged across the panels. During the same maintenance session, inspect M5 fasteners, D40 tabs, door hardware and side-window operation.
After snowfall, check for uneven build-up, wet snow and drifting rather than relying only on the stated structural capacity. Do not strike or scrape the polycarbonate with a hard tool. Once the weather has settled, inspect the complete structure for debris, blocked openings, loose components or changes in alignment.
Choosing the length
Choose extra sections only when you have a clear use for them
The 4 m base model can accommodate several productive rows while remaining manageable in many gardens. Add a 2 m module only for a defined purpose, such as a dedicated propagation area, extra summer crop rows or a planned succession bed. Additional space without a clear role still requires watering, cleaning and seasonal preparation.
Before extending, test the proposed layout on paper. Check that irrigation reaches the far end, paths remain unobstructed and crop rotation does not repeatedly place the same plant family in one confined bed. A longer structure can increase walking and hose management, so divide it into logical working zones rather than treating the interior as one continuous planting strip.
If you may expand the tunnel later, keep the extension end free from sheds, trees, compost bays, retaining edges and paving that would obstruct another module. Allow enough clear space beyond the footprint to carry and position the additional frame and panels during assembly.
Frequently asked questions
FAQ – Bloomcabin High Tunnel Greenhouse
How should I arrange the beds and paths?
A central path with beds on both sides provides straightforward access for watering, weeding and harvesting. Set the bed widths according to how far you can reach comfortably without stepping onto the cultivated soil.
What should I consider before extending the tunnel?
Check that irrigation will reach the far end, paths will remain clear and the additional area has a defined growing purpose. You will also need enough unobstructed space beyond the extension end for assembly.
What should I inspect after severe weather?
Test the door and side windows, then examine the panel fixings and exposed frame members from every side. Look for movement, loosened components or trapped debris, including in areas away from the entrance.
What should I check before anchoring the frame?
Before marking the anchoring points, assess soil suitability across the full footprint and identify any underground services, foundation remnants, large roots or obstructions that could affect drainage.
How should I clean the polycarbonate?
Rinse away loose grit first, then use products and tools suitable for polycarbonate. Avoid abrasive pads and unsuitable chemicals that could damage the panels.
How can I control heat and condensation?
Keep both side windows accessible and open them when heat or condensation begins to build. Adjust the airflow as conditions change rather than relying only on the outdoor temperature.
Will rainwater reach the beds inside?
No. The polycarbonate covering keeps direct rainfall off the beds, so irrigation must be planned and the soil checked regularly rather than watered by habit.
Bloomcabin High Tunnel Greenhouse
Choose a length and layout that suit your crops, access and future plans
Map out the beds, paths, supports and watering zones before deciding on the tunnel length. Keep the door and side windows unobstructed, and leave enough room outside for assembly, inspection and cleaning. If later expansion is likely, preserve a clear route at the extension end from the outset.
Compare this model with the rest of our Greenhouses & Conservatories.
Before you order
✓ Choose a total length that matches a specific crop plan
✓ Confirm good light, effective drainage, reasonably level ground and room to work around the outside
✓ Mark the full footprint and every anchoring point before assembly
✓ Set out beds, supports and an unobstructed working path
✓ Provide irrigation for every planting zone
✓ Keep the door and both side windows fully accessible
Plan your high tunnel