
How Much Clear Space Should You Leave Around a Garden Shed?
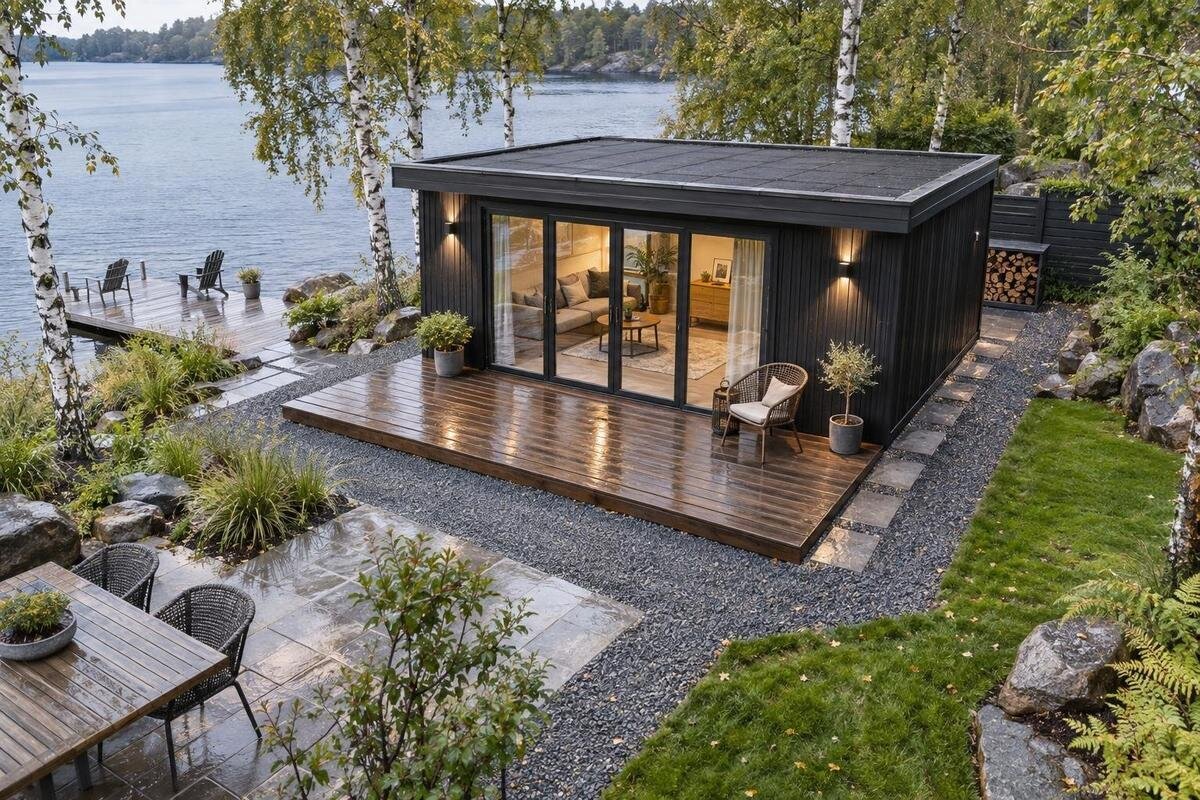
Garden shed planning
Planning clear space around a garden shed is about more than leaving a strip of lawn beside its walls. The shed has to fit on its base, but you also need a practical route to the entrance, room to move the items you store and access for any routine inspection or upkeep. The right allowance depends on the model’s full outside dimensions, its openings, the equipment you use and the work you expect to do. This guide shows how to work that out, mark the space on the ground and keep physical access separate from local site requirements. Measure the available area before ordering rather than relying on a photograph or floor-area figure.
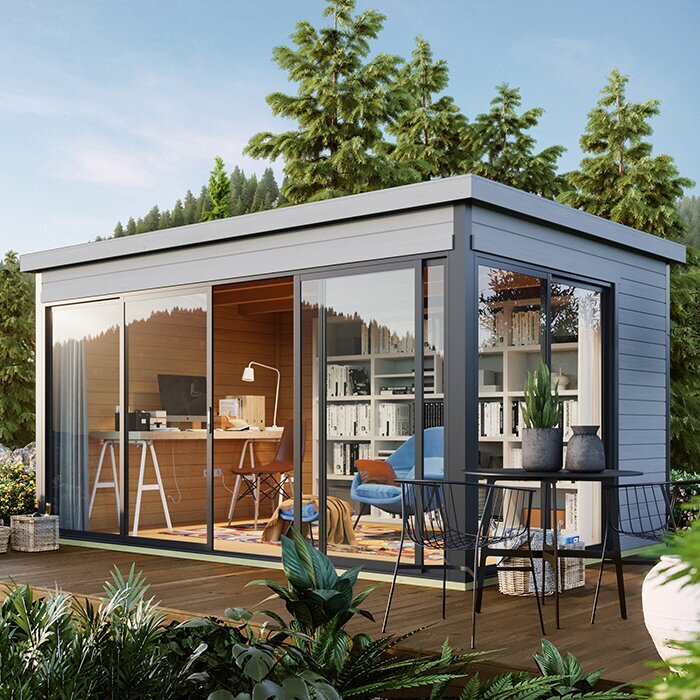
01
How much clearance does a garden shed need?
There is no single number that suits every garden shed. The useful gap depends on what has to happen around it: occasional entry to collect a spade needs less working room than routinely wheeling a mower in and out, opening doors or reaching an outside wall for care. The building’s outside shape, door arrangement, roof edge and the condition of the site all affect the usable area. A published footprint tells you how much ground the base occupies; it does not automatically show the full space needed to use or maintain the building. Treat garden shed clearance as usable space attached to the structure, not as a standard band measured from every wall.
Decide what each side needs to do before setting a number. One side may carry the main route, another may need room for an open door, while a wall that requires inspection needs to remain reachable. Write down the task, the person or equipment needed, and how often it occurs. This turns a vague allowance into a test you can check on the ground. A listing such as the Verdana 1 garden shed listing can be one candidate for that exercise, but its name or photograph is not a clearance measurement; use the exact configuration’s dimensions and installation guidance.
Measure the full outside dimensions
Start with the dimensions for the exact model and configuration you are considering, not an internal room size or a headline floor-area figure. Read what each measurement describes: the base, wall line and overall outside size may refer to different edges. For site-fit planning, you need the exterior outline, and you may need to account separately for any listed projection beyond it. Check the length and width against the direction you expect the entrance to face; turning a rectangular building changes which side has room. If the dimension labels are unclear, ask for a dimensioned drawing before using them to set out the site.
Put the outside outline on a top-down plan, then add a separate line for any projection shown in the product information. Mark the entrance and the openings you plan to use. Check the measurements against the site’s narrowest points, not just its total area: a long, narrow space can have plenty of area on paper but no workable turn. Do not scale a photograph or assume similarly named versions share dimensions. When reviewing the Verdana 2 garden shed page, use information for the exact version you are considering; if it is incomplete, ask for clarification rather than estimating.
02
Allow a usable route to the entrance
Map the route from the point where you normally enter the garden to the shed, including gates, paths, turns and steps. Measure the widest item you plan to carry or wheel in; its handles may be wider than its body. Allow room for your hands and for steering, not just the item’s stated width. For a long object such as a ladder or a piece of timber, consider its length as well: it may need to be angled through the entrance. A clear straight strip can look generous on a plan but still fail at a tight corner or when an object has to be turned.
Try the route with the actual mower, wheelbarrow, bins or storage boxes you expect to use, if practical. Otherwise, use their measured dimensions to make a simple full-size outline. Leave room outside the doorway to pause, turn or set something down without blocking the path. Check the route with the door open, rather than counting the doorway itself as all the working space. Compare the entrance information for a candidate such as the Durano garden shed listing with your planned route, and confirm the details for the configuration you intend to order.
Account for doors and other moving parts
A door uses space on the side where it opens. For a hinged door, draw its full swing and leave standing room to pull or push it; an outward-opening door may block a narrow path. A sliding door may need a clear run along its track, while folding panels can need room both to move and to be operated. These arrangements create different space needs, so do not estimate from the shed’s overall width alone. Mark the opening in its fully open position, then check that a person and the item being carried can pass without colliding with a wall, fence, post or stored tool. Include the handle if it projects into the route.
Check what is included in the exact version and how its doors or windows are intended to operate. A staged photo may not show how far a panel travels or whether an optional arrangement changes the opening. If you plan to open a window or vent for access or cleaning, allow room to reach it as well as space for it to move. Do not rely on reaching over an obstacle as a substitute for a workable route. When reviewing the Veltor 1 product page, confirm the opening details for the selected configuration and mark the movement on your site sketch.
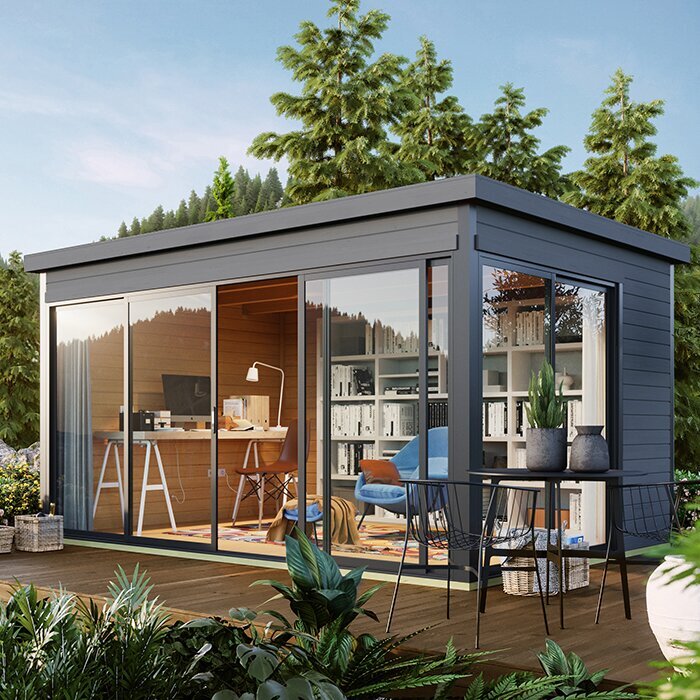
03
Leave room for planned maintenance
Think through routine upkeep before placing a shed against a fence, hedge or another structure. Depending on the building and its care instructions, tasks might include checking the exterior, cleaning around the base, touching up a finish, clearing debris from a roof edge or reaching fixings. You may not need a broad walking lane for every occasional task, but you do need a workable way to get the right person and tool to the area. List the jobs you expect to do and check what the installation or maintenance information requires. If a task needs a tradesperson, ask what access they will need rather than assuming it can be done from a distance.
Maintenance access can differ from one side to another. The side with a door may already have a regular route; the rear may only need an occasional inspection; another side could need more room for a particular task. Record those differences instead of automatically allowing an identical strip around the whole building. If a wall would be impossible to reach once the shed is in place, decide whether that layout is acceptable and check any manufacturer or installer requirements. Use the Orello 1 garden shed listing to identify a model you are considering; its name alone does not establish how much room its care will require.
Include roof edges and water management
The base outline may not be the outermost part to consider. Depending on the model, roof edges, eaves, gutters, steps or other fitted parts may project beyond it. Check the dimensioned information for those details instead of using the base alone. Your plan should show where the structure sits and where any projection reaches. This matters beside a path, fence or other fixed object, where an overhanging part could take up space you had counted as a route or working gap. If a drawing gives a separate overall dimension, check what it includes; ask if the labels are unclear.
Consider where water will go and whether the surrounding space will remain practical in wet weather. A narrow strip that traps debris, becomes muddy or cannot be reached for cleaning may be inconvenient, but leaving a wider gap does not by itself solve a drainage issue. Follow the building guidance and assess the particular site; seek suitable professional advice where levels or drainage are uncertain. For the Modano 1 product page, as with any candidate, look for or request the outer profile and relevant installation details for the exact version rather than inferring the roof edge from a photograph.
04
Keep the access route usable
An allowance only works if it stays clear after the shed is in use. Decide where bins, pots, hoses, bikes, the mower and temporary garden jobs will go; otherwise they can end up occupying the route or the space needed to open a door. Mark a no-storage strip on your plan and check that it still leaves room for ordinary movement. If the approach crosses lawn or soft ground, consider how it will work after rain and whether you need a defined path. The aim is not a particular surface specification, but a route you can use without squeezing past obstacles or carrying items through planted areas.
Think about regular use as well as the day the shed arrives. A tool used every week needs a straightforward route; an item brought out only occasionally may be stored elsewhere if there is no practical way to move it through the planned gap. Keep access for the cleaning and inspections you have identified, and avoid letting later additions turn a usable clearance into an inaccessible slot. When considering the timber garden shed M listing, compare the information for the exact model with your everyday access needs; the product name does not tell you how well your route will work.
Mark the site before ordering
Once you have dimensions and a task list, mark the layout at full size before committing to an order. Use chalk, rope, cones or another temporary marker to show the outside outline, any projection, the doorway and the working areas. Walk the route in both directions and mark the door swing; a simple test can reveal a gate or corner that a paper drawing hides. Stand where you would need to clean or inspect the sides and consider whether you can reach them without moving a fixed obstacle. Take notes or photos of your markings for comparison, but do not rely on a product image to judge fit.
Test the route with the bulkiest item and the person who will use the shed. A path that works for someone walking empty-handed may not work for someone carrying tools. Check the space to turn and set items down, then remeasure the narrowest point between fixed obstacles. Keep delivery and assembly access separate from everyday use: access needed to bring components to the site may differ from the space you need once the shed is assembled. Ask the seller or installer what access their process requires. For the wooden garden shed S product page, use measurements for the exact version in the same full-size test.
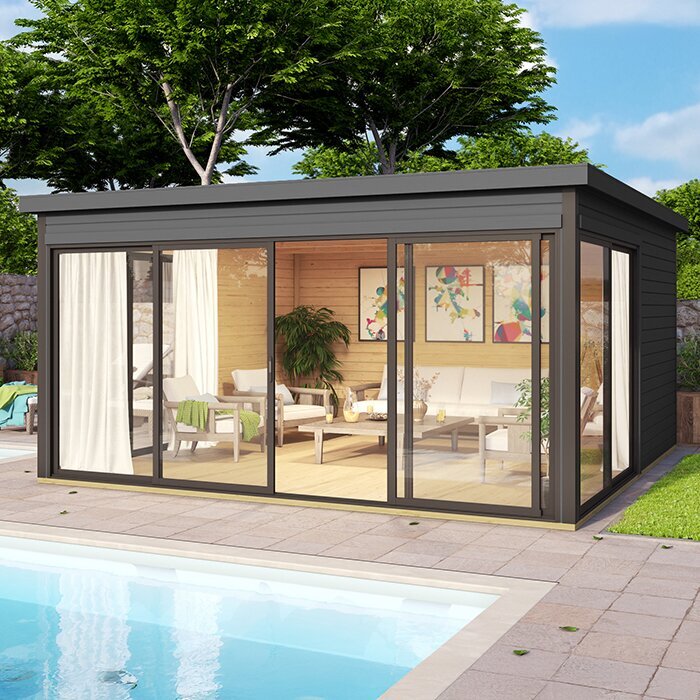
05
Check site restrictions and services separately
Physical clearance and permission to place a building are separate questions. A gap that makes maintenance possible does not automatically meet any applicable site requirement, and a position that meets a requirement may still be awkward to use. Before fixing the location, check what applies to your property with the local council and review any relevant property, lease or body-corporate conditions. This matters particularly if the shed would be close to a boundary or another structure. The checks depend on your circumstances, so do not use a general clearance guide as a substitute for confirming them.
Look beyond the shed walls for things that must remain accessible, such as service covers, drains, meters or routes used by other people. If buried services, overhead constraints or drainage are uncertain, do not guess from what is visible at the surface; check relevant records and get advice from a suitably qualified person before work begins. Mark these points on your plan so they are considered alongside the shed and access route. A clear strip is useful only if it does not block another necessary access point or make later work difficult.
Compare the complete layout with your garden
Bring the measurements together in a simple schedule: the shed’s outside outline, any projection, the clear width of the route, the space used by an open door and the areas needed for maintenance. Note each side separately and whether it needs regular passage, occasional access or room for a planned task. Assess the narrowest point, not the average gap around the building. If the installation guidance calls for access beyond what you have allowed, resolve that before purchase. If product information is incomplete, ask for a dimensioned drawing or clarification rather than filling in the gaps with assumptions.
Compare that complete layout with the space available, including gates, paths and fixed obstacles. If it does not fit, you could test a different orientation, change which way the entrance faces, consider a different footprint or look at another site. Check any revised plan against the same access and maintenance needs. Do not reduce clearance simply to make the outline fit if the result leaves a door unusable or an essential surface unreachable. The useful allowance is the space that supports your intended access and upkeep while also meeting the relevant installation requirements.
Frequently asked questions
Is there a standard minimum gap around a garden shed?
There is no single gap that suits every shed, site and use. Base your plan on the exact outside dimensions, the door and access route, and the maintenance you expect to do. Check installation guidance and local requirements separately.
Do I need the same clearance on every side?
Not necessarily. Work out what access each side needs: one may be the everyday route, while another may only need to be reached for an occasional inspection. Do not leave a side inaccessible if the care or installation guidance calls for access.
Should I include roof overhangs in my measurements?
Yes, where they extend beyond the base or walls. Use the documented overall dimensions and check whether they include roof edges, gutters or other projections. If the information is unclear, ask before setting out the site.
How can I tell whether there is enough room for a mower?
Measure the mower at its widest point, including handles, then allow room for your hands and for steering. Mark the route and any turn at full size, and try moving the mower through it before ordering.
Can I place a shed right next to a fence?
A close fit may make access or maintenance difficult, even if the shed fits on the ground. Check the access needed for the building and confirm any property or local requirements with the relevant people before fixing its position.
Ultimately, useful clearance is the space that lets you reach and operate the shed as intended, while preserving access for upkeep and fitting the constraints of the site. Measure the actual outside dimensions, add the working areas your routine calls for, and test the complete layout at full size. If an allowance depends on a detail that is unclear, such as an opening, roof projection or maintenance requirement, resolve it before settling on the location. That gives you a more reliable basis for comparing garden sheds than relying on a one-size-fits-all gap.
