
Connecting a Garden Shed to a Deck or Terrace
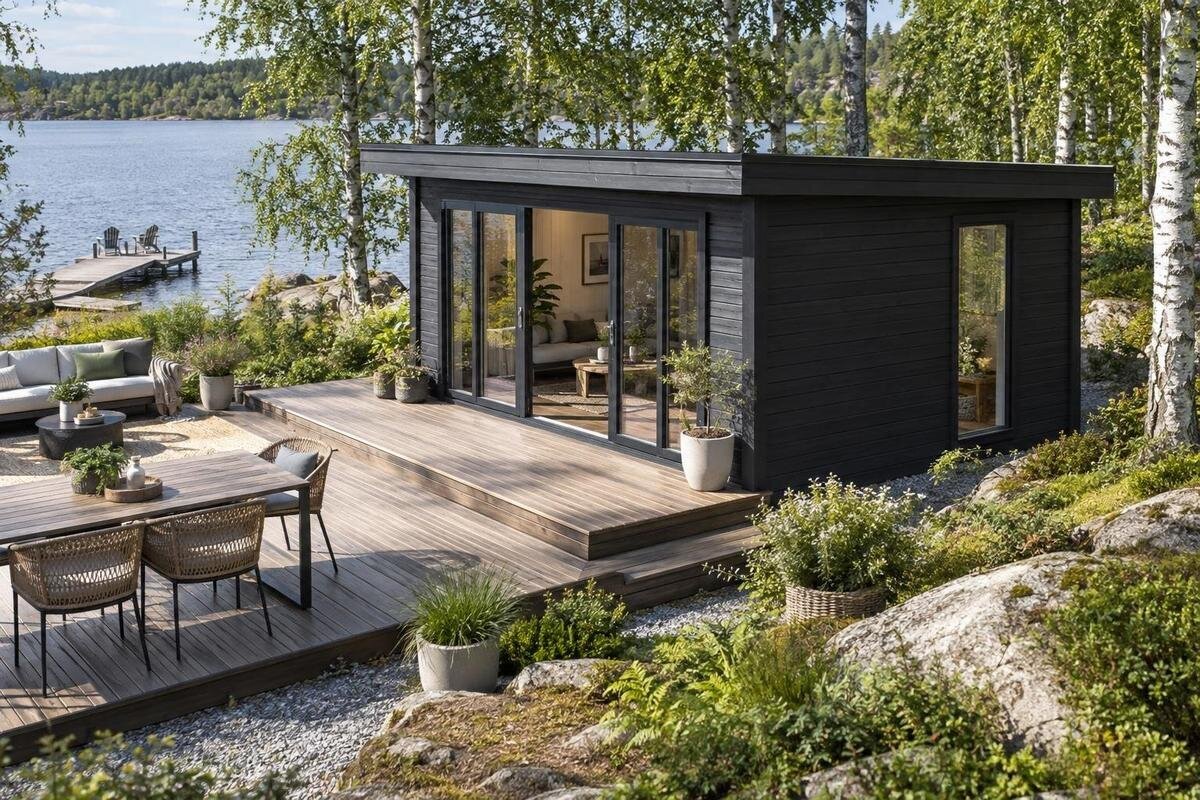
Garden shed planning
Putting a garden shed beside a deck or terrace can make trips between the two spaces easier, but “beside” does not automatically mean “connected”. The useful arrangement depends on what you carry, where the shed entrance faces, how the outdoor surfaces meet and whether water or maintenance access will be affected. Those details also shape which shed is worth ordering: dimensions and entrance information matter more than a staged image. Plan the route and levels before choosing a model, then confirm its product information and any construction detail with the people responsible for the work.
01
Define what the connection needs to do
Start by identifying what needs to move between the garden shed and the outdoor area. You might carry pots, tools or garden produce, bring in a bulky item, or use the shed as a regular work space that opens onto the deck. Note how often you make the trip and whether you will be carrying things with both hands. This helps you judge the approach width, the room needed to stand at the entrance and whether a change of level would be awkward. Include the return trip too: you may need to carry muddy gear back out or move an item in the other direction.
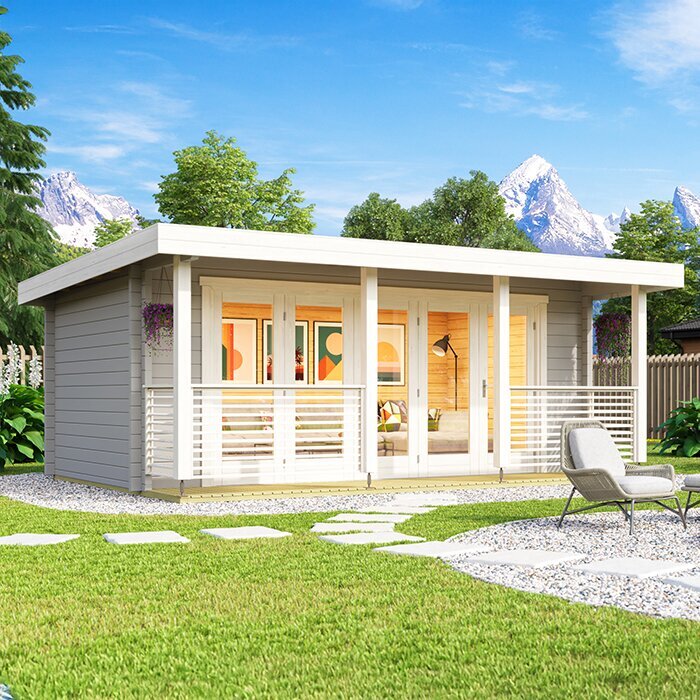
Then decide what you mean by “connected”. A shed can sit near the deck with a clear path between the two, or a short walkway or landing can make the transition more direct. Physically joining the buildings is a separate choice, not a requirement for convenient access. If a candidate on your shortlist is the Verdana 1 garden shed, use its product information to check whether its documented layout suits your intended route; do not infer dimensions or entrance details from the name or a picture. This early comparison helps you distinguish a genuine fit from a layout that merely looks close.
Position the entrance for a clear approach
Choose the shed’s position with its entrance in mind. If you want to step from the deck into the shed, an entrance facing that route may be practical, provided there is enough clear space to approach it. Check whether a door’s opening path could meet a railing, outdoor furniture, steps or planting. The entrance also needs a usable standing area, not just a line on a site plan. Consider how you will turn or carry a wide item through, and whether the route remains clear when the deck is set up for everyday use.
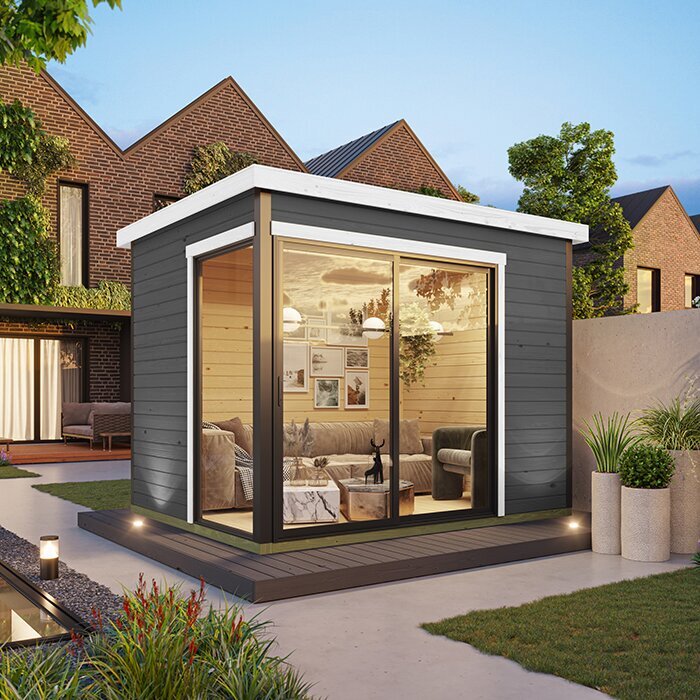
Check the entrance arrangement in the product information rather than assuming it from a staged image. Door position and the way an opening operates can affect where the shed can sit and how much room you need in front of it. For a candidate such as the Verdana 2 garden shed, note what the current listing or plan actually states and ask about any missing detail before you rely on it. Also look at whether the approach leaves access to the shed’s other sides for the care or inspection described by its maker.
02
Draw both footprints and the route
A simple scaled plan can reveal problems that are easy to miss when judging distances by eye. Mark the deck or terrace edges, the shed’s proposed outside footprint, steps, railings, posts, gates and any fixed garden features. Add the route you expect to use and enough space to stand at the entrance. If you plan to place a table, chairs, planters or storage on the deck, include them in their usual positions. The aim is to show the usable outdoor area as well as the structures, so you can see whether the route stays clear when everything is in place.
Use measurements from the candidate’s product information, and check whether they refer to the outer dimensions or a different part of the building. Ask for clarification if a plan does not show a detail that could affect the fit, such as a projection beyond the main footprint. For the Durano garden shed, for example, record only the dimensions and entrance information that are actually provided, then test them against your sketch. Leave uncertain measurements marked as questions rather than treating a photograph or a product name as a scale drawing.
Choose between a nearby path and a physical join
A clear, firm route can connect the shed and deck without the structures touching. Keeping them separate may make it easier to plan the transition around the existing layout, while a landing or short path can bring the two areas together in everyday use. The route still needs to work in both directions and remain accessible for the items you plan to carry. If a gap is part of the design, base it on the shed maker’s clearance guidance and the needs of the site rather than choosing an arbitrary distance.
A physical join calls for more thought because the deck and shed may have different support arrangements and may respond differently to movement. The meeting point can also affect how water drains and whether you can inspect or maintain the adjacent surfaces. Do not assume that the shed can support part of the deck, or that a deck can safely support the shed. Before deciding on a fixing or shared structure, ask the manufacturer about permitted arrangements and have a qualified builder or other appropriate professional assess the proposed detail. The product image alone cannot confirm how two structures should be joined.
03
Check the finished levels at the doorway
Compare the height of the deck boards or terrace paving with the shed floor and entrance threshold. A noticeable step can make it harder to carry items through, while a transition that is too tight to the ground may create a different practical problem. Do not assume that the shed floor will finish level with the outdoor surface. If the deck or terrace has not been built yet, plan using its expected finished height, including the surface layers, rather than relying on an early construction level.
Look for actual floor and threshold information in the documentation for each shed you are considering. If it is not shown, ask before choosing a position or committing to a particular transition. The Veltor 1 garden shed can be treated like any other candidate: confirm the details that affect your plan instead of assuming they are standard across models. Where a level change needs to be addressed through building work, have a qualified professional decide on a suitable solution for the site; there is no single transition detail that fits every deck, terrace and entrance.
Plan where rainwater will go
Think about rainwater before placing the shed close to a deck or paved terrace. Note existing low spots, the fall of the ground and where water from nearby hard surfaces currently goes. A new surface or a tight junction can change how water moves, so check that the planned route does not direct it towards the shed entrance or leave a place for water to collect against a wall. Consider this at the same time as the finished levels: a transition that looks neat on a drawing still needs to work in wet weather.
Keep access to the edges where leaves or other debris may collect, and do not treat a narrow gap as a solution to a drainage question. If the site already holds water, or the proposal involves changing surface levels or drainage, get advice from a qualified building or drainage professional before finalising the layout. Avoid assuming that the deck will solve an existing ground issue, or that a shed can be placed wherever the paving happens to end. The right arrangement depends on the site and the details of the proposed work.
04
Compare garden sheds by their documented layout
Once you have a workable position and route, compare candidate sheds by the information that affects the fit. Check the outer footprint, entrance position and clear opening, along with any floor or clearance details the maker provides. Think about what you intend to keep inside and whether you need to carry it through the entrance. A model that fits within the available area may still be inconvenient if its opening faces away from the deck or if the route leaves too little room to manoeuvre. The Orello 1 garden shed is one product page you can review as part of that comparison; rely on its current documented details, not assumptions about the model.
If several options look possible, compare them against the same site plan rather than judging each in isolation. Note which documented measurements fit, which are missing and whether the entrance aligns with the intended approach. Check whether a change in orientation or configuration is actually offered for the model; do not assume that a door can be moved or a building reversed. This gives you a more useful basis for deciding than a broad description such as “compact” or “spacious”. It also helps you ask focused questions before ordering, especially where a small difference could affect the path or the space available on the deck.
Leave access for cleaning and future care
Allow for the work needed around the shed after it is in place. If the deck, furniture or a fence leaves a side difficult to reach, cleaning and inspection may become awkward. Think about whether you will need to reach the base, clear debris or follow the maker’s care instructions for the particular material. Do not assume that two garden sheds need the same maintenance or clearance simply because they are in the same category. Ask what access the specific product requires, and make sure the planned position leaves room to carry out that care.
A close-fitting layout may look tidy, but it should not block access to a junction that needs regular attention. Consider where furniture or planters will sit and whether they can be moved when you need to inspect the area. For the Modano garden shed, as for any other option, check the product information for material and care guidance rather than drawing conclusions from its name or appearance. If the proposed gap is too narrow to use comfortably, discuss an alternative position or a suitable building detail with the people responsible for the work before the deck and shed are fixed in place.
05
Coordinate delivery and construction sequence
A layout can fit on paper and still be difficult to build if there is no practical way to get materials to the site. Check the route from the delivery point to the intended shed position, including gates, narrow sections, turns, steps and overhead obstructions. Ask the seller or installer what needs to pass along that route, where unloading takes place and whether package dimensions are available. Do not rely on the finished shed’s dimensions alone when access is tight. If the deck is already built, ask how the work will be carried out without obstructing the route or damaging finished surfaces.
Coordinate the order of work with whoever is building the deck, preparing the shed site or assembling the shed. Agree on the shed position, entry direction and finished levels before one part of the project makes access harder for another. If different people are involved, give them the same plan and ask them to confirm any details that affect their work. A product page such as the one for the Timber Garden Shed M may help you identify what information to check, but delivery arrangements, package details and assembly terms must be confirmed for the specific order rather than assumed.
Run through a pre-order plan
Before placing an order, bring your site sketch and the relevant product information together. Confirm the intended position, the outer footprint, entrance orientation, threshold details, approach space, clearances and the route from the delivery point. Check that your plan accounts for the finished deck or terrace height and has a workable approach to drainage and maintenance. Mark any point that still depends on an unanswered question. This makes it easier to see whether the issue is about the shed itself, the site preparation or the connection between the two surfaces.
Ask the seller, manufacturer or building professional the questions that relate to their part of the project, and keep the answers with your plan. For example, review the Wooden Garden Shed S product information as a candidate only after confirming the details you need; do not treat a model name or image as proof that it fits your site or can be attached to a deck. Recheck the plan if the selected configuration or the outdoor layout changes. A clear record of what has been confirmed will help prevent an assumption about levels, access or joining from being carried through to the order.
Frequently asked questions
Can I attach a garden shed directly to an existing deck?
Do not assume that the shed and deck can be fixed together safely. Check the shed maker’s instructions and ask a qualified building professional to assess the proposed connection. A clear path or separate landing may provide convenient access without physically joining the structures.
How much space should I leave between the shed and the terrace?
There is no single gap that suits every site. Allow for the clearances specified for the shed, a usable route, drainage and access for cleaning or maintenance. If you are unsure how close the structures can be, confirm the layout with the maker or a qualified builder.
Does the shed entrance need to be level with the deck?
Not necessarily. The practical transition depends on the shed’s floor and threshold, the finished deck or terrace height, and how you will use the route. Check the actual entrance details before ordering, and get building advice if the level change needs a designed solution.
Should the deck or shed be built first?
There is no universal order. The site, delivery access and planned finished heights all matter. Coordinate the shed’s position, the route and the deck construction sequence before work begins, especially if different people are responsible for each part.
What measurements should I check before ordering?
Confirm the shed’s overall footprint, entrance position and clear opening, floor and threshold details, and any additional clearances shown in its documentation. Also check the route from the delivery point to the site, including gates, turns and steps, and ask about package dimensions if access is tight.
Good connection planning is less about making two structures touch than making the route work every day. When the entrance, clearances, finished levels and water path are considered together, you can compare garden sheds against what your site actually needs—and avoid ordering on the assumption that the deck will solve access or construction questions later.
