
Drainage Around a Garden Shed: Keeping Water Away From the Base
Garden shed planning
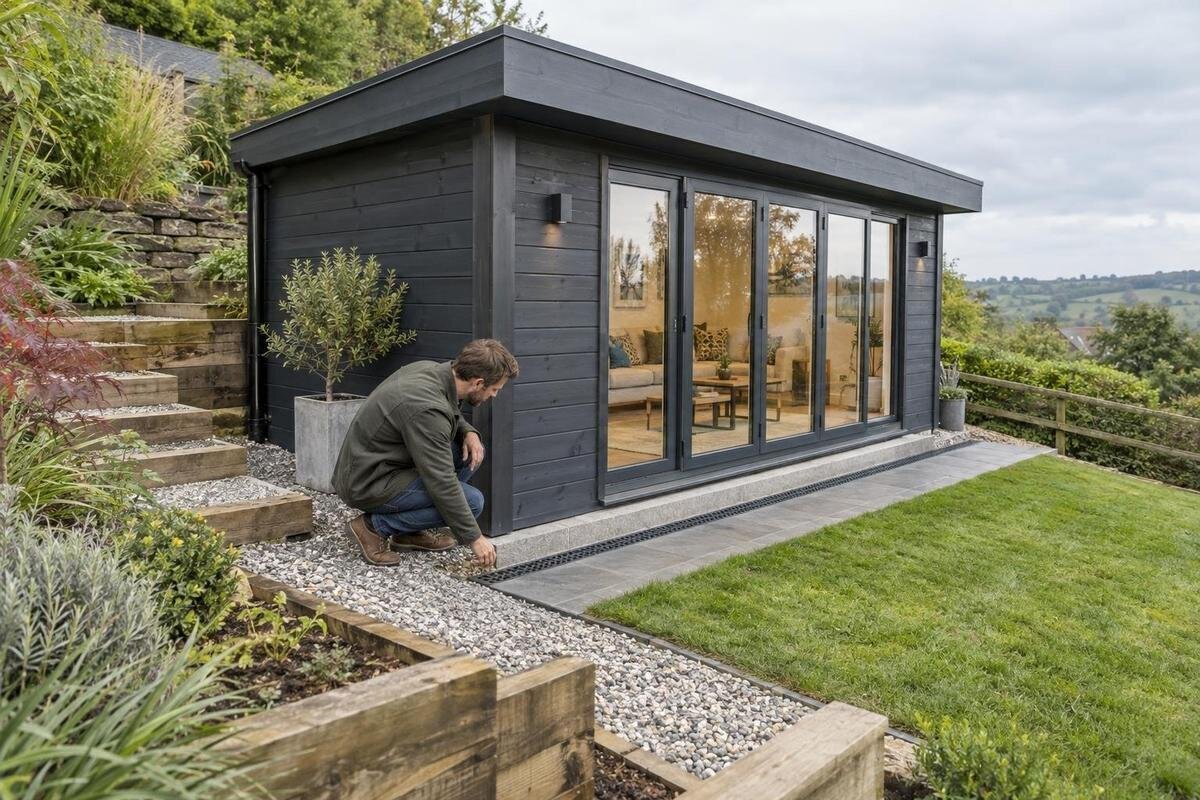
Water that repeatedly pools beside a garden shed can leave the ground around its base wet and make access unpleasant. A useful drainage plan starts with the site, not a particular trench or accessory: observe where rain comes from, how it moves and where it can safely go. Then match the shed’s footprint, base requirements and roof-water arrangements to those observations before placing an order. This guide focuses on practical checks and questions to settle with a supplier or drainage professional when the site is unclear.
Before you order 1
Read the site after rain
Before choosing a position, inspect the yard during and after rain rather than relying on how it looks in dry weather. Note where puddles form, how long they remain after rain stops, and which way surface water moves. Look uphill as well as beside the proposed shed: runoff can arrive from a roof, a paved area or higher ground. A damp patch may mark a low point, a blocked drain or water channelled over compacted soil; its appearance alone will not identify the cause. Follow visible flow back to its source where possible, and note whether the same corner becomes wet repeatedly. That history is more useful than a single dry-day impression.
Repeat the observation after different rainfall if practical and sketch the likely routes. Mark existing drains and gully openings, paths, gates, fences, paved areas and the proposed footprint. Note whether each puddle slowly soaks in, drains along the surface or receives water from an outlet; these point to different causes. Photos from the same spot can help show whether the pattern changes. If a drain is overflowing, buried, damaged or hard to identify, mark it for an appropriate drainage professional rather than planning to cover it or alter it during shed work. Record uncertainty instead of guessing.
Choose a position with water routes in mind
Use those observations to rule out places where water regularly sits or crosses the ground. A shed in a low pocket can obstruct a route that currently carries runoff, while a position tight against a bank, fence or paved edge may leave little room to inspect or manage water. Think about the whole footprint, not just the walls: roof edges, the entry area and access for maintenance may affect where drips land and where people need to walk. Keep the proposed shed clear of visible inlets and channels, and avoid placing the doorway where water repeatedly gathers. If every possible position intersects a flow route, assess the site before settling on a model.
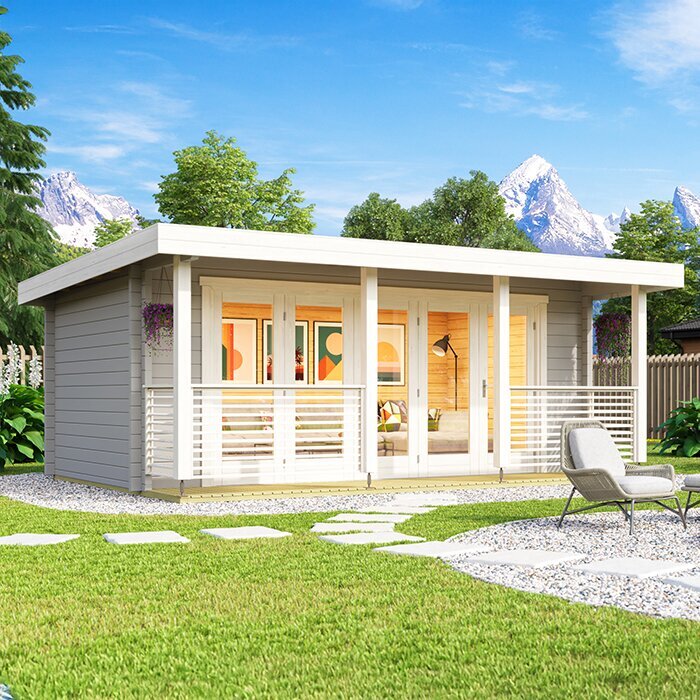
Before ordering, compare the footprint and installation information for the model you are considering with your site sketch. A product page such as the Verdana 1 garden shed listing is a starting point for identifying an option, not a substitute for confirming its current measurements and base requirements. Allow room for access and for any planned drainage route to remain open; then check that the position will not direct roof water towards a path or neighbouring area. If the only available spot is a low point, resolve the site drainage plan before committing to a shed size.
Before you order 2
Plan for water coming off the roof
Treat roof runoff as part of the site plan. Rain falling on a roof is concentrated at its edges rather than spread evenly across the ground, so repeated discharge beside one wall can leave a strip wet or wash loose surface material away. Before the shed arrives, decide whether water will be collected, carried to a suitable outlet or dispersed over ground that can accept it without flowing back towards the base. What works depends on the roof design, existing drainage and the receiving area. A downpipe that ends beside the shed simply moves the outlet; it does not resolve pooling.
Check the maker’s instructions and current product information for your preferred model, including the Verdana 2 garden shed, for any guidance on roof drainage and what components, if any, are supplied. Do not assume a product photo shows gutters, downpipes or the intended outlet. If separate rainwater goods are being considered, confirm they suit the model and can be routed without draining onto the base, across the doorway or into a spot that already stays wet. Decide where each outlet ends before ordering accessories, so the shed position and water route are planned together rather than improvised after assembly.
Keep base requirements separate from drainage
The base and the surrounding drainage have different jobs. The base needs to meet the shed maker’s installation requirements and provide the support intended for that model; the surrounding ground needs to manage surface water. A base that must be level should not be tilted to make water run off, and a level base does not mean the nearby ground should be left in a way that collects water. Avoid raising soil or paving so that water is channelled against the lower edge of the shed. Do not dig beside a prepared base without first checking that the work will not disturb its support or nearby drainage.
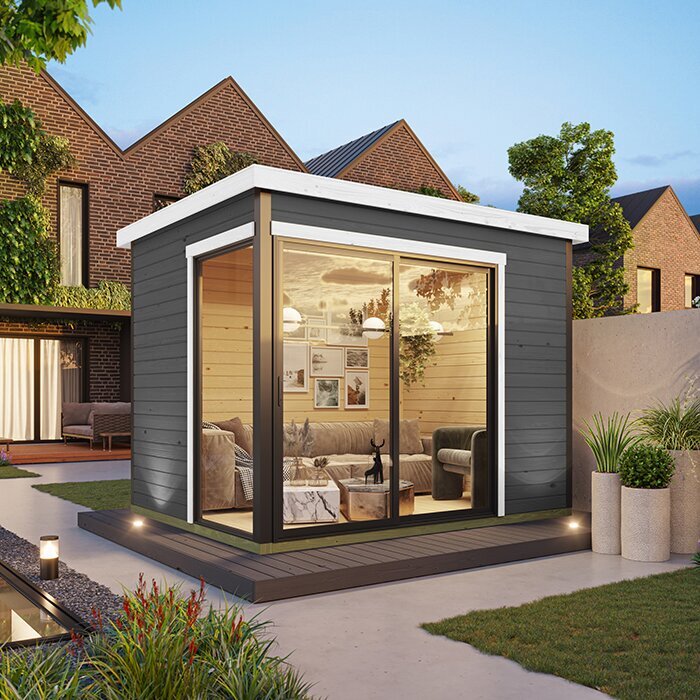
Before selecting base materials or arranging installation, check the model-specific instructions rather than assuming one detail suits every shed. A listing such as the Durano garden shed helps identify an option to compare, but its name or image alone does not establish the foundation type, required clearance or drainage details. Ask the supplier or installer which dimensions and tolerances matter, how the finished base should sit relative to the surrounding ground, and whether site runoff needs separate work. Agree these details before setting the final height, because later changes to ground levels can alter where rainwater flows.
Before you order 3
Consider how the ground handles water
Ground conditions affect how readily water disappears, so do not assume that sending more water into nearby soil will fix a wet patch. Dense or compacted ground may drain differently from loose, freely draining ground, and conditions can change across a single yard. Look for soft areas, persistent dampness, silty runoff or water appearing after rain, but treat these as clues rather than a diagnosis. A soak area or buried drain is not automatically suitable: it needs an appropriate receiving point and must suit the site conditions. If the ground stays saturated or the cause is unclear, get an assessment before choosing a drainage method.
Let these observations guide your shed shortlist, not the other way round. When reviewing the Veltor garden shed listing, check the official model information for its base requirements and compare them with what your site can support; do not infer suitability from a name or photograph. If the required base cannot be placed without cutting across a drain or trapping water, consider another position or seek advice before ordering. Where a drainage professional and shed installer are both involved, share the same site sketch so each can see the proposed footprint, water routes and any planned outlet.
Account for paving, paths and access
Nearby hard surfaces can send water towards a shed even when the ground beside it looks fairly level. Watch how rain leaves a driveway, patio, compacted path or another building’s roof, and note whether it converges at a corner of the proposed footprint. A narrow gap between paving and a wall can also be difficult to inspect and keep clear of leaves. Plan the shed position with walking and maintenance access in mind, but do not use a path as a substitute runoff channel. If paving is to be adjusted, confirm how its fall will interact with the base and existing drainage before work starts.
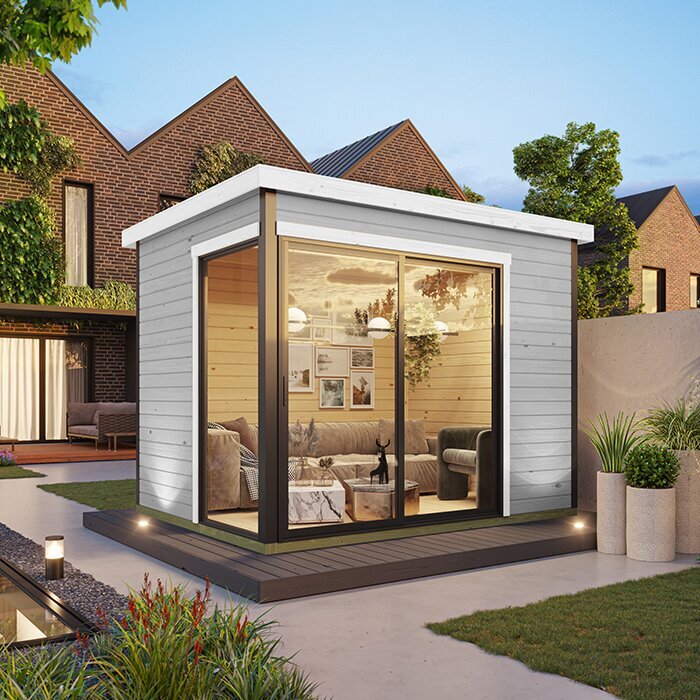
When comparing a model such as the Orello garden shed, use confirmed dimensions and entrance-position information from its product or installation documents to map the entry and maintenance space. A product image is not a reliable way to judge clearances. Leave room to reach visible outlets and remove leaves without walking through standing water, and check that the entrance is not placed where runoff repeatedly crosses. If the shed will sit beside existing paving, discuss how the paving will meet the base before ordering or laying either one.
Before you order 4
Decide where runoff can go
Every collected stream needs a destination that will not create another problem. A downpipe or surface channel should not release water right beside the base, onto an entry path or where it pools at the next low point. Nor should the plan simply shift the problem towards a boundary or neighbouring ground. Mark the proposed endpoint on your sketch and check what happens there during rain. If there is no obvious suitable area, or if water needs to connect to existing drainage, ask a drainage professional or your local council what options and requirements apply. Do not assume an existing gully can accept extra runoff without checking.
Keep this decision separate from the shed’s appearance. For a product you are considering, such as the Modano garden shed, use current supplier information to confirm the actual roof outline and any instructions relevant to water handling; then map the intended outlet around that outline. The listing itself does not prove that a drainage route is available or that a particular accessory is suitable. If the final outlet depends on changes to a drain, paving or ground level, have those works reviewed before ordering so the plan is based on the actual site rather than a rough visual impression.
Check model details before ordering
An order is easier to plan when model-specific facts are written down. Confirm the overall footprint, any roof projection that affects water, the base requirements, the intended orientation and whether gutters or downpipes are included or must be sourced separately. Verify each point in current supplier or maker information rather than inferring it from photographs. Also establish what site information the installer needs and whether preparation is included in their scope. These details affect where the shed can sit and how rainwater can be routed. If something is not stated, ask directly and keep the answer with your order notes.
Put the product information and site plan side by side before making a final choice. A page for the timber garden shed M can be one item in that comparison, but the drainage decision depends on confirmed specifications and the actual yard, not the model label. Mark any uncertainty, such as an unverified roof edge or unclear base detail, and resolve it before scheduling ground work. If two models would occupy different areas, trace the roof water route for each separately. A change in position can move an outlet towards a path, drain or low spot, so comparing names alone will not show which arrangement is easier to manage.
Before you order 5
Coordinate the order with site work
Once the position, base and runoff route are agreed, coordinate the order with whoever is preparing the site. Share the same drawing with the supplier or installer, identify drains and underground services before any digging is planned, and confirm when access is needed for delivery and assembly. Avoid arranging a new trench or channel at the last minute, when it may conflict with the base, access route or buried services. If the drainage work needs an outlet, decide who is responsible for it and what its completion depends on. This keeps the plan from being missed between separate jobs.
When considering the wooden garden shed S, ask the supplier what information the installer needs and whether the intended delivery and assembly arrangement affects the chosen position. Do not assume that a product page settles site preparation or that the delivery crew will alter ground drainage. Clarify responsibilities for the shed, base and any separate water-management work before booking dates. If a contractor is involved, share the proposed shed orientation and outlet location so each task can be sequenced without blocking access or leaving an unfinished route beside the base.
Recheck drainage after installation
After installation, revisit the site during rain and look at the actual flow rather than relying on the plan alone. Check whether water now collects at a corner, runs against the base, spills from an outlet or is redirected by ground disturbed during the work. Compare these observations with your original sketch; if the flow has changed, look for the cause before adding a drain or building up soil. Keep visible inlets and discharge areas clear, following the relevant product or drainage instructions. A newly noticed puddle may be a minor surface issue, but persistent or spreading water needs closer assessment.
Make a simple seasonal check part of ordinary shed care: look for blocked outlets, washed surface material, standing water and runoff crossing the doorway route after heavy rain or nearby landscaping changes. Keep a record of recurring problems and share it with the installer or drainage professional; photos from the same angle can make changes easier to explain. Do not conceal a wet strip with mulch or extra soil before understanding why it is there, as that can hide the route without changing it. Aim for a site where water has a controlled direction and the base, access and outlets remain easy to inspect.
Frequently asked questions
Where should I place a garden shed to avoid pooling?
Choose a position after observing how water moves during and after rain. Avoid obvious low points and routes where runoff repeatedly crosses the ground. Consider the whole footprint, including the roof edges and entry area, and make sure water has a suitable route away from the base. If no position avoids an existing flow route, get advice before ordering.
Should the base slope away from the shed?
The base should meet the shed maker’s installation requirements; do not tilt it as a way to redirect water. Manage surface runoff in the surrounding area instead, without raising soil against the shed or disturbing the base. If the ground levels make that difficult, ask the installer or a drainage professional how to proceed.
Does every garden shed need gutters?
Not necessarily. The right arrangement depends on the model, its instructions and where roof water can go on your site. Check whether gutters or downpipes are included, optional or not specified, and confirm that any proposed components suit the shed. Whatever the arrangement, avoid leaving concentrated roof runoff to pool beside the base.
Can I use a soak area or buried drain beside the shed?
Do not assume either option will work for your site. Ground conditions, existing drains and the final destination all matter. If the soil stays wet, the outlet is unclear or the work involves changes to existing drainage, ask a drainage professional or your local council what options and requirements apply.
What should I do if water pools after the shed is installed?
Observe where the water comes from and where it collects, then check for visible blockages or ground disturbed during installation. Compare what you see with your original site plan. Avoid digging beside the base or changing it to redirect water. If pooling persists or the cause is unclear, ask the installer or a drainage professional to assess it.
Good garden shed drainage is a planning decision: choose a position that avoids known water paths, match the base to the maker’s requirements, and decide where roof and surface runoff will go. Observe the yard in wet weather, confirm model details before ordering, and have uncertain ground or outlet questions assessed before work begins. Once the shed is installed, watch how water moves during rain and keep visible routes clear. Those steps help limit avoidable pooling and provide a sound basis for deciding where and how to place the shed.
