
Garden Shed Assembly Mistakes That Are Hard to Fix Later

Garden shed planning
Garden shed assembly mistakes often start before the first panel is lifted: the position is chosen from a photo, the base is sized by guesswork, or the entrance is planned without checking the path. Once the base is fixed and the walls are joined, correcting those choices can mean dismantling finished work. The checks below focus on decisions to settle while comparing a shed, preparing its site and confirming what arrives, before the build becomes difficult to undo.
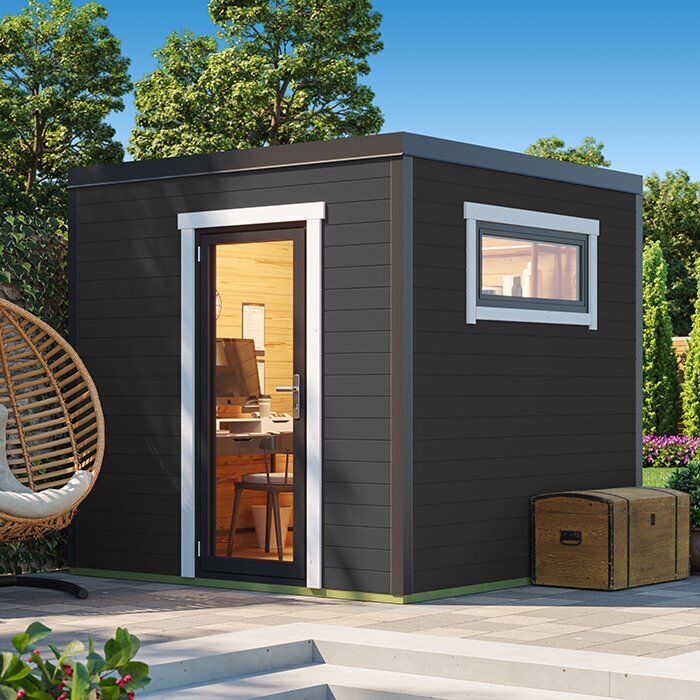
Choose the site before you order
Choose a proposed position using the finished footprint, not just the size of the patch of ground. Walk the site and note fences, gates, paths, trees, walls, utility covers and nearby buildings. Measure usable space around the outline as well as the outline itself: the shed may need room for a door to open and for someone to inspect or maintain its outside surfaces. Include any projection or clearance stated in the exact model's documentation. A base that fits neatly can still leave too little space to use the entrance or reach a wall. Mark the footprint temporarily, then walk the route you expect to use with the largest item you plan to store; a gate post or raised bed can make a workable-looking plan impractical.
Check any applicable local requirements with your council before ordering, especially if the proposed spot is near a boundary, an existing service or a shared access route. Do not assume the rules based on another shed in the neighbourhood. When comparing a listing such as the Verdana 1 garden shed page, use the dimensions and siting guidance for the exact model if published, rather than estimating from a product photo. If footprint or clearance information is missing, ask the supplier for the relevant drawing. Have underground services identified before digging, and get qualified advice where ground conditions or the proposed location are uncertain. Shifting a completed shed to solve a siting problem can mean dismantling it and preparing the base again.
Match the shed to what you need to store
Write down what will go inside before choosing a size: the widest item, long-handled tools, equipment that needs to roll out, and anything you may add in a year or two. Then consider how each item will pass through the entrance and where you will stand to retrieve it. A footprint filled wall-to-wall with a mower, bikes, pots and shelves may technically hold them yet make daily use awkward. Include clearance to lift, turn or take equipment out, rather than planning only for static storage. If the shed will also be a potting or repair area, allow working space in the layout instead of treating the entire floor as storage.
Compare written internal and external dimensions, the entrance opening and any details about the floor or accessories; do not infer clear interior space from the advertised footprint. Check whether shelving or other items are included or are separate purchases. Assess a candidate such as the Verdana 2 model using its exact written specifications and assembly information; if either is not provided, ask before ordering. Check how the interior will work once the largest item is in place: it could block shelves or the route to another tool. Changing the storage plan after assembly may mean sacrificing access or adding attachments that are not allowed, so settle the must-fit items first.
Confirm the base dimensions and requirements
The base is one of the least forgiving decisions because the shed's walls and fixings follow its outline. Check the manufacturer's base plan for the exact model: the required footprint, the relationship between the base and wall positions, any stated levelness requirements, and how the structure is meant to be supported. Do not take a roof or overall product dimension as a base dimension, or assume that a pre-existing patio is suitable because it looks flat. Confirm that the base material and fixing method are compatible with the shed's written instructions. If the documentation is unclear, get the supplier's answer before arranging a slab, platform or other foundation.
Measure an existing base against the supplied plan and note differences before delivery; 'nearly the same size' is not a specification. For a candidate such as the Durano listing, ask for the exact model's base requirements and any stated tolerance rather than relying on the listing name or image. If the base needs to be created on sloping, soft or irregular ground, do not improvise a levelling solution from generic advice: discuss the design with a suitable building or landscaping professional. A base mismatch is easy to overlook when loose parts are still on the ground but can affect every wall position once assembly is under way.
Check the frame before fixing each stage
Even a suitable base can be laid out inaccurately. Before adding walls, use the sequence and checks in the assembly instructions to confirm that the base edges, corners and first frame are aligned as specified. Check any required level or squareness at the stage the manual calls for, not after the roof and cladding make the frame harder to adjust. Small offsets can accumulate as panels are joined; a door opening or roof part may then fail to meet its intended position. Do not pull parts into alignment by tightening fasteners unless the instructions explicitly direct you to do so.
Save the instructions for the exact model and read the relevant pages before laying out components. If you are considering Veltor 1, confirm that you can obtain its assembly sequence and base checks before you commit to the order; do not assume that a familiar-looking part means another model's steps apply. During the build, check each completed stage against the guide and stop if the frame starts to twist, gaps appear or holes no longer line up. Recheck the base and part order before continuing. Trimming a panel, enlarging a hole or forcing a joint can disguise the original error while making later changes more difficult.
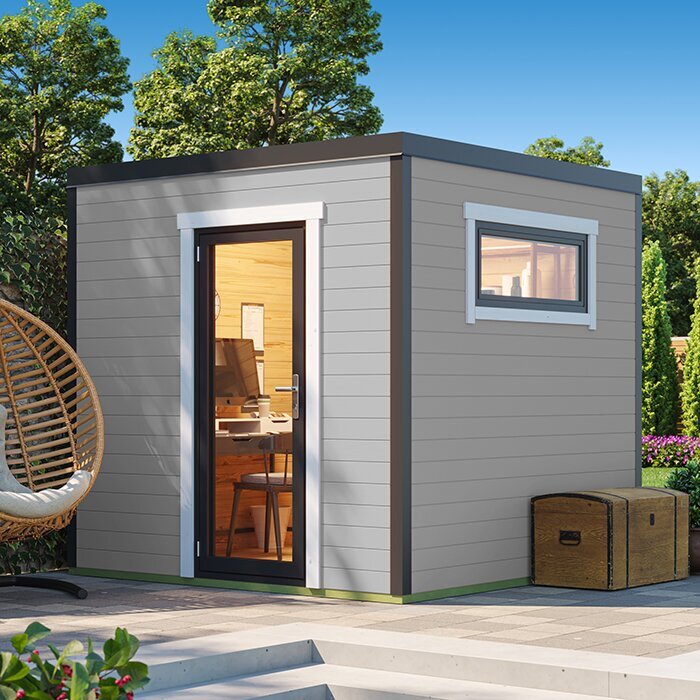
Set the entrance direction and clear space
Decide where the entrance will face while comparing the shed with its proposed site. Mark the opening on the ground or a plan and check the clear area needed to enter, turn and carry the largest items. If the chosen design uses a hinged door, allow for its full swing; if it uses a sliding arrangement, check the space needed for that opening system. Keep paths, fences, taps, bins and planting out of the working area. A door can be technically accessible and still be frustrating if it opens onto a narrow path or leaves no room to manoeuvre a wheelbarrow.
Verify the precise door arrangement for the chosen model and variant in its written details, rather than relying on a staged image. For a candidate such as the Orello shed page, check whether the entrance position or direction is selectable during assembly; do not assume it can be reversed later. If the opening is fixed, orient the whole shed before base work begins. Record how the door will meet the path and where a person will stand, then recheck those clearances when marking the base. Moving the entrance after panels are fixed may require changes the manufacturer does not permit.
Plan for water and maintenance access
Look at how water moves across the actual site, not just how it looks on a dry day. Note low spots, existing puddles, downpipes, slopes and where runoff travels after rain. A shed should not be placed where its base obstructs a drain or where water routinely collects; if you cannot tell how the site will behave, get local drainage or landscaping advice before construction. Consider whether a new structure would block access to an existing gully, garden tap or service point. Resolving those conflicts after the base is fixed may mean reworking both the position and surrounding ground.
Plan for water leaving the shed's roof and for access to inspect the surrounding area, without assuming a gutter, outlet or clearance is included in the order. Check the instructions for any drainage or siting guidance and decide where water can go without making the entrance muddy or affecting a nearby path. If you are comparing Modano 1, treat its published product details as a guide to the model, not a substitute for checking your garden's drainage. Keep the chosen position accessible for clearing leaves and checking the base. If extra drainage work or a change to the product seems necessary, confirm it with the supplier or a qualified professional before building.
Check finish and care requirements
Identify the material and factory finish from the exact product information, then read the maintenance and assembly instructions before purchase. A photograph cannot tell you whether a surface needs a coating, whether treatment is required before assembly or which products are compatible. Ask the supplier whether any faces or edges need attention before components are joined; once panels overlap, some areas are harder to reach. Equally, do not assume that every joint should be sealed or painted. The manufacturer may specify gaps, overlaps or finishes that must remain as designed.
Use written guidance for the model, rather than copying a neighbour's routine or advice for a different material. On a candidate page such as the Timber Garden Shed M page, verify the stated material, finish and care information, and ask for instructions if any point is absent. Tell the supplier about conditions that could affect upkeep, such as a very exposed, shaded or damp position, so you can assess the care required before ordering. Choose a site that remains reachable for inspection and maintenance, and keep the instructions where they can be found later. Correcting an unsuitable coating or an inaccessible side after assembly may involve removing components.
Confirm anchoring and later attachments
Find out how the shed is meant to be fixed to its base and what, if anything, is supplied for that purpose. Do not assume the fasteners shown in a photograph are included, or that fixings left from another project suit this model or base. Before ordering, compare the written anchoring requirements with the proposed foundation and the conditions at the site; tell the supplier or installer if the location is particularly exposed or the base is unusual. If the required method or compatible hardware is unclear, get advice from the manufacturer or a qualified installer instead of choosing screws or anchors by guesswork. A mistake here can be concealed once the floor and walls are in place.
Check the product documentation for both anchoring and any permitted internal attachments. For a candidate such as the Wooden Garden Shed S listing, confirm which fixings are specified and whether they are included, rather than assuming from the product name. Decide where shelves or hooks would go before assembly and use only locations and methods the manufacturer permits; drilling later can damage a surface or interfere with components. If you may need to route a service, add ventilation or make another opening, get approval and appropriate professional advice first. Retrofitting an unplanned change is harder than checking whether it is allowed while you can still choose a different model.
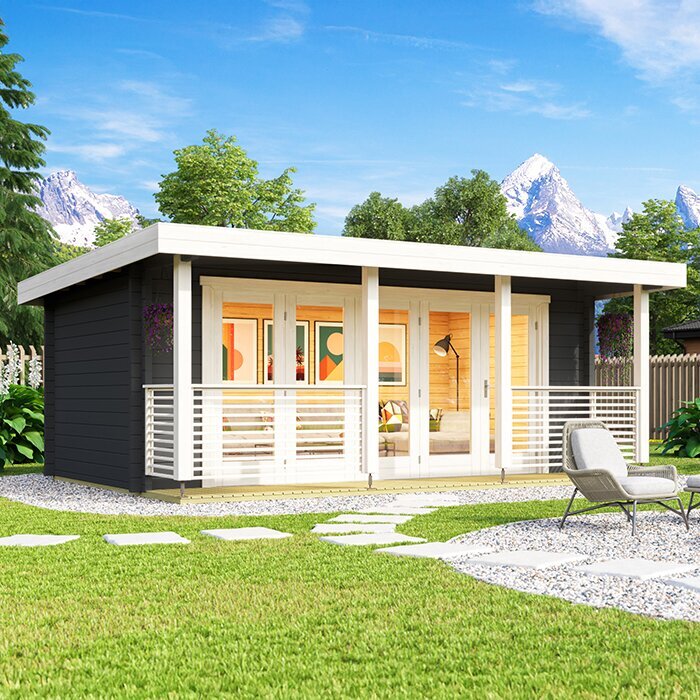
Check the order and parts before assembly
Before ordering, review the exact model and selected variant, then check the written description of what is and is not included. Confirm which structural parts, floor, fixings or optional accessories are included only where the seller expressly lists them; do not treat a styled photograph as a packing list. Check the order record carries the model and variant you chose, not just a similar family name. Read the delivery information and make sure there is a realistic route from the drop-off point to the planned assembly area, including gates and turns. Arrange a suitable place to keep components together and protected while you check the package, without assuming the delivery will be placed at the final spot.
Once the shipment arrives, compare the labelled components and hardware with the parts list before beginning. Look for missing, damaged or wrongly labelled pieces, and keep the packaging, order record and instructions until the shed is complete. If something appears wrong, note the part reference and contact the supplier before cutting, drilling or substituting anything. Starting with an incomplete set can turn a straightforward sequence into workarounds and make it difficult to tell whether a later mismatch comes from a missing part or an assembly error. Keep the labelled packets and parts for each kit together if more than one is on site.
Stop rather than force a mismatch
Treat a part that does not fit as a reason to pause, not as permission to change it. Check the part label against the diagram, the current assembly stage, the panel orientation and the exact model number. Re-read the step immediately before the mismatch; a component may have been turned or placed on the wrong side. Do not use force, enlarge pre-drilled holes, cut an edge or swap in a leftover fixing unless the written instructions expressly allow that action. These shortcuts can cover up a wrong part or an earlier alignment error, leaving the next stage even harder to fit.
If the instructions still do not explain the problem, contact the supplier or manufacturer with the model, part reference and a clear description before proceeding; a qualified installer can help assess a site or base issue. Keep a note of any answer or approved change with the assembly papers, and record the part labels so the discussion is specific. This pause is less frustrating than dismantling a wall or roof later to reach a connection hidden by subsequent work. Confirm that any proposed modification is allowed for that exact shed before making it.
Frequently asked questions
Which garden shed mistake is hardest to correct?
A base that does not meet the chosen shed's requirements can be particularly difficult to put right, as can an entrance that opens into an obstruction. Both decisions affect how the finished structure sits and works. The details vary by model and site, so check the shed's instructions and the planned position before preparing the base.
Should the base match the shed's advertised dimensions?
Do not assume it should. Use the manufacturer's base plan for the exact model, which explains how the base relates to the walls and fixings. The advertised footprint may not tell you that. If the plan is missing or an existing base does not match it, ask the supplier or a suitable professional before building.
Can I reverse the door after assembly?
Only if the instructions for that exact model and variant say the door can be reversed and explain the permitted arrangement. Do not assume every shed allows this. Confirm the opening direction before preparing the base, then check the entrance has enough clear space and a practical route to it.
Should I apply a finish before assembling the shed?
That depends on the material, existing finish and the manufacturer's instructions. Check whether any treatment is required before assembly, which surfaces it applies to and which products are compatible. Do not assume a coating is needed, or that every joint should be sealed. Ask the supplier if the care instructions are unclear.
What should I do if a panel or fixing does not line up?
Pause and check the part reference, model, orientation and assembly step against the instructions. Recheck the base and earlier stages before continuing. Do not force parts together, enlarge holes, cut panels or substitute fixings unless the instructions allow it. If the mismatch remains, contact the supplier or manufacturer before proceeding.
Most garden shed assembly mistakes that are hard to reverse come from committing too early: ordering a model that does not suit the contents, preparing a base without its exact requirements, or solving a mismatch by force. Confirm the site, written specifications, entrance, water management and fixing guidance while you can still change the plan. Once the parts arrive, check them and follow the model's instructions; pausing over an unclear detail is far easier than undoing finished work.
