
Garden Shed Assembly Tools: A Practical Checklist
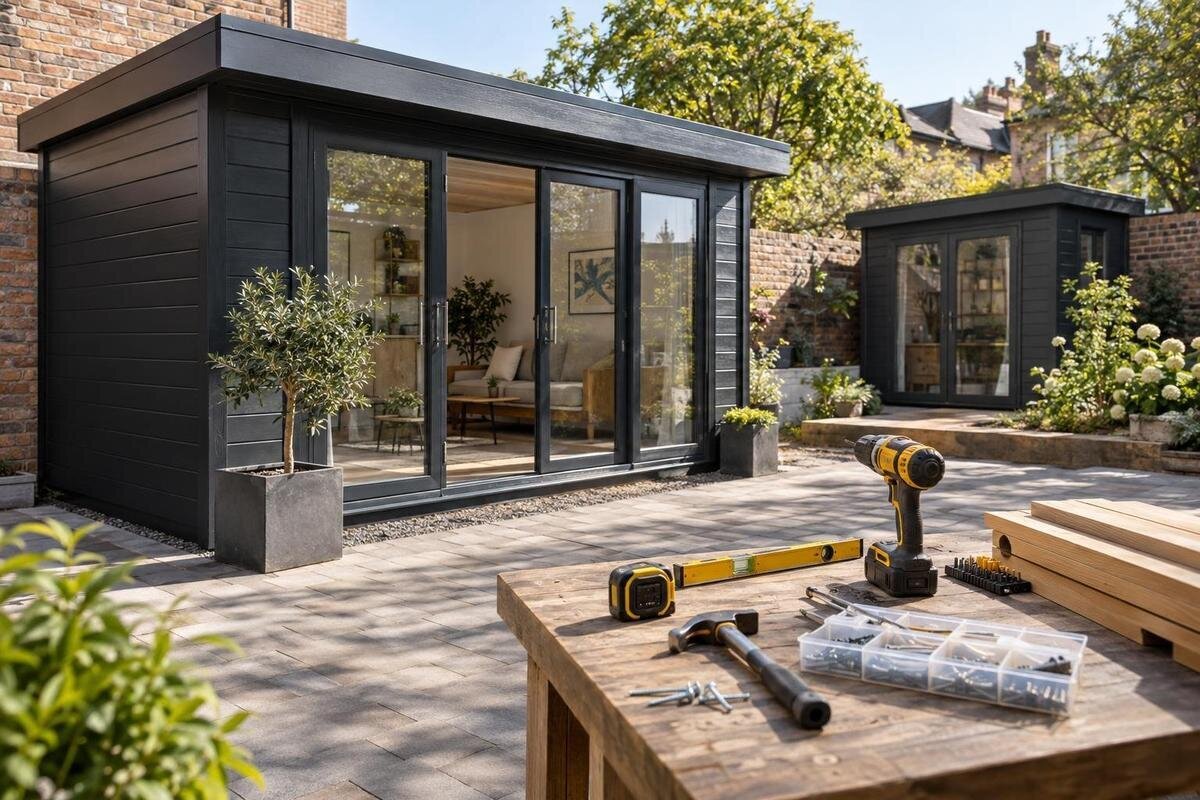
Garden shed assembly
Before assembling a garden shed, set out the tools required by the instructions for that exact model. There is no universal kit: fastener types, assembly sequences and any special checks can differ. A practical baseline includes measuring and marking equipment, the specified hand tools, a permitted drill/driver if needed, safe access equipment, personal protective equipment and a way to keep parts organised. Use the checklist below to identify what to own, borrow or hire without buying tools on guesswork.

Before you buy 1
Read the instructions for the exact shed
Get the assembly manual for the exact product and variant before deciding what to bring. Similar names and photographs are not enough to identify which fasteners, bit profiles or sequence apply. If you are considering the Verdana 1 garden shed listing, use the model name to ask for the matching guide, tool list and packing information; don’t treat the name alone as proof of what comes in the kit. Check the model code and document revision against the item you intend to assemble.
Read the complete guide and mark each tool as essential, optional or conditional. Record the exact screwdriver or socket size, bit profile, any specified drill bit, and the stage at which each tool is used. Note whether one tool must hold a nut while another tightens it, and distinguish reusable tools from consumables. Check call-outs about access to fixings or unfamiliar equipment, and ask for clarification before buying or hiring anything you don’t understand. Keeping the model code and guide revision with your checklist helps prevent confusion if you compare more than one shed. Also note the order in which components are unpacked and assembled. A tool needed early should be accessible from the start, rather than buried under boxes or mixed with later-stage hardware. Highlight warnings, diagrams and tool symbols that affect the sequence. This first read-through is also a chance to identify tasks that need a second person or a clear work area, without assuming that every stage requires the same equipment.
Measuring and marking tools
A tape measure with clear, legible markings is the main layout tool; use it to transfer dimensions from the guide rather than estimating by eye. Check that its lock works and avoid relying on a blade stretched unsupported across a long distance. Add a sharp pencil or removable marker, a carpenter’s square for checking a right angle where required, and a long straightedge for comparing edges or guide lines. A notebook or simple sketch lets you record units and reference points, so you can distinguish the footprint from any extra working space.
Before committing to a model such as the Verdana 2 shed listing, check the confirmed footprint, base layout and assembly clearances in documents for that exact item. A title or photograph is not a measurement. Mark the area shown on the plan and consider whether fastening points will remain reachable as the sequence proceeds. If dimensions or reference points are unclear, ask for them rather than scaling a picture. Use removable marks on finished parts, and test a marker on an offcut first so a temporary guide line does not become permanent.
Before you buy 2
Hand tools and fastener sizes
Choose hand tools to match the fasteners: a suitable screwdriver or interchangeable-bit handle, and, only where the guide specifies, the correct spanner or socket set. A bit that fits the screw head properly is easier to control than one that wobbles, so check its profile and size before assembly. If the guide calls for a hammer or rubber mallet, use it only in the stated place; neither is an all-purpose way to seat a component. Don’t use a tool as a lever or force a joint that is not moving freely.
Keep a parts tray or several labelled containers beside the instructions, and sort fixings by the guide’s stages rather than tipping them together. Screws that look alike can differ in length or head, so retain their labels while identifying each group. The Durano garden shed listing can identify the model you are asking about, but the model name alone does not confirm what fixings are included or which hand-tool sizes are required. Check those details against the relevant guide and kit inventory. If a fixing doesn’t match the diagram, pause before substituting it. Count and label groups before the work begins, then return unused fixings to their original labelled bag after each stage. Put small components in stable containers that cannot be kicked over, rather than on a panel or uneven ground. Keep the matching diagram beside each group while working. This makes it easier to notice a missing item or a fastener that has been selected from the wrong stage before it is installed.
When a drill/driver is appropriate
A cordless drill/driver may be useful where the instructions permit it, but it is not automatically required. Follow the model-specific guidance: a stage might call for a hand screwdriver, a particular bit, or drilling only at specified points. Don’t assume an impact driver is suitable. Its hammering action can make a fastener difficult to control and may damage a component. If a drill/driver is allowed, fit the specified bit and choose a setting you can control rather than relying on tool power alone.
Charge batteries before assembly and check that the charger and any spare battery are compatible with the tool. Inspect bit tips for wear and have spares of the specified size if useful; a worn bit can slip. If the guide requires drilling, confirm that the chuck accepts the specified bit and follow the stated locations and size. The Veltor 1 garden shed listing identifies a model, not the drill or bit it may require, so confirm tool needs against the instructions before buying equipment. Don’t add holes or change a fastening method because a tool is available.

Before you buy 3
Tools for checking alignment and the base
A spirit level is useful for checking a prepared base and parts that the instructions ask you to align. A carpenter’s square and straightedge help compare edges and angles; a plumb line or laser level is worth adding only if the guide calls for one and you know how to use it. Place a level on a clean, stable surface and follow the tool maker’s instructions. These are checking tools, not a way to redesign a base or compensate for a mismatch.
Before ordering, ask for the base plan and confirmed dimensions for the exact model. The Orello 1 garden shed listing identifies the item, but its name is not a construction drawing. Check which measuring tools the instructions call for at base and alignment stages. If the prepared base does not match the stated plan, don’t pull the frame out of shape or improvise packing or new fixing points. Resolve the discrepancy using the supplier’s guidance or a suitably qualified trade professional. That keeps measuring tools in their proper role: identifying a mismatch, not concealing it. Take readings at the points named in the instructions and write them down with their locations, rather than relying on a general impression that the surface looks level. Recheck after moving materials across the area, because a tool can be knocked out of position. Keep the level, square and straightedge clean so dirt or loose hardware does not distort a check. Where readings differ, stop at that stage and establish why before adding further components.
Safe access equipment for higher work
Some assembly steps may require reaching above shoulder height or using a tool while keeping a stable stance. If the guide requires access above ground level, use a platform or ladder designed for the task and follow its instructions. Don’t substitute a chair, a stack of kit boxes or a shed panel. Place access equipment on a firm, even surface, avoid overreaching and move it when the work is out of reach. Don’t climb the shed frame or stand on roofing or panels.
Decide what reach is needed from the actual assembly sequence, not from a product photograph. For a model under consideration such as the Modano 1 garden shed listing, check the complete guide and confirmed dimensions before deciding whether access equipment is needed. Inspect the equipment before use and keep the route around it clear. Place small tools in a belt or nearby tray; keep hands free when climbing and don’t carry loose parts up a ladder. If you cannot carry out a task safely with the equipment and experience available, pause and arrange competent help.
Before you buy 4
PPE for garden shed assembly
Set out personal protective equipment (PPE) alongside the tools. Use eye protection where the guide or tool instructions require it, particularly when drilling or working overhead. If gloves are appropriate for handling a component, choose a pair that fits and allows a secure grip. Gloves can catch in rotating parts, so follow the tool maker’s guidance about glove use. If a task involves noisy tools or creates dust, check the relevant equipment instructions for hearing or respiratory protection rather than guessing from a general checklist.
Keep PPE in good condition and within reach, and use guards supplied with power tools. Tie back loose clothing and long hair, remove jewellery that could catch, and keep children and pets away from the work area. The Timber Garden Shed M listing identifies a product, but its name cannot determine task-specific protection; read the assembly guide and tool safety information before buying PPE. Protective equipment is only one part of safe tool use: it does not make an unsuitable tool, unstable access arrangement or unapproved cutting step acceptable.
Consumables, labels and work-area organisation
Separate tools from consumables before shopping. A tool can be reused; items such as specified marking materials, replacement bits, sealant or a treatment product may be used up or depend on the model. These are examples, not a universal shopping list: buy only what the assembly instructions identify, and check whether each item is supplied. For the Wooden Garden Shed S listing, ask which, if any, consumables and fasteners are required and whether they are included. A model name alone is not a contents list.
Make a simple inventory with columns for the item, required size or specification, condition, and whether you own, need to buy, or can borrow or hire it. List batteries, chargers and adapters separately: a driver without a charged, compatible battery is not ready to use. Check that tools are clean and operate as their instructions describe; set aside anything with a damaged handle, loose part or worn edge. Keep packaging labels until you have checked the fixings, and use a container for rubbish so wrappers don’t clutter the work area. Add a place to record where each item will be kept during assembly, especially for smaller parts and accessories. Keep clean measuring tools and paperwork away from mud, rain and loose fasteners. Do not open a sealant, treatment product or other consumable until the guide calls for it, as its instructions may include storage or use limits. At the end of each work period, return tools and unopened materials to a dry, secure place and update the inventory with anything used or missing.

Before you buy 5
Buy, borrow or hire less-used tools
Once the tool list is clear, compare it with what you already own. Check measurements and bit types, not just whether a case says it contains a screwdriver set or drill; a mismatched socket or bit will not meet the guide’s requirement. Borrowing or hiring a tool used for only one stage may be more practical than buying it, while common measuring and hand tools can be useful for other jobs. Decide from the exact list, the condition of your existing equipment and when you need each item, not the number of pieces in a bundle.
Before paying, compare the hire or purchase contents with the guide. A required bit, socket or adapter may be separate from the main tool, so confirm what is included and that it fits. For hired equipment, check what accessories come with it and how it must be returned; for borrowed tools, arrange access to the correct accessory and charger. If you have not used a tool before, read its instructions and ask the hire provider for help understanding its controls. Keep model numbers with your assembly papers so you can identify a suitable replacement if a tool fails.
Final tool check before assembly
Before beginning the first assembly step, lay out the guide, listed tools and specified accessories. Check the tape measure, square and level; verify the exact driver bit or hand-tool size; and charge and test any power tool you will use. Put required PPE within reach. If a battery work light would help you read markings clearly, set it up before starting. Keep each tool in one place between stages so you are not searching for it or reaching for an unsuitable substitute.
Keep a short readiness check beside the manual: tools gathered, condition checked, consumables confirmed, parts and fixings identified, work area clear, access equipment ready, and instructions available. If the kit, guide and tool list disagree, or a step appears to require an unlisted cut, drilled hole or improvised fitting, stop and ask for clarification. Begin only when the tools suit the task and you can follow both the shed guide and each tool’s safety instructions. Plan where tools will rest between steps so they are not left on a ladder, panel or route through the work area. Check that you can read the relevant diagrams in the available light and that the manual will stay dry and accessible. A deliberate final check reduces interruptions once components are being handled. It also helps you recognise whether a pause is needed before starting, rather than discovering a missing tool when a partly completed stage cannot be safely left unattended.
Frequently asked questions
Do I need a cordless drill to assemble a garden shed?
Not necessarily. Check the instructions for the exact model: they may specify a hand screwdriver, a drill/driver for certain steps, or no power tool at all. If a drill/driver is permitted, use the stated bit and a setting you can control.
What is the most useful measuring tool?
A tape measure is a useful starting point for transferring dimensions from the assembly guide. A spirit level and carpenter’s square serve different purposes, so use them when the instructions call for those checks. Record the reference points and units shown in the guide.
Can I use an impact driver instead of a drill/driver?
Only if the instructions for your shed expressly allow it. An impact driver can make fasteners harder to control and may damage a component. Don’t treat it as a direct substitute for a drill/driver or hand tool.
Should I buy a complete tool kit before ordering a shed?
Wait until you have the tool list for the exact model. Check which tools you already own, including their sizes and condition, then decide whether to buy, borrow or hire anything missing. This helps avoid paying for a bundle of tools that may not suit the instructions.
What should I do if a tool or fastener doesn’t match the instructions?
Pause and compare the item with the model-specific guide and kit inventory. Don’t force a fastener or substitute a tool because it looks similar. If the mismatch remains unclear, contact the seller or manufacturer for guidance before continuing.
A useful assembly toolkit is the one that matches the exact guide, has been checked for condition and is ready when each stage requires it. Use the instructions to decide what to buy, borrow or hire, rather than treating a generic checklist as a complete specification. If a tool, fastener or step remains unclear, resolve the question before continuing.
