
Garden Shed Floor Insulation: What to Plan Before Assembly
Garden shed planning
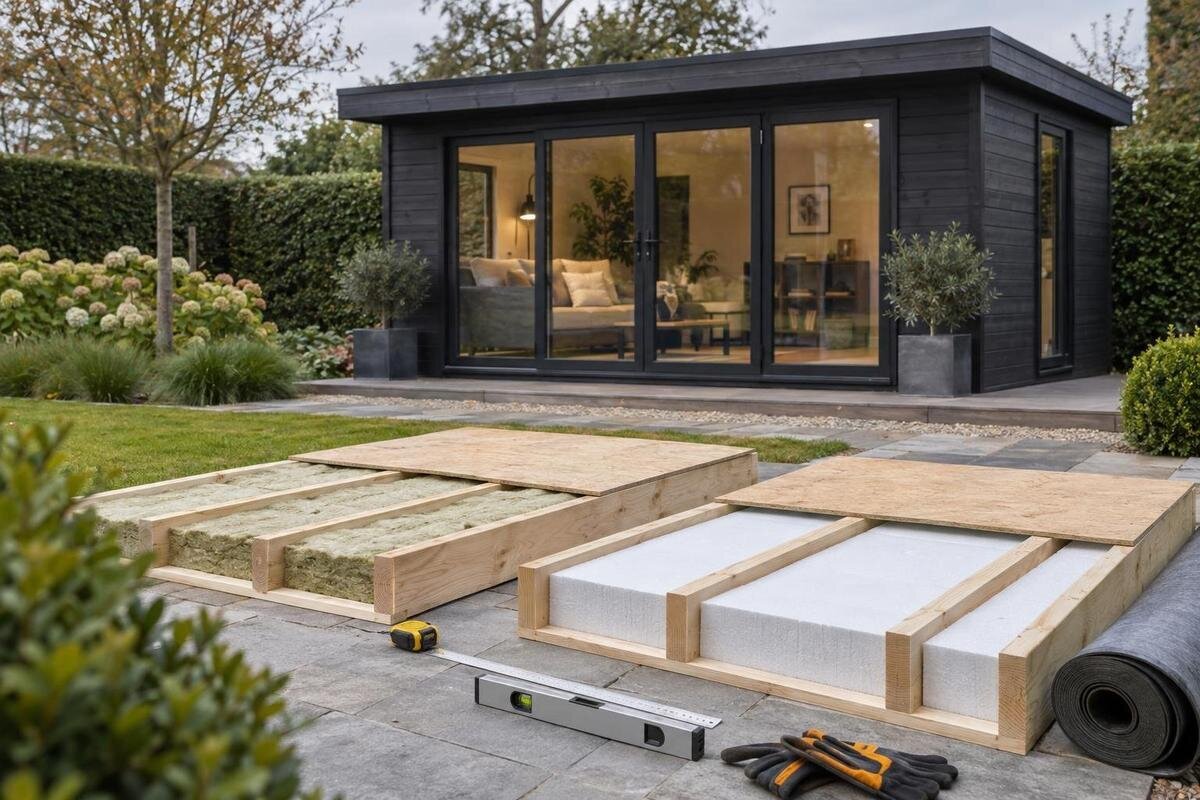
Garden shed floor insulation is easiest to plan while choosing a shed, before the base and floor arrangement are fixed. The key decision is not simply which insulation to buy: you need to know what the floor includes, how it is supported, where a layer could go, and how it may affect the finished height and moisture control. Decide what you need the shed to do, then check that the proposed floor build-up suits the shed and base. Sorting these points before assembly can prevent difficult access or changes later. An insulated floor on its own will not make the whole shed insulated or suitable for every use.
Before you order 1
Set the shed’s intended use
Before comparing insulation, decide what the shed is for and how often you will use it. Occasional storage for garden tools is a different case from a space where you expect to stand or work for longer periods. Note whether the shed will be heated, which activities take place there, and whether the goal is to limit heat transfer through the floor or make the floor surface more comfortable to use. Think about the times of year when the shed will be used and whether the contents are likely to change. These details set a realistic brief: a floor layer alone cannot make an otherwise uninsulated shed behave like a room. A clear brief also helps you avoid paying for a build-up that does not address the way the shed will actually be used.
Write down any storage requirements as well. If paint, seed, electronics or another item has a stated storage range, check its instructions rather than assuming insulation will keep the shed within it. A floor layer is only one part of the building: walls, roof, doors, glazing and air leakage affect indoor conditions too. If use may change from seasonal storage to a regular workspace, include that possibility now. The floor arrangement chosen at purchase may be difficult to change after assembly, so compare options against the same intended use.
Confirm the floor and base arrangement
Before ordering, establish what is included in the floor package and what must be prepared separately. For a candidate such as the Verdana 1 garden shed, ask the supplier to confirm whether a floor is included, what it is designed to sit on and which support arrangement is specified. Request the relevant floor or base drawing, not just overall dimensions. A photo or model name cannot confirm the framing, floor finish or space available for another layer. If those details are unclear, resolve them before settling on an insulation plan.
Treat the base and shed floor as connected but separate parts of the plan. A slab, bearers or another support system may be used in different designs, but not every floor is made for every base. Check the specified footprint, support locations and requirements for a firm, level surface; do not size the base from an external measurement without checking the drawing. Consider how the chosen base leaves room for the intended floor construction, including any underfloor clearance or layers specified by the shed manufacturer. If different people are preparing the base and assembling the shed, share the same information with both. Ask them to resolve any mismatch before work starts, when changes are usually simpler than after materials have arrived.
Before you order 2
Allow for the finished floor height
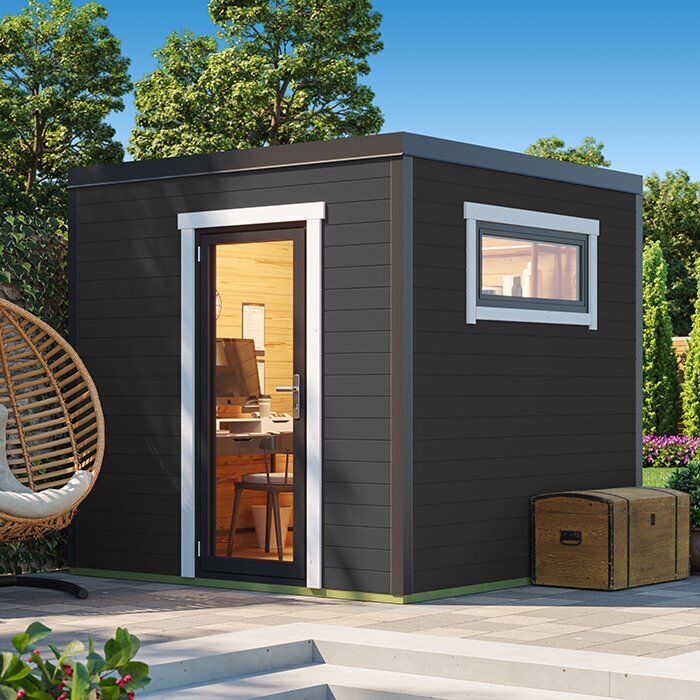
Every added floor layer affects the finished height. Insulation and floor covering above an existing surface raise the level underfoot; a layer below the floor may instead affect clearance beneath the shed and its exposure to moisture or pests. Insulation within a framed floor has its own space and support requirements. For a shortlist model such as the Verdana 2 garden shed, request a dimensioned drawing and check which floor layers it describes. Do not assume that a suggested insulation thickness will fit without affecting another part of the design.
Consider the doorway as well as the room. A higher floor can change the step at the entrance, the clearance beneath a door and the space available for moving boxes, equipment or a trolley. It may also affect the position of shelving or other fitted items. Check whether an internal finish will need edges or transitions at the entrance, as these can take up further height. Sketch the level from the base to the finished floor, including any surface covering, then compare it with the doorway and internal clearances on the shed plan. If those dimensions are not available, ask before choosing a build-up. This check is especially useful where the threshold needs to remain easy to cross with stored items.
Choose the insulation position before assembly
The possible location depends on the floor construction. In some designs, insulation may sit below the floor, within a framed cavity or above the existing surface as part of a new build-up. These positions differ in access, support, protection and effect on finished height. They can also affect the order in which the floor, walls and interior finish are installed. None should be assumed suitable simply because a material appears to fit. Ask whether the floor has a defined cavity and how an added layer would be retained and protected. If the proposal changes framing or fixings, get the shed supplier’s approval before ordering materials.
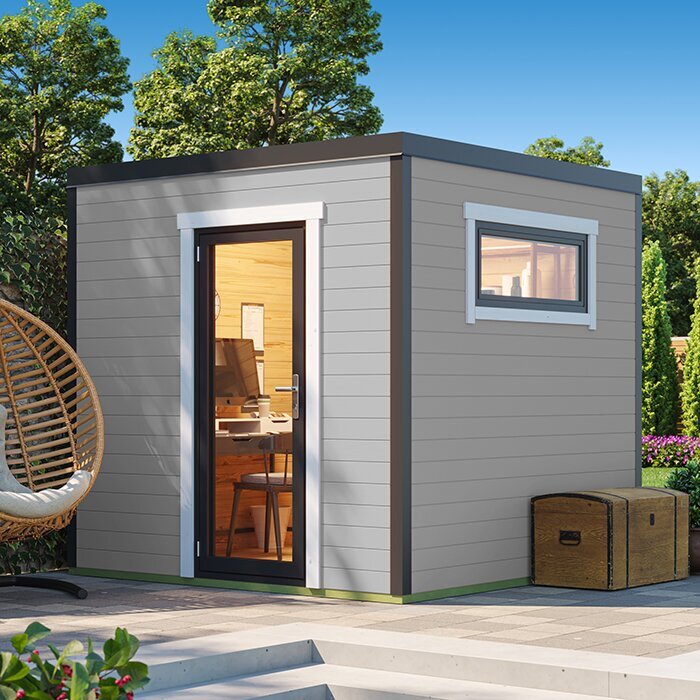
Plan the sequence around the chosen position. Work beneath or within a floor may be more accessible before the shed is assembled, while a layer above the floor can sometimes be considered later if the design allows for the extra height and weight. Do not assume an assembled shed can be moved or lifted to create access underneath. If you are considering the Durano garden shed, discuss the proposed floor build-up and timing with the supplier or installer while the assembly plan is still being set.
Before you order 3
Compare insulation products for the actual floor
Choose a product only after you know the available depth and exposure. Rigid boards, flexible batts and other insulation products have different support and protection needs; none is automatically right for every shed floor. Check the manufacturer’s stated application, moisture response and installation requirements, and ask whether the product needs a particular layer or covering. A product that suits one part of a building may not suit a floor location. When reviewing the Veltor 1 garden shed as a candidate, confirm the floor details first, then compare insulation against that design.
Compare declared thermal-performance information on a like-for-like basis. If a product gives an R-value, check whether it describes the insulation material alone or a complete floor assembly; thickness by itself does not tell you how the finished floor will perform. Read the product information for any limits on where and how it can be used, rather than relying on a label alone. Also consider whether the product can be adequately supported and protected in its intended position, and check any relevant fire information for the planned use. Where the information is unclear, ask the supplier or a qualified installer rather than filling gaps with assumptions. A comparison is most useful when every option is being considered for the same floor location and intended build-up.
Plan for moisture and underfloor exposure
Consider the conditions beneath and around the shed before choosing a floor system. Damp ground, rain splash, poor drainage or a leak can expose the underside of a floor to moisture. Seasonal changes in the site can matter too, so look for places where water collects after rain rather than assessing the ground only when it is dry. Insulation will not correct those causes, and adding a layer over a damp floor can make the problem harder to see or address. Check the site and the shed’s base details for likely moisture exposure, and deal with water entry or persistent damp before covering the floor. This is a separate decision from how much insulation to buy.
Ask how the proposed floor assembly manages moisture, including whether a separation layer or underfloor space is specified and where it belongs. Do not choose a membrane position or close off a cavity by habit: the right approach depends on the floor and base design. Check whether the insulation needs protection from water, physical damage or pests, and whether it will remain accessible for inspection. For the Orello 1 garden shed, as for any shortlisted model, request guidance on the floor assembly rather than inferring moisture details from a product image or name.
Before you order 4
Check floor loads and planned services
The floor must suit what the shed will contain and how it will be used. Stored boxes, shelving, a workbench or heavier equipment place different demands on the floor and its supports. Insulation is not a substitute for structural support, and its thickness does not indicate how much weight the floor can carry. Ask for the shed’s floor-loading guidance, particularly if you plan to place heavy items in one area. If the intended loads or support arrangements are uncertain, discuss them with the supplier or a qualified building professional rather than calculating a change yourself.
Plan fitted items and service routes before the floor is closed in. A bench, shelving or equipment may need to be fixed to a suitable part of the floor or frame, not simply to an insulation layer or finish. Mark likely positions early so that heavy items are not concentrated in a place that has not been assessed for them. If plumbing or electrical services are part of the plan, show their proposed routes to the people carrying out the work so access and the floor build-up can be coordinated. Do not cut or alter structural members to create a route without appropriate advice. For a model such as the Modano 1 garden shed, obtain the relevant floor information before finalising the fit-out.
Verify dimensions and package contents before ordering
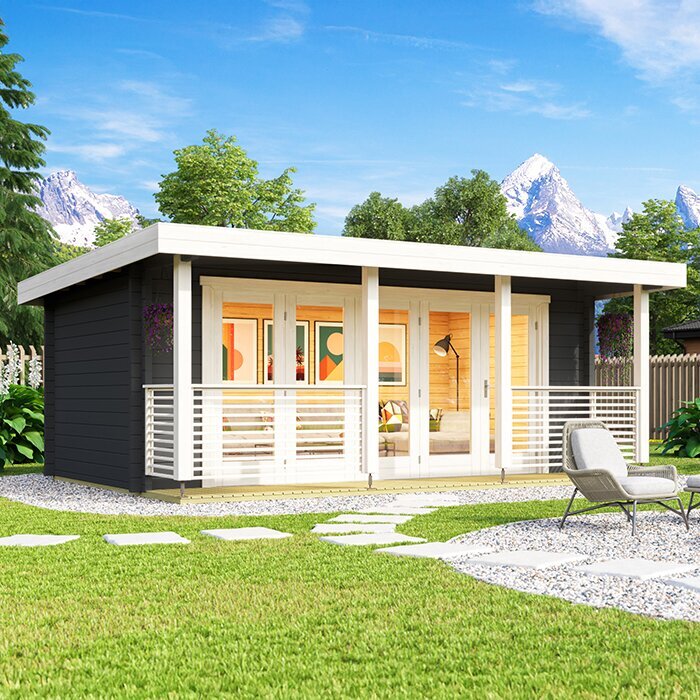
Use the shed’s actual drawings to coordinate the base, floor and insulation space. Check the footprint and support layout, the position of the doorway, and any stated internal dimensions that could be affected by a raised floor. A model name or image is not a substitute for measurements. If Timber Garden Shed M is on your shortlist, ask for the drawings and package details needed to plan the base and floor, then confirm that the proposed insulation layers fit the arrangement shown. Keep a copy of the information used for the order.
Confirm what the package includes rather than assuming that the floor, insulation, moisture-control layer or finished surface is supplied. Ask who is responsible for each part, including the base and any separately sourced materials. If information is provided in drawings, written specifications and a quotation, compare them and query any differences before placing the order. Check that there is suitable access for assembly and for storing materials on site, and discuss the delivery route with the supplier. These details can affect how and when the floor is assembled, even though they do not determine which insulation product is best. Keeping the package list with the floor plan makes it easier to identify missing items before work begins.
Before you order 5
Cost the complete floor build-up
Compare the cost of a complete floor assembly, not just the insulation product. Depending on the design, the total may involve supports, insulation, a moisture-control layer, protective covering, floor finish, labour and material handling. Include preparation or alterations that are necessary to accommodate the chosen build-up, rather than treating them as an unrelated expense. The exact items will vary, so ask for a clear breakdown rather than assuming every quote includes the same work. This makes it easier to weigh a simpler floor against a more involved build-up and to spot components that have not yet been allowed for. It also gives you a clearer basis for comparing proposals from different trades.
Agree who is supplying and fitting each part before confirming the order. The shed supplier, base builder and assembler may have different scopes, and a change to the supplied floor could affect how the work is organised. When costing Wooden Garden Shed S, or another shortlisted model, match the price information to its actual package and the floor plan you intend to use. Keep changes and responsibilities clear so insulation is not left as an unallocated task once assembly is under way.
Record the decisions before assembly
Put the essential details in one written plan: the shed model, the drawing being used, the base arrangement, the supplied floor, the insulation position and product, the finished floor level, and any moisture or access requirements. Add the intended use and any significant loads or service routes. Record which details have been confirmed by the supplier and which are still assumptions, so unresolved points do not get mistaken for instructions. This gives the supplier, base builder and assembler a shared reference instead of relying on separate conversations. Keep product instructions with the plan, and note any questions that still need a response before materials are ordered. A dated copy is useful if the plan changes during ordering or site preparation.
Before assembly begins, check that the base and supplied floor match the agreed information. If dimensions, supports or package contents differ, pause and ask the supplier or installer how to proceed; do not improvise a new floor structure to make the insulation fit. A qualified professional can advise on structural or moisture questions that fall outside the product instructions. Settling these points early leaves you with a floor plan that fits the chosen shed and its intended use.
Frequently asked questions
Does floor insulation need to be fitted before the shed is assembled?
Not always, but its position should be decided before assembly. Insulation fitted below or within a floor can be harder to access once the shed is built. Ask the supplier or installer which sequence suits the specific floor design before ordering materials.
Can insulation be added above an existing shed floor?
It may be possible, but the extra layer raises the finished floor and can affect the doorway, usable height and floor support. Check the shed’s requirements, moisture details and door clearance first. If the new layer changes the floor structure, ask a qualified professional to review the plan.
Does a concrete base mean floor insulation is unnecessary?
A concrete base and insulation serve different purposes. A slab may support the shed, but that does not mean the floor assembly is insulated or that moisture is automatically managed. Check how the shed floor is designed to meet the base, and consider insulation in light of the shed’s intended use.
Can I use any insulation board or batt under a garden shed?
No. Products differ in their intended position, moisture response, support needs and protection requirements. Check the manufacturer’s information for suitability in the proposed floor assembly, rather than choosing by thickness or by assuming a product intended for another part of a building will work here.
Will an insulated floor keep the whole shed warm?
Not by itself. The floor is one part of the building; the walls, roof, doors, glazing and air leakage also affect indoor conditions. Decide what improvement you want, then consider whether the complete shed design and its intended use support that expectation.
A sound floor-insulation plan starts with a known shed floor and base, then accounts for the layer’s position, moisture exposure, finished height and intended loads. Resolve those details while comparing sheds and before ordering materials or beginning assembly. That way, the insulation choice fits the floor that will actually be built, rather than relying on assumptions made after access is limited.
