
Garden shed hobby rooms: storage without losing workspace
Garden shed planning
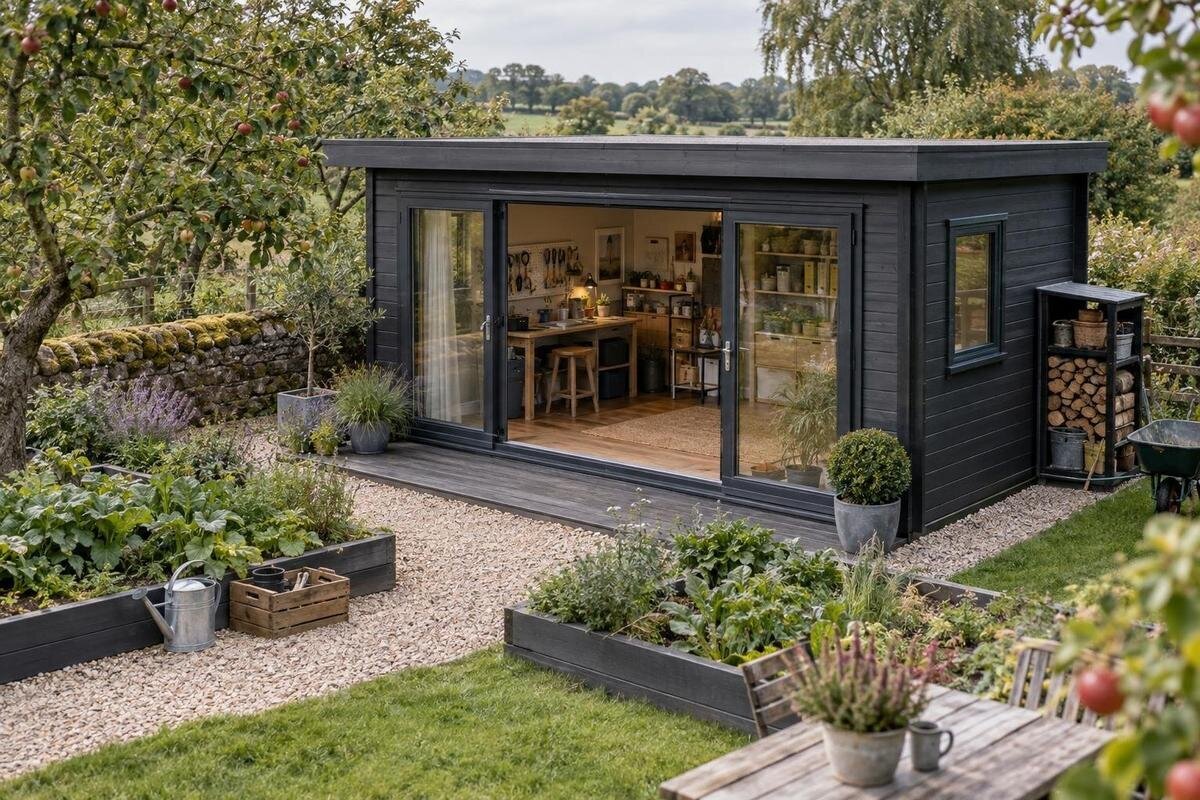
Turning a garden shed into a hobby room is a space-planning decision as much as a storage exercise. The tools and supplies need homes, but each project also needs room for setup, movement and work in progress. Before choosing a shed or ordering shelves, list what must stay inside, measure the largest items and sketch the working area. That makes it easier to compare a product's documented usable space with the way you actually work.
List the jobs the hobby room needs to support
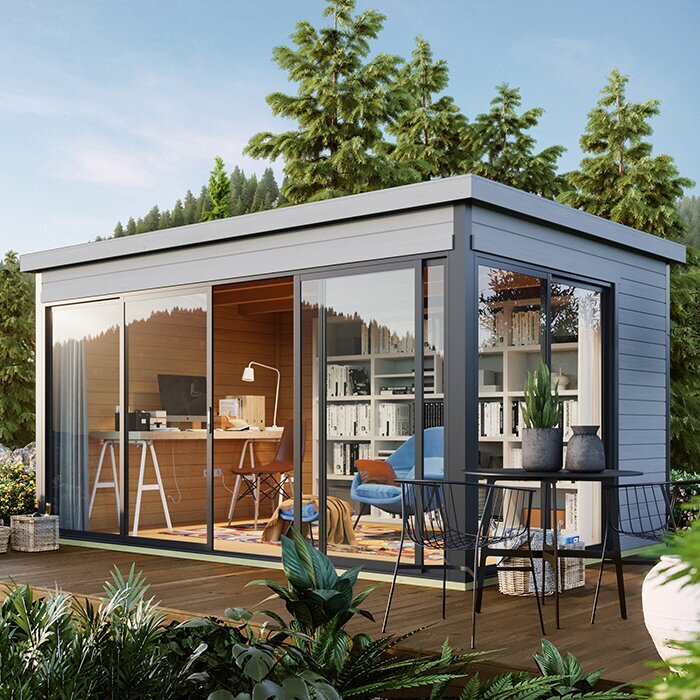
Begin with the work, not the catalogue photo. List the activities the room must handle, from a quick repair to a project that stays spread out for several days. For each one, note the largest item you work on, the tools used together, whether you need a bench or a clear patch of floor, and whether you work seated, standing or both. Include setup and pack-down: a short task may take little time, yet still need a place to sort parts and put them away. Note which jobs need a larger surface or a clear area for moving equipment. Think about where you place a cup, instructions, offcuts and parts while working; these small temporary items also need somewhere sensible to go. This separates storage volume from usable workspace.
Rank equipment by how often you use it and whether it must stay assembled. Separate everyday hand tools, occasional equipment, raw materials and finished projects; note objects that would be awkward to carry through a narrow opening. If several hobbies share the room, identify the main activity and what can be packed away between sessions. When comparing listings such as the Verdana 1 garden shed, confirm dimensions and features on the product page rather than inferring them from a name or image. Treat it as a candidate only if the documented layout can accommodate the work zone and storage you have listed.
Measure equipment and supplies before choosing a size
Measure the actual gear and containers, not the pile you think they will make. Record the length, width and height of the largest tools, cases, boxed supplies and workpieces. For long-handled or irregular items, consider the space needed to lift them out and put them back. Count the bins you already own and check whether their lids can open on a shelf. Measure folded tables, stools and project boards as well, since they often need more storage room than their everyday appearance suggests. Estimate a realistic maximum quantity of regular supplies, too, but distinguish that from speculative future purchases so the room is not sized around an imaginary collection.
Compare your inventory with the stated external footprint and, most importantly, the internal dimensions and entrance opening. Walls, a bench and storage units reduce the clear area available inside; a nominal floor size does not tell you how much room remains beside a workbench. Use the listing for the Verdana 2 garden shed as a candidate to check, not a substitute for a plan: confirm which measurements are given and what they describe. Leave enough access to remove the largest item without unloading the whole room. If equipment is carried in and out often, consider how it will turn between the entrance and its storage place.
Draw the work zone before adding storage
Draw a simple plan before buying a bench or storage units. Mark the internal walls, entrance and any window or fixed feature shown in the product information, then sketch the work surface, tall equipment and storage to scale. Reserve room to stand, turn, sit or pass behind a chair, and include the area occupied when the entrance is open. A clear central patch can be more useful than another cupboard when a project involves spreading parts out or moving between work surfaces.
Check the layout against a typical project, not just an empty-room drawing. Mark the largest object on the bench, the tools you reach for, and where an unfinished project can remain without blocking the route. Include space for drawers and cabinet doors to open, and for a piece of work to extend beyond the bench if needed. Also show where packaging, a stool and a temporary sorting tray will sit during a session, rather than assuming they will disappear. Try different bench positions on paper, then compare them with the stated dimensions for the Durano garden shed listing. The aim is a workable arrangement that fits the documented openings, not a plan that fills every square metre.
Keep frequently used tools close to the workbench
Choose storage by how each item is used. Keep tools needed at nearly every session close to the workbench; put occasional supplies further away only if they can still be reached and lifted safely. Small parts suit labelled containers that can be carried to the bench, while larger equipment may need a dedicated floor-level space. Open shelves make contents easy to see but can collect dust. Closed boxes help group supplies, but labels and a consistent place make them easier to find again.
Think in zones: a work surface, a frequently used tool area, a replenishment area and a place for finished or in-progress work. That helps prevent stock from occupying the bench by default. Measure storage furniture as well as the shed, including drawer clearance and space to pull out bins. Leave a return spot for tools after cleaning or checking them, so a brief interruption does not create a pile on the work surface. If considering the Veltor 1 garden shed, compare its current documented dimensions with your arrangement; the model name alone does not tell you how much usable storage or floor area it offers. A carry tray for the tools used in each session can also keep the bench clear when hobbies share the room.
Use wall storage only where it is suitable
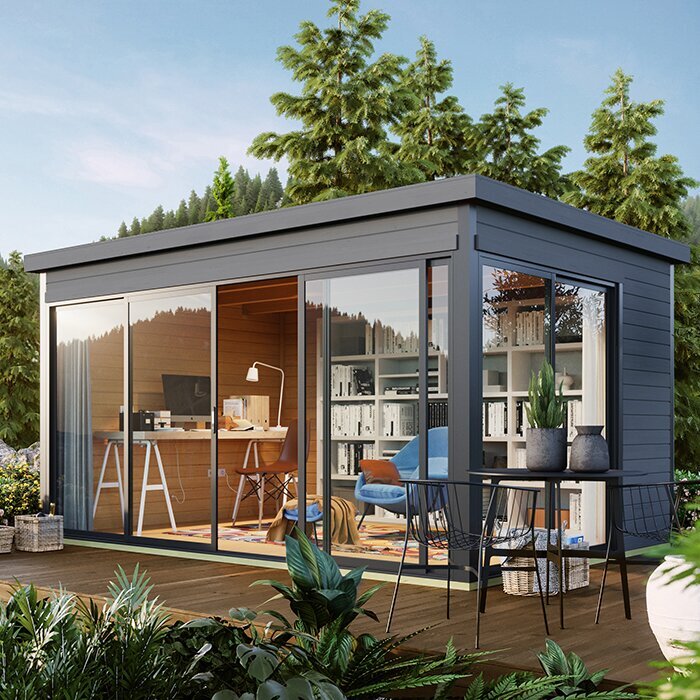
Wall-mounted storage can free floor space, but plan it around the building's instructions. Before adding rails, hooks, cabinets or shelves, look for the manufacturer's fixing guidance and confirm which wall areas are suitable. Do not assume a wall is an appropriate mounting point or that a photo shows how it is constructed. If the guidance is unclear, ask the supplier or a qualified installer rather than drilling first. Freestanding units are another option, although they take floor area and still need stable placement.
Use higher positions for light, infrequently used items only when they can be reached and returned without awkward lifting. Keep heavier items low and within easy reach, and secure long tools so they do not fall into a walkway. For a candidate such as the Orello garden shed listing, verify the actual wall details and mounting advice before planning a fixed storage system; do not infer capacity or construction from its name. Count shelves and equipment in your drawing as well as the clear floor, so the finished layout does not become cramped.
Size the workbench for regular projects
Size the workbench for the largest regular task, not for the biggest project you might do once. Allow space for the workpiece, the tools and other aids you already use, and room for your hands to move around it. If a task needs a wider surface, consider whether the bench can be cleared or whether you need a separate table. A bench that is too shallow can push materials onto shelves or the floor; an oversized one can take away the clear area needed for projects.
Check where the bench can sit without cutting across the entrance route or colliding with storage doors and drawers. If you alternate between sitting and standing, include space for a seat and for moving it; do not count that footprint as storage. Choose a surface that suits the work and cleaning products you use, checking the bench maker's guidance for heat, spills or abrasion. Use the Modano garden shed listing as a product to compare with your measured layout, and confirm its stated internal measurements before deciding whether the bench fits.
Store supplies according to their care needs
Not every supply belongs in the same cupboard. Check labels or supplier guidance for products that need protection from moisture, heat, sunlight, dust or restricted access. A garden shed's conditions depend on its construction, location and fit-out, so do not assume it will keep sensitive materials at a particular temperature or humidity. Put frequently used, suitable items in easy-reach storage and keep products with specific requirements in an appropriate place. Group materials by their care needs, rather than by colour or package size alone.
Plan a small place for routine clean-up as well: a waste container, reusable cloths and a tray for parts can stop offcuts or spills taking over the bench. Keep products requiring careful handling in their original labelled containers, follow their instructions, and separate them where the labels call for it. If the hobby involves fumes, dust or other by-products, check the material guidance and the room's suitability. When assessing the Garden Shed M listing, verify the product information against those needs instead of treating its name as evidence of a particular material or environment.
Plan lighting and ventilation around the task
Good visibility helps when sorting, assembling and inspecting small parts. Work out where the bench will sit relative to any documented windows, then consider how daylight and shadows affect the task. A bright product photograph does not represent conditions at your site. A task light may help with close detail, but position it so it does not create glare on shiny pieces or leave one side of the work in shadow. Include room in the plan for the light and for safe access to it.
Ventilation and power need separate checks. If an activity produces dust or vapours, follow the relevant material and equipment instructions and ask a qualified professional what the room needs; do not assume a shed is suitable just because it has a window. If you want powered tools, lighting or heating, confirm before ordering that the building and proposed fit-out can accommodate the work, and have electrical matters assessed by a qualified electrician. For the Garden Shed S listing, consult the current product details rather than reading features into the product name.
Check the site, base and ordering details
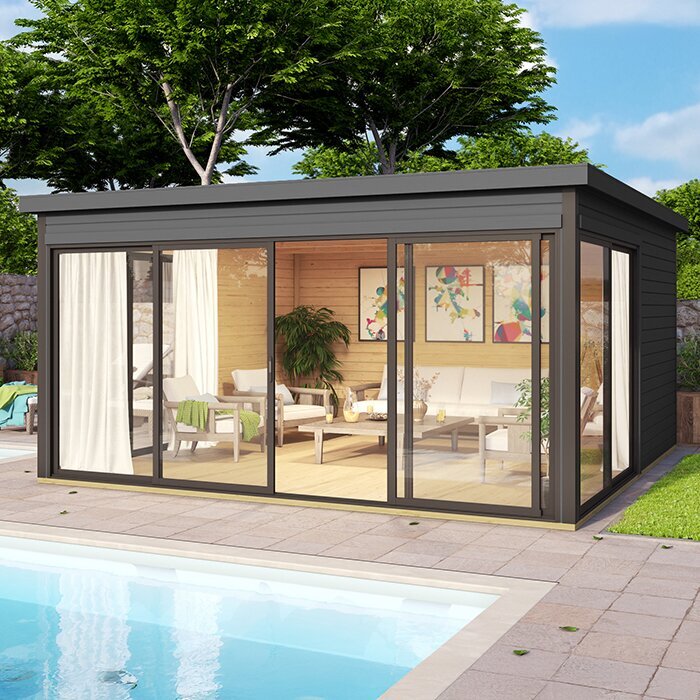
Look at the site as well as the floor plan. Measure the intended footprint and the route needed to bring building components and stored equipment to the room, including gates, turns and overhead obstructions. Check the ground, drainage and base requirements stated by the supplier. If the surface or proposed base raises structural questions, get advice from a qualified building professional rather than relying on a sketch or general rule. Keep the planned entrance accessible after landscaping, bins or outdoor furniture are in place; a well-arranged interior is of little use if the room is difficult to reach.
Before placing an order, confirm what is included. Check whether a floor, glazing, fixings or treatment is part of the offer, and what preparation or assembly is left to you. Details vary by product, so use the current listing or a written quote rather than assuming a category image shows everything supplied. Ask about delivery and assembly arrangements, access requirements, lead time and any separate charges. If approvals or services may be relevant to your property, check with your local council or an appropriate professional. Compare the full project cost, including site preparation and the storage you plan to add.
Leave room for projects and storage to change
Allow for the hobby to change. New tools, different materials or a larger project can quickly consume every shelf if the plan uses all the wall and floor space on day one. Decide which supplies are essential to keep in the shed and which can stay elsewhere; give the most flexible area to the activity that changes most. Movable storage or stackable containers can make adaptation easier, provided each item still has a stable, suitable home. Keep a simple inventory of boxed supplies and review it before buying duplicates, so forgotten materials do not gradually take over the work area. Avoid treating every unfilled corner as a reason to buy more shelving.
Before settling on a size, mark the planned bench and storage on the actual site with tape, or lay out a full-size plan on the floor if the shed is already there. Check that the entrance opens, drawers and boxes can be used, and the largest project can be brought in and turned without shifting everything else. Repeat the check with the storage temporarily filled where possible, because empty shelves can make a tight layout look more generous than it will be in use. Match that trial with the candidate's confirmed internal dimensions, entrance opening and included features. If the arrangement works only by occupying the whole room, rethink what needs to stay or adjust the layout before ordering. Clear space is part of the workspace, not wasted capacity.
Frequently asked questions
How much clear floor space should a garden shed hobby room have?
There is no single useful measurement for every hobby. Base it on the largest project you expect to handle, the space needed to stand or sit at the bench, and a clear route between the entrance and storage. Draw those areas to scale and include the space taken up by open drawers, boxes and the door.
Are open shelves or closed boxes better for hobby supplies?
Use the type that suits the contents and how often you need them. Open shelves make frequently used items easy to see, while labelled boxes can group small parts and help protect supplies from dust. Check storage instructions for sensitive materials, and make sure containers remain easy to reach and return.
Can I use any garden shed for hobbies all year?
Not necessarily. Conditions depend on the building, its location and any fit-out, so do not assume a shed controls temperature or moisture. Check the product information and the care instructions for materials you plan to store. If your activity produces dust or vapours, follow equipment guidance and seek advice about the room's suitability.
Can I attach hooks or shelves to the shed walls?
Only plan fixed storage after checking the product's instructions for suitable fixing points and installation. Do not assume a wall can support a shelf or cabinet based on a photo. If the guidance is unclear, ask the supplier or a qualified installer. Freestanding storage is another option, but it still needs stable placement.
What should I confirm before ordering a garden shed?
Check the stated internal dimensions and entrance opening against your layout, and confirm what is included, such as a floor or fixings. Also ask about base preparation, assembly, delivery access and any separate charges. If site approvals, structural questions or electrical work may apply, check with your local council or a suitable qualified professional.
An effective hobby shed is not the one with the most shelves; it is the one where equipment has a sensible home and a project can occupy the bench or floor without first forcing a full clear-out. Let the task list, measured inventory and drawn work zone guide the size choice. Keeping some storage and floor area free makes it easier for the room to adapt as the hobby changes.
