
How Many People Are Needed to Assemble a Garden Shed?
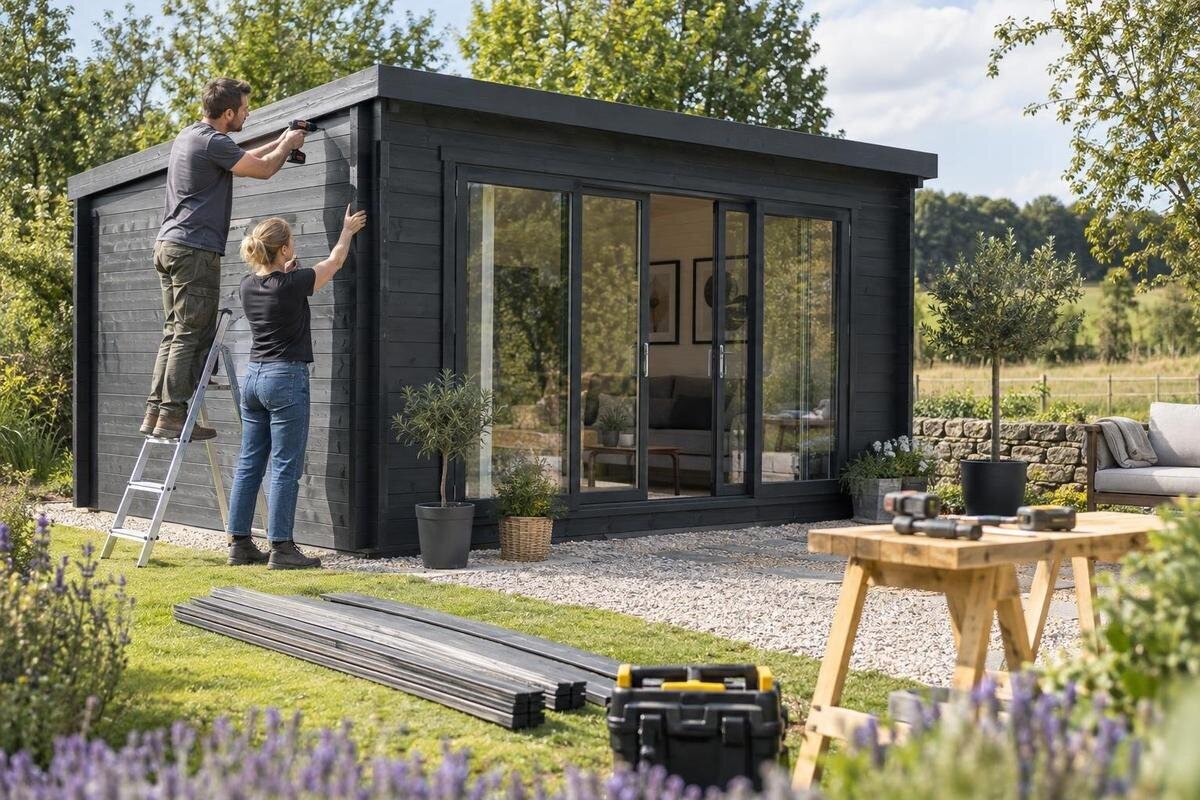
Garden shed assembly planning
A garden shed does not come with one universal assembly headcount. The most useful estimate comes from the exact instructions, the pieces that need to be held and the route into the build area. Review those details before ordering or setting a date, so you can decide whether a second person is enough, when extra help is needed and whether an installer is the more practical option.
01
A practical headcount depends on the kit
There is no single headcount that suits every garden shed kit. For a straightforward assembly, two capable people are a useful starting point, rather than assuming one person can manage every panel. The actual requirement depends on the kit and its instructions: small fittings may be handled by one person, while lifting, holding or aligning a larger section can call for another pair of hands, and occasionally extra help at one stage. This is a planning estimate, not a manufacturer requirement. If the manual states a minimum team size, follow it; if it does not explain a lift clearly, ask the supplier or manufacturer before arranging the build. A different model can call for a different team, even if two sheds look similar in a listing. In practical planning, focus on the most demanding lift rather than counting small fittings.
Count people by task, not by the whole duration of the job. Checking parts, reading the guide or preparing the work area may be manageable alone; positioning a larger section may require one person to steady it while another fixes it. A third helper can be useful for a short, awkward lift or to pass parts without distracting the person following the instructions, but may not need to stay for every step. Give each helper a clear role and keep people without a task out of the active area. If a piece is hard to control, pause rather than improvise. If only one helper is available, schedule the relevant stages for when they can stay for every step that needs another pair of hands.
Check the exact assembly guide before ordering
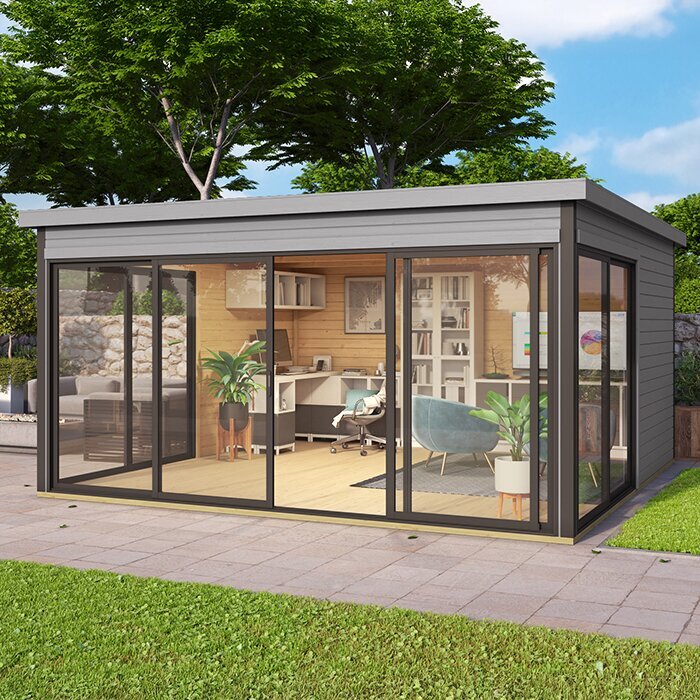
Before ordering, look for the assembly instructions for the exact model, not just a product photo or a general claim that a kit is easy to assemble. Check whether the guide gives a minimum number of people, identifies stages that need extra hands, and shows how a section is positioned or held while it is fixed. Confirm what is included and what you must supply; a missing tool or component can alter your plan, so rely on the listing and documents rather than assumption. When considering the Verdana 1 garden shed, ask for its model-specific instructions and use those to establish the team size. If the guide is not available, request it before purchase.
Read the guide to map its lifting and joining stages, not only to learn the order of assembly. Look for diagrams that show a person supporting a wall, working at opposite sides, or keeping a component in place while another task is completed. Note whether a step names a helper or extra equipment, then line up people who can do that work. If the drawings are unclear about a panel’s handling, ask about that exact item; another shed’s manual or a finished-product photo is not proof. If the order has optional configurations, check that the guide matches the one you plan to buy. An early question is especially useful if you have limited helper availability, a narrow access route or a fixed build date.
02
Panel size and handling matter more than floor area
Overall floor area is a poor way to predict the number of hands needed. The individual components matter: a long panel can be awkward to turn in a tight space even if it is not heavy, while several smaller pieces may be easier to position in sequence. Wall, door or roof sections may need to be supported as they are joined, but their size and handling method vary from kit to kit. Check component dimensions or weights if the supplier provides them, and use the instructions to identify lifts that need more than one person. Do not estimate weight from a photo or assume a compact shed can be assembled by one person. If the guide does not make the hardest components clear, ask about them before purchase.
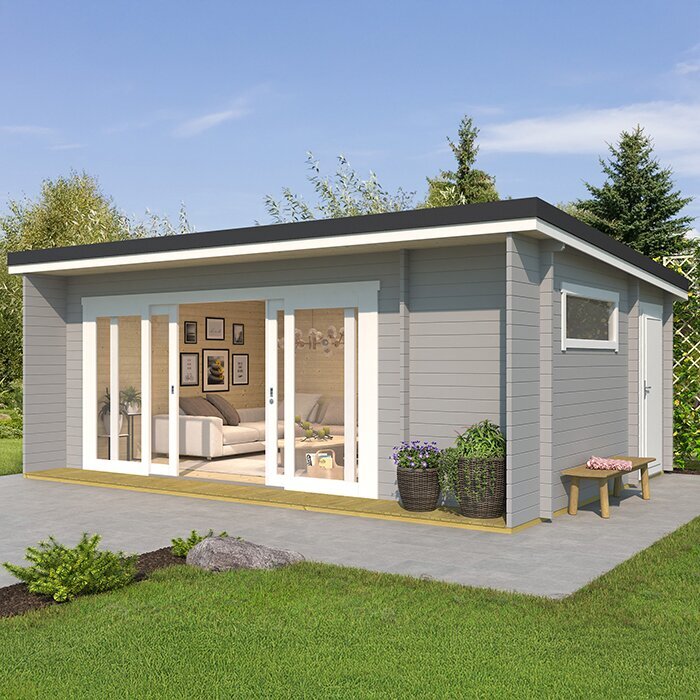
Consider the route from the package area to the work area as well as the lift itself. A long component needs room to turn, and a helper can guide it only if there is space to stand without obstructing the person carrying it. Wind, a slippery surface or uneven footing can make a part harder to control; choose suitable conditions and stop if the team cannot keep a secure hold. Do not add people to compensate for a lift no one can manage. If an instruction calls for more helpers or equipment, arrange that support before starting. The Verdana 2 garden shed listing identifies a model to check, but its name cannot tell you panel size or staffing requirements.
Different assembly stages need different help
Not every step needs the same team. Sorting parts, checking labels and reading diagrams can often be done by one person, while putting a larger section in position may require someone to steady or align it as another fastens it. A helper who can follow the guide and respond to clear instructions is more useful than an extra person who is unsure of the sequence. Before a lift, agree simple calls such as ‘hold’, ‘move’ and ‘stop’, and ensure everyone understands who gives them. Keep the manual accessible so nobody has to rely on memory or guess the next step. For a small team, avoid asking the person holding a section to fetch parts at the same time.
Make a basic stage plan from the manual: preparation; tasks that need two people; and any lift for which the instructions specify more support. Ask helpers to be available for those stages rather than counting them as full-day workers. For the Durano garden shed, verify the plan against the instructions for that exact model; another kit’s assembly sequence is not a reliable substitute. If no headcount is stated and a piece looks difficult to position, do not learn by trial and error. Pause and seek clarification before continuing. Treat a suggested team size as a minimum planning point, not a reason to rush if people cannot communicate or control the component.
03
Access and preparation affect who needs to be there
Access between the delivery point and the build area can affect how many people you need, although it does not change the assembly instructions. Before ordering, check the route for gates, steps, narrow turns, soft ground and corners where a long package cannot be turned. Ask how the components will be delivered and where they can be left; do not assume the driver will carry them to the work area. If you need to move packages by hand, plan that task separately and follow any package labels or handling directions. Someone who can help unload may not be the person needed when assembly begins, so make those roles clear. A long or restricted route may also mean you need to plan where to pause while moving items.
Prepare a clear working area so the team is not carrying components over tools, garden furniture or stored items. Leave room around the intended build area for the people shown in the instructions to stand and position parts, and keep a route open for moving them. Check that the base or prepared surface meets the manufacturer’s requirements; if it is not ready, resolve that before the kit arrives rather than asking the assembly team to work around it. For the Veltor 1 garden shed, confirm package and access details for the exact order with the supplier. This is a logistics check, not something a model name or image can answer.
Choose helpers who can follow the instructions
Choose helpers for reliability and communication, not simply headcount. At least one person should be comfortable following written or illustrated instructions and keeping track of the sequence. Others need to understand the agreed calls and let the lead know if a part is blocked or out of position. Familiarity with similar assembly can help with pace, but it does not replace the current guide: details differ between kits. If everyone is new to this kind of build, assign one person to read each step aloud and let the team confirm it before moving a component. A calm, attentive team is more useful than extra people arriving without knowing what they are there to do. Confirm that helpers can stay for the full stage they are assigned.
Before the build, agree who leads, who handles components, who checks the fasteners and who can fetch the next part. Avoid having several people reach for the same section or give conflicting directions. If someone is coming only for one difficult stage, explain the expected task and timing in advance. Keep children and pets away from the active work area, and do not put a helper in a position where they cannot move clear. Use the Orello 1 product page to identify the item you are considering; a product title does not establish whether your helpers have the space, ability or number required. The specific guide and site conditions determine those decisions.
04
When to consider a professional installer
Paying an installer is worth considering if the guide calls for more people than you can organise, the components feel beyond what your team can handle, or you cannot give the build enough uninterrupted time. It may also suit you if you are unsure about interpreting the instructions or preparing the site. An installer may have relevant experience and suitable help, but confirm this rather than assuming it. Assembly is not automatically included with a product purchase. Ask the supplier whether installation is available or whether the manufacturer can explain the recommended team. Decide before delivery or other arrangements are locked in, so installation is part of your buying plan rather than a last-minute fix.
Before agreeing, get the scope in writing. Ask which assembly stages are included, who supplies tools or extra equipment, whether site preparation and unloading are excluded, how missing or damaged parts are handled, and what needs to be ready before the installer arrives. Also clarify who unpacks the kit and deals with packaging. Confirm the price and any possible additional charges directly, as service terms vary. If you are looking at the Modano 1 garden shed, confirm separately whether an assembly service is actually available for that specific item. The product identity alone does not establish installation availability. Clear responsibilities make it easier to compare a DIY build with paid assembly on a like-for-like basis.
Separate delivery handling from assembly
Assembly headcount and delivery headcount are not always the same. One person may be able to receive and check an order, while moving packages or positioning parts later may call for additional help; these are separate tasks with different handling needs. Read delivery terms and packing information before setting a date, and ask who is responsible for unloading and where the kit will be left. Keep enough time to check the delivered components against the supplied list and contact the seller if anything appears missing or damaged. Note any issue before assembly begins, and do not start a lift just to keep to a timetable. If a delivery problem affects the work, pause until you know how to proceed.
Book helpers for the stages identified in the instructions, and tell them what to bring only where the guide says it is needed. Agree on a start time that leaves room to read the instructions, identify parts and take sensible pauses; a rushed build can lead to missed steps or poor coordination. If the weather or work area makes components hard to control, reschedule rather than insisting everyone attend. For the Timber Garden Shed M listing, check the order-specific delivery and assembly information instead of assuming what the product title includes. Keep the manual and the supplier’s contact details available so the team can resolve questions before proceeding.
05
Compare documented assembly demands when choosing
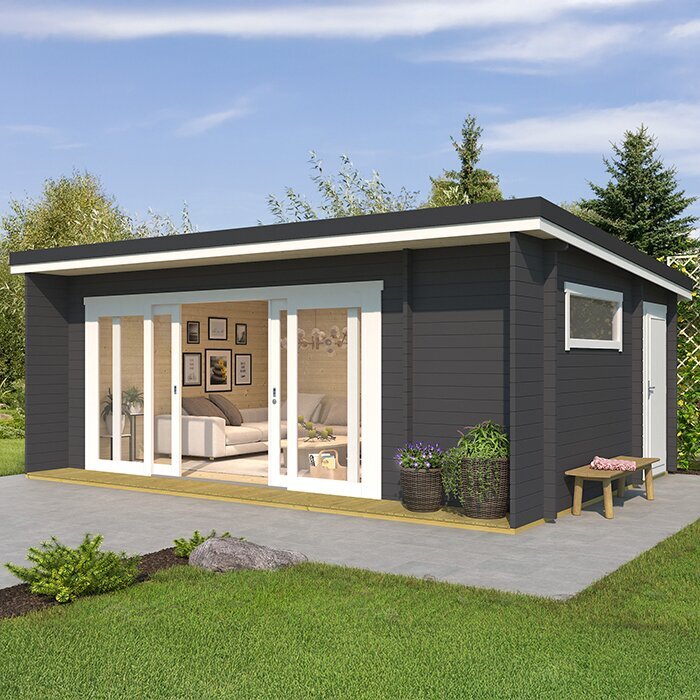
When two garden sheds look comparable in a listing, use assembly information as one buying criterion. Ask for the guide or a clear summary of the stages, helper numbers, and component dimensions or weights if available. Confirm which parts and fasteners are supplied and what you must provide, and ask whether the manufacturer calls for extra equipment. A photograph may show the finished appearance, but cannot tell you how a roof section is lifted or how many people the instructions expect. Compare documents for each exact model, not a broad category description or another product’s review. If the guide gives a time estimate, check what team size it assumes; do not treat it as a promise for your own build.
Also consider who can actually help on your intended build date. If the instructions expect several people at a particular stage, a shed that suits your space may still be a poor practical choice if that team is unavailable. Check whether packages can be moved along your access route and what to do if a step cannot be completed as shown. For the Wooden Garden Shed S listing, use its own documents to answer those questions; the listing name is not evidence of assembly time, staffing or kit contents. Choose on documented requirements and workable logistics, alongside the space and use you need the shed to suit, rather than apparent simplicity.
Make a headcount plan for each stage
Before settling the headcount, make a one-page plan from the manual. Write down who will lead, which tasks can be prepared alone, when another person must hold or align a component, and whether any instruction calls for additional support. Note which helpers can join for a particular lift, so temporary assistance is not confused with the team needed throughout the day. List unloading and moving packages separately if you are responsible for either. If the exact number is missing from the guide, request advice for the model rather than guessing from the shed’s overall size. Keep the plan beside the instruction booklet and share the relevant stages with helpers in advance.
Set a clear rule for stopping: if a component cannot be controlled, a helper has to leave, someone is too tired to continue, or the work differs from the illustration, pause and check the instructions or ask the supplier. Do not reduce a number named by the manufacturer or improvise a lift to keep moving. Arrange extra support before resuming, and make sure the person coordinating the work knows when to stop. The useful answer to ‘how many people?’ is the number required by the instructions for each stage, with enough suitable help available to carry out those tasks without rushing.
Frequently asked questions
Can one person assemble a garden shed?
Sometimes, but do not assume a solo build is suitable from the shed’s size or appearance. Follow the instructions for the exact kit. If they call for another person at any stage, arrange that help; if the guide gives no headcount, ask before starting.
Is two people enough?
Two capable people are a useful starting point for a straightforward assembly, not a guarantee. The manual may specify more help for particular lifts or stages. Check its requirements for your model and do not reduce the stated team size.
Do I need a third helper for the whole build?
Not necessarily. Extra help may be needed only for a particular lift or task. Use the instructions to identify those stages, then organise the third person’s availability around them. If the guide requires a larger team throughout, follow that instead.
What should I ask before ordering?
Ask for the assembly guide for the exact model, its recommended team size, and any stated component dimensions, weights or extra equipment. Also clarify delivery and unloading responsibilities, and whether an assembly service is available if you may need one.
What if I cannot organise enough helpers?
Do not begin a stage with fewer people than the instructions require. Ask the supplier or manufacturer whether there is an approved alternative, arrange a suitable installer, or postpone until the required help is available.
The useful answer is not simply one or two people: it is the number the instructions call for at each stage, with enough capable help available for the difficult lifts. Use two people as a starting estimate for a straightforward build, add support where the guide requires it, and settle the plan before you commit to an assembly date.
