
How to Mark Out a Garden Shed Before Ordering
Garden shed site planning
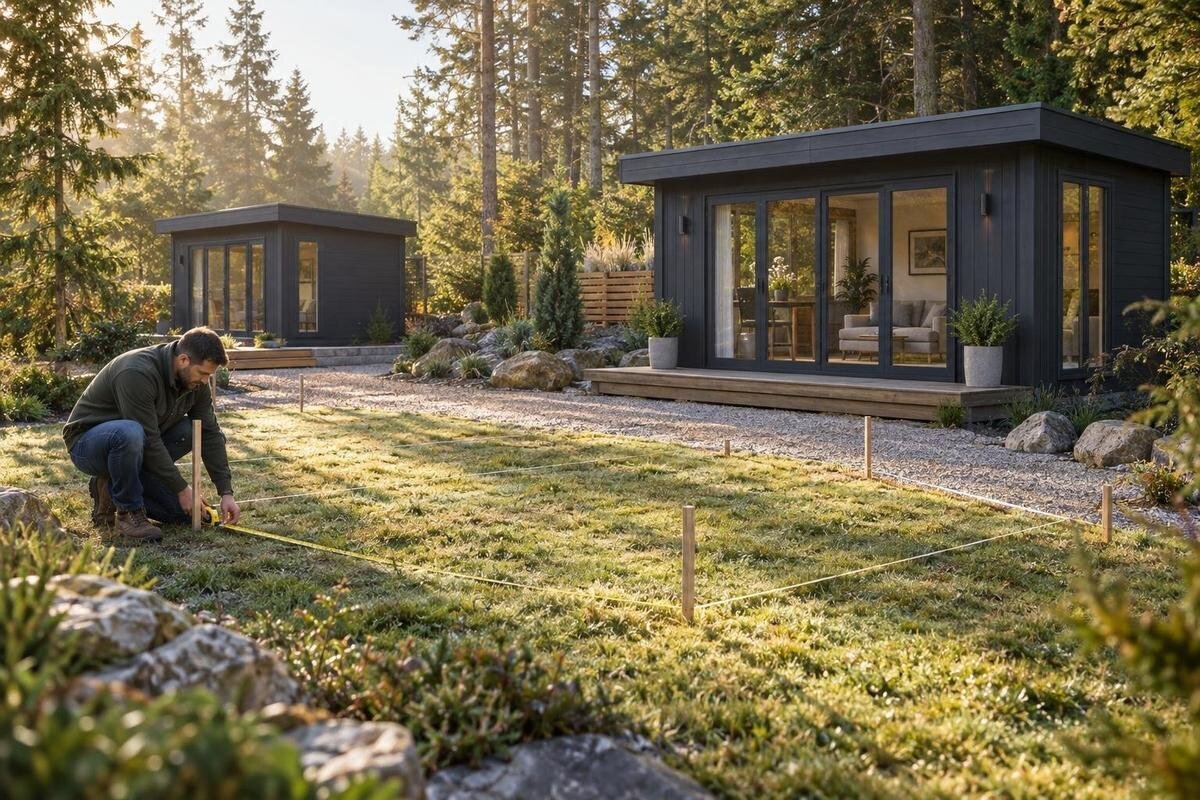
Before you order a garden shed, mark out its proposed footprint at full size in the spot you have in mind. A line on the ground makes the planned space easier to judge than a listing image: you can see how it affects access, garden paths, nearby plants and the view from the house. It also gives you a practical way to test the entrance and the room needed around the outside. Use the outline to compare a particular model and position, not to guess dimensions or assume the site is ready. Confirm any details the product information leaves unclear before ordering.
What a full-size outline shows
A garden shed can look modest on a screen and still change how a garden works once its full outline is on the lawn. A plan view helps you see whether it takes space from a vegetable bed, narrows the way to a gate or makes a sitting area feel enclosed. It turns a broad question about whether it will fit into practical ones: can you pass around it, reach the entrance and keep using nearby features? Those are placement questions as much as size questions. Marking the proposed position makes them visible while moving the shed is still only a change to a line.
An outline is also a straightforward way to compare two possible locations without relying on memory. Use removable markers, label the intended front and entrance side, and photograph each position from the same viewpoints so other people can assess the same layout. If the first spot blocks a path, shift the outline and test again rather than treating the original position as fixed. Testing a different orientation may solve one problem but create another at the entrance, so check both. The result is a visual planning aid, not proof that the ground will support a shed or that every product detail is known.
Use the exact outside footprint
Use the outside dimensions stated for the exact garden shed model and size you are considering. The ground mark should represent its outside footprint, not an interior floor area or a rough rectangle copied from a product photo. Read the drawing key and check what each figure describes. Where a drawing gives several measurements, identify the relevant sides before transferring them. If it is unclear whether a roof overhang, step or other projection sits beyond the stated outline, ask before marking it. That detail can move an edge into a path or planting bed. A model number or similar-looking product image is not a substitute for measurements.
Write the length and width beside a simple plan, then note which edge faces the house and where the entrance is shown. Keep the measurement units consistent when transferring them to the ground, and avoid rounding them just to make the mark easier. For a candidate such as the Verdana 1 garden shed, use only dimensions stated for that exact listing and variant; if they are missing or ambiguous, ask for clarification. If you are comparing several sheds, make a separate outline for each using its own confirmed dimensions. This keeps the comparison fair and shows whether a change of model also changes the route to the entrance.
Mark the full outline on the ground
On lawn or soil, string between temporary pegs makes a clear boundary; on a suitable hard surface, removable chalk or low-tack tape may work better. A tape measure helps place corners, while a visible cord or hose can help trace a shaped edge if the product drawing shows one. Choose a method that will not stain paving, lift turf or harm plants, and secure anything loose so it does not become a trip hazard. If you do not know what lies below the ground, avoid driving pegs and use a surface marker instead. The aim is a full-size, removable outline, not permanent ground work.
Mark every corner and join the points so the whole perimeter is visible; a few dots alone make it easy to underestimate how much space the walls take up. Label the entrance edge and mark any confirmed projection separately, rather than folding an uncertain overhang into the basic rectangle. Once the line is down, check it against the product dimensions again: string can shift and tape can be laid at an angle. If the outline has a recess or another non-rectangular feature, reproduce it from the exact product drawing instead of smoothing it into a rectangle. If considering the Verdana 2 garden shed, use its own confirmed layout, not another model’s plan.
Test the entrance position and door movement
The entrance needs its own check because a suitable footprint can still face the wrong way for your garden. Use the exact model’s layout to identify which side has the door and how it operates; a cropped photo may not show whether it opens inwards or outwards, or whether the entrance can be repositioned. Mark the opening area only when its movement is clear. A hinged door needs room for its leaf to move, while a sliding entrance needs a clear standing and access area. If the product information does not show the arrangement, ask rather than assuming the shed can be assembled in another orientation.
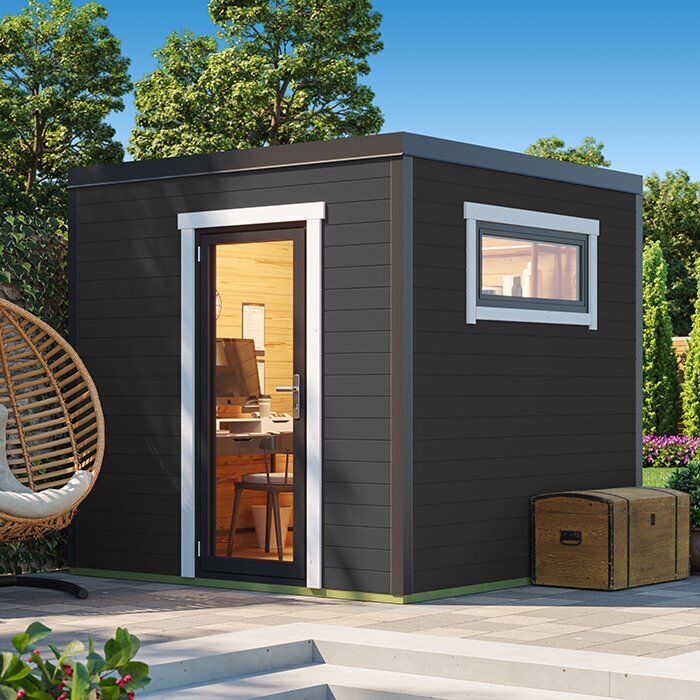
Stand where you expect to approach the doorway and act out a normal task: open it, step aside, carry a box or garden tool through, and turn towards the path. Check the space outside the door as well as the footprint; a planter, fence or raised bed can make entry awkward even when the doorway itself is unobstructed. If you routinely move larger equipment, try carrying something similar in size rather than judging with empty hands. Try another orientation if the site permits, but keep the entrance aligned with the confirmed plan. When assessing a page such as the Durano garden shed, confirm the exact entrance layout from its product information rather than relying on a name or image alone.
Check everyday paths around the shed
Walk the whole perimeter, especially along the sides nearest a fence, hedge or wall. A shed can fit inside a measured patch yet leave too little room for ordinary jobs such as reaching a tap, clearing fallen leaves or getting a mower past. There is no universal clearance that suits every garden; the space needed depends on the site, the shed details and the tasks you expect to do. Mark a route where you need one and notice tight turns or pinch points. If maintenance access matters on a particular side, test it before deciding the position is practical.
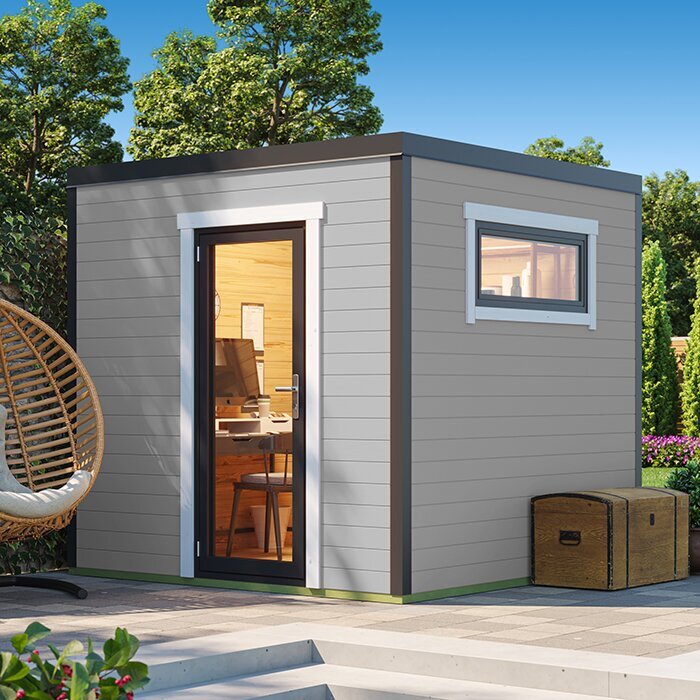
Check that the footprint will not cut across a route between the house, garden beds, compost, clothesline or gate. Walk the route as you would normally use it, with wheelie bins or tools in mind; a passage that feels roomy when empty can become awkward once a gate is open or a hose is laid across it. Check the gate’s full swing as well as the space it takes up when closed. Mark the working space you need separately from the shed outline. If comparing the Veltor 1 garden shed with another option, trace each at its confirmed size rather than assuming the same route will work for both.
Assess the ground and drainage
Use the outline to inspect the ground beneath the proposed position. Look for patches that stay wet, water marks after rain, uneven paving, soft soil or a noticeable fall across the space. If possible, observe the area in more than one type of weather; a fine-day visit may not reveal where water collects. Note which edge appears lower and where runoff naturally travels, rather than assuming the mark shows that the ground is level. A string outline cannot confirm that the surface or base is suitable. If the site appears persistently wet or uneven, pause and get advice specific to the location from a suitably qualified professional.
Check around the perimeter for downpipes, drains, garden taps, irrigation lines and access covers that need to stay reachable, including features just beyond the marked edge. Do not cover or alter drainage features to make the location work, and do not start digging just because the footprint looks right. If underground services may cross the area or ground levels need changing, get the relevant information checked before work begins. Moving the outline can help you compare positions, but a more convenient-looking spot does not automatically resolve a drainage or ground concern. Keep short notes about what you observed so you can explain it accurately when seeking advice.
Consider the shed’s height and views
Look at the marked position from the parts of the property you use most: a window, deck, path or favourite section of lawn. A shed can change the view beyond the land it covers; it may take away an open outlook, make a small garden feel busier or hide a feature you want to see. Consider which side will face the house and whether another orientation would preserve the view while keeping the entrance convenient. Check from more than one direction, including the approach from the gate. Photos from the same fixed point can help you compare spots later, but make sure they show the actual outline.
The ground mark shows length and width, not height or roof profile. To judge how the shed will appear above the garden, use the height stated for the exact model and a dimensioned elevation if one is available; ask for clarification if either is missing. Do not estimate scale from a lifestyle photo or assume two models have the same shape. For the Orello 1 garden shed or another option, compare the information provided for that exact product with the view from your own garden; catalogue images are visual references, not a measuring scale. If appearance matters, review the position with those details in front of you.
Account for planting and changing shade
Trees, hedges and established garden features can make one position more practical than another, and their shape changes over time. Compare the shed outline with the mature size of nearby planting, not only with a neatly trimmed hedge as it looks today. Notice low branches, overhanging growth, leaf fall and whether you will still be able to reach plants for routine care. Think about seasonal growth as well as what is visible now. Where large roots or branches affect the proposed site, do not cut roots or prune heavily just to make the outline fit; seek appropriate professional advice first.
Notice how light and shade vary through the day and across the seasons, especially if you use the area for sitting, growing plants or drying washing. The ground outline by itself cannot show the shadow a shed may cast; that depends on the chosen model’s height and profile as well as the setting. If considering the Modano 1 garden shed, check the height information for the exact option, where available, before judging likely shade; do not infer it from the name or product image. Mark plants and paths separately, then consider whether the shed or the route to its entrance would make them harder to reach or maintain.
Trace the delivery route to the site
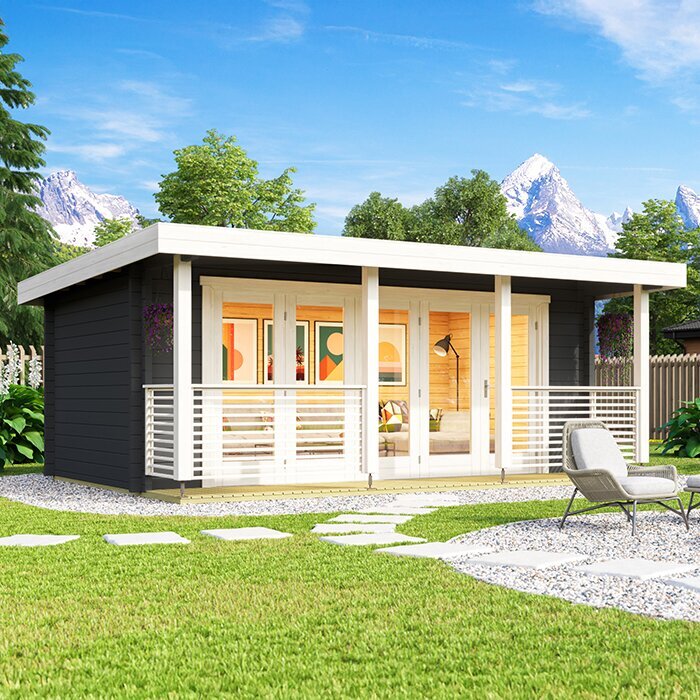
Trace the route the shed would take to the proposed position, beginning at the likely delivery access point rather than at the footprint. Open gates fully and walk past corners, steps, narrow passages, soft lawn and any low or overhead obstruction. The tightest point may be a turn beyond the gate, rather than the gate opening itself. Temporary markers can help show a cramped corner, while walking the route reveals where a person may struggle to manoeuvre. A footprint can fit perfectly while the path to it does not. Do not assume a vehicle can reach the garden or that every component can pass through a particular gate; confirm the handling arrangements.
Before ordering, ask the retailer how delivery is handled, where the goods can be left and whether moving them to the marked spot or assembly is included. Compare any stated access requirements with your actual route, including gate openings and the room to turn. For a candidate such as the Timber Garden Shed M, seek delivery information for that exact model and order; the product name alone does not tell you package size or handling needs. If access is tight, raise it before committing rather than relying on a guess about how the shed will arrive or who will move it.
Match the mark to the exact model
Before placing an order, return to the exact product listing and confirm that the outline matches the model and variant you intend to buy. Recheck the stated outside dimensions, entrance orientation and any roof edge or other projection that may sit beyond the main walls. Confirm whether a selected size or option changes the footprint or layout; do not transfer dimensions from a different version or an old saved image. If details are missing, contact the retailer for clarification and update the mark before deciding. Even a small difference in stated dimensions may move an edge into the path or planting bed you had allowed for.
Photograph the completed outline and note the exact listing it represents, so the mark stays useful when you compare options or discuss delivery. Walk around it once more at a normal pace: check the entrance, side access, everyday routes, ground observations, nearby planting and the views you care about. If the layout works only by ignoring an obstacle, moving a feature you intended to keep or squeezing past a fence, try another position while the choice is still flexible. Apply the same check if considering the Wooden Garden Shed S; the product name alone does not show whether its stated footprint will work on your plot.
Frequently asked questions
What can I use to mark out a garden shed’s footprint?
Use string and temporary pegs on lawn or soil, or removable chalk or low-tack tape on a suitable hard surface. Choose a marker that will not stain paving or damage turf, and show the full perimeter rather than marking only the corners. If you do not know what lies below the ground, avoid driving pegs and use a surface marker instead.
Should the outline include roof overhangs?
Use the product information to define the outside edge. If the stated footprint excludes an overhang, step or other projection, include it in the mark using confirmed dimensions. If the listing does not explain what its measurements cover, ask the retailer rather than estimating from a photo. That way, the outline shows the full space you need to allow for.
How do I test the entrance space?
Use a plan for the exact model to locate the entrance and establish whether it swings or slides. Mark the door’s movement only when that information is clear, then stand at the planned approach, mimic opening it and carry an everyday object through. Check the standing area and the route beyond it. If the opening direction is not shown, ask the retailer rather than assuming it can be changed.
How long should I leave the outline in place?
There is no set period. Leave it long enough to use the garden normally and revisit the position from the viewpoints and routes that matter to you. A second look at another time of day may reveal a path or view you missed at first. Keep string and tape tidy so they do not become a trip hazard, and remove temporary markers when you are done.
Is marking out enough to go ahead with an order?
No. It helps you judge the proposed position at ground level, but it does not confirm dimensions missing from the listing, the shed’s height or any ground and base requirements. It also cannot confirm delivery access by itself. Match the mark to the exact model and variant, clarify uncertain product details, and get site-specific advice if the surface or drainage raises a concern.
A full-size mark gives you a practical way to judge the location before you order: it shows how the proposed footprint relates to paths, the entrance, planting and the spaces you use every day. Test another orientation if it improves access, then match your final outline to the exact product information and resolve anything unclear about the ground or delivery route. When the position works in practice as well as on paper, you can choose with a clearer sense of how the garden shed will fit into the garden.
