
How to Accurately Measure Your Site for a Garden Shed
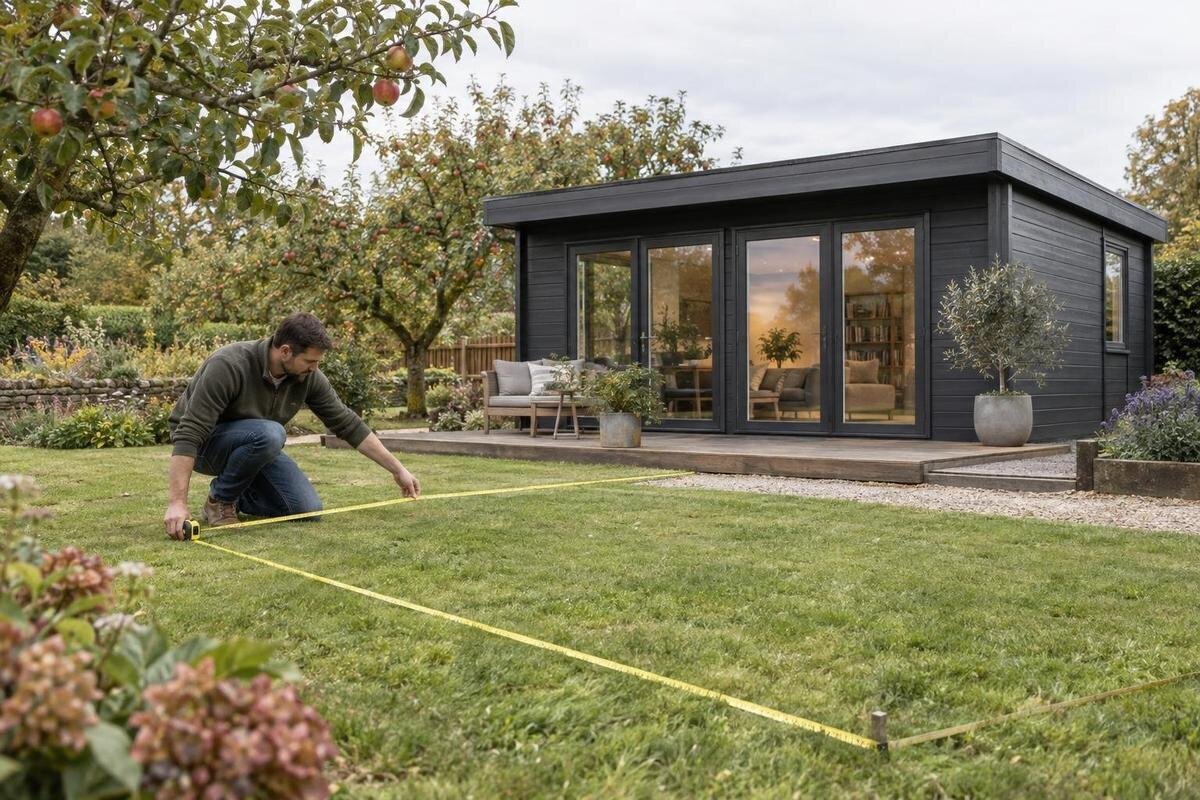
Garden shed site planning
Choosing a position by eye can lead to an awkward fit: a shed may crowd a path, sit across a narrowing part of the garden or be difficult to approach. Accurate measurements give you a reliable basis for comparing a garden shed’s outside dimensions with the space actually available. Sketch the site, record fixed obstacles and note changes in ground level rather than reducing everything to a single length and width. Then assess door use and the route to the position separately. This guide focuses on measuring the site so you can make a better-informed choice before ordering.
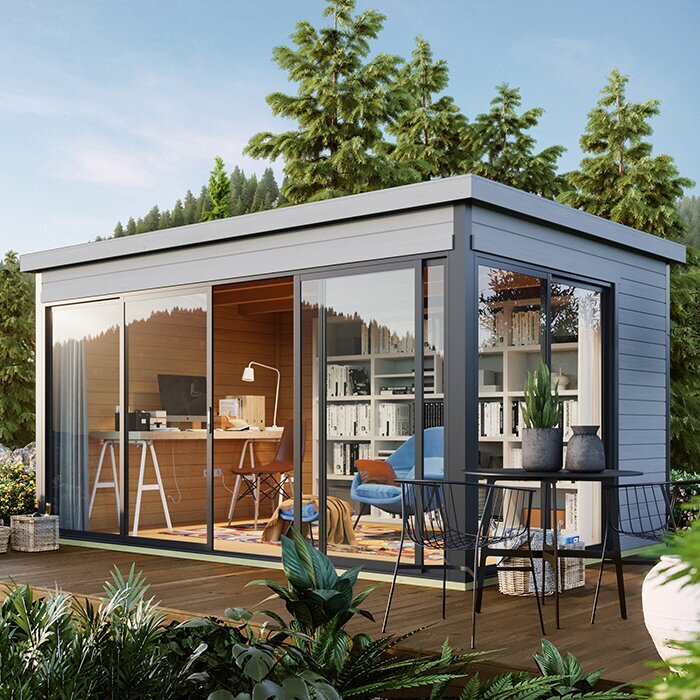
Before you choose a shed 1
Define what a good fit must include
Before taking out a tape, decide what a successful fit needs to include. List what you intend to store and how you will move it: a mower, long-handled tools, a wheelbarrow or bulky garden supplies may need a clear approach and room to turn. Note which items must be reached often. If an item is awkward to carry, measure its width and length in the position you will move it, and note the narrowest gate or path it must pass through. This is not a calculation of shed interior capacity; it identifies the access the site must support as well as the space the structure occupies. Include handles or attachments if they affect how an item is carried.
Keep three measurements distinct in your notes: the ground area the shed occupies, the space needed to open and use it, and the route for people, tools or delivery. A clear rectangle alone does not prove the full arrangement will work. Write down what can move and what cannot, such as a pot that can be relocated or a fixed tap that must remain reachable. If storage needs are unsettled, mark them as provisional rather than deciding an exact shed size from a guess. If the only approach is along an existing path, measure its bottlenecks even if they sit outside the proposed shed area.
Sketch the site using fixed reference points
Draw a simple top-down sketch before measuring. It does not need to be to scale, but it should show the proposed area and the features that define it: fence lines, walls, paving edges, gates, trees and fixed services. Choose a stable reference point, such as a corner of a patio or fence, and use it for all offsets. Mark the house, gate and garden path so you can picture the direction of arrival and the shed entrance later. If there are two possible positions, sketch them separately; one drawing can otherwise combine limits that do not apply to the same spot. Show where lawn meets paving too.
Write each distance beside the line it describes and keep units consistent, preferably metres with centimetres where needed. Label whether a figure is a clear opening, a fence-to-fence distance or an obstacle offset; those numbers are not interchangeable. Add a note if a measurement is approximate or an edge is uneven. When considering the Verdana 1 garden shed, transfer only dimensions confirmed for that exact version onto the sketch; the name and promotional image do not establish its size. If you convert units, keep the original reading beside the conversion so the calculation can be checked. A blank marked “to confirm” is more useful than a guessed figure.
Before you choose a shed 2
Measure the clear length and width
Stretch a tape measure straight between the actual limits of the usable area, rather than following a curved fence or measuring along a garden edge. For a proposed rectangular position, take length and width separately, at right angles where possible. Keep the tape straight between its endpoints; a tape laid along uneven ground measures the surface as well as the span. Have a second person hold the far end if needed, and read from the same points each time. Note exactly where each measurement begins and finishes so you can repeat it without guessing.
Do not rely on one reading across a space that narrows or widens. Record the width near both ends and at the middle, plus the length along each side if the edges are not parallel. The smallest clear span may govern where a rectangular shed can sit; an average can hide a pinch point. Repeat any result that is close to a product dimension, and write down the actual reading rather than rounding it up. For the Verdana 2 garden shed, once its external width and depth are confirmed, compare them with the corresponding clear measurements, not with the garden’s overall length or its widest point alone. Keep the two directions labelled consistently.
Map irregular edges and fixed obstacles
An angled, curved or stepped edge needs more than one length-and-width reading. Mark the points where the outline changes direction and measure from a fixed reference to each point, or divide the area into smaller rectangles and record their dimensions. Note how those parts meet so the sketch shows one continuous shape rather than counting the same strip twice. If the shed footprint is rectangular, check that a full rectangle can occupy the proposed area; a wide patch at one end does not make up for a narrow section cutting across it. Draw the edge as it is, rather than squaring it up by eye. A clear sketch with offsets is usually more useful than an elaborate scale drawing.
Mark obstacles inside the open area with their width, depth and distance from your reference point. Include raised beds, tree trunks, drain covers, retaining edges, posts and anything fixed that cannot be moved. One distance to an obstacle may not be enough if it can block a corner, so note both sides or its closest point. Diagonal readings across a sketched rectangle can help flag a mismatch, but they do not prove that an irregular garden edge is square. When considering the Durano garden shed listing, compare its confirmed footprint with the shape and fixed obstacles you have actually measured. If a planting bed could be moved, record that as an option rather than treating it as clear space now.
Before you choose a shed 3
Record slope and surface conditions
Measure the outline in plan separately from height differences across it. Walk the proposed area and note whether one end is higher, whether the ground falls from side to side, and where the highest and lowest points lie. Check the corners and centre rather than taking one reading in the middle. A straightedge and level may help you notice local variation, but a quick check does not establish a suitable base or installation method. Record what you observed, including where the change occurs, rather than reducing it to a single phrase such as “mostly flat”. Do not use an average height to hide a local dip.
Look for water that sits after rain, soft ground, exposed roots, recently disturbed soil or a change from paving to lawn; areas with the same plan dimensions can differ in readiness. A dry-day glance may not show where water gathers, so note any known wet patches. Do not treat a slope as automatically suitable or unsuitable, and do not assume it can be corrected by a particular method. If height changes are obvious, the surface is unstable or preparation is uncertain, seek guidance for the exact model from the supplier or a qualified installer. For the Veltor 1 garden shed, use installation guidance provided for that version, if available, rather than inferring base requirements from its name.
Include fixed and overhead obstacles in the sketch
Take measurements to fixed obstacles as well as around the proposed footprint. Record the distance to a fence, wall, house eave, window, tap, drain, meter box or other feature, and note its height if that could restrict the shed or its roof. Branches may extend farther than a trunk, so look above the whole proposed area from more than one side. Check whether product dimensions describe the walls, the roof or the furthest projecting part; a plan based on the wall line can be misleading if something extends beyond it. Do not add or omit an overhang based on a product photo. Include obstacles at corners, not just beside the long sides.
Allow for changes over time as well as today’s obstacles. A young tree can spread, branches can move, and a gate or service point may need room for routine access. Do not plan to block an inspection point or make a feature difficult to reach. If overhead lines or other services cross the area, do not attempt to adjust them; ask the relevant qualified professional what must be kept clear. Note the issue on your sketch and who needs to confirm it. For the Orello 1 garden shed listing, use confirmed plan dimensions for the exact version, including any projections identified in the product information. Record any required clearance separately from the footprint.
Before you choose a shed 4
Check the entrance and the space needed to use it
Mark the entrance on your sketch only after you know where it is on the chosen layout. Check which way the door opens, how far it projects and whether the full opening is obstructed by a fence, wall, tree or path edge. Door details can differ between models or versions, so do not assume the arrangement from a thumbnail or a similar-looking shed. If product information does not clearly show the position or opening direction, ask for a drawing or confirmation before treating that side as the access side. Measure the clear area in front of the entrance, not simply the width of its opening. Note any wall that limits how far you can stand back.
Think through an ordinary task at the site: walking in with a tool, bringing a mower out or carrying a box through the entrance. Note where you need to stand while the door is open and whether the item can turn without striking a fence or planting. If you use a trolley, wheelbarrow or mower, allow for its handle to swing as well as its body. This working space is separate from the shed’s footprint and may matter more than gaining a few centimetres of floor area. When checking the Modano 1 garden shed, use layout details confirmed for that exact model; if they are not clear, ask rather than infer door clearance from the name or image.
Measure the route for delivery and assembly
Measure the route from the place a delivery can reach to the proposed position. Check the narrowest clear width at gates and between walls, then note bends, steps, sloping sections, low branches and thresholds. A path that is wide enough in a straight line can still be difficult at a sharp turn, so sketch the turns and measure the open space around them. Record height restrictions as well as width wherever there is an arch, eave or branch. If more than one route is possible, compare each on the plan instead of assuming the shortest is easiest. Include any narrow turn between the gate and site.
Finished shed dimensions do not tell you the size or shape of items that may be moved during delivery or assembly. Ask the supplier what access information is relevant, including stated package dimensions, whether components arrive separately and how much room handling requires. Do not assume a panel will pass through a gate simply because the completed shed is narrower than it. Note where temporary handling or assembly space might be available without blocking the route. When looking at the Timber Garden Shed M listing, confirm delivery and assembly details separately from the finished footprint; they are different fit questions. Keep those answers separate from the permanent siting measurements.
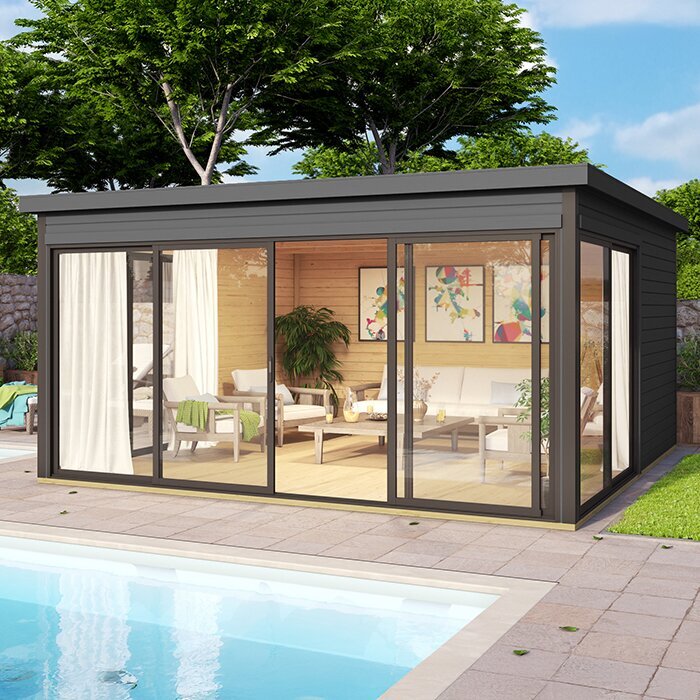
Before you choose a shed 5
Compare the site sketch with external dimensions
Once the site sketch is complete, compare it with the dimension drawing or product information for one exact garden shed model. Identify the overall outside width and depth, which side each number describes, and whether a stated base size differs from the furthest external projection. Check notes for roof overhangs, gutters, handles or other parts that extend beyond the wall line, and confirm whether these are included in the figure. A model name, photograph or room-style image is not a measuring reference. If an important dimension or orientation is unclear, ask for it rather than estimating. Keep external figures separate from any interior measurements.
Place the confirmed footprint in the measured area with the intended entrance facing the route you have assessed. Compare each side against the narrowest usable span and keep door, obstacle and delivery notes visible; a footprint can fit one way but not after a turn. For the Wooden Garden Shed S listing, use outside measurements confirmed for the exact version you are considering, and leave any unconfirmed projection marked as outstanding. If the numbers leave no allowance for measurement uncertainty or necessary access, treat the fit as unresolved rather than as a near-enough match. If the site is irregular, confirm that the whole outline fits, not just its two longest spans.
Recheck close measurements before ordering
Before treating the measurements as final, repeat the critical ones, especially the narrowest width, the overall depth available and any dimension close to a proposed shed measurement. Start and end at the same physical points; a second person can read the tape while you hold its end, reducing a common source of error. Check that centimetres have not been copied as metres or that width and depth have not changed places in your notes. Record the tape reading without rounding it up, and mark each figure as measured, estimated or awaiting confirmation. Add the date and model version used for comparison. Keep a photo of the area as a visual reference, not as a replacement for measurements.
Use a cautious decision rather than rounding a tight fit in your favour. There is no universal spare margin that covers every door, ground condition, access route or installation method, so use the exact model guidance and actual site constraints. If a measurement is close, remeasure and get the missing dimension or installation advice before ordering. If the question involves uneven ground, overhead services or an uncertain fixed obstacle, ask the appropriate qualified professional. A clear record lets you compare another model or position without starting the survey from memory, and makes it easier to explain what remains unresolved. Treat the fit as settled only when the relevant dimensions and access questions are accounted for.
Frequently asked questions
How many times should I measure the site?
Measure the proposed area at several points if it narrows or widens, and repeat any reading close to a shed dimension. Record where the tape starts and ends so you can check the same span again. A single measurement across the widest part may miss a pinch point.
Should I use internal or external shed dimensions?
Use the exact model’s external dimensions to check whether it fits on the site. Internal measurements describe the space inside and do not show how much ground the whole structure occupies. Check whether the outside figures include any parts that project beyond the walls.
Do I need to include roof overhangs in the measurement?
Check the dimension drawing or product information to see whether its figures include roof overhangs or other projections. If they are not included, record them separately and account for them when comparing the shed with nearby obstacles. Ask for clarification if the dimensions are unclear.
What should I do if the ground slopes?
Record where the high and low points are, and note any uneven or wet areas separately from the plan measurements. Do not assume a particular base or levelling method will suit the site. If the slope or surface condition is uncertain, seek guidance for the exact model from the supplier or a qualified installer.
How much extra space should I leave around the shed?
There is no single allowance that suits every shed and site. Account for the door’s opening space, access for everyday use, fixed obstacles and any delivery or assembly requirements. Check the exact model’s information and ask the supplier about details that are not clear before deciding whether the space is sufficient.
Good site measurements are more than a width and length. A dimensioned sketch showing narrow points, fixed features, ground changes, door space and the route to the position gives you a clearer basis for choosing a garden shed. When the exact external dimensions and the available clearances agree, you can compare options with more confidence. If they do not, the unresolved measurement is a useful reason to check before committing. Keep the sketch with your order notes so the decision reflects the surveyed site, not memory.
