
How to Order Custom Windows and Doors
Planning and order approval
A custom order is not decided only at checkout; it sits at the intersection of measuring, design and installation. A window may fit the opening but still cause problems if its sash hits a balustrade, its divisions do not suit the façade, or the connection to insulation, sill and reveal remains unresolved. Doors add circulation space, thresholds, handles and the transition outdoors. Describe each item as part of the overall plan before comparing options. This guide explains what information should be ready, how to read drawings and which questions reveal outstanding decisions before a binding order approval.
Start with an item schedule, not individual wishes
The safest starting point is an item schedule for the whole project. Give every window and door a unique reference, such as W-01 or T-03, a room, a façade position and intended purpose. Add approximate size, operation, opening direction, required internal and external view, and features such as glazing bars, fanlights or sidelights. This quickly shows where a room has two openings but only one is actually intended for ventilation. The schedule also prevents equal sizes being treated too soon as identical products when their functional or design requirements differ.
Do not compare options solely as individual items. A single inward-opening window may suit a room where the sash has enough internal clearance; as a single inward-opening window it still belongs in a plan that accounts for the sill, curtains, radiator and furniture. Record what stands in front of the window and who will operate it. For renovation work, also document which existing conditions will remain unchanged. A clear item schedule later becomes a checklist for the quotation, drawings, delivery and installation discussion, rather than merely an informal wish list.
Record measurements clearly and name reference levels
For made-to-measure items, width by height is not enough. First establish whether the figure is a structural opening, finished opening or desired external size of the unit. Measure openings in several places: width at the top, middle and bottom, and height at the left, middle and right. Record variations, the state of the reveal and obstacles such as projecting masonry, services or uneven surfaces. For each measurement, note exactly which surfaces were measured between. Add the date and construction stage, because plaster, linings or removed old components can alter the reference edge. Check diagonals in visibly distorted openings too; do not assume parallel edges or right angles. Photographs with the item reference and a visible scale help resolve later questions between site, design and ordering.
The order size is not automatically the smallest measured figure. Space is needed between the unit and building structure for the properly planned connection; its design affects the final size and position. Agree the appropriate specification with the person responsible for installation. Clarify the height in particular: does it relate to the current subfloor or the later finished floor? For a door, just a few millimetres of floor build-up can determine whether the leaf moves freely and how the outside transition works. Never transfer dimensions from old documents to a new order without checking them.
The opening in the overall project
Read views before deciding opening directions
Opening direction is a design decision, not simply a product label. First establish the viewing direction shown on the drawing. Then mark the hinge side, swing path and handle position for every moving item. Check the drawing against the floor plan and façade elevation: a sash must neither obstruct a route nor clash with furniture, sanitary fittings, radiators or another sash. Outward-opening units also need their swing area checked against a deck, balustrade, planters or shading. When asking questions, use a marked sketch showing inside and outside rather than terms such as “left-hinged” if the viewpoint is unclear. A scaled opening arc also shows whether the handle and sash edge remain accessible day to day. The same principle applies to upper-floor windows, where external obstructions may not be obvious at first.
For high-level or difficult-to-reach openings, another operating type may be more suitable than a standard casement. An outward-opening top-hung awning window is a specific alternative that opens outward, but its use must still suit the installation height and accessibility. Ask of every opening: who will open it, how often and for what purpose? Ventilation, cleaning, an escape-route design or access outdoors are different uses and should not be answered with the same standard assumption. Where project-specific requirements apply, a qualified professional should assess the design as part of the overall project.
Choose window type for use, not only façade appearance
An attractive façade grid is valuable, but it does not replace functional planning. First decide which openings genuinely need to operate. In rooms with several windows, combining an opening unit with a fixed-glazed unit can provide the desired daylight and view with fewer operating points. A fixed-glazed window can suit areas where no opening function is planned. First check how the outside remains accessible and what role the opening has in the room-climate and ventilation plan. Also consider the future cleaning route: glass inaccessible from outside may require a different arrangement from glazing at ground level. Fixed glazing is not a blanket substitute for an opening window.
For large openings, sash arrangement changes both the appearance and everyday use. Two leaves may create a wide opening, but introduce a central division and two swing zones. A single leaf looks different and needs different space when opened. On a symmetrical façade, check axes, sill heights and visible frame lines in an overall elevation, not an isolated product image. Lay recurring windows alongside one another too: differently positioned handles, transoms or fixed lights can disrupt the intended order even when each item appears plausible alone. Compare internal and external views as well: a division may be wanted outside yet affect the view or furnishing inside. Window type is properly determined only when operation, cleaning, light and façade order work together.
Plan doors as transitions between two finished levels
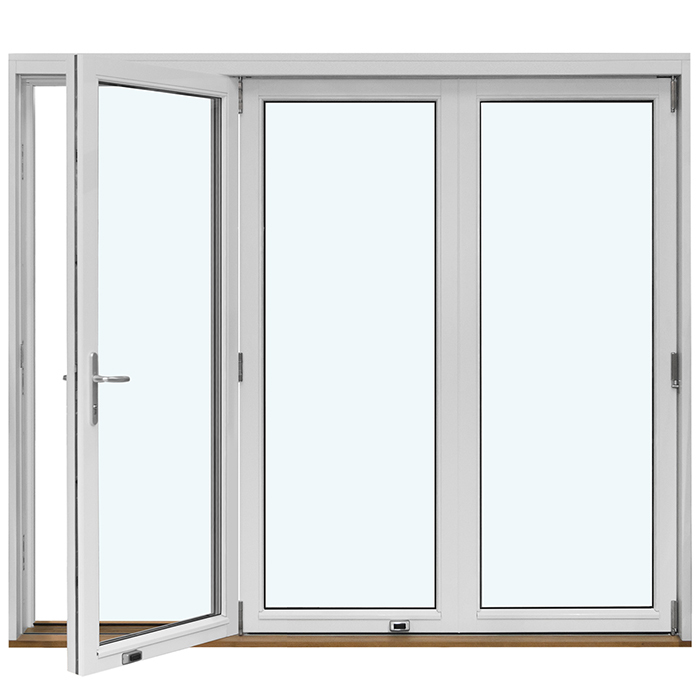
An external door does more than connect two rooms or an interior with the garden; it brings together several trades and finishes. Before selection, coordinate the levels of the internal floor, external paving, waterproofing, drainage and any roof cover. Draw the movement zone on both sides. Account for furniture, balustrades, steps, bicycle storage and paths. An outward-opening door needs clear external space; an inward-opening door uses internal space. Choose the opening direction of a single outward-opening patio door to suit both the patio and the room. The product name does not replace checking the real surroundings.
The door view also needs specific decisions. Determine hinge side, handle side, desired glazed areas and the relationship to neighbouring windows. For an entrance door, a sidelight, fanlight or solid panel can significantly alter the entrance proportions. Ask not only whether a door fits the opening, but whether it remains comfortable to use when open and whether visitors can intuitively reach the handle. Resolve the threshold together with the connection design, rather than after selecting the door leaf. Where accessibility, safety or other project-specific requirements matter, the responsible designer or specialist should determine the necessary solution for the particular site.
Compare sliding and folding doors around everyday use
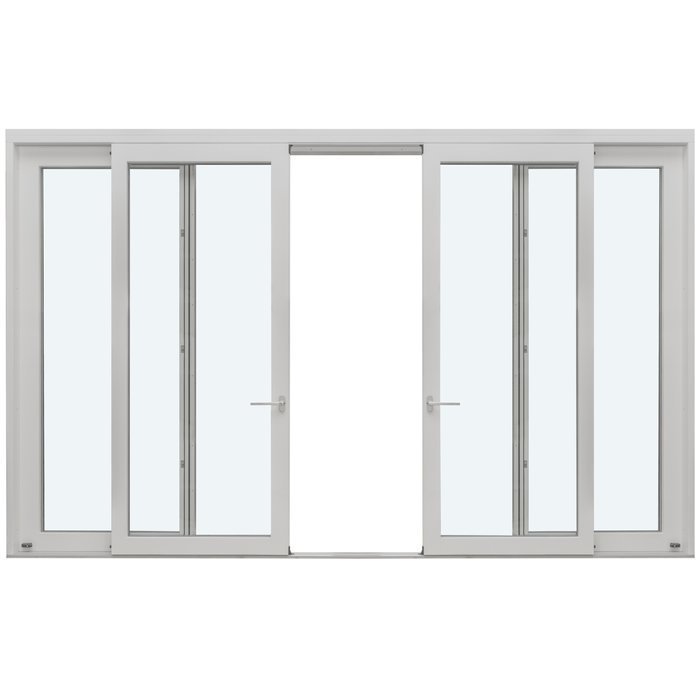
Wide garden openings can tempt you to focus only on clear passage width. More important is how the unit is opened, closed and furnished around every day. A sliding door needs no sash swing space, but has fixed and moving areas that must be considered in the view and in use. Check which side should move, where the handle remains accessible and how curtains, shading or furniture will be arranged. A Patio Life lift-and-slide door is a sliding-door option; choose its exact configuration around the intended opening side and desired connection between spaces.
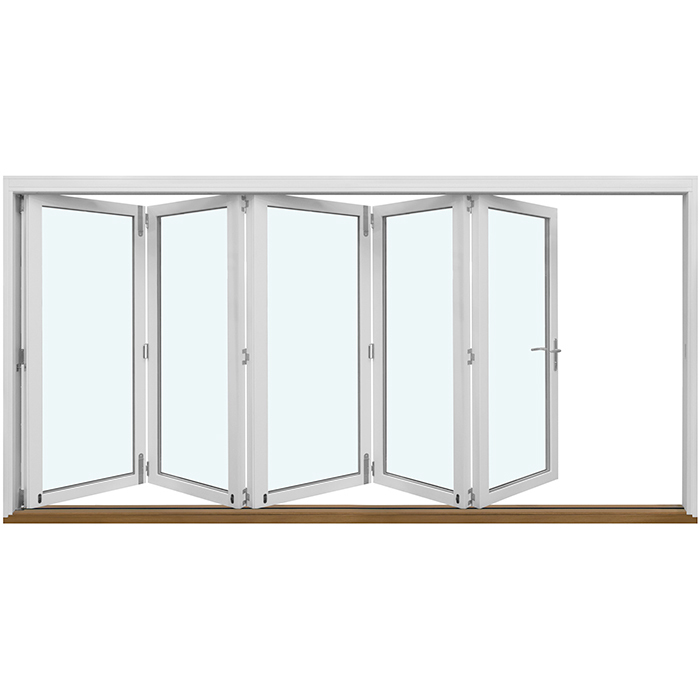
Folding doors create a different opening character because several panels move to one side when opened. The folded leaves need a defined space, and their operating sequence differs from a sliding door. Outward-opening folding doors can be an alternative where the outdoor area provides the required clearance and the internal floor should remain as free as possible. Before approval, establish for both systems where divisions sit when closed and which opening situation is most common: briefly open for ventilation, partly open for everyday use, or wide open to connect with outdoors. The answer has more influence on sensible sash or sliding arrangement than a single façade photograph.
The opening in the overall project
Consider glazing as a balance of light, views and comfort
Discuss glazing for each room and façade orientation, rather than as one decision for the entire house. Ask how important daylight, visibility through the glass, privacy, summer solar gain and views outdoors are in each case. A bathroom, workspace and living room may have different priorities. The position of neighbouring buildings, trees, roof cover and planned curtains also belongs in the assessment. State the desired effect specifically: an open seated view, more screening at standing height, daylight in a hallway or a visual connection to the garden. This helps designers and suppliers understand which qualities are non-negotiable and which are preferences.
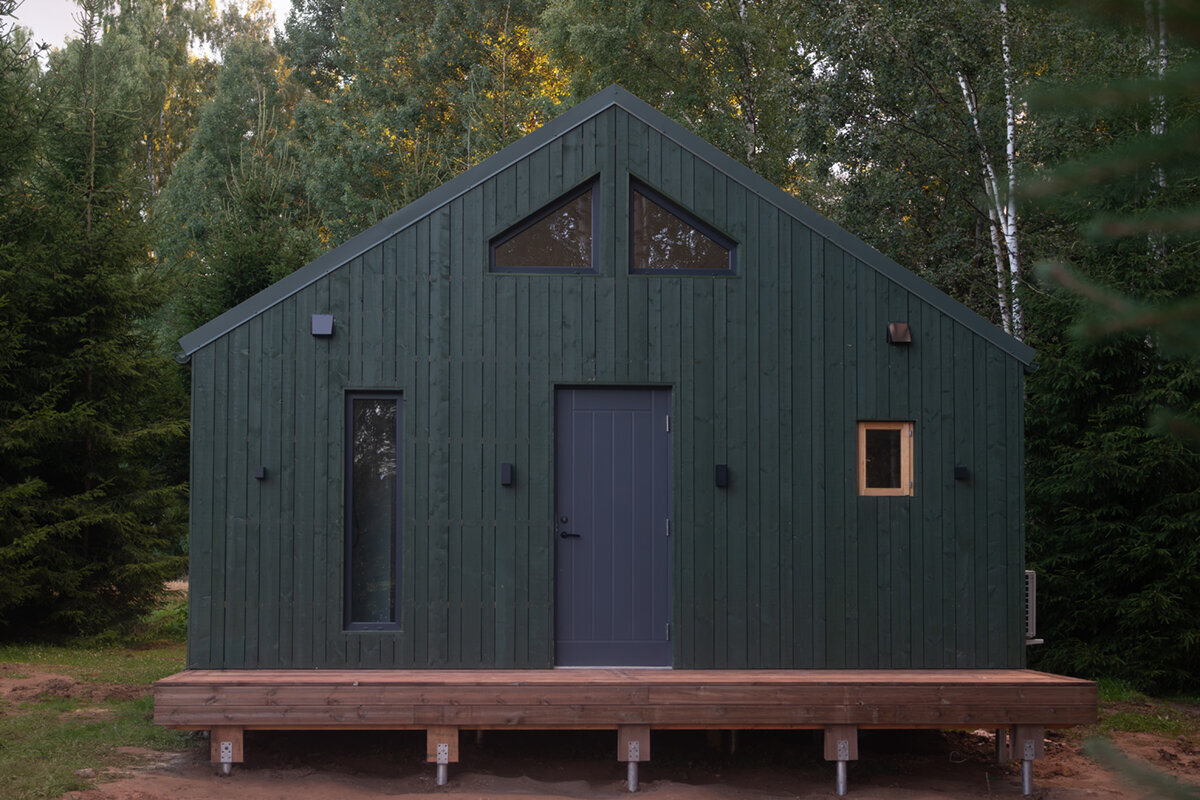
For special shapes, the drawing is especially important. A fixed-glazed triangular or raked window can complete a roof or gable area visually, but raises different questions from a standard rectangular window: where are the visible edges, how does the shape meet adjacent components, and how will the outside be reached? Coordinate glazing with planned shading and interior design before approving sizes and divisions. If technical values are decisive for your project, request documentation clearly assigned to the chosen item. Compare like reference values and the same configuration, rather than placing figures from different variants side by side without context.
Check finishes, colours and glazing bars in the overall view
Colour and finish are often decided too late, although they substantially change the effect of a frame, door panel and divisions. Prepare a coordinated overview of all visible items: windows, entrance and patio doors, sidelights and, where relevant, gates or façade cladding. Record whether the same appearance is wanted inside and out. View samples and drawings in daylight beside the intended wall, floor or façade materials. A choice that convinces on one small sample can look different across a wide window front. In existing buildings, also consider which elements remain visible and how new frame lines will appear beside them.
Use terms precisely: glazing bars are decorative or structural divisions; true divided-light bars actually split the glazing. This affects the appearance and should be clearly described in the drawing and order. Historic-style windows are therefore not merely a colour variation. An outward-opening historic-style “Kombi” casement window should be coordinated with the other elements in its sash divisions, opening method and façade view. Judge the effect from normal viewing distance, not only an enlarged detail. If design controls from a plan or relevant authority may apply, have their relevance for the specific project professionally clarified before approval.
Check drawings carefully before order approval
The approval drawing is the point where wishes become a checkable specification. Check every item reference against your schedule and do not read only the overall view. Are width and height correct? Is the view labelled as internal or external? Are hinges, handles and moving sashes on the intended side? Are fixed lights, mullions, transoms, glazing bars and glazed areas drawn correctly? For doors, also check the threshold, movement direction and relationship to adjacent construction. Mark uncertainties directly on the document and have them corrected in writing. A verbal reminder is no substitute for a corrected, unambiguous drawing.
Also check interfaces that are not visible in the window drawing alone. These include shutter or shading boxes, sills, internal reveals, façade insulation, waterproofing and electrical connections for planned operators. For example, a single-piece glazed door sidelight must be checked in relation to the door leaf and the whole entrance opening; the product title alone says nothing about the remaining connection or design planning. Have dimensions and reference heights checked against one another across plan, section and elevation. Changes after drawing approval can increase work and coordination. Approve only when open questions are answered and corrected documents show the design actually required.
Finish order approval with a site check
Shortly before approval, it is worth comparing the order documents with the site together. Check whether openings have changed since measuring, floor build-ups are final, or new services, linings or external elements have been added. Review each item: reference, location, dimensions, opening direction, divisions, finish and special features. For major deliveries, a table with columns for checked, open and confirmed is useful. It makes clear whether a decision is being resolved by the client, designer or installer. Most importantly, everyone should work from the same current drawing version.
Before ordering, also clarify the process after approval. Bloomcabin offers a five-year manufacturer warranty for windows and doors under its terms; this is separate from remedies that may apply under New Zealand consumer law. Delivery is indicated as four to six weeks, subject to order confirmation. Do not plan this period in isolation; coordinate it with construction progress, storage space, access, installation sequence and protection for completed finishes. Record who will check quantities, visible damage and item references on delivery. A complete approval pack with the item schedule, confirmed drawings, colour decisions and relevant contacts makes handover to site much easier. The best time for questions is before the binding order, not on delivery day.
Frequently asked questions
Who should be responsible for measuring custom windows and doors?
That depends on the agreed project process. What matters is clearly naming who measures, which reference levels apply and who confirms dimensions before ordering. Coordinate the structural opening, planned connection and finished floor height with the professional responsible for design and installation. Documented measurements and photographs help avoid later identification errors.
What else should I check for an outward-opening door?
Check the full external swing area and operation from inside. A patio, step, balustrade, furniture, plants and shading must not restrict use. At the same time, the door needs to remain sensibly accessible from indoors. Set the hinge and handle sides from a labelled view, not from a verbal description alone.
Can I combine opening and fixed-glazed windows in one façade?
Yes, if the combination suits the intended use. First establish which openings are required for ventilation or operation and how external faces will remain accessible. You can then coordinate views, frame lines and divisions together. Do not select fixed glazing without considering its consequences for use and cleaning.
Which documents should I keep before approval?
Useful documents include an item schedule, measurement notes, photographs of openings, current floor plans and elevations, approval drawings, decisions on finishes and glazing, and recorded answers to outstanding questions. Keep only the current, clearly dated drawing version as the working basis. This allows later questions to be linked to a traceable decision.
When should I not approve an order?
Wait if dimensions are only estimated, the finished floor level is still open, opening directions have not been checked in plan and elevation, or connections remain unresolved. The same applies to conflicting drawings and unconfirmed special requests. Only complete, understandable documentation appropriate to construction progress provides a reliable approval.
Next step
Custom windows and doors become a reliable order when every decision is checked in its future location. Start with a complete item schedule, distinguish measured values from order sizes, and always read views together with the floor plan and façade elevation. Coordinate doors with floors, external paving and movement areas; for large openings, assess everyday operation rather than appearance alone. The approval drawing deserves close attention because it brings dimensions, divisions and opening directions together in a binding document. If questions about connections, technical requirements or local rules remain, have the appropriate qualified professionals resolve them before ordering.
