
Large windows: weight, structure and installation access

Planning for large-format windows
A large window is often planned first as a source of light and a connection to the view. For ordering, however, it is equally a transport and installation project: the pane must reach the opening, the frame must be positioned in a controlled way during installation, and the surrounding structure must carry the loads without placing the connections under stress later. Especially with full-height fixed panes, wide sliding units or special shapes, the rough opening alone does not determine feasibility. Considering the glazing build-up, unit division, structural situation and route from delivery vehicle to installation point together at an early stage avoids last-minute redesign. It also makes quotations comparable: the relevant specification is not simply a “large window”, but a coordinated description of dimensions, opening type, glazing, building structure and installation access.
01 / Define the configuration
Do not compare external dimensions alone
Two windows with the same width and height can differ greatly in handling. Relevant factors include the number and construction of panes, the size of individual glass areas, frame sections, possible mullions and, for movable parts, hardware and sash weight. Do not ask for a rough weight estimate for the whole window frontage; request details for the configuration actually selected. Useful information includes the weight of each delivered component, external dimensions of the heaviest part, centre of gravity, intended transport position, and whether glass and frame are delivered separately or handled together. This lets the installation company plan lifting equipment, personnel and temporary storage rather than improvising on delivery day.
A fixed pane reduces moving components, but it does not automatically become light at large dimensions. A fixed-glazed window is therefore a suitable option when views and daylight matter more than an opening function; its size should still be checked against the installation route. For a wide glazed area, a sketch showing the rough opening, visible frame widths and divisions is worthwhile. It makes clear whether one large pane is genuinely essential to the design or whether two manageable panes create the same sense of space. Division is not merely a logistics decision, because it permanently shapes the view. Ask to see both options with individual dimensions, and check whether visible frame lines align with façade axes, internal walls or fixed furniture. Also compare which option would remain accessible if a pane needed replacement later. This qualitative comparison does not replace technical assessment, but it brings follow-on costs and practical constraints into the discussion early.
Understand weight as an installation issue
Glass is not a uniform planning factor: its weight changes with the glazing specification and pane size selected. With large formats, even a seemingly small change in area affects the process because it influences lifting, turning and precise placement. When requesting a quotation, ask for the weight of the largest individual unit, not only the total weight of an installation. Installation planning also needs to establish whether glass lifters can be attached, where lifting points are provided and whether protective strips or packaging must be removed while moving the unit. These details should be coordinated between supplier, installer and site manager before the date is set.
Plan the stages before and after positioning as well. A unit may be easy to reach from the truck to the façade, while the final metre passes over a step, through a narrow opening or alongside scaffolding. Inside the building, screeds, stair landings, newly laid floors or completed wall surfaces can restrict transport. The solution may be an adapted lifting route, installation at an earlier construction stage or a different unit division. Which option is appropriate depends on the project. What matters is that no assumption such as “the team will carry it” becomes the basis for an order. Record responsibilities for delivery, unloading, internal transport and placement in writing. Also establish whether secure temporary storage is needed and how long the unit may remain there. The proposed area must be accessible, must not obstruct other trades and should avoid unnecessary moving of large components. For this too, the installer needs the actual delivery dimensions, including packaging.
02 / Check the weight
Clarify building loads in good time
The window unit needs a load-bearing, dimensionally accurate level on which it can be aligned and permanently supported. For large openings, planning concerns more than the side fixing points. The situation beneath the frame, the lintel or structure above it, and the type of wall or structural system are also relevant. The window supplier can provide unit data; assessment of how loads are carried by the particular building should be undertaken by an appropriately qualified designer or the responsible building planner. This is especially important for alterations, very wide openings and constructions whose build-up is not reliably documented.
A window sill, insulation board or waterproofing layer is not automatically intended as a load-bearing support. If alignment, bearing and fixings are decided only on site, improvised solutions may follow that complicate connections or place the unit under stress. A coordinated approval should consider the rough opening, supports, fixing zones, connection joints and any required reinforcement together. Give the designer the binding manufacturer documentation for the selected configuration, not merely an architect’s sketch. Conversely, the supplier should know the confirmed installation conditions. This prevents glass weight and the building structure being treated as separate trades. Keep open items visible in the design approval rather than hiding them behind general notes. A clear question such as “Who confirms the construction beneath the frame?” can be assigned; an undefined note such as “to be checked on site” can easily lead to differing expectations.
Plan sliding units as a system
Wide transitions to a terrace connect indoor and outdoor spaces convincingly, but place high demands on coordination and access. For Patio Life lift-and-slide doors the fixed section, moving side and route to the intended location must be clarified before ordering. A large overall dimension does not reveal which individual parts will be delivered or how they will be installed. Ask about the heaviest component, the space needed for fitting, and the required working areas inside and outside. Consider the construction phase as well: scaffolding, waterproofing work, the terrace or landscaping can later block the planned route.
The threshold and transition to the finished floor belong in detailed planning early. This is not about a universally applicable installation height, but coordinating the structure, floor build-up, drainage concept and door system for the individual project. Show levels not only on a plan, but also in section. Also check the space needed for operation: furniture, radiators or curtains must not later restrict the movement area. If the access side for lifting equipment is open only temporarily, that date should be visible in the construction programme. A generous unit works best when design, detailing and installation window share the same planning basis. The section should also show which work must be complete before fitting and which may follow afterwards. This prevents a finished surface blocking access or an unfinished connection being concealed unnoticed by subsequent work.
03 / Coordinate the structure
Weigh up divided and uninterrupted glazing
Uninterrupted glazing creates a calm appearance and can focus the view outside. As pane size increases, however, transport, handling and installation access become more demanding. Several panes can reduce the largest delivered component and permit a different sequence on site. Against this are additional frame lines, connections and possibly movable elements. There is therefore no universally better solution. Compare two or three specific layouts not only in elevation, but using the same questions: What does the heaviest part weigh? How does it reach the opening? What view is created from inside? Which panes are actually intended to open?
With a side-sliding sliding door the sash arrangement is also an operational decision. A different division rhythm can change access even where the overall width remains the same. A simple matrix helps comparison: first column design, second opening function, third heaviest component, fourth installation route, fifth connection detail. Add future use, such as the desired walking route to the terrace or furniture layout. This means you choose not from a rendered image, but from a solution that can be built and used. Plan glazing bars deliberately: decorative bars and bars that divide the glass have different effects on visible division and should be clearly specified in the quotation. Assess layouts from typical viewpoints in the room too. A division that looks balanced on the façade may sit directly in front of the key view from the dining table. Conversely, a mullion may align with an existing internal wall and be less noticeable.
Installation access starts at the roadside
Walk the route from the possible delivery position to the opening with a tape measure and camera. Record driveway widths, bends, heights, gradients, steps, gate openings, passages and areas where equipment could be positioned. Outdoors, distance is not the only factor: a narrow driveway or soft ground may matter more than a longer level route. Indoors, confirm load-bearing circulation areas, turning points and protection for finished surfaces. Photos taken in the direction of the delivery vehicle and towards the façade help an installer assess the situation reliably. A sketch should also show which routes must remain clear while other work is underway. Measure at the narrowest point, not only where measurement is convenient. Gates, roof edges and bends can restrict a long component more than a single clear width. Note whether obstacles are permanent or can be temporarily removed.
A crane, mini crane, glass lifter and manual handling are not interchangeable terms, but different methods with different space, reach and safety requirements. The installing specialist selects the method based on the actual weight, site conditions and work procedure. Your role as purchaser is to disclose constraints early: overhead lines, roof overhangs, neighbouring buildings, trees, temporary fencing, slopes or erected scaffolding. Ask for the intended delivery and installation process to be explained clearly. If it requires a time window before external works are completed, the site manager can incorporate it into the trade sequence. Also agree who will check immediately before delivery that the area to be kept clear is genuinely available. An old site photograph is not sufficient if material containers, extra scaffolding or earthworks have been added in the meantime.
04 / Plan access
Do not choose opening sashes by appearance alone
With large window areas, the question shifts from “Does a sash look right?” to “Can it be controlled in everyday use?” Weight and leverage affect hardware, opening direction and clear space in front of the window. A single inward-opening window can suit a location where one clear opening is wanted; however, use the actual dimensions to check that furniture, window sills and curtains leave the swing area free. The larger the sash, the more important a practical operating demonstration or at least a scale drawing of its opening area becomes. Consider more than the fully open position. The handle must also remain reachable without leaning over a deep worktop or fixed furniture. In frequently used rooms, this everyday movement matters more than a rarely used maximum opening.
Two sashes distribute the opening width differently, but introduce a centre division and an additional operating sequence. A double inward-opening window is therefore not simply the smaller version of one large sash. Ask which sash is operated first, how both sashes are secured or held open in daily use, and whether the desired ventilation position remains accessible. Coordinate the opening path with the kitchen, bed, workstation and escape routes in your individual use concept, without turning this into general requirements. Window planning becomes more reliable when one person brings elevations, furniture and functional wishes together on one plan. Mark curtains, internal shading and planned lights there as well. These components are often selected late, but can obstruct handle access or sash swing. A defined clearance area makes later choices easier and highlights when another opening concept should be considered.
Assess special shapes technically at an early stage
Triangles, angled units and tall gable windows can give a room strong architectural character. They require particularly clear information because templates, measurement references and structure must not be confused with a standard rectangle. For triangular and angled fixed-glazed windows coordinate the final geometry, the position of load-bearing edges and installation sequence using a drawing. Also check whether the unit must be brought in before roof or interior work blocks certain routes. A special shape is ordered most safely when the measuring basis, connections and installation access are approved at the same time. Define unambiguous reference points for angled geometry, such as bottom edge, side edge and governing corners. The description “to suit the gable” alone is insufficient for a reliable comparison. Also check the viewing direction so that left and right mean the same thing in planning, manufacture and installation.
The visual effect of divisions also deserves its own decision with asymmetrical forms. A glazing bar that divides the glass can subdivide a large pane, but changes the glass layout and perspective. Decorative bars create a different appearance from a structural division. State explicitly in the enquiry whether bars should be decorative or glass-dividing, and define the viewing sides. Consider cleaning and shading as well: a high angled fixed pane can be difficult to reach regardless of how smoothly it was installed. These are use questions that a beautiful design does not answer automatically. Think through use at different times of day. A difficult-to-reach area may require different access for external sun protection, internal solutions and cleaning. Ask the responsible trades to check whether their intended components and work routes are compatible with the window design.
05 / Hand over for installation
Connect manufacture, measurement and programme
With large-format units, measuring too early is especially risky because later changes to reveals, floor build-up or lintels can have substantial effects. Establish which design stage is binding and who checks the opening’s dimensions, diagonals, plumb and level. Do not order from an early concept sketch if the structure does not yet offer a confirmed reference level. The order should clearly document viewing side, opening direction, division, dimensions, glazing and equipment choice, together with the agreed installation situation. Differences between drawings and structure then become visible before manufacture, not only at delivery.
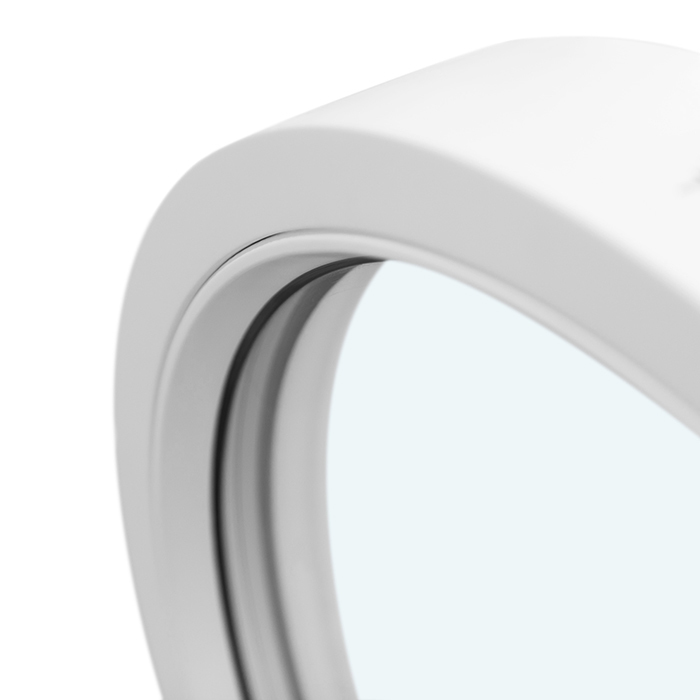
For example, a round fixed pane may appear small in design terms yet require special templates and transport because of its shape. A round fixed-glazed window should therefore be scheduled only after clear measurement and a confirmed installation sequence. During ordering, ask which documents are needed before production approval and until when changes can still be assessed. Windows and doors from Bloomcabin have a five-year guarantee. Delivery usually takes four to six weeks, subject in each case to order confirmation. These details do not replace project-specific programme coordination: a dependable process arises only when measurement, access and installation date align. Work backwards from the required installation date and identify dependencies such as structural approval, detail checking and confirmed installation access. A preferred date alone is not a complete programme.
Prepare the installation handover in detail
A good installation handover involves more than saying “window on the ground floor”. Assemble a project pack with approved elevations and sections, unit list, confirmed rough-opening dimensions, transport-route photos, contacts and the preferred installation date. Mark on the drawings which opening belongs to which unit. Establish whether the site should be dry, accessible and free of conflicting work at the appointment, and who decides where dimensions differ. This allows supplier and installer to return missing information in good time. For clients, this preparation reduces the risk that important details are passed verbally between several trades only.
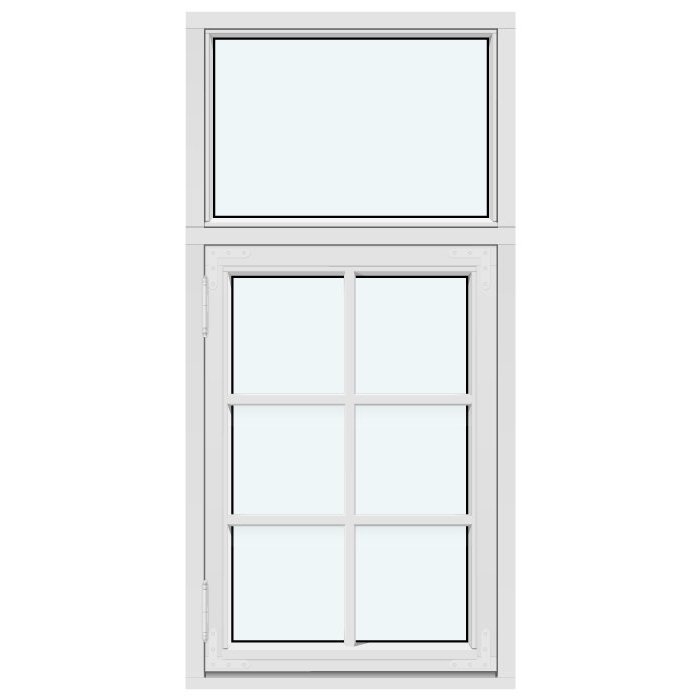
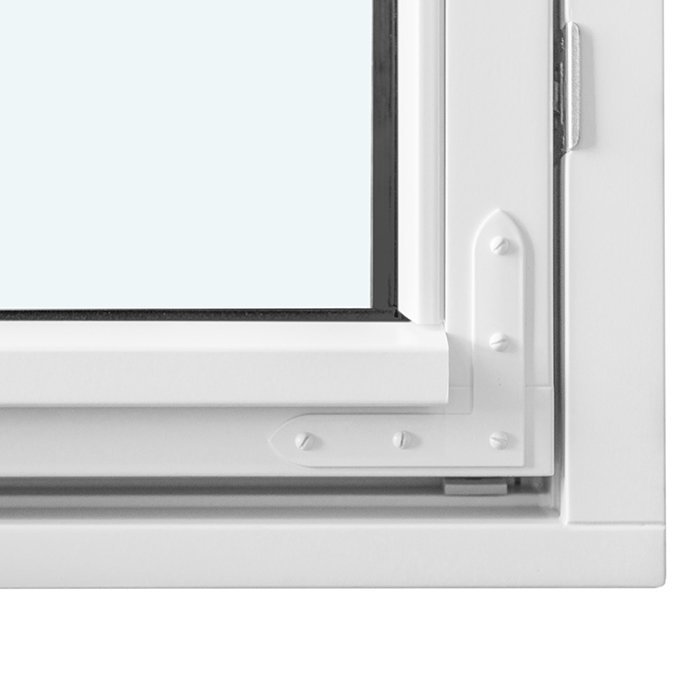
For an outward-opening combination casement window the sash positions, external appearance and clear space outside belong in the handover alongside the format. Outward-opening sashes can conflict with balustrades, downpipes, shading or paths even where the rough opening is correct. Check an open-position drawing on site or on the plan. After installation, arrange a joint visual inspection of position, operation, visible surfaces and outstanding connection work. Installation is only usefully complete once it is clear which work may follow and which areas must remain protected until completion. Record outstanding points with clear responsibility and timing. Distinguish between the installed unit, building connections still to be completed and work by other trades, so that a general snag list does not create an unclear transfer of responsibility.
Frequently asked questions
How can I establish a large window’s weight reliably?
Request details for the binding configured version. Total weight matters, but so do the weight, dimensions and handling of the heaviest individual delivered component. Changes to glazing build-up, division or opening type can affect these values. A general estimate based on width and height does not replace product and installation planning.
Can a window frontage be divided for easier installation?
Yes, division can create smaller units. However, it permanently changes frame lines, appearance, opening function and connection details. Compare specific options by visualisation, weight of the largest part, installation route and desired ventilation. The best division is the one that resolves design, usability and installation together for the particular project.
Who decides whether the wall can carry the window load?
The supplier describes the window unit; assessment of the structure, support and fixings in the existing or planned building belongs to the responsible building planner or a qualified professional. Provide binding unit data and structural documentation for this purpose. For alterations, assumptions about unknown wall construction should be professionally checked in advance.
When should installation access be inspected?
Early enough for the findings to influence unit division, measurement approval and construction-sequence planning. Check the delivery position, outdoor route, potential lifting equipment, scaffolding and internal routes. Repeat the coordination before installation day, because landscaping, scaffolding or other trades may change access that was originally available.
Which documents should I give the installation company?
Helpful documents include the confirmed unit list, elevations and sections, rough-opening dimensions, photos and measurements of the transport route, floor build-up details and site-management contacts. Add special conditions such as narrow accessways, slopes or fixed obstacles. Clear allocation of each unit to its opening prevents questions arising on installation day.
Next step
Large windows do not succeed through an isolated product choice. Start with a binding configuration and translate it into four checkable points: weight of the heaviest component, load-bearing installation situation, route to the opening and site sequence. Always compare divisions and opening types against these criteria as well as the façade. Bring the supplier, installation company and responsible building planner to a shared level of information before production approval. This turns a large-format design into a unit that can be professionally planned, transported and integrated into the construction programme.
