
Planning a 10–15 m² Garden Shed Interior
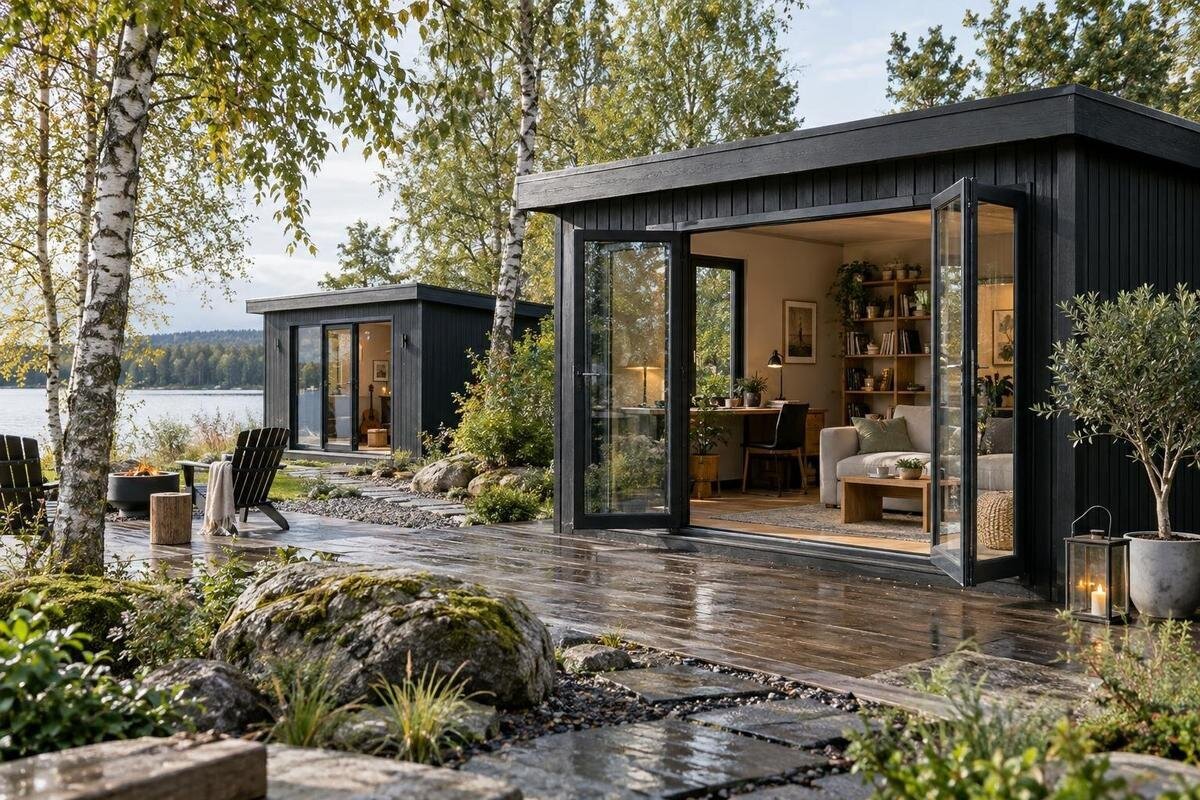
Garden shed planning
A 10–15 m² garden shed can support a main activity and useful storage, but the advertised area alone will not tell you how comfortable that arrangement will be. Wall thickness, openings, the shape of the room and the equipment you need to reach all affect the usable floor. Start with the actual internal measurements, then draw the route from the door to each regular task. This size is best planned as a working room with a clear priority, rather than an empty box to fill: leave space for access and for the things you use often.
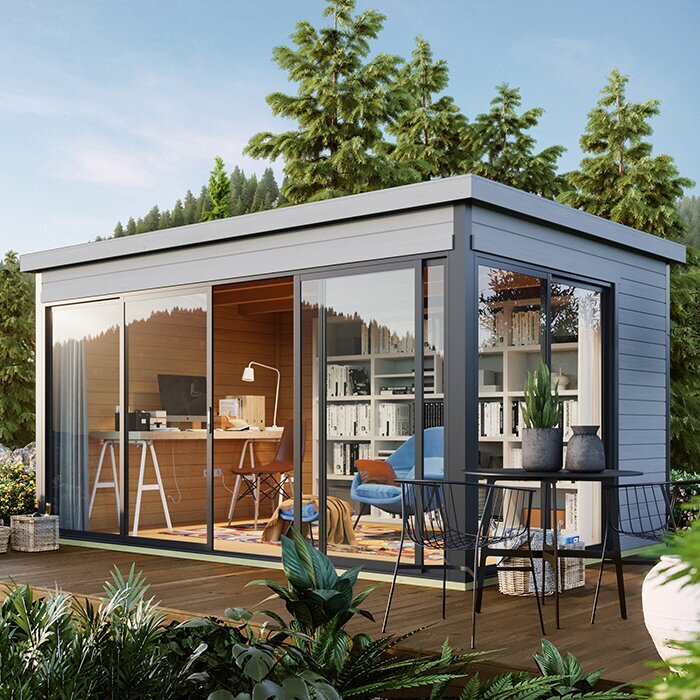
Before you order 1
Measure the usable space, not just the advertised area
Treat 10–15 m² as a starting figure, not a ready-made measurement of usable room. A product page may show an external footprint, a nominal floor area, or both; walls and the shape of the roof can affect the inside dimensions. For furniture planning, use the clear internal floor measurements from a dimensioned plan, and write down the length and width separately. Where the roof slopes, note the heights over the places where you might stand or install tall storage. If those details are not shown, request a drawing rather than estimating from a photo. When reviewing the Verdana 1 garden shed listing, separate stated measurements from details you still need to confirm.
Draw the inside outline to scale on graph paper or in a basic planning app. Mark the door, windows and any projections shown on the plan, then note the threshold and the door’s opening space. Record the narrowest clear width as well as the broadest part of the floor: a room with the same area can feel quite different if it is long and narrow rather than nearly square. Keep external site measurements on a separate sketch. Those help you assess where the building can sit, while the internal measurements guide the layout you will use.
Choose the main use before you furnish the shed
Write down what the shed needs to do before choosing a bench, shelves or other furniture. It might hold garden tools and supplies, provide a surface for potting or repairs, or give you a place for a hobby. List the tasks involved, the equipment each one needs and how often you use it. A frequently used tool should be easier to reach than seasonal gear, while a task that needs a clear work surface should not be squeezed into the space left after storage has been added. This list gives the floor plan a practical priority.
In this floor area, a main activity can often be paired with a supporting use, but that depends on the shape of the room and the items involved. Avoid planning several full-size functions until you have tested their footprints and routes. For a consistent comparison, apply the same purpose-based checklist to every candidate, including the Verdana 2 garden shed listing. Consider whether one function creates mess or needs extra room to use equipment, and decide where that activity belongs before you add storage. The aim is not to fill every corner; it is to make the regular jobs convenient.
Before you order 2
Keep the entrance and main route clear
The entrance affects where storage and furniture can go. Confirm the opening’s position and size, and check whether the door swings into the room or moves another way. Do not plan a shelf, bench or tall item in the space needed to open it. If you expect to bring in a wheelbarrow, long-handled tools or larger equipment, compare their dimensions with the opening and the turns inside the shed. A product photo may not show the clear opening or the room needed beside it, so use the actual plan. For the Durano garden shed listing, as for any candidate, check the confirmed door arrangement rather than relying on its name or image.
Draw a route from the entrance to the places you need to reach. It should remain usable when doors, drawers or bins are open and when a chair or stool is in use. Trace it with a finger on the plan, then check that stored items do not create a pinch point around a corner or beside the work area. Think about carrying things out as well as putting them away: a route that works only when the shed is empty will be frustrating once it is furnished. Keep the most direct path open and place less frequently used storage away from it.
Give one activity the main floor area
For a 10–15 m² interior, begin with one main area and arrange supporting storage around it. In a long room, a work surface along one wall may leave a clearer route through the centre; in a wider room, storage on one side and a work area on another may suit the layout. These are options to test, not fixed rules: door position, windows, equipment and internal dimensions can change what works. A full-height divider takes up usable space and can interrupt access, so use separate zones only when the plan shows that they can function without narrowing the route.
Put the largest or least movable item on the plan first, then add the task surface and the storage that needs to be close at hand. Mark the space needed to use each item, not just its outline at rest. If the arrangement looks crowded, try moving secondary storage to a wall or reducing its size before dividing the room. A scaled sketch will help reveal whether the intended activity has enough room to happen comfortably. If comparing the Veltor 1 garden shed listing, use the same sketch and measurements rather than assuming a layout from the product name.
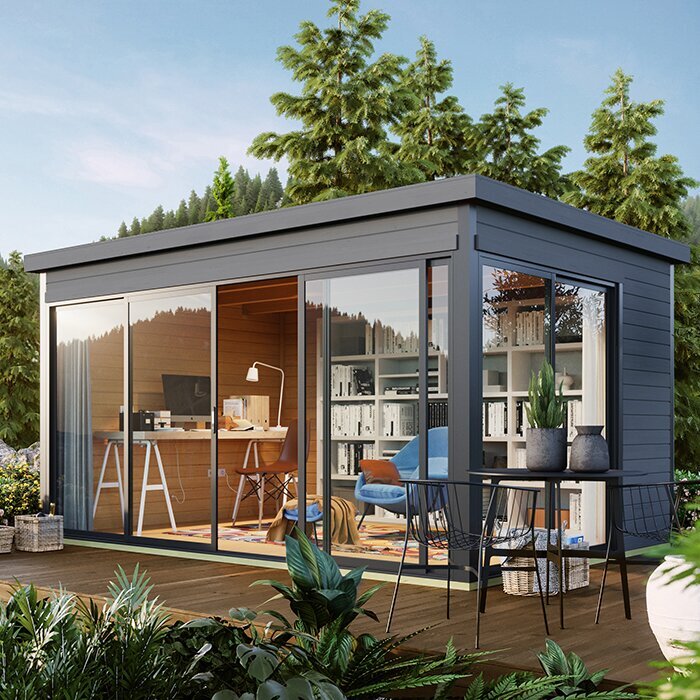
Before you order 3
Plan storage around your own equipment
Make a short inventory and measure the largest items before deciding how much shelving or wall storage you need. Include long tools, containers, equipment with handles and anything that must stay upright. Group items by task and frequency of use, so equipment for one job can be stored together and regular-use items are not buried behind seasonal supplies. Leave room to take items out without shifting a pile of other things. Heavy objects should be stored low and kept stable; smaller items can be grouped in labelled containers if that suits the way you work.
Shelves, hooks and wall-mounted racks can free up floor space, but their position and fixing method depend on the actual wall construction. Check the product information and assembly guidance before designing storage around fixed attachments. Do not infer a wall’s suitability or a safe load from a model name or photograph. Before planning fixed storage in a candidate such as the Orello 1 garden shed listing, confirm what its documents say about the walls and appropriate fixings. Freestanding storage can be easier to rearrange, but it still needs a stable position and should not obstruct the doorway or the route to the work area.
Allow for furniture in use, not just at rest
A table or bench takes up more room when someone is using it than its top dimensions suggest. Include space for a chair or stool to move, drawers to open, a bin lid to lift and tools to be handled. If a work surface is intended for standing tasks, draw a working area in front of it; if you will sit there, include room to pull the seat back. Also check whether larger furniture can pass through the shed’s entrance before it is assembled. Use the dimensions of the pieces you intend to buy, rather than a rough shape that may understate their footprint.
Multi-purpose or movable furniture can help if it is genuinely easy to fold, shift or store after use. Test where each item goes when it is not needed, and whether moving it would disrupt access to everyday equipment. Avoid relying on a chair or worktop being tucked into a corner if that corner is also part of the route. A listing such as the Modano 1 garden shed listing is useful to compare only when you can match its confirmed internal dimensions and openings to the furniture plan; a name or marketing image cannot show whether your particular set-up will fit.
Before you order 4
Check daylight, ventilation and services
Think about the light needed for the main activity and where it falls within the room. If a work surface needs good visibility, note the confirmed position of windows or other openings and consider how the light changes through the day at the site. A bright patch or glare may affect where you prefer to work, while shelving in front of an opening can reduce the benefit of that position. Check the plan for a candidate such as the Timber Garden Shed M listing and confirm the actual location of openings; do not assume that a product image shows the exact layout or included features.
Ventilation also matters when you bring in damp tools, wet footwear or potting supplies. Keep any openings clear and follow the product’s care and use information, especially if you plan to store items that need particular conditions. If lighting, power or another service is important to your intended use, confirm what is and is not included, then ask a qualified professional about appropriate options for the building and site. Do not plan an installation from a picture or adapt the shed’s structure without checking the relevant instructions. These details can affect where you put the work area and what you store there.
Account for wet and messy jobs
If you will bring in muddy boots, damp tools or potting materials, decide where those things will go before you set out the clean storage. Check what floor, if any, is included and what the product instructions say about its care. A mat or tray may help contain mess, but make sure it does not catch the door, create a trip edge or make the entrance harder to use. Reserve a spot that is easy to reach from the door for items that need attention after work, rather than carrying them across the room to a bench or shelf.
Keep the messy part of a task distinct from clean supplies where the layout allows. Store soil and small materials in suitable closed containers, and leave enough room to sweep or wipe the floor without first moving several items. Wet gear also needs somewhere to sit without blocking an opening or a regular route. If a job produces dust, moisture or residue, check the product’s care information and think about how you will clean up afterwards. The point is to plan for the whole task, including putting tools away, rather than only the moment when everything is neatly stored.
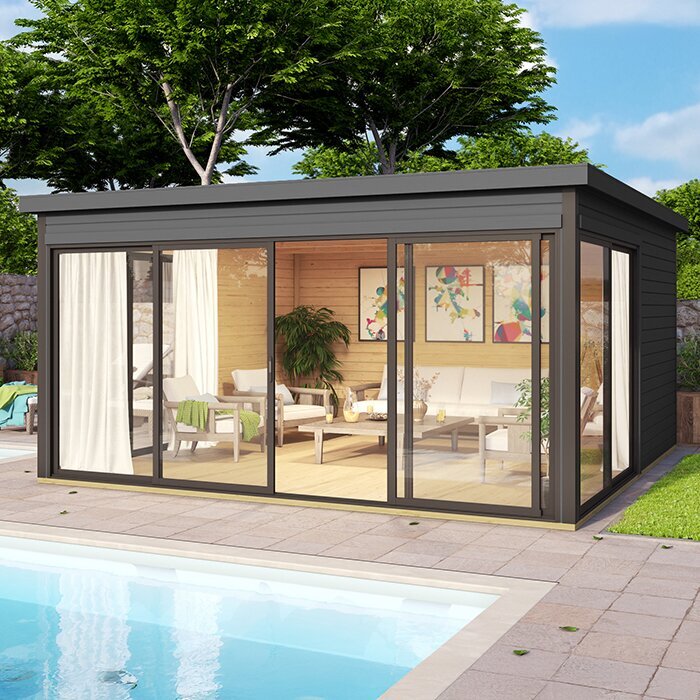
Before you order 5
Confirm the exact model details before ordering
Once the layout is clear, compare it with the information for the exact model and version you intend to order. Check the dimensioned plan, internal measurements, door position and any openings against your sketch. Confirm what is included, such as a floor or other components, rather than assuming that every pictured feature comes with the building. If the page does not answer a question that affects your layout, ask before purchase. For example, use the Wooden Garden Shed S listing as a page to assess against your requirements, not as proof of a particular size or interior arrangement.
Ordering also involves getting the building and its components to the intended spot. Measure the route from the access point to the site, including gates, turns and any tight passages, and consider whether there is a clear area for the planned assembly process. Check the supplier’s information for delivery and assembly requirements rather than assuming these are the same for every model. Make sure the site plan and the interior plan both work: a building may suit the room layout on paper but be difficult to position or assemble at the chosen location. Resolving those practical questions before ordering can prevent avoidable changes later.
Test the layout before buying the fit-out
Turn the plan into a full-size trial on the ground if you can. Use tape, cardboard or movable boxes to mark the work surface, storage units and door opening. Walk from the entrance to each task, carry the largest item along the route and check that drawers, chairs and lids can move without colliding. This simple test can reveal awkward turns or a crowded work area that a small drawing hides. If you cannot mark the building itself, use a clear area of similar dimensions and keep the outlines to scale.
Buy the essentials first, then see how the space works before filling the remaining wall and floor area. That leaves room to adjust the plan once you know which tools are used most often and where tasks naturally happen. Revisit seasonal storage when its contents change, and keep a little flexibility for equipment you may add later. A successful layout is not the one with the most shelves; it is the one where the main job, storage and route work together without constant rearranging.
Frequently asked questions
Is 10–15 m² enough for both storage and a workspace?
It can be, but the usable internal dimensions and the size of your equipment matter more than the area figure alone. Choose the main activity first, then test its work surface, storage and access route on a measured plan. If those basics fit without blocking the entrance, consider what secondary use can be added.
Should I plan with internal or external measurements?
Use internal measurements for furniture, storage and walkways. External measurements help you check the building’s position on your site and the space around it. Keep the two sets separate, and use a dimensioned plan to confirm what each measurement describes.
How much space should I leave for a walkway?
There is no single useful width for every shed or task. Base the route on how you move through the room and what you need to carry, wheel or reach. Test it on a scaled plan or with floor markings, and make sure furniture and stored items do not narrow it when in use.
Can I attach shelves or hooks to any garden shed wall?
Do not assume that every wall or fixing point is suitable for added storage. Check the product information and assembly guidance for what the walls can support and which fixing methods are appropriate. If the details are unclear, ask the supplier or a qualified professional before planning fixed storage.
What is a practical way to plan a shed with more than one use?
Give most of the floor area to the activity you use most, then add a secondary function only if the route and access remain clear. Draw furniture at its working size, including space for drawers, chairs or equipment to move. A layout that is easy to reset is often more useful than one with too many fixed zones.
A useful 10–15 m² garden shed interior starts with a measured plan and a clear idea of its main purpose. Check how the entrance, equipment, furniture and storage interact, then test the route and working space before committing to a fit-out. When you compare buildings, use confirmed dimensions and product information rather than relying on an area label or photograph. That keeps the decision grounded in the space you will actually have and helps the finished shed support its everyday tasks without becoming difficult to move around.
