
Planning Garden Shed Lighting: Task Lighting and Ambient Light
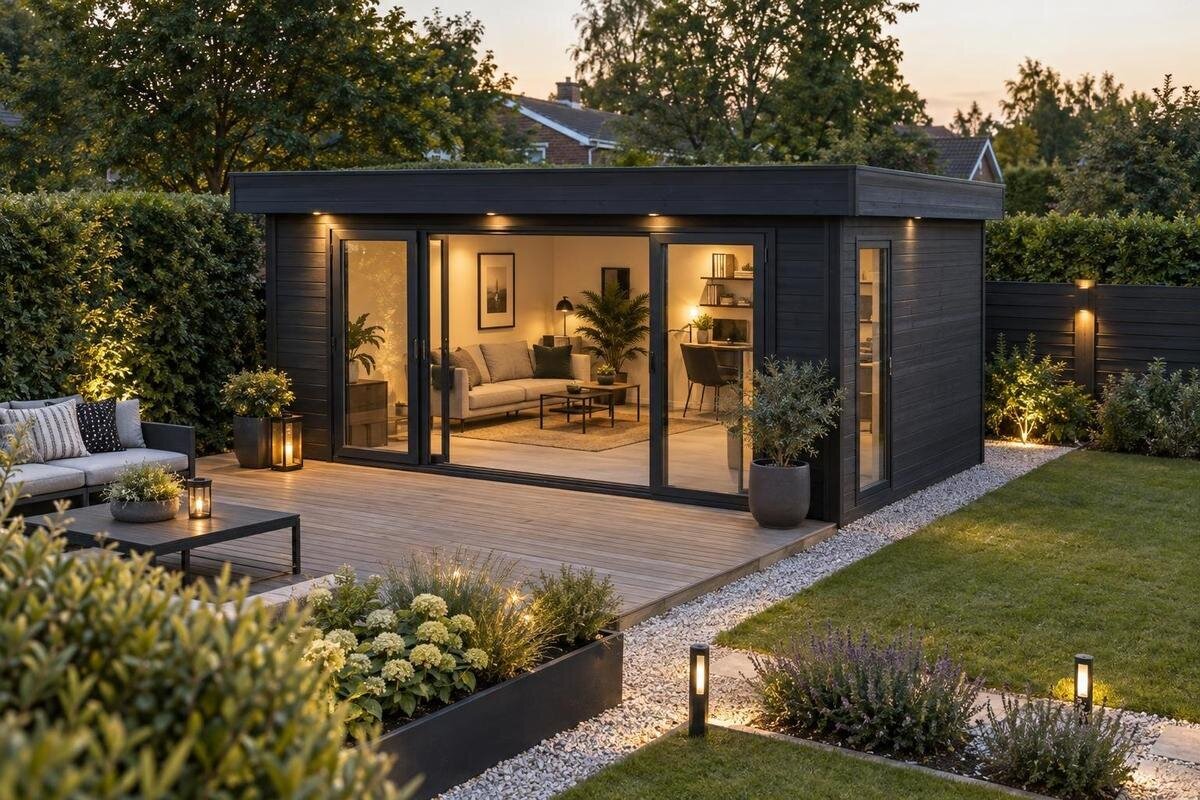
Garden shed lighting
Good garden shed lighting begins with how the space will be used, not with a fixture catalogue. Sorting seedlings, finding tools, carrying equipment in and out, or checking a small repair call for different light in different places. First map task light where you need to see detail; then add softer, more even ambient light for the rest of the shed. The plan also depends on daylight, openings, storage, controls and the building’s actual construction. Settling these points before ordering helps avoid a layout that leaves a work surface shaded or makes fixed lights difficult to place.
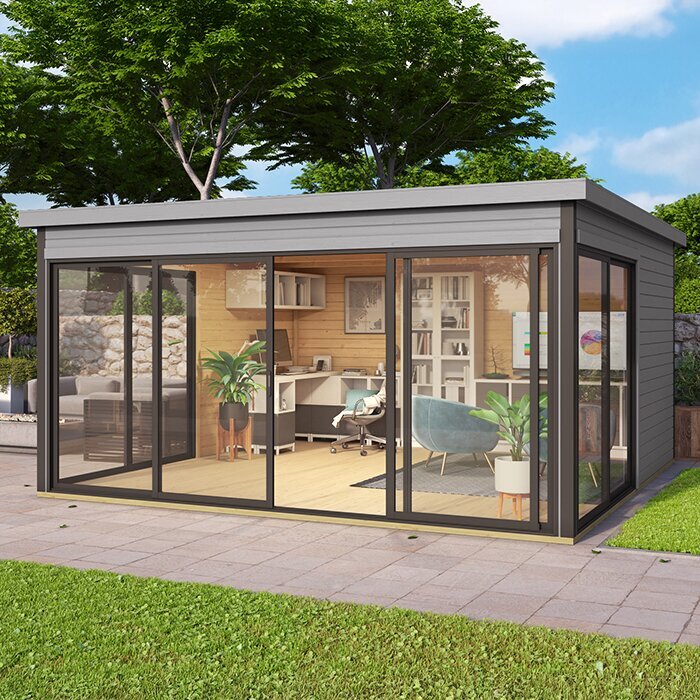
List the jobs the shed needs to support
Before choosing any lights, write down what you will actually do in the garden shed. Potting seedlings, sorting small parts, cleaning or checking tools, and locating stored items call for different kinds of light. Note which tasks need close detail, which happen only occasionally, and whether you stand, sit or move around while doing them. Mark the route from the door to the storage and work zones as well. Record whether several jobs share one bench or need separate areas. This inventory keeps the plan tied to use: a frequently used bench may need focused task light, while an occasional storage job may need no dedicated fitting. Give priority to the work that matters most to you.
Sketch the shed from above, even roughly, and mark the door, windows, shelves, work surface and larger items you expect to keep inside. Add your usual position for each job; this makes likely shadows and blocked routes easier to spot than a list of fitting types. When comparing models, compare your task map with the Verdana 1 garden shed and the details supplied for that exact model. Confirm any layout or construction information you need, and ask about important details that are not shown. A product name or staged image cannot establish the internal layout or where a light can be fitted.
Give task and ambient light separate roles
Task lighting serves a particular job: a workbench, potting surface, tool-checking area or another place where you need to see detail. Ambient lighting is the general background layer that helps you move around, recognise stored items and use the rest of the shed. They have different roles, so one bright central light may not do both well. Hands, shelves and equipment can cast shadows across the spot you are trying to see, while a wide general light alone may not make small parts, labels or marks clear. The ambient layer also helps you orient yourself before switching on a more focused light.
Plan both layers on the same sketch instead of choosing task lights first and leaving the rest until later. Mark where detail work happens, which direction you normally face, and where you need background light for the route and surrounding storage. The layers may overlap at a bench, but they need not be switched on together every time. At a shared work surface, note which jobs use the same light so the plan does not call for unnecessary fittings. Consider whether separate controls would suit your routine; an electrician can advise whether the arrangement works with the selected equipment and power supply.
Account for daylight at different times
Daylight can be useful, but how far it reaches depends on the openings and on anything that blocks it outside. If possible, look at the space at more than one time of day and consider seasonal changes, nearby trees, fences or buildings. Note where light falls on a work surface and whether it shines towards your eyes or reflects off a smooth surface. A bright patch near one wall does not necessarily serve the whole shed. A single midday view also tells you little about conditions when you use the space early, late or on a dull day.
Use those observations to decide whether a work area should sit near an opening or whether artificial task light will need to do more of the job. Keep general light in the plan for after daylight fades, too; a window does not automatically make every corner easy to use. When comparing a model such as the Verdana 2 garden shed, check the opening positions actually shown in its product information rather than assuming them from its name or photographs. If an important detail is missing, ask before making your bench or storage layout depend on it.
Keep doors, windows and storage clear
Mark the entrance, door’s full opening area, windows and storage before placing light points. A fitting or lead should not obstruct the way in, catch on stored tools or interfere with a door or window being opened. Think about what you need to see when stepping inside, especially if you often carry something in both hands or bring in a long tool. The control should also be reachable from the usual entrance without first crossing an unlit work area. These are layout questions to settle with whoever is planning the installation; they are not instructions for mounting or wiring equipment yourself.
Then consider what shelves, tall equipment and stored materials will hide. One ceiling-level source can leave a narrow corner in shadow once shelves are full, while a poorly placed task light may put your own shadow over a worktop. Check sightlines from the entrance and from the normal working position, not just how the drawing looks. For the Durano garden shed listing, look for the exact door and window arrangement before placing benches or lights. If it is not stated, ask rather than infer openings or usable wall space from a model name or promotional image.
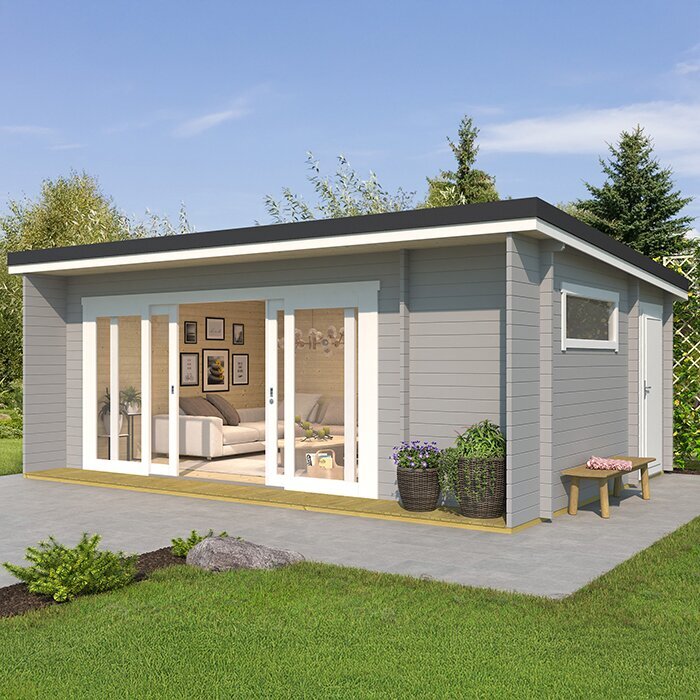
Aim task lighting at the work area
For each close-up task, decide what needs to be visible and where your body will be. Potting and seed sorting keep hands close to a surface; cleaning or checking garden tools may involve longer objects that extend beyond the bench. Mark the working zone and note which side light should come from so your head or shoulder is less likely to block it. Consider whether the job stays in one position or shifts along the work surface. A movable lamp can help you trial an arrangement, and a simple mock-up of the bench and storage can reveal awkward shadows. That trial checks the layout only; it does not establish that a fitting is suitable for permanent installation.
Choose a fitting for the work rather than relying on a brightness claim alone. A focused beam may help with detail but leave the surrounding area stark; a broader or adjustable light may suit a surface used for several jobs. Read the manufacturer’s instructions for the proposed location and conditions, including any dust or moisture exposure that applies inside your shed. If you plan fixed lighting, discuss positions and mounting with a qualified electrician before ordering equipment. For the Veltor 1 garden shed, check the exact construction and mounting information first; its name cannot tell you what a wall or ceiling can support.
Use ambient light across the shed
Ambient light is the layer that makes the shed as a whole legible, rather than concentrating on a single work surface. Plan for the route between the entrance and storage, the less-used corners and any place where you change tasks. The aim is not to make every surface equally bright; it is to avoid relying on a strong pool of light that leaves nearby areas difficult to see. Shelving and equipment can divide the room and create pockets of shade, so imagine the shed in its normal working state, not empty. Check the view from the entrance as well as from the workbench.
Think about the atmosphere you prefer as well as visibility. A shed used mainly for practical jobs may call for straightforward background light; if you spend longer inside, you may prefer a softer level away from the work zones. Light colour and glare are personal choices, so consider the fitting’s guidance alongside the surfaces and activities rather than shopping by one label. Look at likely sightlines too: a visible light source can feel harsh if it sits directly in your usual view. Before planning a general layer around the Orello 1 garden shed, confirm the layout and construction details provided for that exact model.
Choose controls to suit your routine
Controls can make a small lighting plan easier to use. Separate controls for task and ambient light let you use only the layer needed, while one simple switch may be sufficient if the shed has a single purpose. Place controls in relation to the entrance and your routine: consider whether you can turn on general light as you enter, then add task light where you need it. If several people use the space, make the arrangement intuitive rather than dependent on one person’s habits. Avoid placing a control where planned shelving or stored equipment could make it awkward to reach. Mark control positions on the plan alongside the fittings.
Choose fixed lights, portable lamps, battery-powered options or another arrangement only after considering how often and for how long you use the shed, and whether a suitable power source is available. Each choice has different practical constraints, so follow the maker’s instructions for the exact product rather than assuming a light intended for one setting will suit another. Portable options may also need regular charging or a place to be stored when not in use. For fixed electrical work, ask a qualified electrician to review the equipment, controls and proposed installation. When assessing the Modano 1 garden shed, confirm its documented layout and construction before finalising switch or fitting positions.
Check power and mounting with a professional
Do not select fixed fittings or mounting hardware from a photograph alone. Relevant details include the fitting’s instructions, the shed’s confirmed wall and roof construction, the mounting position, and whether conditions there match the fitting’s stated use. Do not assume that a garden shed has the same services or interior finish as a house, or that lighting is included with the building. Check the exact product information for both the shed and the light. If it does not answer a question about support, cable routing or compatibility, ask the supplier and a qualified electrician to resolve it before you order.
Give the electrician your task map, proposed light locations and control positions, along with the product information for the shed and fittings. That allows the professional to assess the intended arrangement and advise on suitable equipment and installation. Avoid making structural changes or attaching lights on the basis of a generic diagram. For a model such as the Timber Garden Shed M, verify its actual construction, included items and any supplied plans before making assumptions. The name identifies an option to compare; it does not establish a wall finish, mounting surface or electrical provision.
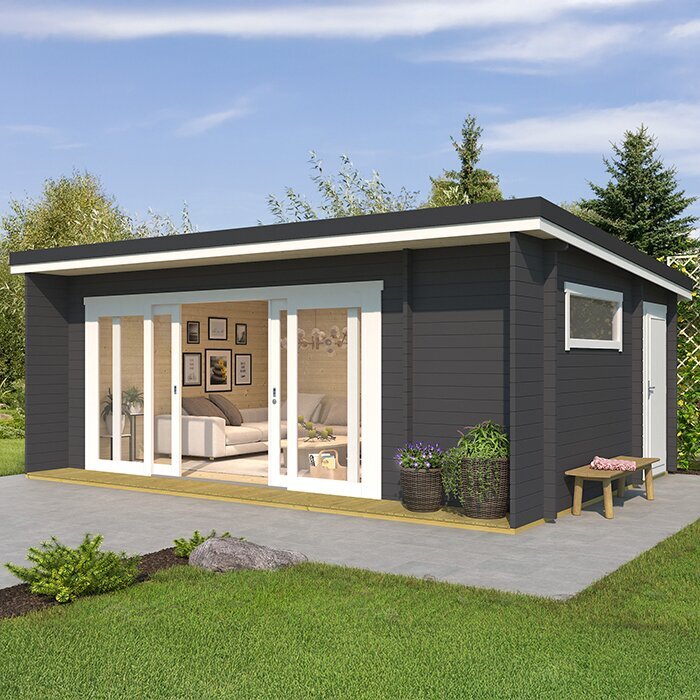
Leave room for storage and future changes
Think about what the shed may need to hold later, not only how you will arrange it on day one. Extra shelving, hanging tools, a trolley or another work area can block a light, change the route or cast a new shadow across a bench. Mark likely additions and leave a sensible place for them in the plan. Consider bulky seasonal items as well as everyday tools; either can alter the way light reaches a work area. You do not need to design for every possible change, but identify the ones you can already anticipate before fixing the main work zone. This matters when lights or controls may be awkward to move later.
Check the plan against the actual internal measurements and drawings for every shed you consider. A sketch based on assumed dimensions can overstate wall space or leave less clearance around a door than you expect. Before choosing the Wooden Garden Shed S, compare its published details with the work surface, storage and clear route you have drawn; do not read size into a model label. Ask for any missing dimensions, and check that future shelves will not block controls or light. Leave fixed light positions until the layout is confirmed and discussed with the installer, so lighting does not compromise access or storage.
Compare shed details before ordering lights
Compare garden sheds by the facts that affect the lighting plan: usable internal dimensions, confirmed door and window positions, construction details and any documented limits on fixing accessories. Then compare lighting products separately for their intended use, controls, power needs and included components. Do not assume a shed comes with lights, wiring or fittings, or that a pictured arrangement is part of the purchase; check the exact product information and ask if the scope is unclear. List the lights and accessories you expect to provide or arrange separately. This keeps the decision to buy the building distinct from the lighting choice, while ensuring both fit the same layout.
Before ordering, gather the product information, your task map and any questions for the person planning electrical work. Confirm the shed’s dimensions and openings against the space available in your garden, then check site preparation with the relevant supplier or professional. Get a clear answer on what is included, what needs to be arranged separately and whether the planned lighting approach suits the actual structure. Use the same current product details when discussing the plan, so advice is not based on outdated assumptions. If a detail changes, reassess the plan rather than selecting hardware from old drawings.
Frequently asked questions
Do I need both task and ambient lighting in a garden shed?
Not necessarily. If you do one simple job in an open space, general lighting may be enough. Close work, shelving or several activity zones can benefit from focused task light as well. Decide from your activities and layout rather than assuming every shed needs the same combination.
Where should task lighting go?
Aim it at the work surface or detail you need to see, and check that your body or tools will not cast a strong shadow across that spot. Consider the position from your usual working stance. Have a qualified professional confirm the fitting and shed are suitable before fixing anything in place.
Will windows remove the need for artificial lighting?
That depends on when and how often you use the shed. Daylight changes with the time of day, season and nearby obstructions. A window that lights one area at midday may not meet your needs early, late or on a dull day, so plan for the conditions in which you expect to work.
Are battery or solar lights suitable for a garden shed?
They may suit some occasional or temporary tasks, but check the maker’s instructions, operating conditions and power or charging requirements for the exact product. Consider how long the light needs to run and where it will be placed. Do not assume a portable option will meet every lighting need.
What should I check before ordering a garden shed for lighting?
Check the published internal dimensions, door and window positions, construction details and what is included. Compare them with your work areas, storage and proposed light positions, and ask about missing information. If you want fixed electrical lights, have a qualified electrician review the plan against the exact shed before choosing fittings.
A useful garden shed lighting plan makes detailed work easier to see while giving the rest of the space enough light to use comfortably. Map activities first, then account for daylight, access, storage, controls and future changes. When choosing a shed, check its documented openings, dimensions and construction before deciding where fixed lights can go, and leave electrical suitability and installation to a qualified professional. That way, the lighting follows the way you intend to use the shed, rather than a layout that may not fit.
