
Planning a pergola over an outdoor kitchen or barbecue
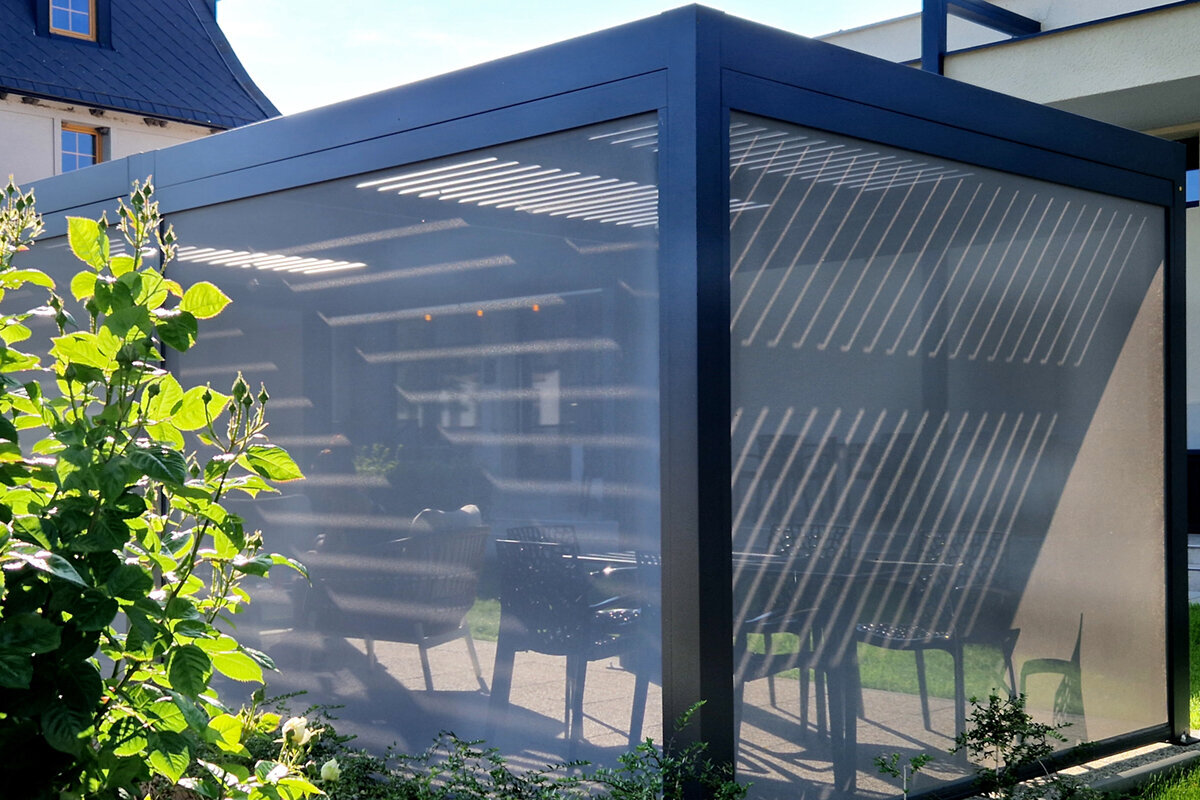
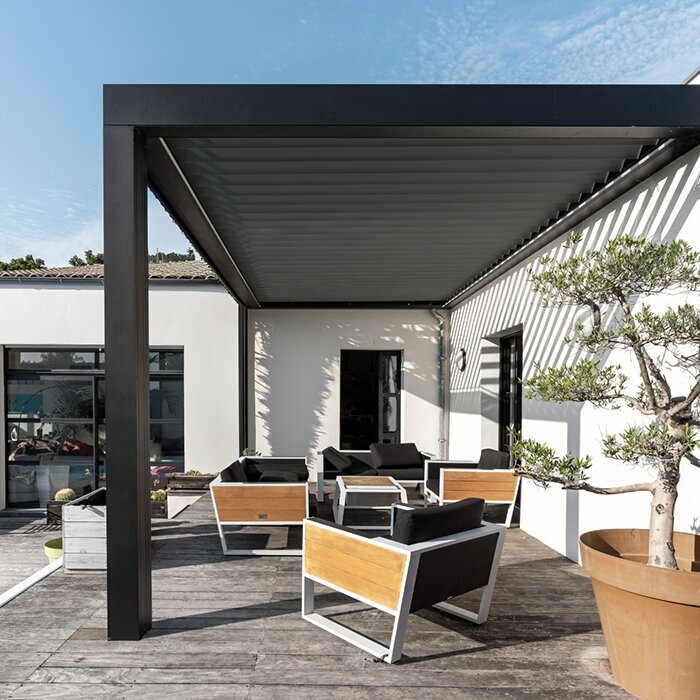
Covering an outdoor kitchen thoughtfully
In short: plan the cooking routine before the pergola
A pergola over an outdoor kitchen or barbecue works best when the heat source is not treated as an afterthought. First define the position, working direction, landing space and routes. Then decide where posts and roof edges belong, and which open side allows air and movement.
Consider the barbecue, oven or kitchen-appliance manufacturer’s instructions and local requirements early. Ask your council about building and planning questions; discuss particular risks with your insurer. The final product configuration should always suit the intended use.
01
Cooking zone
Keep the area for heat, operation and cleaning clearly separate from seating, storage and thoroughfares.
02
Air and clearance
Do not create an enclosed hood above a fire source; allow open sides and appliance-specific clearances.
03
Everyday use
Short routes for dishes and ingredients matter, but must not block doors, escape routes or the terrace.
Planning a pergola over an outdoor kitchen or barbecue
Cooking outdoors involves moving between preparation, the heat source, landing space and dining table. A pergola should support these routines rather than constrain them. Plan the cooking area and its zones before considering post positions, roof form or accessories. This creates a space that works for everyday meals and entertaining alike.
Separating heat, smoke and sensitive surfaces is especially important. A barbecue, pizza oven or cooktop needs its own clearances and suitable surroundings, depending on the appliance. Follow the manufacturer’s instructions for that appliance. A roof does not replace careful installation, but can improve comfort, orientation and use of the outdoor area.
The connection to the house also deserves attention. Short trips to the kitchen are practical, yet doors, windows, sightlines and existing terrace furniture must remain easy to use. A clear layout lets the pergola frame the cooking area without taking away the garden’s open character.
01 · Layout first
Treat the cooking area as a workspace
Think of your outdoor kitchen as a small open-air workshop. Ingredients arrive, are prepared, cooked and served; in between, you need room for trays, hot pots and waste. Draw this sequence on a simple plan. It will show which areas truly need cover and where an open edge zone works better.
The centre of the pergola does not automatically need to sit above the barbecue. It is often more pleasant to shelter the dining or preparation area and place the heat source to one side with suitable clearance. The kitchen remains sociable without smoke, heat or operating movements collecting beneath a compact roof.
Add real daily routines to the site check: carry shopping bags, drink crates or dishes from the house to the proposed cooking area. This reveals pinch points a plan can miss. Check whether doors can open together and whether rainwater, leaves or shade regularly affect parts of the terrace. An accessible position makes preparation, tidying and use at different times easier.
Use cardboard or masking tape to mark the barbecue, worktop, seating and routes on the ground.
Allow for the direction in which lids, doors, drawers and flaps open while cooking.
For a flexibly designed roof zone, explore bioclimatic aluminium pergolas for cooking areas as a starting point for your design.
02 · Garden position
Allow for the house, boundary and planting
A good position connects the outdoor kitchen to the house without overfilling the terrace. Check where ingredients, water and dishes come from and where guests naturally walk. A direct line may help, but a slight offset often stops cooks and passing traffic from getting in one another’s way.
Look upwards and around the edges too. Branches, downpipes, opening windows, awnings and lighting can influence the position. Dense planting is also impractical beside a barbecue because it complicates maintenance and reduces visibility. Leave enough room for cleaning, servicing and moving furniture without awkward manoeuvres.
A clear sequence of use is useful too: prepare, heat, set down and serve. This avoids carrying hot items long distances or crossing working movements. Include occasional accessories such as grill plates, pizza peels or covers. A dedicated place for these items keeps the worktop clear and the cooking area orderly.
Measure door swing areas and terrace depth before setting a fixed pergola grid.
Check views from living rooms: the cooking area can be visible without dominating every outlook.
If you want an open frame without complex roof control, compare classic aluminium pergolas for barbecue areas with the dimensions of your existing terrace.
03 · Zone heat deliberately
Do not install a barbecue or fire source like furniture
A barbecue or oven is not an ordinary kitchen component: it produces heat, smoke and, with some fuels, sparks. Position it according to its instructions and maintain the required clearances from the roof, posts, walls, furniture and combustible materials. Accessories such as side burners and open lids also need their own operating space.
Robust worktops beside the barbecue make setting items down safer. Avoid layouts where hot handles project into a main route or guests pass directly behind the cook. Where several appliances are used together, such as a barbecue and pizza oven, plan not only the width of the run but also their heat and operating sides.
Consider changing weather as well as the usual wind direction and the position of neighbouring walls. A wall can redirect air, while tall planting or screening can further affect smoke flow. Keep the space above and beside the heat source clear in line with appliance instructions. Observe the site in real use before permanently adding side screens, curtains or furniture.
Create a fixed clear landing place beside the cooking point for hot trays, tongs and lids.
Use only the relevant manufacturer’s information when planning appliances, connections and clearances.
For a versatile outdoor space, bioclimatic pergolas beside an outdoor kitchen can be a design option.
04 · Smoke and air
Ventilation is part of the design
A roof can make smoke and cooking fumes more noticeable when air cannot circulate freely. Consider open sides, the barbecue position and wind commonly felt in the garden. Trapped smoke affects more than comfort; it can also impact façades, textiles and neighbours.
A pergola is not automatically the right location for heavily smoking appliances or open fires. Whether special extraction, another position or a more open solution is needed depends on the appliance and its use. Do not rely on an attractive sketch; check the manufacturer’s requirements and seek competent site advice where needed.
Drainage affects comfort beneath the pergola as well as shade. Check where water from roof surfaces and terrace paving will go, so work and seating areas do not stay wet. Plan lighting early for evening use: the worktop, serving route and table need different light. Fittings should not dazzle while cooking or unnecessarily dominate the view from the house.
On several days, observe where smoke from the planned barbecue area actually travels before final positioning.
Avoid side screening that looks calm but severely restricts airflow and cleaning access.
For an intentionally airy terrace frame, standard aluminium pergolas with an open character are a natural design direction.
05 · Roof and comfort
Plan shade without enclosing the cooking area
Shade over the worktop is welcome, particularly when preparing ingredients or dining with guests for a long time. Yet the roof concept must not overlook how the heat source is used. Decide which areas truly need protection: the table and preparation zone are often more important than the space immediately above the barbecue.
Think about changing light through the day. Morning sun, evening sun and reflections on worktops affect comfort more than a top-down view suggests. A pergola can organise the living area while leaving the garden visible. The key is for roof edge, posts and furniture to form a calm overall composition.
Choose an easy care routine rather than a complicated specialist solution. When a brush, cloths and waste container are close at hand, splashes are easier to remove after cooking. Also consider the junctions between kitchen modules, flooring and pergola posts, where dirt often gathers first. An accessible arrangement makes it easier to keep surfaces and gaps under regular review.
Place the main worktop where neither low sun nor direct passing traffic affects it.
Check whether your dining area needs cover at typical use times while the barbecue stays deliberately at the edge.
For adjustable shade above seating and preparation areas, take a closer look at bioclimatic aluminium pergolas for outdoor dining at your own pace.
06 · Materials and surfaces
Consider worktops, flooring and care together
In an outdoor cooking area, grease, splashes, ash and cleaning products meet flooring, furniture and structure. Do not choose surfaces by colour alone. Useful materials are easy to wipe in your everyday routine and reveal dirt before it becomes ingrained. Allow space for a brush, cloths and a waste container too.
The floor should provide secure footing when carrying heavy bowls. Uneven ground, loose finishes or inaccessible joints become especially troublesome around a barbecue. Coordinate kitchen units, planters and pergola posts visually as well. A few repeated materials usually look calmer than many competing surfaces.
The desired atmosphere often comes from a deliberate distance between the social area and workspace. Guests can sit close enough to share the occasion without crossing movements at the barbecue. Check where drinks are set down and plates are handed out, so everyone does not gather at one worktop. A small serving surface on the guest side can ease routines and structure the cooking area.
Set landing surfaces so cleaning water cannot run into joints, power-point areas or beneath kitchen cabinets.
Choose movable textiles and decoration deliberately so they can be quickly removed from the immediate cooking zone.
As a clear design frame for robust kitchen surfaces, traditional aluminium pergolas for terrace kitchens suit pared-back garden concepts particularly well.
07 · Routes for guests
Organise movement around the cooking island
At a barbecue gathering, the outdoor kitchen quickly becomes the meeting point. That is enjoyable, but causes bottlenecks if guests need to pass the fridge, sink or barbecue. Plan a clear guest side and a protected working side. The cook can then chat without having to step aside for every task.
Seating also needs distance from the active cooking area. A table under the same pergola can work when there is a clear route between serving and sitting. Think about children, pets and carrying dishes. The best layout is not the tightest one, but one that anticipates busy moments while still feeling generous.
Before making an enquiry, write down priorities: should the focus be shared meals, preparation, barbecuing or a flexible terrace room? Note existing constraints such as windows, services, slopes and trees. This makes options easier to compare. A coordinated sketch prevents design wishes and practical requirements from clashing only after selection.
Route the path from house to table past the working side where possible, without taking it directly beside the barbecue.
Set out chairs only after marking routes, so pulled-out seats do not block a passage.
Where dining, sitting and preparation come together beneath one roof frame, bioclimatic pergolas for generous cooking terraces offer useful planning ideas.
08 · Secure the plan
Clarify services, rules and your quote
Lighting, electricity, water and, where relevant, gas connections should be planned before installation. Decide which functions you need and who will plan or carry out each job. Ask a licensed electrical professional to assess outdoor supplies and equipment. Cables, switches and connections must suit the appliance, outdoor setting and intended use; early planning avoids visible makeshift solutions.
Requirements for a pergola, outdoor kitchen or work near a boundary depend on the site, property and construction. Ask your local council about unresolved matters in good time. If you want to know which damage or installations are insured, ask your insurer using your specific plan. A current quote then provides a sound basis for deciding.
Take your sketch, measurements, appliance documents and site photos to advice or coordination meetings.
Record unresolved points about foundations, drainage, electrical installation and appliance connections separately.
For clear, lasting terrace definition, standard aluminium pergolas for outdoor kitchens can be the right product category.
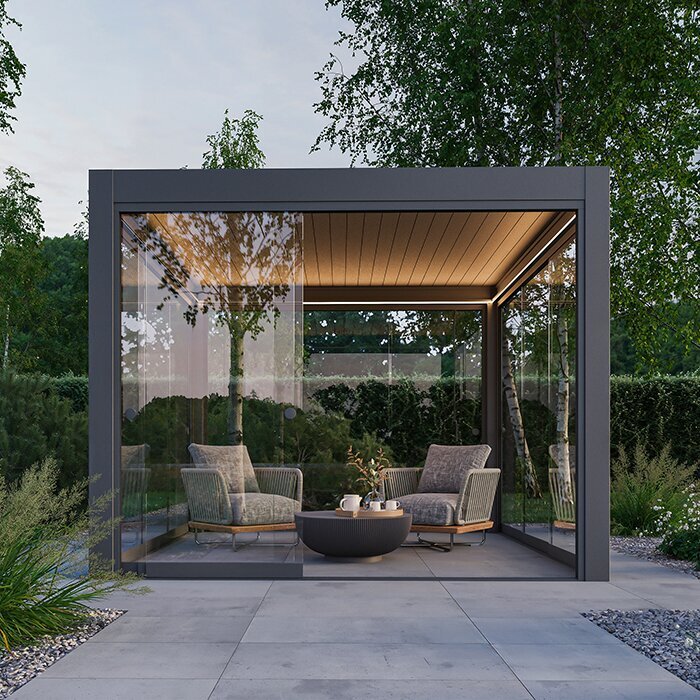
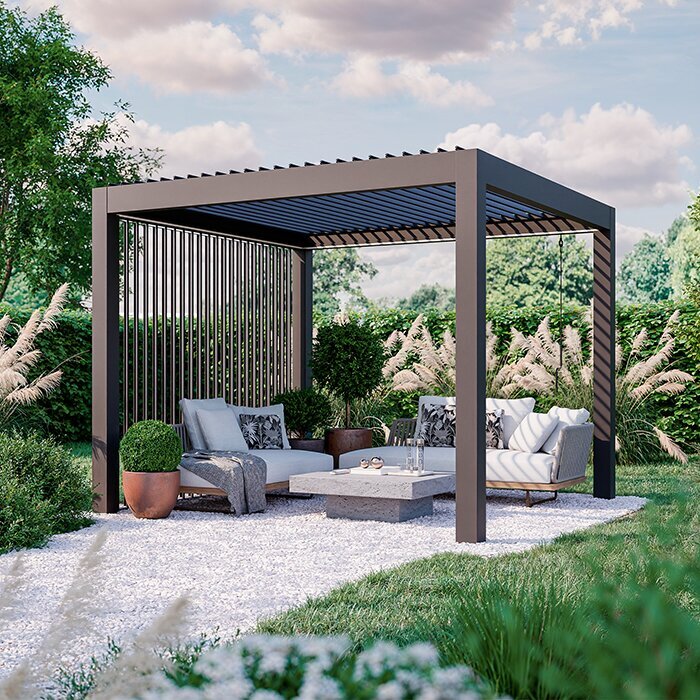
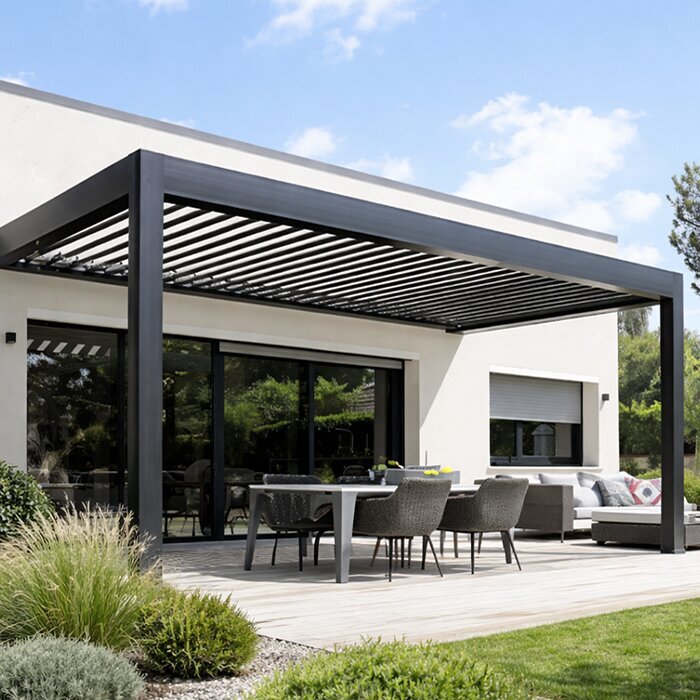
Which planning direction suits your cooking area?
The choice depends less on one feature than on how you cook, the shade you want and the openness of the site. Always compare the pergola alongside the barbecue, furniture and required clearances.
Focus
Adjustable design for living and preparation zones
Clear open frame for terrace and cooking area
Suitable for
Changing light conditions and frequent outdoor dining
Minimal design and deliberately airy layouts
Barbecue position
Appliance clearances and manufacturer instructions remain crucial
Place the heat source sensibly to one side or outside the roof zone
Spatial effect
Can bring functional zones together in a differentiated way
Emphasises structure without closing in the garden strongly
Before deciding
Coordinate roof design with ventilation and working routines
Match the post grid with kitchen units and routes
A harmonious cooking terrace in five steps
A simple sketch reveals early whether the planned space is sufficient for appliances, guests and necessary clearances. Start with everyday use, then decide on form and equipment.
01
Note how you will use it
Record how often you barbecue, how many people usually attend and which appliances will stay outdoors permanently.
02
Position appliances
Use the manufacturer’s information on positioning, operating space and clearances. Mark lid movements and safe landing surfaces too.
03
Draw the routes
Draw routes from the house to the kitchen, table and garden. Each main route should pass the hot work area, not run through it.
04
Orient the pergola
Only now set the posts and roof area. Check sun, wind, windows, planting and access for maintenance work.
05
Coordinate details
Clarify connections, lighting, floor build-up and local questions before ordering. A measured plan makes quote checking much easier.
Checklist before deciding
Work through these points before finalising dimensions or requesting a configuration. Each point helps prevent later compromises in a space intended for regular use.
01. Barbecue and outdoor-kitchen components, including open lids, doors and drawers, drawn to scale.
02. Manufacturer information on positioning, clearances, connections and permitted appliance use available.
03. Working side and guest side clearly separated, so nobody passes directly behind the cook.
04. Clear landing space for hot items, dishes and ingredients provided beside the cooking point.
05. Open sides and likely wind direction considered when positioning barbecue and roof area.
06. Door openings, windows, downpipes, trees, lighting and existing terrace furniture measured on site.
07. Electricity, water, drainage and any appliance connections documented as separate planning items.
08. Local requirements and insurance questions clarified early for the specific construction.
Frequently asked questions about pergolas over outdoor kitchens or barbecues
Can a barbecue stand directly under a pergola?
That depends on the barbecue type, fuel, manufacturer’s instructions and the particular pergola design. Take required clearances directly from the appliance manual and account for smoke and heat. Attractive placement is no substitute for correct appliance positioning and sufficient airflow.
Where should an outdoor kitchen sit beneath a pergola?
A position at the edge of the covered area often works well, with a protected worktop and open space towards the garden. Serving routes stay short while the heat source does not become the centre of a tight roofed area. The appliance instructions remain decisive.
How can I prevent smoke building up around the barbecue?
Do not place the cooking point in a corner screened on every side. Observe the usual wind direction and leave relevant sides open. With appliances that produce more smoke, check particularly carefully whether the position and roof work together or whether professional advice is sensible.
Do I need consent for a pergola near a barbecue area?
Not always. In New Zealand, an unroofed pergola may fall within a specific building-consent exemption, but adding a roof changes the assessment. Building consent and resource consent are separate, and Building Code and district-plan requirements may still apply. Ask your council early with a clear sketch, including the roof, foundations, services and outdoor-kitchen details.
How large should the guest area be?
Plan not only for seats, but also pulled-out chairs, serving movements and routes to the house. Guests should not have to pass the hot cooking point or walk behind the cook. A separate route creates calm, even where the overall outdoor area is compact.
Which documents help when requesting a quote?
Useful items include site photos, a measured plan, the outdoor-kitchen position and appliance documents. Also note intended use, sun direction, existing connections and possible obstacles. This lets a pergola configuration be matched more purposefully to your project.
Plan a pergola to suit your cooking area
A good pergola improves the cooking area rather than making it tighter
The most convincing solution comes from treating the pergola, outdoor kitchen and barbecue area as one outdoor room. Give the barbecue the clearances it needs, protect work and seating areas sensibly, and keep guest routes clear. The terrace will then feel organised, welcoming and practical for daily use.
Take time to prepare a measured sketch and clarify technical and local questions before committing to a design. Bloomcabin can inspire the design framework; the final plan should always suit your property, appliances and way of cooking.
Explore pergola solutions and compare your sketch with the intended use of your terrace.
