
Replacing windows in winter: What should you consider?
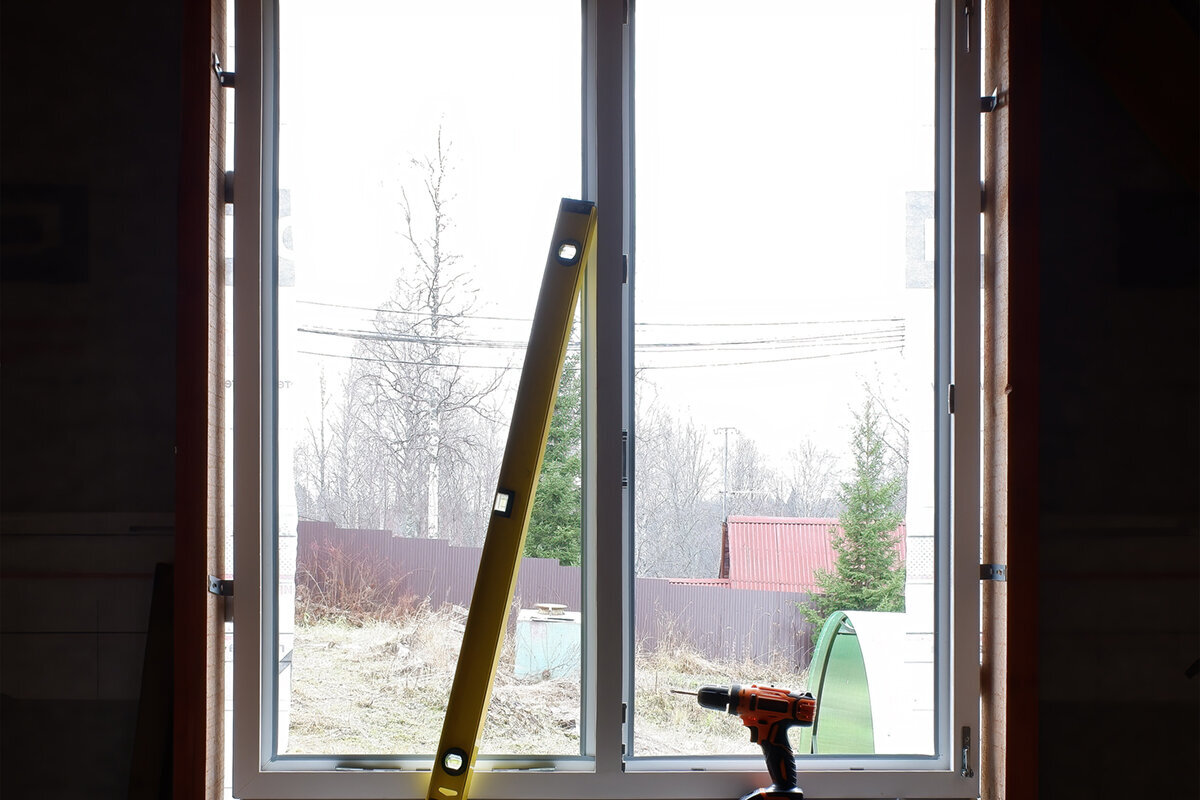
Planning window replacement in winter
Replacing windows in winter is not automatically ruled out. The sequence of work matters more than the calendar: the old unit should be removed only when the new window is ready, the opening is prepared, and the installation team can protect the junctions from the weather. For homeowners, a winter appointment is mainly a coordination task. Confirm dimensions, opening direction, junction details, access and room use in advance to avoid openings being exposed for too long and unnecessary heat loss. A winter date can be useful where a leaking window needs prompt replacement or work is planned in stages. This guide explains when winter installation is practical, which product and detail decisions matter before ordering, and how to prepare installation day so the house can be closed up promptly.

01 / Check measurements
Assess the winter date as a construction process first
The key question is not whether winter is cold, but how long an opening remains unprotected. In an organised replacement, the window is opened up, the old unit is removed, the reveal is inspected and prepared, then the new unit is fitted and secured. Coordinated junction work follows. Removing several windows at once places unnecessary strain on the interior and building fabric. A staged approach is usually calmer: complete one room or one elevation before moving to the next. The team can then respond to unexpected masonry damage without leaving further openings exposed. Discuss the installation order when booking the work and decide who can make decisions if conditions differ from the original survey.
Weather chiefly affects working methods, materials and protective measures. Heavy rain, icy work surfaces or strong winds can make an appointment difficult because the opening and junction area cannot be worked on safely and kept reliably dry. The usable conditions for sealants, tapes, foams or coatings depend on the instructions for the selected system; they should not be inferred from a general temperature rule. Let the installer decide when conditions suit the planned construction. Agree clearly what happens if work is postponed: who checks the forecast, when the decision is made, and how materials remain protected in storage. In winter, a realistic back-up date is usually more valuable than a fixed diary entry.
The new window must suit the opening and how it will be used
Specification comes before a winter installation date. Compare more than the old frame’s width and height: consider the clear opening, reveal depth, existing sill junction and preferred operation. A window may look right yet be unsuitable if its sash later strikes a radiator, furniture or an external obstruction. In rooms where easy operation is important, a single inward-opening window may be a sensible configuration. The product name describes the opening direction, not the complete construction. Ask about available dimensions, hardware, glazing options and the junction details required for your project.
For a full replacement, record every opening separately. Similar-looking windows can have different reveals, for example after earlier alterations or where an extension meets an older building. For each window, note the room, wall elevation, structural opening size, handing, sill height, internal sill and features such as shutter boxes, radiators or services. This list also helps you compare the supply scope and installation quotation properly. Check whether handles, ventilation needs, privacy screening and later cleaning have already been decided. Changing an opening type on site can disrupt the programme and junction design. Also plan the order around the confirmed lead time: Bloomcabin states 4 to 6 weeks for windows and doors, subject to order confirmation.
02 / Define the installation
Inspect reveals and junctions before removal
The condition around the frame helps determine how smoothly replacement will proceed. Crumbling areas, soft material, old seals, uneven surfaces or signs of moisture are not minor details, as they may only become visible after the old frame is removed. Photograph the inside and outside beforehand and show any concerns during the survey. The installer can then assess whether substrate preparation, repairs or extra time are needed. A clear assessment is especially helpful in winter, when unplanned delays with an open opening should be avoided. Ask who is responsible for checking the substrate, how minor damage will be dealt with, and when a finding would require work to pause.
The perimeter joint is more than a leftover gap between the frame and wall. It must be designed as part of the whole installation, with the internal layer, joint zone and exterior suited to the construction and weather exposure. Instead of insisting on one standard solution, ask to see the proposed junction build-up for your wall. Transitions to the sill, exterior reveal and any existing shading also matter. Ask how the opening will be protected during removal and fitting, and when the outside work can be finished. If building performance, signs of moisture or a wider renovation raise questions, seek assessment from a suitably qualified designer or contractor. Winter installation is not an exception; it simply calls for particularly careful coordination.
Prepare one room at a time and limit heat loss
On installation day, clear working routes help more than last-minute improvised covers. Move furniture, curtains, plants and delicate items away from the window area. Create a route from the entrance to the workroom and protect floors if the installation team does not do so. Radiators should remain accessible without objects resting on them. Close internal doors to neighbouring rooms so draughts and dust do not travel through the home. In occupied houses, it can be sensible to arrange elsewhere for children, pets and people with particular warmth needs while removal is under way. Discuss which rooms can be ventilated during the work and which doors should remain closed.
Set the sequence according to use, not simply the elevation. A bedroom or home office may be empty for several hours; a bathroom or kitchen often needs more coordination. If only some windows are renewed, existing doors and windows can help separate internal spaces while work proceeds. Do not block ventilation openings or escape routes with materials. For a large, frequently used opening such as Patio Life lift-and-slide doors the team also needs enough space for delivery, unpacking and safe handling. Confirm in advance which route the unit will take into the house, where packaging can be placed, and whether external surfaces remain safe to walk on in winter conditions. Configuration alone says nothing about weight, dimensions or installation requirements; these points must be confirmed for the individual project.
03 / Coordinate the appointment
Organise exterior work, access and site protection
In practical terms, a winter appointment begins at the property boundary. Check the driveway, parking, delivery route and area directly outside the windows. Leaves, snow, ice, garden furniture or parked bicycles can delay access. External power points, lighting and a clear area for tools make work easier where the installer requires them. For upper-storey windows, clarify early how external access will be arranged. The choice of ladder, scaffolding or another method is for the contractor; homeowners should not expect an improvised solution. If render, cladding or sills need adjustment, coordinate those trades with the installation instead of treating them as a small later task.
Protection also means that contingency materials are available and accessible. Ask whether covers, temporary protective boards or tarpaulins are planned for an unexpected weather change and who decides when to use them. This is not an invitation to continue in unsuitable conditions, but preparation for the short interval between removal and closure. Also check whether the installation team needs contact details for a property manager, neighbours or people providing access. In an apartment building, lift access, courtyard entry and quiet hours can influence the programme more than the outside temperature. A brief site visit before ordering can reveal such obstacles. Record agreements in writing: number of units per day, sequence, protection of sensitive surfaces, disposal of old materials and the contact person for questions.
Choose opening types for daily use and winter operation
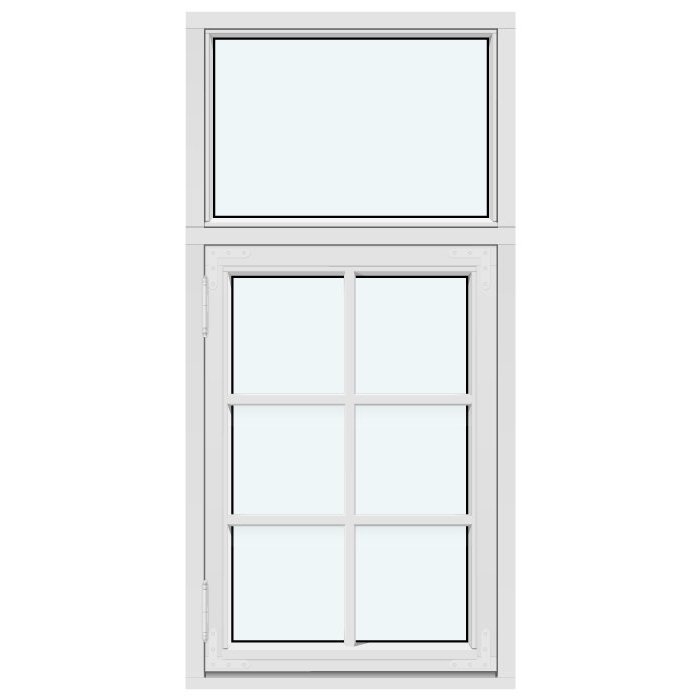
Replacement is an opportunity to correct awkward operation. For every window, consider how often it is opened and who uses it. An outward-opening sash needs clear swing space outside; snow on the sill, dense plants or a balustrade may be more noticeable in winter than summer. An inward-opening sash, by contrast, needs room inside. Above a worktop or where internal space is limited, a top-hung outward-opening window may be an interesting comparison option. Decide from a sketch showing the sash path, handle position and usual room furniture, not from the façade alone.
Cleaning and maintenance also belong in the selection process. Ask which surfaces are reachable from inside, how the sash can be operated in its proposed position, and whether the chosen construction has sufficient movement space at that location. Two adjoining windows may look attractive with matching divisions, but each sash should remain straightforward to operate. Changing the opening direction can affect the reveal, sill and shading. Discuss opening types before the final survey, not at installation. For winter itself, a well-prepared replacement matters more than a supposedly winter-proof opening type. The unit must suit its use, the building and the planned junction all year round.
04 / Prepare for installation
Weigh up fixed glazing, divisions and daylight
Not every window needs to open. Where views and light matter more than ventilation through that particular opening, fixed glazing can be a useful alternative. Fixed-glazed windows are a product category to consider alongside openable windows. Whether they suit your room depends on the ventilation strategy, cleanability, location and intended use. In winter, a fixed pane may simplify installation because no sash needs adjustment; that does not make it the better choice in every case. Ask instead: which rooms need an immediate daily opening, and which do not? Only then can the number and position of openable units be determined sensibly.
Glazing bars alter the appearance and can echo the division of an existing façade. In consultation, distinguish between applied glazing bars and bars that divide the glass: the terms do not describe the same thing. If you want an uninterrupted light area, ask specifically for a version without bars; if you want divisions, check their position, width and symmetry on a drawing. Combining a fixed panel with an opening sash can structure a broad opening while retaining an operable zone. What matters is that the division suits both the internal sightline and exterior façade. Have the final appearance confirmed for every opening before ordering, especially where window sizes or sash arrangements differ.
Clarify special shapes and heritage appearances early
Round, angled or segmented openings need more preparation than rectangular standard formats. Do not measure only the visible pane or old frame; have the true opening geometry professionally surveyed. With a round fixed-glazed window for example, it is crucial to understand how the curve meets the surrounding wall, internal reveal and external finish. Photographs with a scale help but do not replace a survey. Ask how transitions to render, cladding or existing decorative elements are intended to work. Such special details should not be decided under winter time pressure. If the scope is unclear, it may be wiser to complete assessment and planning first, then schedule installation specifically.
For buildings with a historically influenced façade, proportions and visible details require additional consideration. A traditional outward-opening “Kombi” casement window describes a particular style and opening configuration; it does not automatically suit every existing building. Compare elevations, sash divisions, glazing-bar patterns and opening directions with the building and neighbouring windows. Before ordering, ask the council whether the specific work requires building consent or another approval. For a heritage property or a home with a body corporate, also obtain property-specific advice rather than assuming the window is acceptable. Early checks help avoid changes after delivery.
05 / Document handover
Coordinate roof windows and doors separately
Roof windows create their own winter site situation because internal linings, the roof covering and weather protection meet. For a pivot roof window discuss not only the window size but the complete installation setting: roof access, protection of the interior, junction to the roof plane and possible work to internal linings. Replacing a roof window can create dust and affect adjacent finishes even where the new unit has similar dimensions. Plan carefully for furniture and floors below. The installation team should decide which weather conditions suit the planned work and whether roof work can sensibly be combined with window replacement on the same day.
External doors and patio doors should not be added casually to window replacement. They are often main entrances and need a continuously usable passage. A single inward-opening patio door is a specific alternative to an outward-opening version; the indoor swing area must be checked alongside conditions on the patio. Coordinate the threshold, adjacent flooring, drainage and future use with the installer. In winter, it is particularly important to keep an entrance available that is not part of the active work area. Also agree how the home will remain secure overnight if unforeseen circumstances prevent work being completed as planned.
Plan handover, documentation and follow-up
After installation, allow time for a joint inspection rather than relying on the first impression. Open and close every operable sash, check handle positions and inspect visible internal and external junctions. Ask which adjustments have been completed immediately and what further work is expected after curing or junction work to render and sills. Photograph every room, particularly transitions to existing finishes. Record visible matters needing clarification directly in the handover record or a written defects list. Winter installation can mean that some exterior work follows later because of weather; the scope, interim protection and responsibility should be recorded clearly.
Keep the order confirmation, product documents, care instructions, invoices and handover papers together. Windows and doors from Bloomcabin come with a 5-year manufacturer’s warranty; check the terms and documents relating to your order so it is clear what should be recorded. After the first period of use, inspect operation and visible joints again, especially if the indoor climate and how the room is used change after replacement. Contact the agreed person if you notice anything, rather than adjusting hardware or junctions yourself. Good follow-up does not mean expecting problems; it means organising responsibilities and information so later questions can be resolved quickly and clearly.
Frequently asked questions
When should window replacement be postponed because of weather?
Only the installer can decide this from the planned installation system, site conditions and actual weather. Heavy rain, ice or wind can make the work and protection of the opening more difficult. Ask in advance when the decision will be made, whether an alternative date is available, and what measures apply if the weather changes during installation.
How long will a room remain open during window replacement?
That depends on the size, reveal condition, number of units and junction work. The contractor should provide a reliable duration for your programme. Have rooms worked on one after another where possible and prepare access in advance. This reduces the time that any individual room is exposed to draughts.
Do I need to turn off the heating in winter?
Discuss this with the installation team for the rooms concerned. Radiators, thermostats and pipes should be accessible and protected from damage. Rather than applying a blanket setting, ask about the planned sequence. While an opening is being worked on, no items should obstruct the work area or safe operation of the heating.
Can I replace just one leaking window in winter?
A single-window replacement can generally be planned. Accurate measurement and a junction design suited to the wall, reveal and existing neighbouring windows are important. Also consider whether a wider renovation is planned later. If so, elevations, dimensions and technical interfaces should be considered together from the beginning.
What should be confirmed in writing before ordering?
For each opening, record dimensions, opening direction, divisions, internal and external appearance, supply scope, junction work, sequence and responsibilities. Add access, furniture protection, disposal and the process for unsuitable weather. The stated lead time for Bloomcabin windows and doors is 4 to 6 weeks, subject to order confirmation.
Next steps
Replacing windows in winter is primarily about preparation, not the date. A suitable unit, professional measurement and a clear sequence for every opening are more important than the earliest possible appointment. Check reveals, access, room order and the preferred operation before ordering. Agree with the installer which conditions allow work, how openings will be protected and what happens if work is postponed. Treating special shapes, roof windows and doors as separate work stages and documenting handover creates a sound basis for an orderly replacement, even during the colder months.
