
Small Garden Shed Interior Ideas That Preserve Open Space
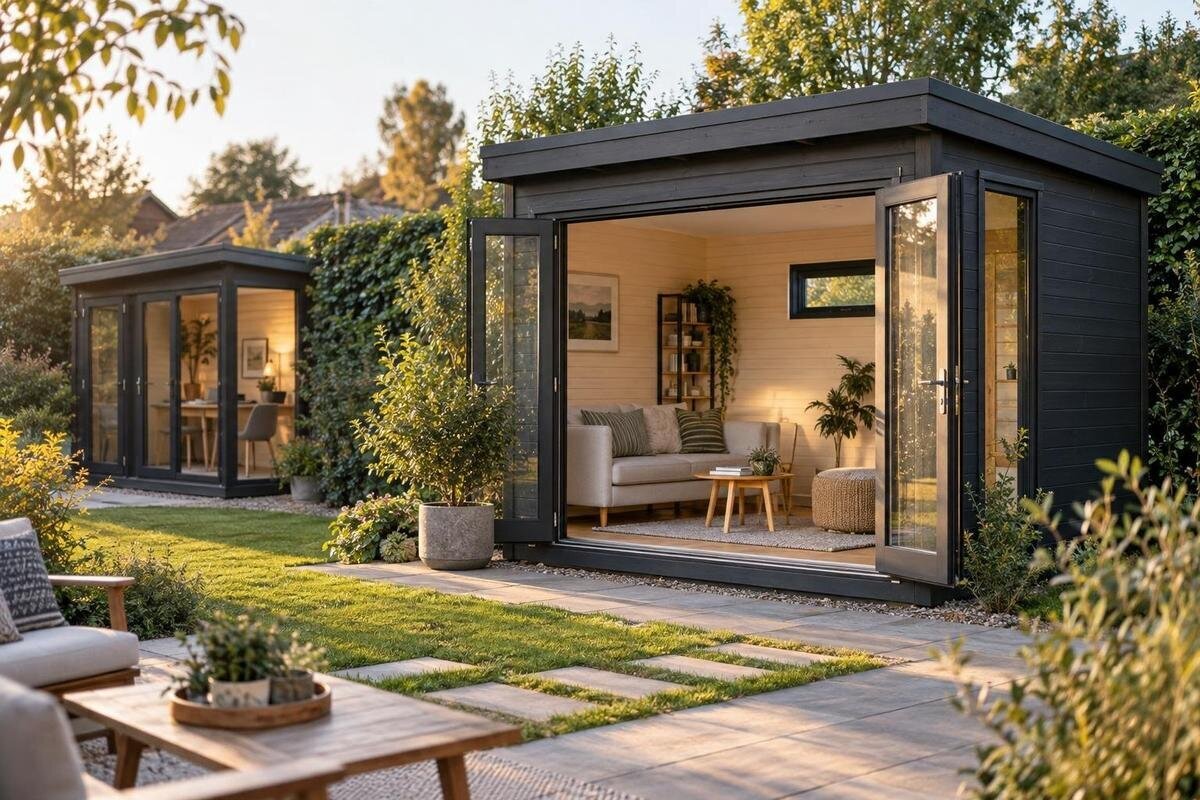
Garden shed planning
Small garden shed interiors become cramped when stored gear competes with the route in and the patch of floor needed to use it. A practical layout is less about filling every wall than giving each item a sensible place, keeping the entrance clear and leaving a deliberate area open. Start with the shed's main job, then measure the usable interior before choosing shelves, hooks or freestanding storage. These ideas help you test a garden shed layout with real items before ordering, rather than relying on a plan that only looks tidy on paper.
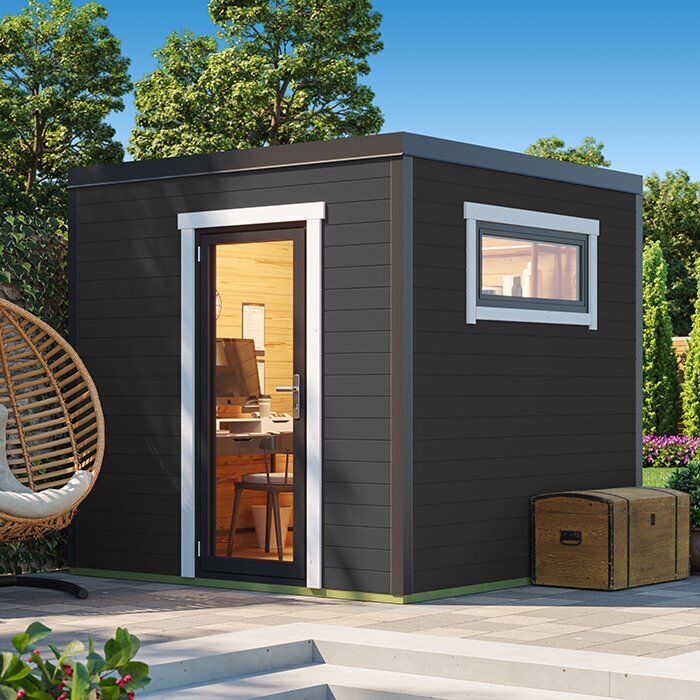
Choose the shed's main job before assigning storage
A small garden shed cannot comfortably serve every purpose at once, so decide what it must do most often. Is it mainly for long-handled tools and garden supplies, or will you regularly use a potting surface, maintain equipment or store bulky items? One primary use gives the layout a clear priority: the items used for that task should be straightforward to reach, and the floor area needed to carry it out should stay available. If a second use matters, note how often it happens and what needs to move to make room.
Make a short inventory before browsing layouts. Write down each large item, including its handle, wheels or lid clearance, then group smaller items by task: watering, pruning, potting, cleaning or seasonal work. Include the things that live in the shed all year as well as anything you expect to bring in temporarily. This catches the mismatch between a tidy plan and real storage, where long tools protrude, a bin needs space to open, or equipment has to be turned before it can be removed. Leave out items that can be stored elsewhere; otherwise, later decisions are shaped by clutter you may not need to keep. If you expect the inventory to grow, reserve a defined place for additions instead of letting them take over the working area.
Measure the usable interior, not just the footprint
Outside measurements help you decide where a shed can go, but they do not tell you how much floor remains inside. If a listing provides internal dimensions, use those; if it gives only an external footprint, do not treat that as usable room. Measure between the inside faces of the walls and note any posts, ledges, window openings, door tracks, raised thresholds or changes in roof height. A sloping ceiling can reduce the area where tall shelves fit, even when the floor rectangle appears generous. Measure more than once along the walls; if the usable width narrows, plan around the narrowest clear measurement.
On a sketch, draw the doorway and mark the direction and space needed for the door to open, along with any fixed openings. Then add the actual depth of proposed shelving, boxes and equipment; do not draw storage as a thin line against the wall. When comparing Verdana 1 garden shed, use the product listing's stated internal measurements, if available, and check whether a quoted size is internal or external. If an important measurement is missing, seek clarification rather than scaling it from a product image. A few centimetres can decide whether a container fits without narrowing the route, so plan with figures you can confirm.
Keep a clear route from the entrance
Protect a route from the entrance to the items you reach most often. It does not have to run through the centre; a clear strip along one side may work better if the storage sits on the other. What matters is that you can enter, carry the largest regular item, turn where necessary and reach your main work area without shifting a row of boxes. Keep the route continuous rather than leaving a gap that disappears behind an open cupboard door or parked equipment. A clear path also needs to survive everyday use, so avoid making it the default place for a tub or bag while you work.
Test the route with the shed door open and the objects you actually carry. Walk in holding a watering can, tool basket or other bulky item from your inventory; note where a handle catches or where you need room to set something down. For a model such as Verdana 2 garden shed, compare the stated entry position and usable interior dimensions, where those details are provided, with this test. A floor plan can look passable while someone carrying a load has to twist around shelves. Mark the path on paper or with removable tape before deciding that a narrow gap is enough.
Group items by how often you use them
Put items you use regularly where you can reach them without moving less-used equipment. A simple frequency split helps: everyday or weekly items at accessible height, occasional gear farther along a wall, and seasonal items in a less accessible spot that remains practical to reach. Keep tools used together in the same zone, so a hand trowel, gloves and small container are not scattered across the shed. A labelled tub can make a group easier to retrieve, but label it by its contents or task and make sure it can be lifted out without blocking the walkway.
Think about the order of a job as well as the item count. If you collect a hose, gloves and hand tools before heading out, store them where one trip gets them all; if you use the shed as a work area, keep the tools for that task close to the surface where you use them. Avoid stacking frequent-use items behind infrequently used ones, even if that arrangement appears compact. A little room around the most-used zone reduces the need to rearrange the shed each time you need something. If you rotate seasonal gear, decide where each group will go during the changeover, so a box brought forward does not bury everyday items.
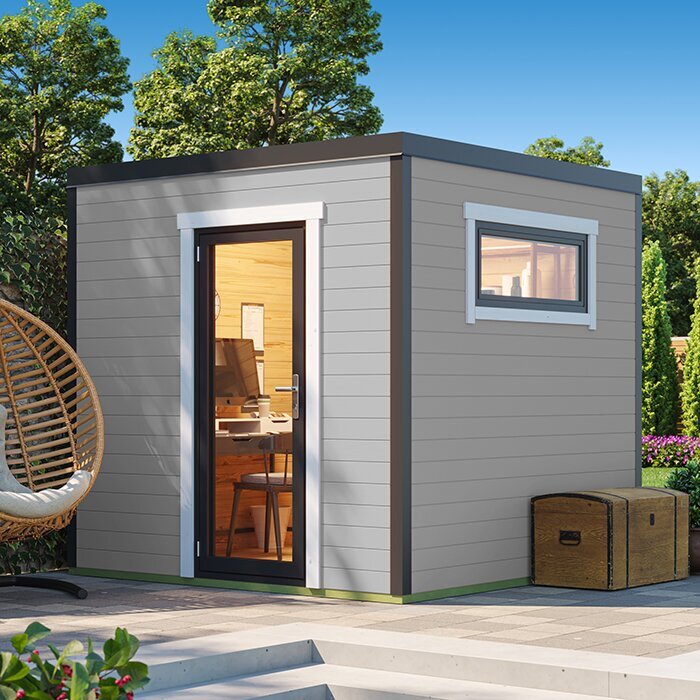
Use wall storage only where it frees useful floor space
Wall storage can release floor area, but it works only when the wall and mounting method suit the intended load. Check the building's construction, the product instructions and any stated fixing or load limits before adding shelves, hooks or rails; do not assume a lining alone can carry heavy equipment. If the wall structure or installation is unclear, get advice from a qualified installer. Keep heavy items low and stable, and avoid putting sharp or awkward tools where they could fall into the path or be reached by children.
Use wall sections that do not conflict with an entry, window or the space needed to move equipment. A shallow shelf may free more room than a deep unit that projects into the route, so measure its full depth, including handles and items that stick out. Avoid lining every wall simply because it is available: clear wall and floor space makes it easier to bring in tools, sweep or change the arrangement later. When reviewing Durano garden shed, look for documented interior dimensions and opening positions, if listed, and map storage only onto the wall areas those details leave usable.
Match shelves and containers to what they hold
Match shelves and containers to the things they will hold rather than buying storage first. Measure the tubs, fertiliser containers, small tools and other grouped items, including the space needed to pull each one forward. Check that you can remove a container without lifting the shelf above or shifting another box. A shelf that is too deep can hide smaller items at the back; one that is too shallow may leave lids or handles projecting into the walkway. Clear or labelled containers help identify contents, while a few consistent sizes can make vertical space easier to arrange. Do not exceed a shelf's stated load limit.
Put heavy or frequently handled items on a lower, stable shelf, and reserve higher shelves for light things you do not need every day. Keep the floor beneath a shelf reachable for cleaning instead of trapping loose items behind a fixed row of boxes. If you are planning shelving as part of a new shed purchase, plot each unit's width and depth against the interior details for Veltor garden shed or another option; do not assume a storage unit shown in a picture is included unless the product information says so. Shelf capacity matters, but so does being able to find and remove items without clearing the route.
Give long and bulky gear a parking place
Long-handled tools, hoses, ladders or bulky garden equipment need a defined place. Record their actual lengths and the clearance needed to lift or roll them in; an item that fits on paper can still be awkward if its handle has to swing through the doorway. Store long items upright or along a wall only where they can be secured as intended and do not protrude into the walking line. Keep blades or working ends controlled and away from casual contact. Allow room to remove an item without knocking down nearby hooks or shelves, and avoid a floor pile that hides smaller things behind it.
Put the largest frequently moved object near the part of the entrance that gives it a practical route out, but do not let it occupy the whole doorway or block other essentials. Consider where a mower handle, barrow wheel or storage-box lid extends when it is in use, not just its parked outline. When assessing Orello garden shed, compare the documented opening dimensions with the widest or tallest item you plan to carry through; the model name or an exterior view cannot confirm that fit. If an item cannot pass without dismantling other storage each time, adjust the layout or reconsider the building dimensions before ordering.
Keep one patch of floor free for the main task
An open patch of floor is useful when it has a purpose: somewhere to sort tools, pot a plant, inspect equipment or set down a load while putting things away. Decide what it must accommodate and keep it free of permanent storage. It need not sit in the middle, and it need not remain empty at every moment; the point is to avoid designing every square metre around shelves. Draw the area with the person using it in mind, including room to handle an object, rather than marking only the footprint of a table. In a storage-only shed, this space might simply be needed to turn bulky gear and bring it out.
Where several jobs compete, choose fittings that are easy to move or reset, such as a freestanding container or a work surface that can be put away when not in use, if that suits the task. Check that a movable unit will not roll or tip into the route, and that a folding fitting has appropriate support and does not create a new obstruction. Do not buy furniture simply to use every spare corner; a clear floor can be more useful than another small cabinet. Compare Modano garden shed against a plan showing equipment and any movable furniture in both its working and stored positions, not just the empty room.
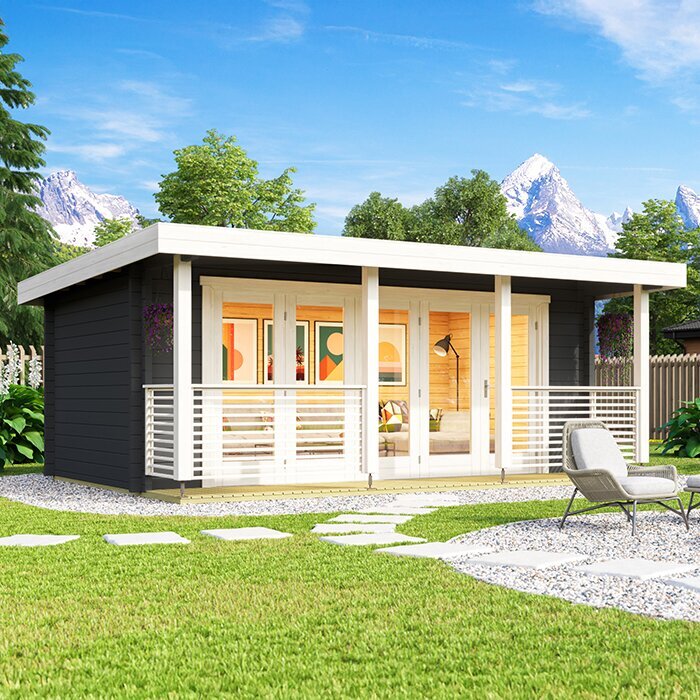
Keep openings and cleaning access clear
Storage should not cover features you need to use or reach. Keep doors, any windows or vents, and the route to them unobstructed; avoid placing a tall cabinet where it stops a window or vent from opening as intended. If the shed has a work surface, make sure stored items do not crowd the light you rely on or make routine tasks awkward. Leave enough access to corners and the floor to remove dirt and plant debris, and to inspect areas that would otherwise be hidden. A layout that can be cleaned easily is less likely to turn the back of the shed into a forgotten dumping spot.
Garden gear may come in muddy or damp, so decide where it can be set down without soaking stored items or blocking the entrance while it dries. Leave space to wipe the floor and reach its edges; do not assume a container will stay movable if it is too heavy once full. When reviewing timber garden shed M, use the product details available to identify openings and the interior area before placing shelves; if positions are not clear, do not infer them from an image. Access and cleanability are part of the layout, not jobs to solve after every wall has been filled.
Test the complete layout before ordering
Before ordering, make the layout tangible. Draw the usable interior to scale if you can, then mark the door, fixed openings, storage depths, route, largest equipment and open work area. Alternatively, outline the main footprints on the ground with removable tape and walk through the plan while carrying a bulky item. Try reaching a box on a shelf, turning with long tools and opening doors or containers. This rehearsal can reveal a shelf that looks harmless on a diagram but narrows the path, or a work surface that occupies the only place to set down equipment.
Use the test to compare actual product information, not photographs or names alone. For wooden garden shed S, as with any listing, confirm the dimensions, opening details and included components that matter to your plan; check whether quoted measurements describe the inside or outside. The outside footprint must also fit the chosen spot, and the route to it needs to accommodate the building components. Allow for the space needed to assemble the shed, using the stated requirements rather than guessing. If your layout depends on a feature or measurement that is not documented, get it confirmed before placing the order.
Frequently asked questions
How do I make a small garden shed feel less crowded?
Begin with the items and jobs that matter most. Keep the entrance route clear, group frequently used tools together and reserve a defined patch of floor for the task or for turning bulky gear. Move seldom-used items away from that route, but keep their storage accessible.
Is wall storage always the best way to save floor space?
Not always. Wall shelving can free floor area, but deep units or projecting handles can narrow a walkway, and the wall must suit the fixing and intended load. Use only the wall space left clear by doors, windows and the main task.
How much space should I leave for a walkway?
There is no single width that works for every shed. Base the route on the person using it, the door movement and the largest item you regularly carry or roll inside. Mark it on a plan and test it with that item; if you have to turn awkwardly or move boxes, revise the layout.
Should I put shelves on every wall?
No. Shelves on every wall can leave no room for a work area, full door access or floor cleaning. Fit storage where it serves a task, then preserve clear wall sections and floor space for movement.
What should I check on a garden shed listing before ordering?
Check whether measurements are internal or external, where the entrance and any openings sit, and what components are included. Compare the interior with your measured items and planned shelves; also check the outside footprint and the route to the site. If a detail you rely on is not stated, get it confirmed before you order.
A small shed works better when the open floor is part of the plan rather than treated as unused space. Decide what the building needs to hold, put everyday items where you can reach them, and keep the entrance, working area and cleaning access clear. Shelves and hooks earn their place only when their depth and position do not make movement harder. A measured sketch and a walk-through with real equipment make it easier to compare garden shed options and choose a layout that remains practical once everything is inside.
