
A timber base for a garden shed: design and moisture considerations
Garden shed planning
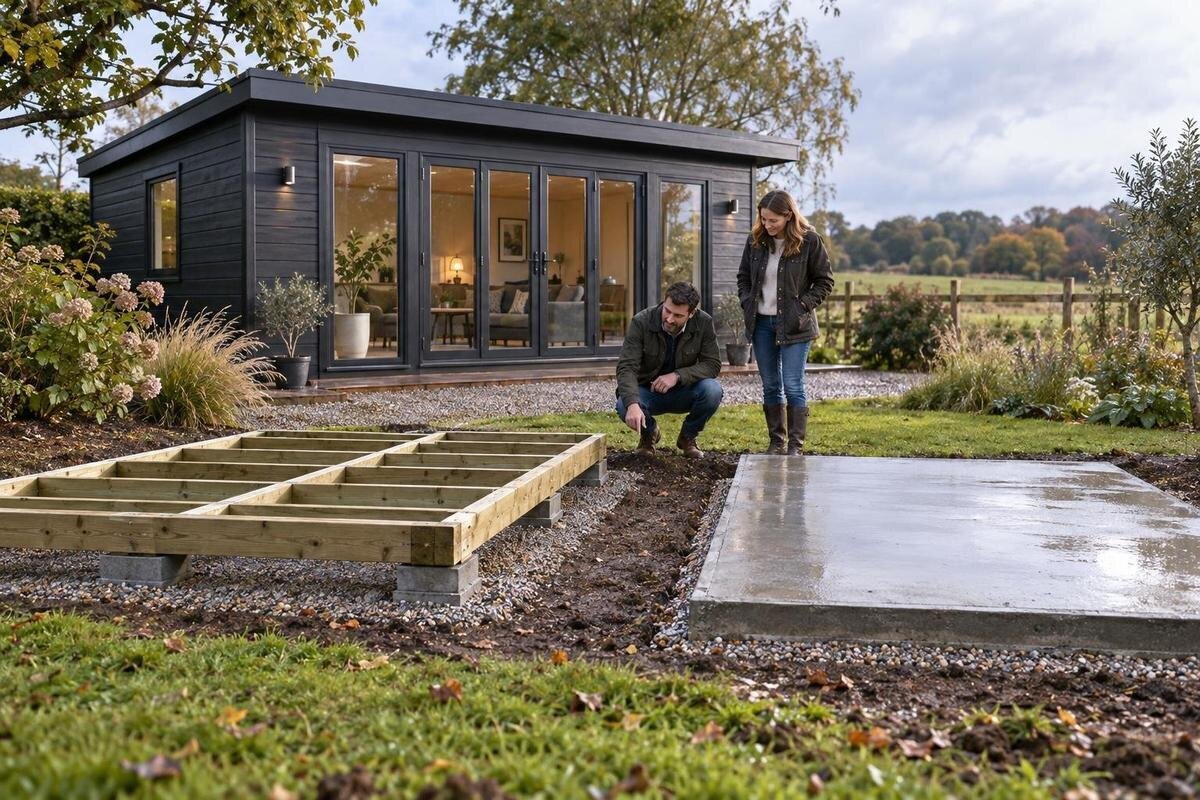
Planning a timber base for a garden shed means balancing fit, support and moisture control. The frame has to suit the selected shed’s floor arrangement and the ground beneath it, while allowing rainwater to drain and timber to dry. Those choices shape what materials you buy, how the base meets the shed and what you can inspect later. Start with the model’s current installation information and a sketch of the intended site, not a generic frame. If the site is persistently wet, uneven or exposed, ask an experienced builder or structural professional to confirm the design before materials are ordered.
Before you buy 1
The shed model sets the base brief
A timber base connects the ground and the shed, so it needs to match both rather than act as a generic rectangle. Its brief should cover the finished footprint, how the floor is supported, where the walls sit, the entrance height and how the completed building is secured. A tidy-looking frame can still be unsuitable if it misses a specified support line or changes the floor height. Use the selected model’s current assembly and base information as your reference; an outside photograph cannot show how the underside is arranged. If information is incomplete, get the missing requirements before drawing or buying materials.
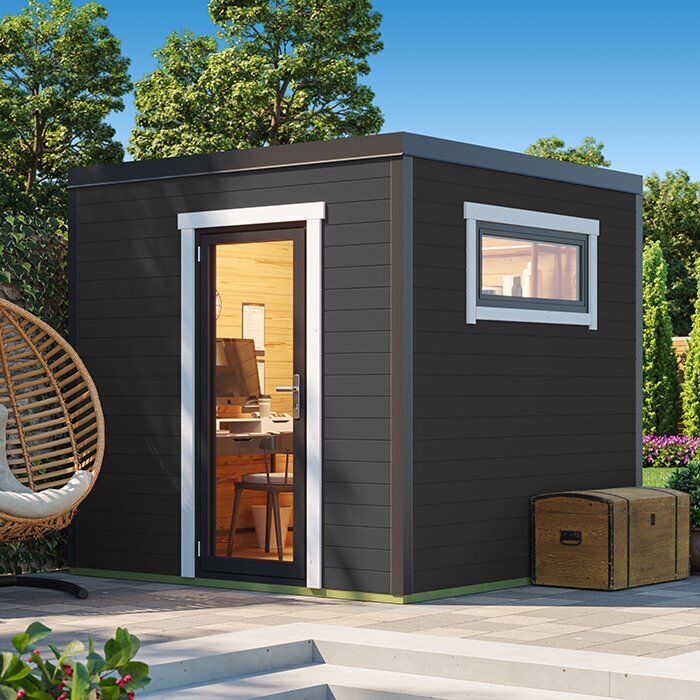
Write down the exact model name, dimensions and orientation, then check whether published measurements refer to the floor, the outside of the walls or another point. Those measurements are not automatically interchangeable. Record the doorway position and whether any floor components are included, rather than assuming a base or floor comes with the order. Garden Shed Verdana 1 may be one option on a shortlist, but its name and image are not a base specification. Check current instructions for the actual model, including support points and anchoring notes. If you cannot find them, ask the seller or installer what the base must provide before committing to a design.
Footprint, supports and entrance position
Translate the shed’s requirements into dimensions that can be set out on site. Identify the floor outline and distinguish it from roof overhangs or the outside dimensions of the walls. Mark support lines on the same sketch, using the product information to establish which parts of the floor need support; do not space bearers by habit. Note corners and access points, then check that the planned base will not clash with a path, fence, drain or existing structure. Record which way the shed will face, too, because turning it can change where the doors and nearby drainage sit. Keep one agreed set of dimensions for ordering and site work.
Base height affects the entrance, the floor-to-ground transition and the way splash or runoff reaches lower parts of the shed. Set the finished height with the selected model’s instructions and the site drainage in view; don't choose it solely to disguise uneven ground. Allow for a path or ramp if one is planned, and make sure it will not direct water back towards the timber. For a shortlisted Garden Shed Verdana 2, obtain the current dimensions and base notes for the chosen model rather than relying on a general product photo. If the footprint or threshold remains unclear, pause the timber order and confirm it with the seller or builder.
Before you buy 2
Site runoff and ground conditions
Water management begins with where the shed sits. If possible, look over the proposed area after rain and note standing water, soft ground, downpipes, surface channels, nearby slopes and whether water runs towards the site. A location that looks dry in summer may be a low point during wetter weather. Check how paving, lawn, gravel or garden beds meet the proposed base; none should be treated as proof that drainage is adequate on its own. Consider whether there will be room to inspect the edges and keep leaves and vegetation clear. If water routinely pools or the ground varies across the footprint, get site-specific advice before deciding on the frame design.
Plan the base in relation to surrounding surfaces, not in isolation. A downpipe outlet, raised garden bed or later path can send water beneath an edge or keep timber damp. Avoid detailing the base so that it blocks an existing route for runoff. The aim is controlled drainage and a base that can dry, not an improvised channel with an unknown destination. Ask a competent builder or drainage professional to assess a persistent wet patch or significant slope rather than trying to compensate by changing timber sizes. Durano garden shed can be considered during product selection, but confirm the exact footprint and siting guidance for the model from current information; its listing name does not establish what the ground at your site will need.
Support layout and load transfer
Trace the intended load path: the shed’s walls and roof, and any floor or stored contents, need support through the specified structure down to the ground. Look for model instructions that identify the required support points; if they are not clear, ask the seller or installer. A perimeter frame alone may not match the design, and extra joists or bearers should not be added by guesswork. Think about how you intend to use the shed as well. Bulky or heavy contents can place loads on floor areas that need to be considered when the base is planned, so include intended storage in your brief.
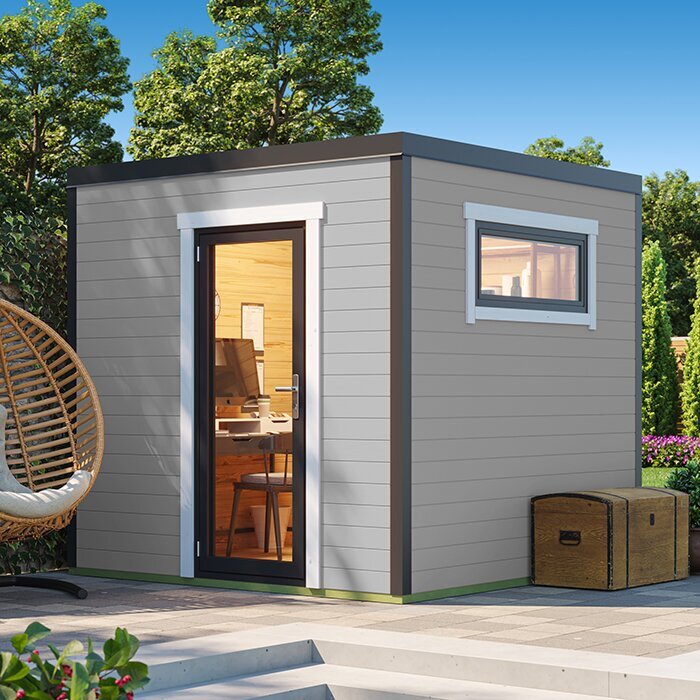
Timber dimensions, support spacing, joints and fixings work together, so the base cannot be specified from one measurement alone. Avoid copying a frame from a different shed or treating a familiar bearer layout as universal. If the shed is large, the site is uneven, stored items will be unusually heavy or a support span is uncertain, ask a qualified builder or structural designer to set out the members and supports. Use the Veltor 1 listing only to identify a possible product; rely on current model-specific information rather than its image when checking the support arrangement. Get the plan resolved before pre-cutting timber.
Before you buy 3
Timber choice and compatible fixings
Choose timber to match the exposure described in the design. A base can be above ground yet stay damp because of splash, poor airflow, soil moisture or a sheltered pocket beside a wall. Ask the timber supplier whether the proposed species, grade and treatment suit the intended location, including any part that may contact soil. Use the structural grade and dimensions set out in the plan rather than selecting boards by appearance or a broad label. Check the delivered material against the written requirements; a substitution may change strength, durability or how connections fit together. A coating or preservative label alone does not establish that timber is suitable for a particular use.
Connections deserve the same attention as the timber members. Confirm that screws, bolts or other fixings are specified for the treatment and exposure, and that any coating or barrier at a joint is part of the intended detail. Follow the supplier’s directions for cut ends and later maintenance; don't combine products or assume a surface finish makes timber waterproof. If a replacement material is proposed, ask the builder or designer to confirm its suitability rather than matching only the size. If Orello 1 is on your shortlist, use current product information to verify the shed requirements; the model name itself says nothing about the base timber or fixings.
Moisture control and drying
Moisture exposure often comes from repeated small wettings, not only a major leak. Rain splash, damp ground, water sitting in joints, leaves or stored items blocking airflow can all keep a base damp. Detail the design so water does not collect on horizontal ledges or run into end grain, and keep the underside and edges accessible to dry and inspect. A decorative skirt or closed-in edge may look neat, but if it traps moisture it can shorten timber life. Before adopting one, check how the detail handles ventilation and drainage. Where the instructions do not explain this, ask the installer to clarify.
Keep the base’s relationship to the ground explicit in the plan. The right separation, barrier or support detail depends on the materials and site; adding a sheet or coating without knowing its purpose can divert water into a joint or stop timber drying. Follow a designed interface rather than improvising a membrane. If Modano 1 is on your shortlist, review its current installation information rather than assuming from its appearance that a particular barrier or timber arrangement is suitable. Make sure the completed edge remains visible enough to spot a wet patch or early deterioration. If it cannot be inspected, reconsider the finish.
Before you buy 4
Fit, assembly sequence and access
Dimensions alone do not guarantee a good fit. Timber can twist or change slightly as it dries, so build the base consistently to the design and avoid racking it out of square. The shed’s floor sections need to meet their supports where intended, while wall and corner pieces need a matching outline. Use the maker’s stated tolerances and set-out method rather than inventing a gap or allowance. Check the frame before it is covered or the shed is assembled, when misalignment is easier to see. If components do not sit as the instructions show, stop and resolve the cause rather than forcing them into place.
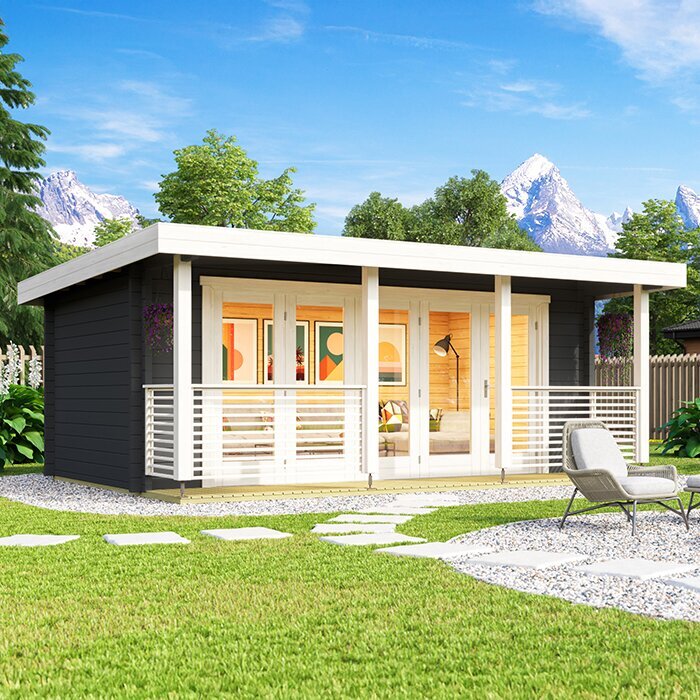
Think through the build sequence as well as the finished dimensions. A clear route for carrying materials, space to assemble each wall and room to work around the doorway can affect where the base is set. Confirm that the entrance will meet the planned path cleanly, without a low point that directs water towards the threshold; use the product instructions to settle the detail. With Timber Garden Shed M or another option, confirm the exact assembly and footprint requirements for that model before finalising the frame. This helps prevent convenience on installation day from becoming a last-minute change to a support or water detail.
Anchoring as part of the design
Consider anchoring as part of the whole structure, not as an addition after the timber frame is complete. The shed-to-base connection, the base joints and the connection to the ground all need to work together under the conditions at the site. A well-made frame does not resolve a weak or unsuitable connection at either end. Wind exposure, the shape of the site and the ground beneath the base can affect the appropriate detail, so don't select anchors for convenience or copy another installation without confirming it applies. Use current model information to identify any specified connection points, and ask for clarification where these are not stated.
Ask an experienced builder or structural professional to confirm the anchoring approach if the site is particularly exposed, the ground is uncertain or the proposed base differs from the model guidance. Clarify which components connect the shed to the frame, the frame to its supports, and what substrate those supports rely on; a general assurance that it will be secure is not a design. Wooden Garden Shed S can be reviewed as a product option, but its name is not evidence of a particular fixing method. Record the agreed details before ordering, so the base and shed are planned as one assembly rather than separate purchases.
Before you buy 5
What to confirm before ordering materials
Bring the information together before purchasing timber: the exact shed model, dimensions, floor support layout, entrance orientation, a site sketch, runoff direction, proposed timber specification and anchoring requirements. Mark which items are confirmed and which still need an answer. Ask the seller what is included with the shed and what must be provided separately; don't infer from a photograph that flooring, base members or fixings are part of the order. Check how the package will be delivered and whether the installation area can be reached without shifting a finished base. A clear list also makes it easier to compare advice from an installer, builder and supplier.
When asking for a quote, request a written scope that says who checks the site, prepares the ground, supplies timber and fixings, manages moisture-control details, assembles the base and connects the shed. Clarify what happens if the measurements or ground differ from the plan. If you are building it yourself, resolve the frame layout and material specification before working out quantities; a list for a generic shed may not fit yours. For a complicated site, a site-specific review before purchasing can help check key assumptions before you commit to materials.
Access for inspection and maintenance
Plan for the base to remain visible and maintainable after the shed is in place. Leave practical access around the edges and, where the design allows, to inspect the underside. After heavy rain, look for water standing against the frame, blocked runoff paths, damp that persists, movement, loose joints or signs of timber deterioration. These observations do not diagnose the cause, but they can show when the drainage or connection detail needs attention. Keep leaves and soil from building up against the base, and do not hide a wet area with a fresh coating or trim before checking why it stays damp.
Landscaping and use can change after installation: a new garden bed, stored materials, mulch, a downpipe extension or a path can alter airflow and runoff. Recheck the timber where these changes meet it, and follow the timber supplier’s instructions for maintenance. If the shed is later moved, loaded differently or altered, review the support and anchoring design with a suitable professional; the original base plan may no longer cover the new conditions. Clear inspection access and a record of the materials used also make small repairs easier to plan, without relying on memory of how the frame was assembled.
Frequently asked questions
Does a timber base need to sit directly on the ground?
Not necessarily. If structural timber will be in direct contact with soil, it needs to be specified for that exposure, and the detail must still allow water to drain and the timber to dry. Some designs use a separation detail, but the right approach depends on the site and the shed instructions. Confirm it with the timber supplier or builder.
Can I build a timber base on a lawn?
Don't assume a lawn is suitable just because it looks even. Grass and topsoil can conceal soft or wet areas, and water may collect in a low spot across the footprint. Check the ground where each support will sit and decide what stable support the chosen design requires. If the ground varies or stays wet, get site-specific advice before setting out the base.
How high should a timber base be?
There is no single height that suits every shed and site. The base needs to match the selected model's requirements, provide the specified support and avoid leaving timber exposed to persistent damp. Ask the seller or installer for the model-specific base detail, and have a builder confirm any separation or support requirements for your site. Avoid choosing a dimension from a generic diagram.
Does treated timber make a shed base waterproof?
No. Treatment intended for a particular exposure may make timber suitable for that use, but it does not make the assembled base waterproof or drain water away. The design still needs to avoid moisture traps, allow drying and use compatible specified fixings. Ask the timber supplier what the treatment is intended for.
Should I buy the shed before designing its base?
You can shortlist models first, but finalise the base only after identifying the exact shed and reading its current installation requirements. Footprint, floor supports, entrance position and anchoring can differ between models. Check the site and runoff too, then order timber against an agreed plan rather than assumptions.
A timber base works best when it suits the shed’s actual support arrangement and the way water moves through its setting. The key design qualities are a clear fit, considered load transfer, moisture control and access for inspection. Decide those together, then order materials against an agreed, model-specific plan. That keeps the base useful beyond the day the shed is assembled.
