
Window Grids: Types, Patterns and Key Buying Considerations
Window planning and design
Planning windows and doors with grids is about more than choosing a style. The grid type affects the view indoors and out, the glazing layout, cleaning effort and, where panes are genuinely separated, the element’s construction. Inconsistent results easily arise when every element is selected on its own: the calm pattern of a living-room window may look arbitrary beside a large patio door or narrow door sidelight. Start by comparing the systems, then review every opening across the façades together. This guide explains decorative and divided-light grids, shows how to keep patterns legible, and sets out the questions to resolve before ordering.
Buyer check 1
Two systems, two different decisions
The key difference sits behind the appearance. Decorative grids are applied to, or positioned within, continuous insulated glazing, creating a divided look without splitting the glass into separate panes. Divided-light grids genuinely divide the glazing into several sections, becoming part of the element’s construction. Both options can show a similar pattern, but they differ in planning and everyday use. When comparing quotations, never simply write “grids”; specify the construction clearly. A drawing showing the viewing side, number of fields, and position of horizontal and vertical bars also prevents a preferred look from being interpreted differently.
Begin with the intended effect. If a generous opening should appear more lightly structured, a decorative option may suit. If each glass section should be a visible architectural component, divided-light construction is the natural alternative. This is not about better or worse, but priorities: a calm glass appearance, heritage character, façade rhythm, cleaning routine and the desired depth of division. Ask for internal and external views at the same scale for each option. Only then can you see whether grids align with mullions, transoms, handle height, sash edges and neighbouring doors, or merely appear applied afterwards.
Plan the pattern before the individual window
A convincing pattern usually comes from a small number of repeating lines. First establish the main verticals: building edges, window axes, sash joints and, where relevant, the centre of a door. Horizontal lines follow. A pattern with equally high fields looks calm, but does not need repeating identically everywhere. With openings of different heights, it may be more harmonious to continue one important horizontal line at the same level and adjust the remaining fields. What matters is which lines can be seen from normal viewing distance. Very small fields can look busy on large glazing and divide the outlook more than a drawing suggests.
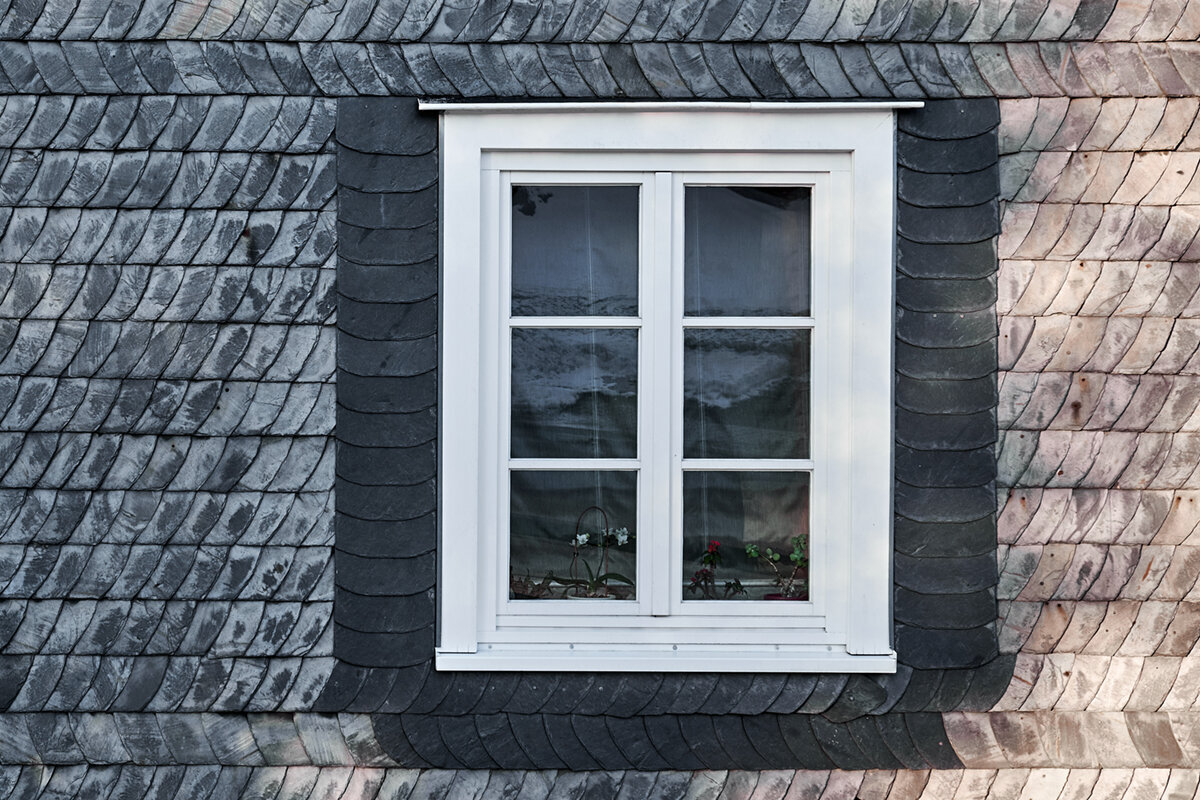
Do not plan from the smallest window, but from the defining elevations. A street façade, broad garden frontage and entrance area often have different viewing distances. Note the opening width and height, sash division and desired grid axes for every side of the home. An outward-opening heritage-style “Kombi” casement window can, for example, provide a starting point for a classically divided window scheme; this does not automatically mean every large opening needs the same number of fields. Repeating proportions matters more than mechanical copying. Review elevations in pairs as well: what suits one façade may work deliberately as a contrast beside an undivided fixed light.
Buyer check 2
Specify decorative grids precisely
For decorative grids, “applied grids” is rarely enough information for an order. Clarify which sides should show them, whether the internal and external views should match, and how any division within the insulating-glass cavity should look. Each decision affects the sense of depth. At close range, it also matters how a grid ends at the frame and glass, and whether its lines meet a sash division. Request more than an overall elevation: ask for a detail at a corner, intersection and edge field. This makes it possible to judge whether the pattern frames the glazing logically or creates uneven leftover fields.
The practical advantage of continuous glass is especially clear when cleaning: genuine pane edges do not divide the glass into many separate sections. External applied elements still create contours where dirt can collect and which require cleaning. The relevant issue is therefore not a general claim that one option is easier to maintain, but the actual window location. An opening above a patio, on a difficult-to-reach gable, or behind planters makes every additional edge matter differently. For fixed-glazed windows a pattern review is particularly worthwhile, because the large non-opening viewing area displays the grid division clearly. Record which side will later be accessible from indoors and how the outside is to be cleaned.
Divided-light grids as visible construction
Divided-light grids give each pane its own boundary. This produces a stronger sense of depth and can matter for traditional elevations or deliberately finely structured architecture. At the same time, the division belongs to the entire construction: the number and size of fields should not be set separately from element dimensions, frame and opening type. Small edge fields and very many divisions are not merely a graphic matter. Have the supplier confirm the proposed layout for the intended element size rather than treating an inspiration photo as a complete specification. Product names and images do not replace a project-specific drawing.
Windows with two sashes add another layer. The visible centre may align with the meeting stile, or the pattern may be arranged differently. Each has a different effect, particularly when the window is viewed closed and open. An outward-opening heritage-style double casement window already creates a clear vertical order through its sash division; grids should support that order, not cross it randomly. Ask to see the elevation of both sashes and clarify whether fields are arranged symmetrically across the centre. For neighbouring windows, matching horizontal lines are often more important than precisely the same number of glass fields.
Buyer check 3
Balance daylight, outlook and room character
Grids frame the view and therefore change how a room is perceived. In a dining area, a regular pattern can give a broad window wall structure; at a seat with a wide outlook, the same division may feel like an interruption. Assess a pattern from the real locations: at the dining table, from the sofa, on the stairs and when entering. Line direction also matters. Vertical grids emphasise height, while horizontal grids emphasise width. Square fields look different from tall rectangles, even with the same number. The question is not whether grids “take away” light, but how much division suits the character you want.
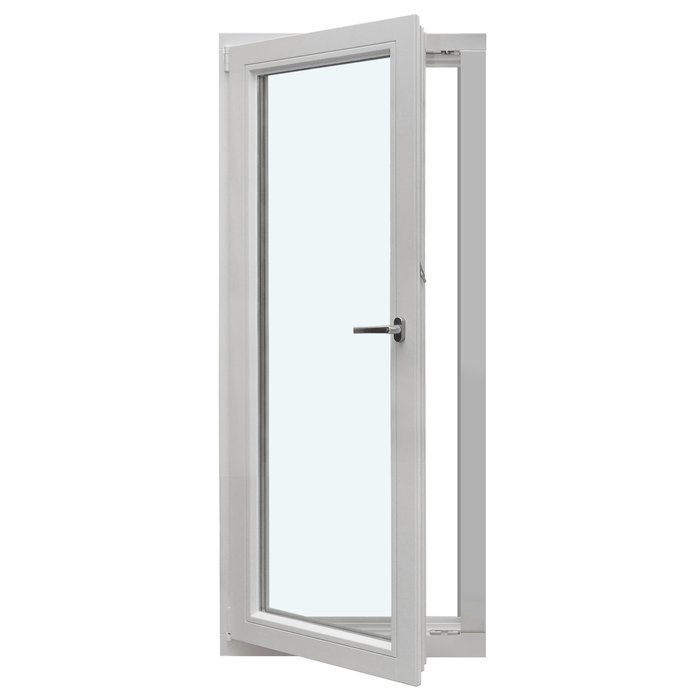
The room on the inside deserves as much attention as the façade. Curtains, blinds, radiators, window sills and furniture can conceal or reinforce lines. With an inward-opening patio door, the pattern should also suit the circulation area: the handle, sash frame and grids are experienced daily at close range. A single inward-opening patio door should therefore not be selected solely from its exterior view. Check the internal elevation with the door open and closed, as well as the transition to adjoining windows. Add opening arcs, curtain positions and frequently used circulation routes to the floor plan. This reveals whether the divided door crosses an important sightline when open or disappears behind furniture. Also compare the eye level of a seated and standing person: a horizontal bar that looks balanced outside may run directly across the preferred outlook indoors. If a door intentionally remains without grids, a repeated frame colour or shared top line can preserve the relationship.
Large door openings need their own pattern
Sliding and folding doors bring large glass areas, sash frames and moving parts together. A fine window pattern cannot simply be transferred to them. First establish which lines are structurally dictated by the door sashes and which are to be added as grids. Draw the elevation closed, but also consider the open position. When the system is open, surfaces and views shift, so a pattern can look different from the brochure. Deliberately retain larger, calmer fields when the door is primarily intended to open the view to the garden. Division may instead be useful where the garden frontage should connect with the window façade.
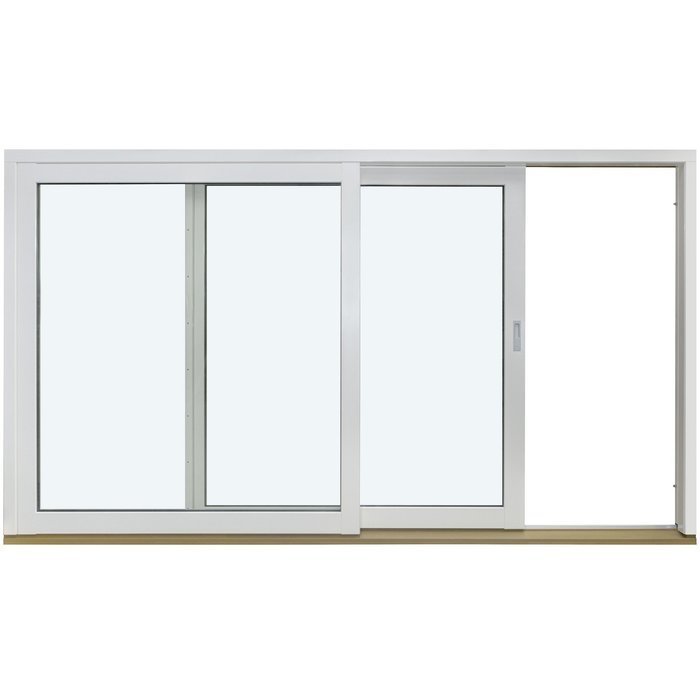
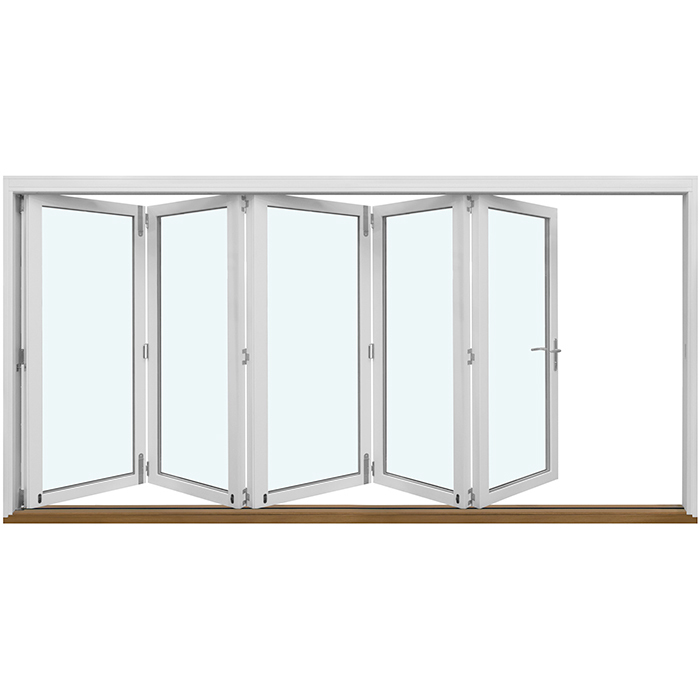
For Patio Life lift-and-slide doors coordinate the desired grids, sash arrangement and adjoining fixed fields in one elevation drawing. Ask specifically which moving or fixed areas carry the pattern and how lines meet neighbouring windows. Avoid continuing every façade line exactly if this produces awkward narrow fields. The same principle applies to folding doors, with extra attention to individual sashes: outward-opening folding doors are an alternative whose folded leaves and frames already create a strong visual impression. Here, a more restrained grid pattern may be the better design choice than maximum repetition.
Buyer check 4
See the entrance, sidelight and door leaf together
The front door is viewed from close range and often forms the clearest address of a home. Grids in a glazed area can therefore seem finer or more pronounced than on a window of the same size. The relationship between door leaf, fanlight and sidelight is crucial. If only the sidelight has a pattern, it should not resemble a window added at random. Pick up a line from the door panel, handle zone or neighbouring windows, provided this does not make the whole composition overloaded. Work from a complete entrance elevation including the wall section, not only individual glazing measurements.
A single glazed door sidelight can structure the vertical area at an entrance with grids, without making any statement about the design or technical properties of the specific product. For planning, record whether the sidelight pattern follows the door height, upper window band or opposite façade axis. Privacy, desired daylight and the view from the hallway should also be discussed before choosing the pattern. If door and sidelight come from different product ranges, request samples that match in colour and appearance. This avoids apparently identical grid widths or shades looking different side by side.
Do not force special shapes into a pattern
Arches, circles, triangles and sloping glazing are independent shapes. Applying a standard rectangular pattern can strengthen their geometry, but may also make it less clear. For special shapes, start by asking which line already exists: a centre axis, radius, roof slope or rectangular base. This can lead to a reduced division, such as one vertical axis in a rounded form or a few fields below an arch. In many cases, no grids are the more convincing alternative, especially where the shape itself is intended as the design feature.
For a fixed-glazed semicircular window review the radial effect and linework from a scaled elevation before ordering. Ask where grids terminate, whether they connect to existing rectangular windows, and how the division reads from inside. A solution that looks symmetrical externally may be perceived differently indoors because of a staircase or ceiling line. Have at least two options shown side by side: a reduced division that follows the basic shape and a version without grids. Mark the same reference lines on both elevations. This direct comparison shows better than separate sample pictures whether the pattern explains the form or gives it a second, competing focus. Do not simply shrink the pattern of windows below for triangular openings either. Instead, document the desired axis and intended relationship to neighbouring elements. A deliberately free glass field can make a complex roof form look calmer and easier to understand.
Buyer check 5
Material samples and elevations before approval
Screen images and small sample windows are often insufficient for a final decision. View a larger elevation in daylight, from different distances and, if possible, beside the intended façade colour. Dark grids can create a strong graphic drawing, while light grids recede more depending on the light. Perspective also matters: widths and spacing look different from below at an angle than on a frontal drawing. Confirm a pattern only when grid width, colour, position and system have been decided together. A colour specification alone does not describe the visible grid design.
Before production approval, a short structured check is worthwhile. Do the element width and height match? Are internal and external views labelled? Are grids drawn on every intended glass field, including fanlights and sidelights? Do horizontal lines meet where intended? Are deliberately grid-free elements marked as such? Also have opening direction and sash division checked separately; these details significantly change the view. Give every drawing a clear revision and mark superseded versions invalid. With several similar windows, each position should be clearly assigned to its room, façade and opening. This helps prevent an approved division from being assigned to the wrong element. Do not communicate changes only by phone; have the updated drawing confirmed. This turns a style idea into a verifiable order, with planners, supplier and installer working from the same information.
Compare quotations properly and coordinate the process
Compare quotations line by line against the agreed appearance, not by a collective term. Every position should include element type, dimensions, opening direction, number of sashes, grid type, grid arrangement, colour and its related elevation. Add whether the field is fixed or operable and which side of the drawing faces outside. If anything is missing, ask a specific question rather than drawing conclusions from a similar-sounding title. The eight or ten windows in a project do not need to be identical, but deviations should be documented deliberately. This list is especially useful when later elements are ordered, allowing patterns and elevations to be continued consistently.
Coordinate grids early with site measurement, wall build-up, window sills, shading and installation planning. Dimension changes can turn an even pattern into unequal fields; a late change to a door can shift the entire garden elevation. Agree technical and design approval as separate but connected steps. Also identify who transfers dimension changes to the elevation drawings and who approves the new revision. After order confirmation, the approved position list should also be available to the person coordinating delivery and installation. When checking assignments, review not only room names but also the external elevation, opening direction and location of neighbouring elements. Bloomcabin offers a five-year warranty for windows and doors. Delivery takes four to six weeks, subject to order confirmation. Allow this time only after the specification is settled, and do not set an installation date from a preliminary design sketch alone. Full approval primarily reduces avoidable coordination rounds.
Frequently asked questions
Are decorative and divided-light grids equally recognisable from outside?
From a greater distance, both can look similar. Up close, the depth effect, glazing layout and details at intersections and edges differ. The external elevation is not the only factor: request internal and external views plus a detail of the grid connection. Then you can compare the actual system rather than only the desired pattern.
Must every window in a house have the same grid pattern?
No. Unity usually comes from recurring axes, proportions, grid widths or a shared top line, not necessarily from the same number of fields. Large doors, special shapes and small secondary windows may be divided differently. What matters is that differences are deliberately planned in a façade elevation rather than occurring by chance.
Can I choose the same grids for a patio door as for a window?
It is possible, but not a rule. Sash frames, the handle area and opening type change how a door looks. Check the pattern on the complete door drawing and in the open position. For large glazed areas, a coarser pattern or a grid-free door can be more convincing than an exact transfer of small window fields.
Which documents do I need for a firm grid enquiry?
Useful information includes each opening’s dimensions, element type, opening direction, sash division, external and internal views, desired grid type, sketches of the field layout and adjoining elements. Add façade photos and clearly identify the outside. This helps reveal misunderstandings over axes, residual fields and door junctions early.
When should I make the final grid decision?
Set the basic pattern once façade elevations and element types are clear. Final approval should follow checked site measurement, a complete drawing and coordination with neighbouring doors, window sills and shading. Late changes to dimensions or sash division can visibly alter the proportions and junctions of the selected pattern.
Next steps
Grids are not an afterthought; they are a visible organising decision for windows and doors. Separating decorative from divided-light versions, developing the pattern from the whole façade, and assessing large doors or special shapes individually creates a sound basis for selection. Clear elevations matter more than product names or inspiration images alone. Check the internal and external effect, line connections, cleaning situation and the role of every opening within the overall composition. Only approve the order once the system, division, dimensions, opening direction and viewing side have all been recorded in writing.
