
Buying a Pergola for an L-Shaped Terrace: What to Consider
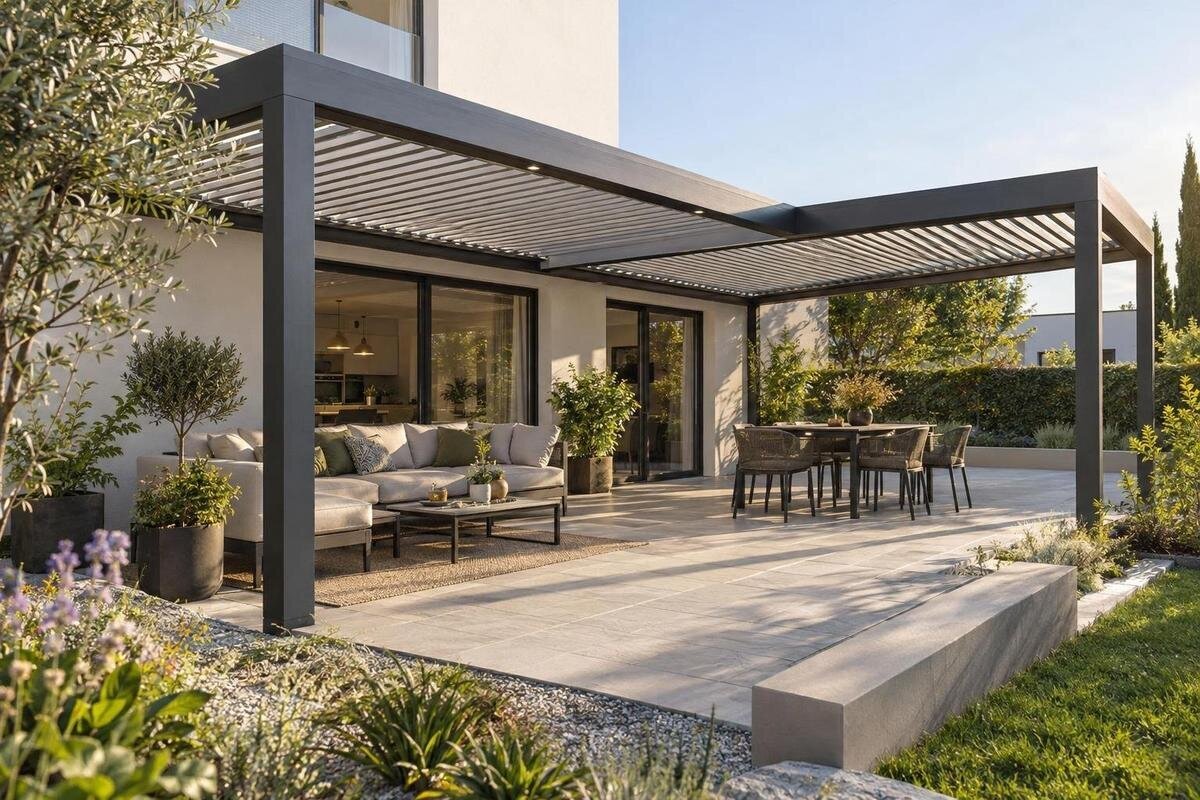
Pergola buying guide
An L-shaped terrace has two connected arms, an inside corner and a notch that can disappear from a simple length-by-width measurement. That changes the pergola buying question: you are not just matching an outer footprint, but deciding which portion needs overhead coverage, where each support can sit and how people will move between both arms. Measure the sections separately, map fixed obstacles and compare the resulting plan with the exact product configuration. A well-chosen layout can serve one useful zone without needing to imitate every turn in the terrace outline.
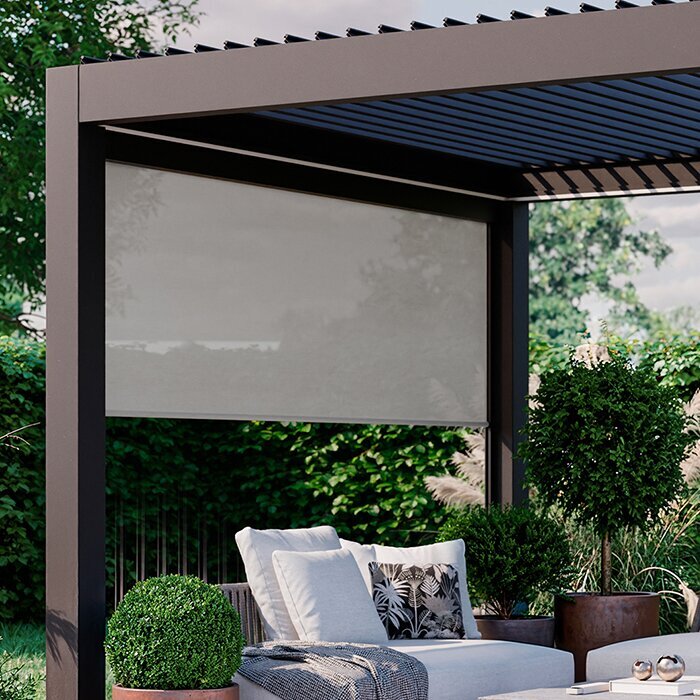
Read the terrace as two arms, not one rectangle
Draw the terrace from above before choosing a size. An L has two arms and an inside, re-entrant corner; its greatest outside length and width describe a bounding rectangle, not the shape of the usable floor. The notch missing from that rectangle matters: a pergola selected only from those outside measurements could extend over an area with no terrace below or put supports where they cannot sit. Mark both runs and the inside edges, not just the outermost corners. A simple measured sketch is enough to make the difference visible. It also helps you see whether an apparently open section is actually needed for circulation, furniture, or access to the terrace edge.
Then decide what you expect the structure to cover: one arm, the corner where they meet, or both usable runs. You do not have to cover the whole outline; leaving one section open may preserve a route or an uncovered seating area. A single rectangle spanning the terrace’s maximum length and width does not automatically follow the L, and a structure aligned to one arm may leave the other without overhead coverage. Use the Bloomcabin pergola product page as one listing to inspect, comparing its stated footprint and any dimensioned drawing with your sketch rather than judging from a product image.
Measure each arm and the inside corner
Measure each arm independently. For each, record the clear length from the inside corner toward its end and the clear width between the relevant boundaries. If the width changes, take readings near the corner, around the middle and near the end. Also note the terrace’s maximum outside length and width, but keep those separate from each arm’s usable dimensions. Write measurements in feet and inches, and use a consistent method when comparing them with product information. If a listing uses other units, convert carefully and keep the original figures for reference.
Record the inside-corner shape too: the notch’s width and depth, whether the angle is square and whether either arm narrows. Mark the exact positions of drains, built-in steps, door thresholds, fixed posts and any edge that cannot be used. These details can rule out a support location or change the direction of the frame. When reviewing the Bloomcabin pergola listing, copy dimensions for the exact configuration if they are provided. If the support layout is unclear, ask for a dimensioned plan rather than estimating from a photograph.
Choose which part of the L you want covered
Treat the choice as a coverage plan, not a demand to copy the terrace outline. A single rectangular configuration may fit over the longer arm, the shorter arm or a useful portion near the meeting point; the right option depends on where you want overhead coverage and where the supports can go. Covering both arms continuously is a separate requirement: a rectangular footprint does not turn a corner just because the floor does. A turn or joined-bay arrangement should appear in the manufacturer’s documentation for the exact configuration.
Sketch two or three possible positions before comparing sizes. For each one, mark the area that would sit under the structure, the space left open and the paths between the two arms. If your preferred layout depends on joining sections, treat that as a requirement to verify, not an assumed feature. The product page for Bloomcabin pergola can be reviewed alongside the sketch, but use only the configuration and dimensions stated for that product. Do not plan to cut, extend or connect frames unless the manufacturer documents that exact method.
Map the boundaries and routes through the terrace
Trace how people enter and move around the terrace. Mark doors, gates, stairs and the route between the home and the outer end of each arm. Then decide which path should remain clear when furniture is in place. The inside corner can be a natural meeting point between the arms, but a support or frame placed there may interrupt circulation. Think about everyday access, not just the empty terrace: a route that looks wide on a bare sketch may feel different once chairs or other furnishings are added. Include service access to outdoor equipment or storage if either arm leads to it; a layout that narrows that route may be inconvenient even when the main seating area still fits.
Mark railings, walls, planters and other fixed boundaries, along with any edge where a support cannot be placed. Do not treat a railing or wall as a mounting point unless the selected product’s instructions explicitly allow that arrangement. Check the Bloomcabin pergola details page for any stated placement or installation requirements, and ask about details that are not shown. The goal is to compare the product’s documented setup with the terrace, not to infer that a tight fit or convenient surface is suitable.
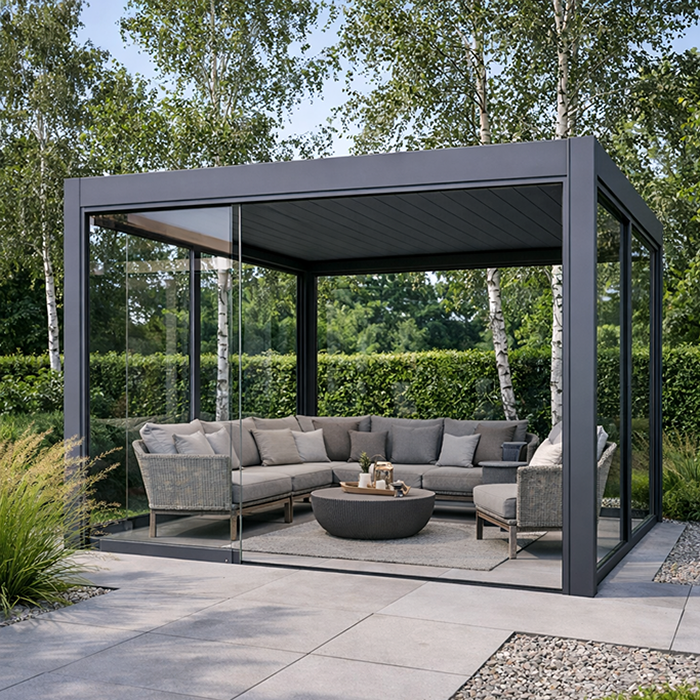
Check door swings and overhead clearance
Include the space needed to open exterior doors, windows, screens and gates. For a hinged door, mark the area its swing uses; for a sliding door, keep its track and approach clear. Check that the pergola’s planned position will not obstruct a window opening, a drain outlet or access to a fixed fixture. On an L-shaped terrace, a structure across the inner corner can affect openings on either arm, so inspect both sides rather than checking only the nearest wall.
Look above the proposed position as well as at floor level. Eaves, balconies, branches, lights or other fixed features may affect the height and clearance you need. Ask how the product’s stated height is measured and whether its instructions specify additional installation clearance; do not assume the overall height equals the clear space beneath every part. Compare your notes with Bloomcabin pergola product details if those measurements are provided. If the location conflicts with wiring or another utility, have a qualified professional assess it rather than planning a change yourself.
Compare the footprint with usable floor area
A product’s stated width or length may be measured between different points, so confirm what each number represents. Ask for the overall outside dimensions, the locations of posts or other supports, and the distance between them, where applicable. These measurements answer different questions: the outer dimensions show how much floor area the structure occupies, while support spacing helps you see whether its base points land in usable locations. A drawing that identifies those points is more useful for an L-shaped outline than a single pair of numbers.
Transfer the proposed footprint to your sketch, then mark the support positions and compare them with the notch, boundaries and access route. If it helps, use removable tape to outline the position on the terrace, provided the surface allows it. Leave enough room for the planned route and for the product’s documented installation requirements. For the Bloomcabin pergola listing page, note whether any published measurements refer to the outside frame, support points or another reference; if that is not clear, ask before deciding that the footprint fits.
Place furniture before fixing the pergola position
Decide what each arm is for before settling on a pergola position. One might be the main seating area while the other remains a route or a separate place to sit; your intended use determines which part most needs overhead coverage. Sketch the actual furniture you expect to use, including chairs in their pulled-out positions and any space needed to walk around them. If a table or seating group sits near the inside corner, check whether the structure’s supports would interfere with access from either arm. Consider how you will carry food, cushions, or other items between the house and seating areas, especially when the two arms serve different purposes.
Avoid centering the pergola on the terrace’s outer bounding rectangle simply because that looks symmetrical on paper. The most useful position may be offset toward one arm, or it may leave part of the terrace open. Compare the furniture sketch with the documented footprint and support locations, then check the routes you marked earlier. Use the Bloomcabin pergola product listing as a reference only after you have made that plan; the product image alone cannot establish how its dimensions relate to your furniture or terrace.
Compare a single structure with a connected layout
A single documented configuration gives you one footprint and one set of product requirements to compare with the terrace. Multiple units may offer another way to place coverage across the two arms, but each structure needs a workable position and its specified supports. A connected layout also raises questions about the junction: whether the products are designed to meet, what components are required and whether the resulting arrangement is shown in the instructions. Do not assume two units with similar names or appearances will connect.
Compare options using the same notes: intended coverage, outside dimensions, support positions, clear routes and installation requirements. If a continuous arrangement matters, ask the manufacturer or seller to confirm that the exact products and configuration are compatible and documented. Place the Bloomcabin pergola page in that comparison only on the basis of its stated details; the listing does not, by itself, establish that it can be joined to another structure or used in a particular layout.
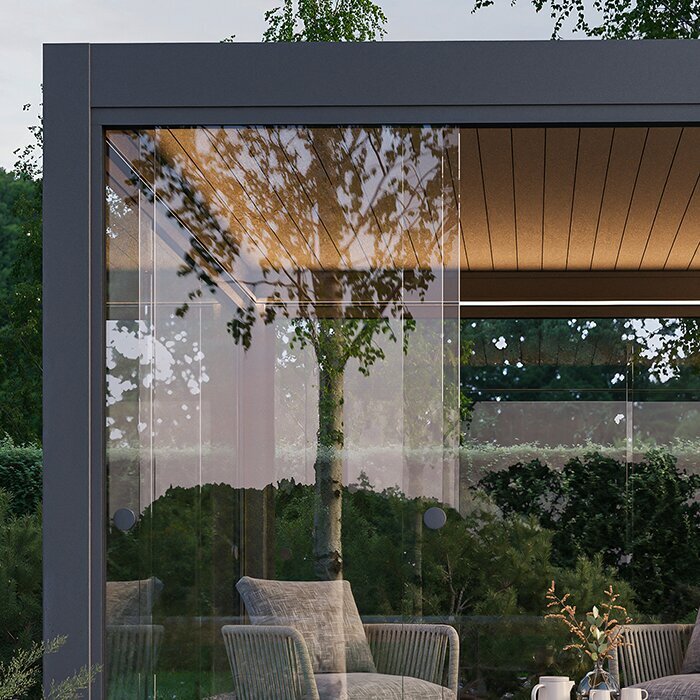
Confirm the surface and support requirements
A layout can look right on a sketch and still be unsuitable for the terrace surface. Identify what lies beneath each possible support point, such as paving, a deck or another built surface, and compare that with the selected product’s installation instructions. Do not assume that a wall, railing or surface is an approved support just because it is nearby. If the required support points conflict with the notch, an edge or a fixed feature, revisit the position before ordering rather than planning an improvised change.
If the terrace is elevated or sits above a roof, confirm that the exact product is suitable for that location before buying. Do not infer rooftop suitability from an outdoor product image or a general category label. Ask the manufacturer about the product’s stated requirements and have an appropriately qualified building professional assess the site where needed. This is especially important if the support plan depends on the terrace structure itself; a product description cannot establish that the existing construction will accommodate it.
Confirm the exact configuration before ordering
Make a final comparison using the exact product and configuration you plan to purchase. Put its documented overall dimensions, height, support layout and installation clearances beside your annotated terrace plan. Confirm how each measurement is defined and whether the documentation shows the orientation you intend. If your design uses more than one unit, verify the exact combination and any required compatible components rather than relying on an approximate sketch or a product name.
Review the plan once with the terrace empty and again with furniture, doors and routes marked. Check that the selected footprint fits the intended arm or arms, that its documented support points have suitable locations and that no access route has disappeared. Product photos can help you understand appearance, but they do not replace dimensioned drawings or installation instructions. If an important dimension, clearance or compatibility detail is missing, ask the seller or manufacturer before ordering, or compare a different documented configuration. Take the annotated sketch and the relevant product documentation with you when seeking clarification, so questions about orientation and placement are specific rather than hypothetical and easier to answer.
Frequently asked questions
Can one rectangular pergola cover an L-shaped terrace?
It may fit one arm or a useful section, but a rectangle that matches the terrace’s maximum outside length and width will not automatically follow its outline. Check the exact footprint and support locations. If you want continuous coverage around the corner, look for documentation that explicitly shows that configuration.
What should I measure before shopping?
Measure the clear length and width of each arm, the inside corner and the terrace’s maximum outside dimensions. Note any changes in width, non-square angles, edges, stairs, drains, doors and other fixed obstacles. Keep the measurements in consistent units and compare them with the dimensions for the exact pergola configuration.
Should the pergola go at the inside corner?
That depends on how you use the terrace and where the selected structure’s supports can go. Mark the corner, furniture and walking routes on a sketch, then compare positions that serve the area you want covered. The corner is not automatically the best location if it blocks access or leaves supports without suitable space.
Can I join two pergolas to make an L shape?
Only plan on joining units if the manufacturer documents that exact arrangement and its compatible components and support requirements. Similar-looking products are not necessarily designed to connect. If no approved layout is shown, compare them as separate structures rather than assuming they will form one continuous configuration.
What if the terrace surface or support locations are uncertain?
Pause the purchase until you have the selected model’s installation requirements and know whether the terrace can accommodate its specified supports. Ask the manufacturer or seller about product requirements and have a qualified professional assess the site where needed. Do not assume a railing, wall or rooftop can support a pergola.
The terrace outline is only the starting point. A useful buying decision comes from matching the pergola’s documented footprint and support requirements to the part of the L you actually want to use, while preserving access through both arms. You may not need a structure that mirrors every corner, but you do need a layout that fits the real surface, the furniture plan and the way people move through the space. When those details are clear, comparing product configurations becomes far more straightforward.
