
How to Plan a Pergola for Outdoor Movie Nights
Pergola planning guide
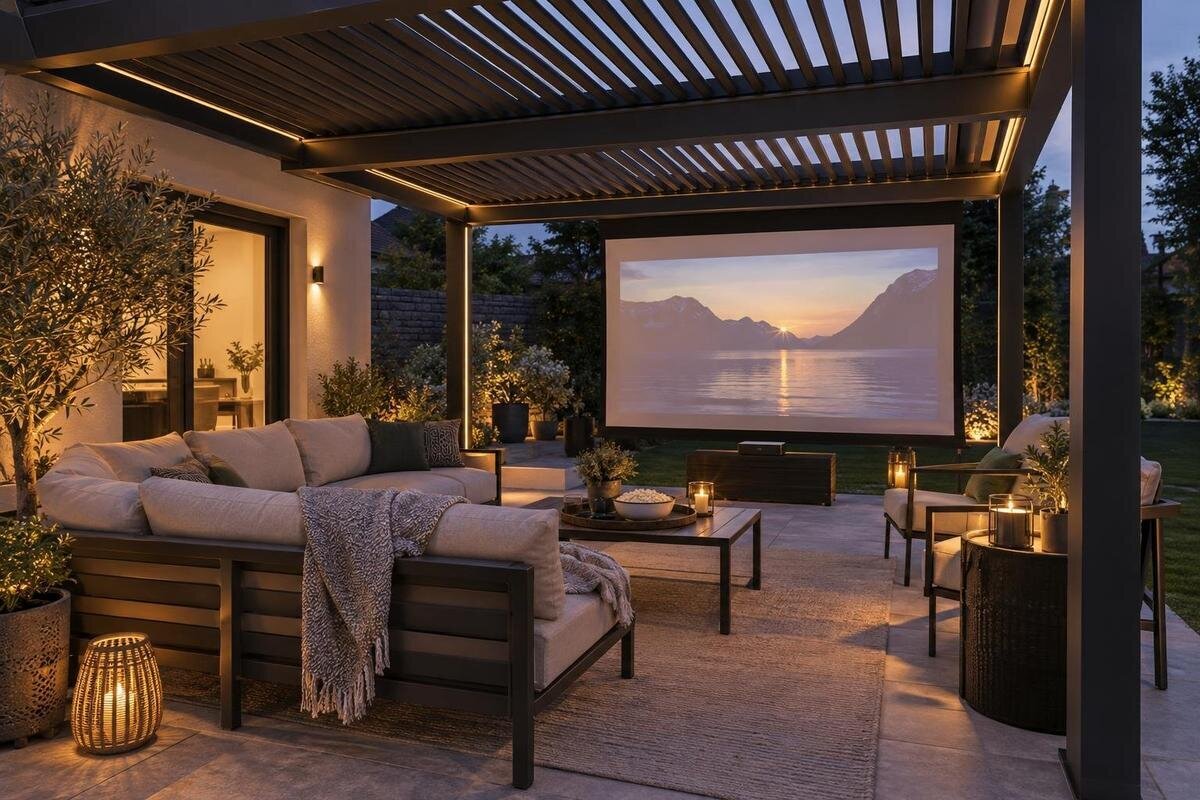
An outdoor movie setup depends less on the pergola’s name than on where the screen, seats, light, and equipment end up at dusk. Plan those pieces around a real viewing time and the way you use the patio on ordinary evenings. A pergola can define a seating area, but it does not automatically darken the screen, keep electronics dry, or provide a safe place to attach equipment. The practical goal is a comfortable backyard movie night that still leaves the rest of the outdoor space usable.

01
Set the movie-night requirements before choosing a pergola
Decide what kind of screening you will host before choosing the pergola: a projector with a temporary screen, an outdoor display, or equipment packed away after each film will affect placement differently. Record the usual start time, number of viewers, seating type, screen width, and whether the screen stays up between uses. For a projector, distinguish the lens-to-screen distance from the distance between the screen and the audience. Check the equipment manual for the placement needed to produce your intended image size; the projector may need space in front of, among, or behind the seats. Also check ventilation and exposure limits. Those requirements affect where a screen stand or projector can sit; the pergola’s listed area by itself cannot answer them. Include the playback source in your plan, too. Test whether your chosen device can play the film at that location, and whether its controls remain accessible once everyone is seated.
Separate movie mode from ordinary patio use. Mark doors, dining furniture, a grill, planters, and storage that need to remain accessible, then decide what can move on screening nights. A screen may fit on a blank wall but still block an exterior door or leave no route behind the chairs. Remember that a pergola is an outdoor structure, not a theater enclosure: daylight, wind, and ambient sound still reach the seats. Decide whether movie nights are the main use of the area or an occasional change to a multipurpose patio. That choice affects how much space to reserve for the screen, projector, and circulation.
Check the sun and glare at the viewing time
Check the sun from both the seats and the proposed screen position at the hour you expect to press play. Low evening sun can shine into viewers’ eyes or wash across a screen, and its path changes with season and site. There is no universally correct compass direction: a layout that works in midsummer may be uncomfortable at another time of year. Visit the yard near the intended start time and use a sheet, temporary screen, or marked frame to preview a likely position. If you expect to host screenings across several seasons, repeat the check on more than one date.
Do another test after sunset with the lights you usually use. A porch fixture, security light, bright window, string lights, or neighboring yard can reduce contrast or create reflections, depending on the screen and viewing angle. Switch off or redirect only the lights you control, then look at the test image from every planned seat. If the image works only when an entrance or walking path is completely dark, reconsider the screen position or lighting plan. Check for reflections from glass doors behind the viewers as well; a light source can distract from a side seat even when it is not directly behind the screen.
02
Place the screen without blocking routes or assuming a mount
Use the screen as the fixed point on a concept sketch, then check what sits behind it and on both sides. Allow room for the full screen frame and its base, following the screen maker’s setup directions. Keep the stand clear of doors, windows, steps, and walkways, and leave a way to approach it without crossing the projector beam. A large temporary screen can move in wind, so plan where it will be set up and secured according to its instructions. Check that people can get to their seats without passing between the projector and screen or squeezing around the screen’s support legs.
For a layout beside the house, note how the proposed posts, doors, and windows relate to the screen rather than assuming a wall is a usable backdrop. The Bloomcabin Lean-To Pergola listing gives a 97–258 sq ft area range, but that does not establish clear space for a screen or approval for an attachment. Compare the selected configuration’s drawings with the screen’s complete dimensions, including its feet or support frame. If you want a mounted screen, ask about the specific attachment location and method rather than simply asking whether screens are allowed. Check both products’ instructions and get qualified advice where needed. A freestanding screen also needs its own documented setup and securing method; leaving it unattached does not eliminate wind considerations.
Measure seats, sightlines, and viewing distance
Set out the chairs or loungers you expect to use, then mark where viewers’ eyes will be in relation to the screen. Check the equipment maker’s guidance for viewing position and distance, and make sure seats at the sides can see the image without an awkward turn. If you plan more than one row, sit in each place and check whether the person in front blocks the screen. Use the actual furniture dimensions where possible; a quick drawing with generic chair symbols can hide how much room a recliner, armrest, or side table takes up. Test loungers in their viewing position, not just upright, and allow for their extended footrests. Include a scene with subtitles in the trial: the lower part of the image may be hidden even when faces near its center are visible. Adjust the seating arrangement before assuming that a larger screen will solve a blocked sightline.
Leave a clear route from the house or yard entrance to the seating, and avoid making guests walk in front of the image to reach a chair. Include the space needed for a small table, drinks, or a place to set a remote, without letting those items narrow the main path. The Bloomcabin Pergola listing gives a 97–258 sq ft area range, which can help you compare product listings, but area alone does not tell you the shape or clear usable space. Compare the exact option’s documented dimensions with your measured seats and routes.
03
Size the footprint around the whole setup
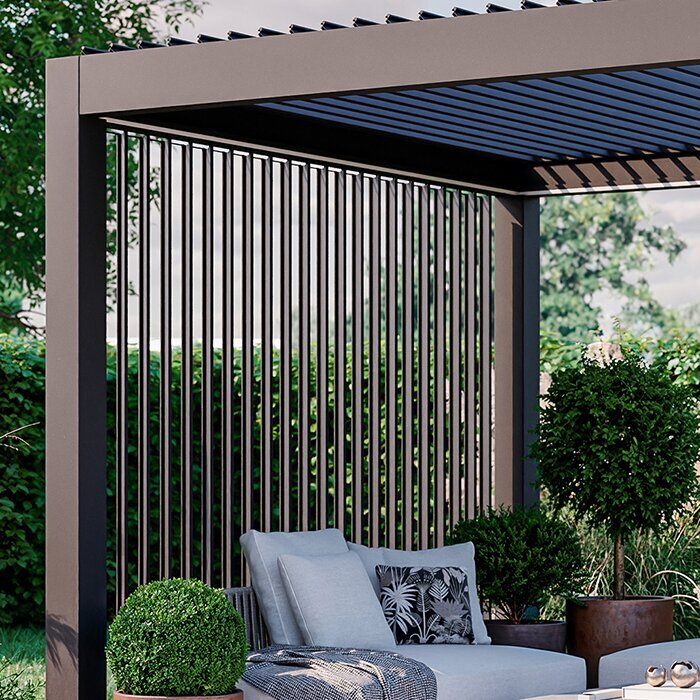
Make a simple concept sketch—not a construction drawing—at a consistent scale. Include the screen frame, chairs, projector table, furniture that stays outside on movie nights, and the path people will use. Show the supports and other fixed features of the chosen configuration so you can see where they interrupt the seating area. Measure the usable width and depth rather than treating the outside edges of a product listing as clear floor space. A plan that fits the furniture tightly on paper may leave no room to move a chair, reach a door, or walk past a seated group.
Compare that sketch with the precise configuration you are considering, not just a broad category or product photo. The Lean-To Pergola product details are one reference to review, but the selected option’s dimensions and relation to the house need to work with your measured layout. Check door swings, windows, existing fixtures, and the space needed to bring the screen and projector in and out. Trace that carrying route on the sketch, including turns through doorways and around furniture. A screen that fits when assembled may still be cumbersome to carry from its storage location. Leave room for minor changes in furniture placement; a movie setup is easier to live with when moving one chair does not block the only route through the patio.
Treat roof shade and weather protection as separate questions
A pergola’s shade does not automatically create a dark viewing space. Roof designs and configurations vary, and light can still reach the screen from the sides or open areas above. Test the image under the exact conditions when you plan to watch, then decide whether the screen position or other controllable light sources need to change. If you are considering side curtains or panels, check that they are compatible with the specific structure and intended conditions before adding them. Do not assume a shade accessory is suitable just because it fits a space visually.
The Bloomcabin Bioclimatic Aluminum Pergola listing gives a 97–258 sq ft area range, but a model name and area do not tell you how much light its roof admits or what weather it can protect against. Confirm the documented details for the exact configuration you are considering rather than treating the word pergola as a promise of blackout or rain protection. The screen and playback equipment also have their own exposure limits. Plan the viewing area and equipment position around the instructions for each item, and have a backup plan for weather that falls outside those instructions.
04
Keep playback equipment protected and cables out of the way
Choose a stable place for the projector or display that follows the equipment maker’s guidance for distance, ventilation, and outdoor exposure. A roof overhead does not prevent every source of moisture, and open sides leave equipment exposed to conditions that can change during the evening. Do not leave indoor-only equipment outside on the assumption that the pergola makes it safe. If a device is meant to be brought indoors after use, include that step in the plan and leave enough room to carry it without threading through seated guests.
Keep the device and its connections outside the main walking route, and arrange cables only as allowed by their instructions. A cable that crosses a path or runs between chairs can become a trip hazard, especially in low light. Avoid covering or enclosing a running device unless its manufacturer allows it; equipment may need ventilation. When comparing your equipment layout with the Bloomcabin Pergola product page, account for the projector table or display stand as well as the seating. Keep controls accessible without requiring someone to reach over a hot or operating device. Identify an indoor storage location and a clear retrieval route before the first screening. Follow the equipment instructions for shutdown, cooling, and storage rather than immediately packing a device into a case. Keep remotes and removable accessories together so the next setup does not require searching around the patio.
Balance practical lighting with power needs
Plan enough light for people to find seats and move safely without shining a bright source into the screen or viewers’ eyes. Check the view from every seat with the lights on, then adjust or switch off fixtures you control if they create glare. Keep any path lighting out of the screen’s direct field of view where possible, while still making the route easy to see. Portable lights need a stable place that does not obstruct circulation, and their use should follow the maker’s directions for outdoor conditions.
Think about power before settling on the screen and projector positions. Note where equipment will sit and which devices need a connection, including the playback source, speakers, and any separate lighting. Account for charging needs as well; a battery-powered accessory still needs enough charge for the planned use. Do not run a cord across a busy route simply because that is the nearest connection. For permanent outdoor outlets or lighting, ask a qualified electrician to assess the site and the proposed work. When reviewing the bioclimatic aluminum pergola listing, confirm any documented lighting or accessory provisions for the exact option. Bring the electrician a layout showing the devices and intended locations rather than assuming that the pergola includes lights, outlets, or wiring.
05
Limit sound and projected light toward neighbors
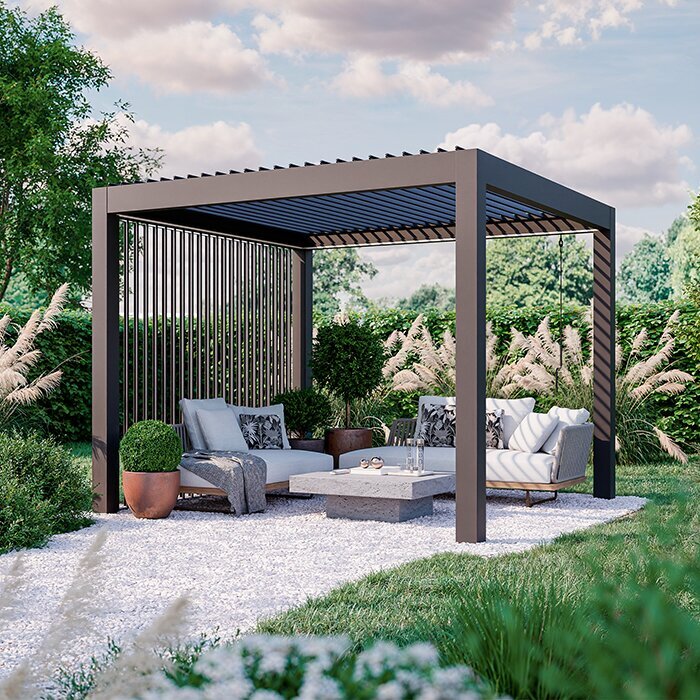
Plan the speaker position and screen direction with nearby homes in mind. Aim speakers toward the audience rather than outward, keep the volume moderate, and listen from the edge of your property during a test. Sound can carry farther than it seems when you are seated close to the speakers, so the people watching are not the only useful test audience. Choose a screening time that fits your household and surroundings, and check applicable local or community guidance before making late movie nights a routine.
Consider the screen’s visibility as well as the sound. A bright image facing a nearby window may be distracting even when the projector beam ends at the screen. Keep the projected image within the screen’s edges using the equipment’s setup guidance, and check the result from the property boundary. On a concept sketch, mark nearby windows and lot edges alongside the pergola’s proposed footprint. When comparing the Bloomcabin Pergola configurations, use those site details to evaluate placement rather than choosing a direction from a product photo. If speakers would disturb nearby households, compatible headphones may be an alternative. Test them with your playback equipment before inviting guests, including whether everyone can hear synchronized sound. Agree on an end time with your household, and avoid adding bright decorative lighting toward neighboring windows just to make the seating area look more theatrical.
Rehearse the layout before the first screening
Do a full setup test at the time you expect to watch, even if you only display a test image. Put the screen, projector, seats, and lights in their intended places. Check the image from every chair, walk the route from the house to the seats, and notice whether anyone has to cross the beam or step over an obstruction. Test the sound from the audience and the property edge. A short rehearsal can reveal glare, an awkward viewing angle, or a cable route that was hard to spot on a drawing.
Rehearse packing up as well as watching. Decide who will move the screen, which items return indoors, and how you will keep the exit route lit while equipment is removed. Check whether the screen can be dismantled without shifting every chair, and keep its storage space accessible. If the Lean-To Pergola listing is on your shortlist, bring the tested layout to a size and configuration consultation. Record the screen dimensions, furniture footprints, equipment position, and any unresolved clearance questions so the discussion concerns your actual setup. Separate layout questions from attachment or electrical work that needs qualified professional advice. Keep a simple record of the arrangement that worked, such as a labeled sketch or photos of furniture positions. That makes future movie nights easier to set up without repeating the entire trial.
Frequently asked questions
Will a pergola make the picture dark enough for a projector?
Not necessarily. A pergola does not automatically block light from the sky, nearby windows, or outdoor fixtures. Test the screen at your usual movie time and adjust its position and the lights you control.
Can I attach a movie screen to a pergola?
Only if the pergola and screen instructions, or qualified professional advice, confirm that the specific attachment is acceptable. Do not assume a post, beam, or roof component can support a screen.
How far away should the seats be?
Use the screen or projector maker’s viewing and setup guidance; there is no one distance that works for every screen and device. Mark the proposed seats and test the view before fixing the layout.
Can I leave a projector or display under the pergola?
That depends on the equipment’s instructions and its exposure to moisture, wind, and other outdoor conditions. A pergola alone does not make indoor equipment suitable for outdoor use.
How can I be considerate of neighbors during a movie?
Aim speakers and the screen away from nearby homes, keep volume moderate, and check the sound and light from the edge of your property. Consider local and community guidance when choosing screening times.
A comfortable movie night comes from a layout that works at the actual viewing time, not from assuming a pergola solves every outdoor challenge. Check the sightlines with real seats, preserve a clear route, and treat light, weather, power, and neighbor considerations as separate parts of the plan. A rehearsal gives you a chance to correct the small problems—glare, blocked access, or awkward equipment placement—before they become part of every screening.
