
Pergola Height: Headroom, Roof Movement, and House Proportions
Pergola planning
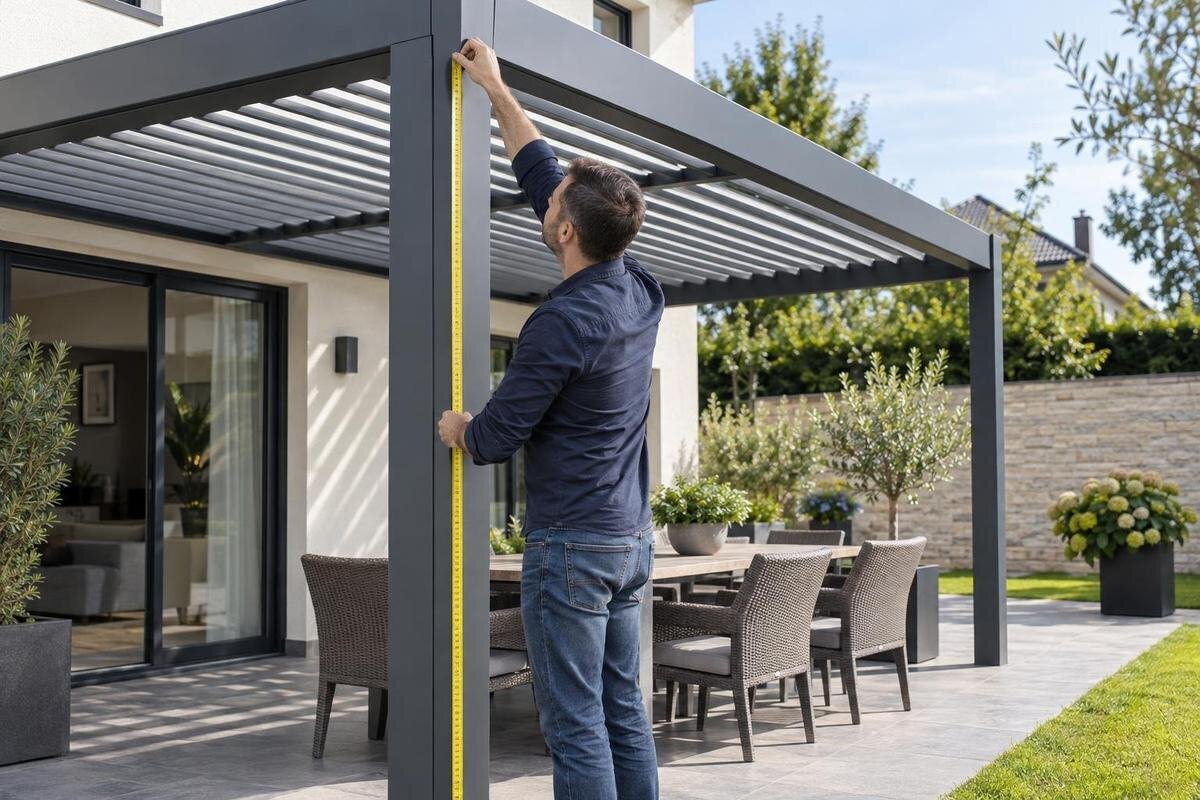
A pergola height can look straightforward on a quote until you ask what the number measures. The top of the roof, the underside you walk beneath, and the space occupied by a moving roof are different references. The final patio level and nearby house features matter too. A measured side-view section brings those details together so you can check everyday headroom and the structure’s scale against the facade before settling the configuration.
Why a measured side section matters
Start with a side-view section through the house and pergola, not only a plan view. A plan shows the footprint and post locations, but not how the roof sits above the finished patio, meets a wall, or relates to an eave. In the section, draw the walking surface, threshold, wall, roof top, beam underside, and any lower roof component against the same vertical reference. Keep overall height and headroom separate: the first reaches the highest point; the second reaches the lowest surface over the area people use. The drawing should make both questions clear rather than leaving the dimension endpoints to interpretation.
If the roof moves, draw it in each relevant position and mark where every height is measured: at the wall side, outer edge, and important passage. Add a plan reference so the reader knows where the section cuts across the structure. Use a scale or write actual dimensions beside each point; if the sketch is not to scale, label it clearly. If the roof profile or patio levels vary across the width, add another section instead of hiding the difference in an average. A concise, dimensioned sketch gives the supplier and installer a shared basis for discussion and helps reveal mismatches before the quote is finalized.
Measure from the finished patio surface
Use the surface people will actually walk on when the project is complete as the starting line. For an existing slab or deck, measure from its top; for planned paving or a raised platform, show the finished surface rather than bare soil, base material, or framing. Mark the doorway threshold and any step between the house and patio on the same section. If the floor build-up has not been selected, label the assumed elevation or thickness instead of presenting it as final. Include which parts of the surface are installed and which remain proposed. Otherwise, a drawing can suggest more headroom than the completed patio will provide.
Do not reduce an uneven patio to a single center measurement. Show the planned finished level at the pergola’s main support lines and at important passage points; a slope or step can leave different clear heights under the same roof. If paving, decking, or another overlay may be added later, note that future condition separately and have its effect reflected in the drawing. The aim is not to demand a perfectly level patio, but to compare roof height with the actual walking surface at each location that matters. Take measurements from repeatable points so later revisions use the same reference.
Define usable headroom along real routes
Usable headroom is measured vertically from the finished walking surface to the lowest part of the structure above the relevant spot. That may be a beam, frame edge, fascia, or another component, not necessarily the roof’s highest point or the center of a bay. Identify the route into and through the covered area, then dimension clear height at the entrance, a commonly used passage, and places where people stand or sit. The needs of a walking route may differ from those of a seating area. Set a target around how you plan to use the space, then verify it against the selected design; there is no universal height for every patio, house, and user.
Check likely obstructions below the roof as well as the frame. Lights, screens, fans, heaters, or other accessories matter if they are included in the configuration or planned for that position. Show their locations and lowest edges on the section rather than subtracting a guessed depth later. Keep movable furniture out of the fixed clearance measurement, but mark the routes around a table, chair, grill, or storage area. Someone standing up from a chair may use a different part of the covered space than someone walking straight through it. When requesting a configuration for the Bloomcabin Pergola, distinguish the places where you need standing clearance from those used mainly for seating. Ask the supplier to identify any proposed component that would intrude into those areas.
Show the roof’s full movement envelope
With any roof that changes position, a closed-roof outline is not enough. If the selected design uses louvers or another moving arrangement, its parts occupy different positions through operation and may change the lowest underside or the roof edge. Ask for the movement envelope—the space occupied through the full operating travel—alongside the fixed frame dimensions. The drawing should name the positions it depicts and identify the lowest point in each relevant position. Confirm whether its measurements show the roof at rest, partly open, or fully open. Do not assume an overall height also describes clearance while the roof moves.
Compare that envelope with the house and any item close to the roof line, including eaves, gutters, trim, lights, and an opening window. If an actuator, linkage, housing, or accessory sits below the main frame in the exact specification, include its lowest edge too. The closest approach to an obstruction may occur partway through movement, so drawings of only the two end positions may not answer every clearance question. For a proposed Bloomcabin Bioclimatic Aluminum Pergola, ask the supplier to identify the critical position wherever the roof approaches a house feature. Also distinguish the space needed for ordinary operation from any additional access needed to inspect or service the mechanism. These are separate questions, and neither clearance can be established from a catalogue photograph.
Check doors, windows, and facade projections
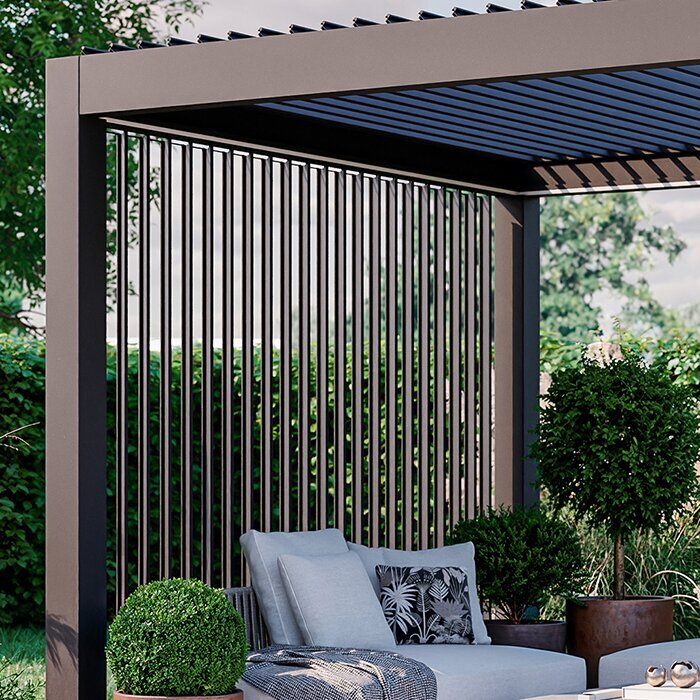
Map the house face as it is built, not as a blank vertical plane. Include the heads and sills of nearby doors and windows, projecting trim, siding changes, downspouts, gutters, vents, and exterior lights if they are near the proposed roof. These details can occupy the same space as a roof edge or post, and a height that looks clear in a simple outline may leave an opening or fixture blocked. Note which features project from the wall so their positions are easy to compare with the roof profile. A straight-on photograph with measured features marked can help the supplier read the section, but it does not replace dimensions.
For doors, indicate the full swing and the approach from patio to interior; for windows, note how each nearby sash opens. Check access to handles and to any fixture that must remain usable. An outward-opening sash needs to be checked through its travel, not just where it rests when fully open. On a wall-attached layout, measure the proposed attachment location separately from the outside beam and show its relationship to the door head and eave. When discussing the Bloomcabin Lean-To Pergola, give the supplier photographs of these openings along with their dimensions. Identify which openings must remain fully operable so the returned drawing addresses that requirement explicitly, rather than showing only a roof that fits against the closed facade.
Compare pergola height with the house facade
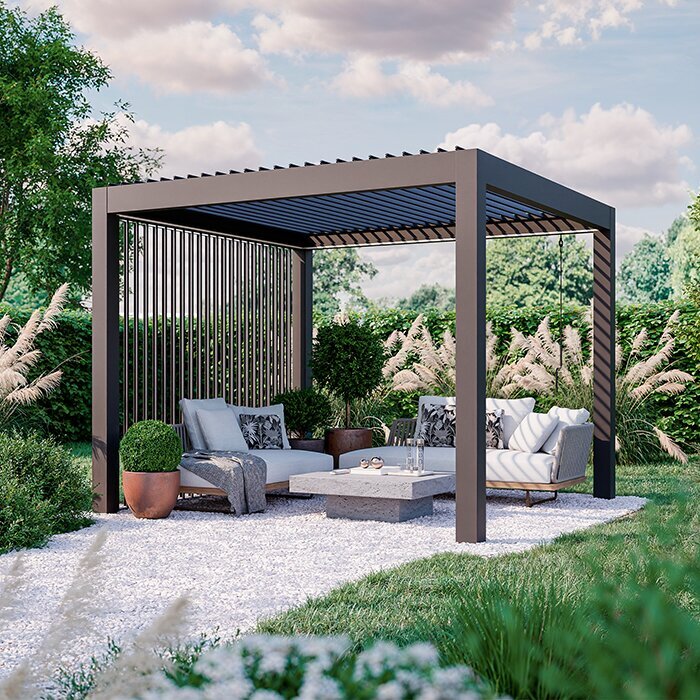
Height also changes how the structure looks against the facade. In an exterior elevation facing the house, compare the pergola’s top edge and underside with the house’s door heads, window lines, eaves, and main roofline. A tall structure can visually dominate a low wall; one set too low may crowd a window or seem disconnected from the room opening onto the patio. These are proportion questions, not fixed rules. The scale of the house, pergola width, viewing distance, and roof shape all affect the result, so a preferred height cannot be chosen by applying one universal ratio. Use the cross-section to check physical clearances and the exterior elevation to judge how the horizontal lines relate across the facade.
Judge the outline from views you actually use: standing in the yard, looking out from the main patio door, and, where relevant, seeing the house from its approach. A straight-on elevation makes facade lines easier to compare than a perspective rendering, which can distort apparent height. For a candidate such as the Bloomcabin Pergola model, compare two proposed heights on copies of the same measured elevation, keeping the footprint and viewing scale unchanged. Draw the roof in its usual position and add an alternate outline if its appearance changes significantly. From inside the house, also note where the roof edge falls within the view through the glazing. A height that looks balanced from the yard may create a more prominent band across that interior view.
Separate overall height from clear height
Ask what surface each height dimension ends at. Overall height may run from the finished patio to the uppermost roof point; clear height runs to the lowest underside; post or frame height may use different endpoints. A fascia, gutter, bracket, drive housing, or roof edge can affect the highest or lowest point in a particular view. The section should use dimension arrows that touch the specified surfaces and call out the wall side and outer side separately. If the roof changes position, label each state rather than merging all the measurements into one note.
Compare proposed dimensions only after confirming their starting points, endpoints, roof positions, and included components. Two numbers are not comparable if one starts at the patio and another at a post base, or if one excludes a trim piece shown on the other drawing. Keep feet and inches consistent across your site sketch and the supplier’s drawing, and have any dimensions supplied in another unit clearly converted and labeled. When comparing a proposal for the bioclimatic aluminum pergola, a small dimension table can separate overall height, fixed underside clearance, and moving-part clearance without mixing them. Record the drawing revision beside those values. If an endpoint remains unclear, ask for it to be marked on the section before treating the number as a confirmed project dimension.
Account for wall-attached and freestanding layouts
Freestanding and wall-attached pergolas need different points called out on the same side view. For a freestanding layout, show the finished surface at each support line in relation to the roof profile; if the floor changes level, clear height can differ from one post line to another. With a wall-attached layout, show the wall-side top and underside as well as the outer beam. A single front-edge or wall-edge height can be misleading if the roof profile slopes or the two edges sit at different elevations. Make the dimensions describe the actual proposed configuration, not a generic category.
At a wall, locate the proposed attachment line relative to cladding, window heads, eaves, and other wall features. Whether the surface is suitable for attachment is a separate professional question; a neat fit on a drawing does not establish how it should be fixed or whether the design suits that building. For a Bloomcabin Lean-To configuration, ask the supplier and a qualified installer to review the proposed mounting line together. If that line needs to move, the revised section should show what happens to the outer edge and headroom rather than assuming that only the wall connection changes. Keep the architectural preference for a particular roof height separate from the professional assessment of a suitable connection.

What to include in a height drawing for a quote
Prepare the drawing so the quote can be checked without guessing. Include a labeled plan or reference showing which direction the section faces; finished floor levels; door threshold and openings; wall projections; support positions; the roof’s top and lowest underside; and nearby eaves or gutters. Add dimensions at both sides of the roof and along any route where headroom matters. Show moving parts in the positions you want reviewed and state whether the sketch is to scale. The section can be simple, but its measurement points, floor reference, and cut location must be unambiguous.
Send the same marked section with photos and the proposed model or configuration, and ask for a returned drawing that uses the same floor datum and distinguishes overall height from usable clearance. Define the datum as a named reference level, such as the completed patio at the doorway, so everyone can locate it on site. For a quote involving the Bloomcabin bioclimatic pergola option, label your requested heights as preferences until the supplier confirms them for the proposed roof arrangement. Ask which accessories and trim the drawing includes. Separate measured site dimensions from estimates or inaccessible measurements, and identify who will verify the latter. This helps the person preparing the quote distinguish a confirmed constraint from a detail that still needs a site check.
Reconcile the drawing, quote, and contract
Before approving, reconcile the dimensioned drawing with the written quote and contract description. Check that the selected model, roof arrangement, accessory inclusions, finished patio assumption, attachment side, and height references agree across the documents. For a Bloomcabin Pergola quote, ask that the applicable drawing number and revision be identified in the written project description. Confirm who is responsible for verifying site measurements and which unresolved dimensions must be settled before the configuration is finalized. If a dimension changes after the drawing is issued, request a corrected version rather than relying on a verbal note. Review the consequences of that change for adjacent openings and usable clearance; an updated overall height alone may not show every affected detail.
If patio construction is incomplete, record the planned final elevation and what could change it. Identify who will confirm the completed surface level and how a discrepancy will be handled before installation proceeds. If the house-side connection is involved, have the installer or an appropriate building professional assess the actual site. Check local approval questions with the relevant authority or a qualified professional rather than inferring an answer from a product image or generic dimension. Keep the approved drawing available to the people completing the patio as well as those installing the pergola. Coordinating those two finished levels is what turns the agreed roof height into the headroom shown on the drawing.
Frequently asked questions
What is a good height for a pergola?
There is no single height that suits every patio. Set a headroom target for the way you will use the space, then check it against the finished patio level, the selected roof profile, nearby doors and windows, and the house facade. Confirm the actual dimensions on a drawing for your configuration.
Is pergola height measured to the top of the roof or the underside?
It can refer to either, so check the dimension endpoints. Overall height usually describes the distance to the highest point shown; clear headroom describes the distance to the lowest obstruction above the walking area. Ask which floor level and roof position each measurement uses.
How should I check clearance for a louvered roof?
Ask for a dimensioned section showing the roof in its relevant operating positions and the space its parts occupy as they move. Check the lowest point and the outer edge against eaves, gutters, windows, and other nearby features. Confirm the details for the specific proposed configuration.
Does a sloped patio change pergola headroom?
Yes. Headroom is measured from the walking surface, so different finished patio levels can produce different clear heights beneath the same roof. Show the planned surface at the support lines and along important routes, rather than relying on one center measurement or an unfinished base.
Can a pergola fit beneath an existing eave?
Possibly, but an overall height alone cannot confirm the fit. Measure the eave, gutter, trim, and any nearby openings, then compare them with the roof's full profile and movement path. Have the supplier or installer confirm the proposed clearances for the actual site and configuration.
A useful height decision accounts for three things separately: the roof’s overall height, the lowest clear space beneath it, and the envelope of any moving parts. Put those dimensions on a section that starts at the finished patio and shows the relevant doors, eaves, and facade lines. If the floor level or attachment details are not final, label the assumptions and confirm them before approving the drawing. That way, the quote, the site measurements, and the height you experience beneath the pergola all refer to the same design.
