
Pergola Shade in Low Evening Sun: Which Side Needs Protection?
Pergola planning
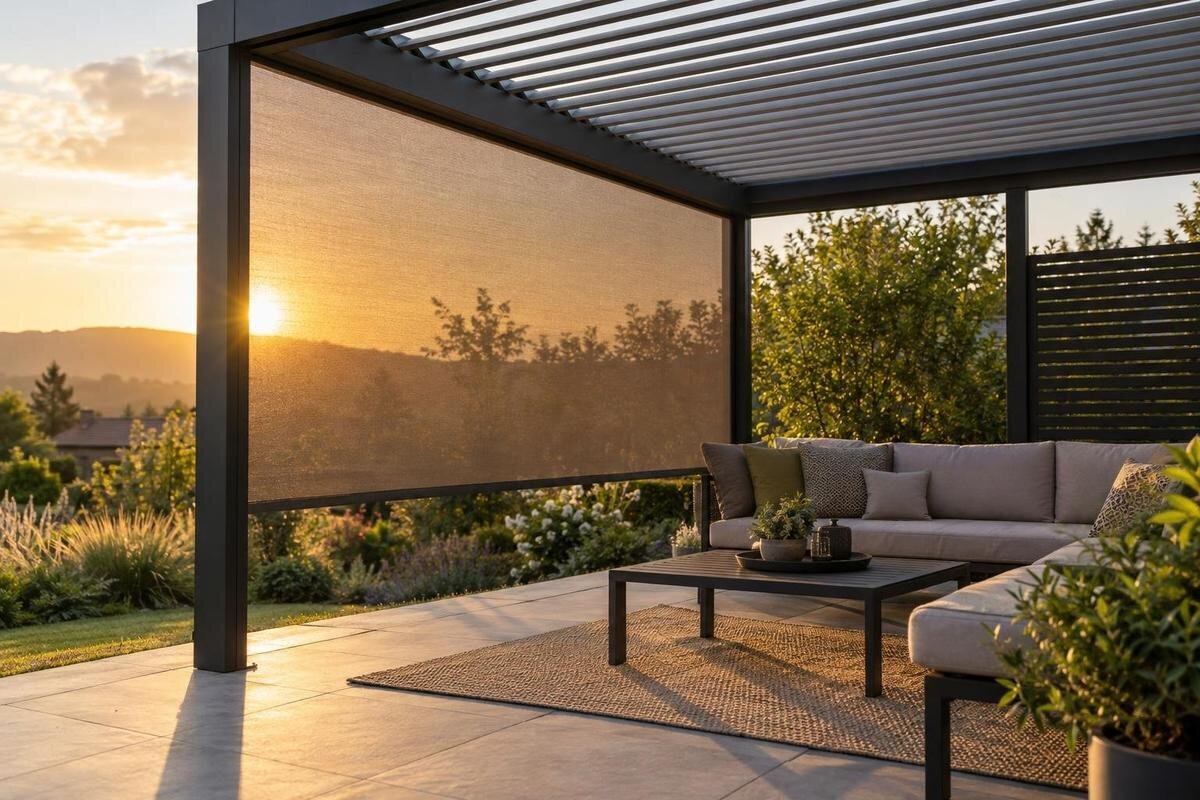
A pergola roof can shade the table at lunch and still leave the last part of dinner exposed when the sun drops toward the horizon. The useful screen is the one that crosses the sun’s actual path into the occupied area, not a compass side chosen by rule of thumb. Follow one evening layout from sun-path sketch to accessory questions, and identify the opening worth checking.

01
Why roof shade may not block low evening sun
A pergola roof can cast shade when sunlight arrives from above, yet late rays may travel through an open side and reach the table, chair backs or a seated person’s eyes. The roof can be doing its job at midday while the final part of dinner still feels exposed. That is a side-entry problem, not proof that more overhead coverage is needed. The boundary to study is the one a beam crosses immediately before it reaches the place you want shaded. A wall, post, fence or neighboring building may already block part of the route, so map the opening that is actually exposed instead of assuming every side receives sun.
Use one evening routine as your example rather than trying to solve every possible use at once. Imagine dinner from 6:30 to 8 p.m., a house along the east edge, an open pergola side toward the west, and a table set inside. Suppose the last direct light reaches a chair near that opening. Those details are illustrative, not a rule for every location: the date, local horizon and layout affect the sun’s path. Replace the example’s time and compass marks with your own. The useful question is which opening the ray crosses just before it reaches the chair, table or other spot you want shaded.
Mark the seats and the hours you use them
Start with a simple plan viewed from above. Mark the table, each chair, the place where the affected person sits, and the space chairs need when someone pulls them out. Include the usual route between the house, seating and yard. If the problem is glare in someone’s eyes, mark the seated position; if it is sun on food or the tabletop, mark that surface instead. A beam can strike one end of a table while leaving the center in shade, so a single dot at the table’s center may hide the problem. Add posts, walls and other fixed objects to make the plan match the site.
Choose the hours that matter in your routine: perhaps the time dinner begins, when the light becomes uncomfortable, and when it finally leaves the seating area. Mark each side as open, partly blocked or closed, and label doors and fixed objects so another person can read the sketch. Write each observation’s date and time beside its arrow; otherwise, one evening’s result can look like an all-season answer. When asking about the Bloomcabin Pergola model, share the plan and identify the opening by its neighboring features as well as its compass direction. Labels such as “yard-facing side beside the dining table” help avoid confusion when someone reviews the layout from a different viewpoint.
02
Observe the sun during your usual dinner window
On a clear evening in the season when you use the pergola, watch from the affected seat before the sun becomes bothersome and continue until the direct light has moved away. Note the time, where the sun appears in relation to the house or roofline, and which surface it reaches. Photos taken from the same spot can make changes easier to compare; you can also mark the shadow’s edge on the patio. If clouds obscure the sun or its shadow, repeat the observation on another clear evening. Recording the moments when the beam first arrives and finally leaves is more useful than noting only when it looks most intense.
The sun moves across the sky during the evening, and its route also changes through the year. A sun-path or solar-position tool can help estimate timing before you have a chance to observe, but it cannot show what a nearby tree, fence or building blocks at your site. Treat an estimate as a prompt to check outdoors, not as a finished screen plan. If you are considering Bloomcabin Bioclimatic Aluminum Pergola, keep your site observations separate from the product information. Your notes establish where light enters; a drawing of the proposed configuration can then show whether posts or other components affect the opening you identified.
Trace the ray to the pergola edge
On your top-down plan, mark the affected chair or table spot and the sun’s direction at the moment you recorded. Use shadow directions or a location-specific sun-position estimate rather than looking directly at the sun. Draw a line backward from the affected spot toward that direction, extending it until it meets a pergola edge. That intersection identifies the opening the light uses on its way to the seating area. Repeat for the other important times in your dinner window. If the lines meet different edges or move toward a corner, record that change rather than choosing a side from one observation. The compass direction labels the drawing; the line across the layout identifies the candidate side.
A second, side-on sketch helps check whether a screen could intercept the ray at the height where it enters. Low light may pass beneath a roof through an open side, but a gap above, below or around the end of a proposed screen can leave the path open. This is a geometry check, not a way to set product dimensions: have the actual configuration and clearances confirmed. If Bloomcabin Pergola is on your shortlist, compare the screen’s documented coverage with both sketches. Also ask how much direct light the proposed screening material transmits; placing a screen in the beam’s path does not by itself establish how completely it will shade the seat.

03
Example layout: dining table near the west opening
In the example, the house borders the east side of the pergola and its western side is open. Suppose observation shows that, during the last part of dinner, a ray from the west-southwest passes through the western opening and reaches a chair near the table. Draw that route on the plan. If it crosses the middle of the western edge, that is the side to assess for a screen. If it crosses near the southwest corner, check the routes to other occupied chairs and repeat the observation later in dinner. Those other rays may enter through the southern opening instead. A single ray normally enters through one side; the candidate side can change with the seat or time.
A screen on the far side of the affected seat will not intercept a direct ray that reaches the seat from the open west, unless a wall or other obstacle already blocks that route. It may cast shade elsewhere without resolving the glare. If the pergola sits beside the house, include the wall, windows and doors in the drawing because their positions change which routes are open. When asking about Bloomcabin Lean-To Pergola, share both the wall-facing edge and the open-side route, and ask which configuration and side accessories, if any, are approved for the exact model.
How much of the opening needs screening?
Once you have a candidate edge, mark where the rays intersect it at the beginning and end of the time you want shade. If both lines cross a short part of the same opening, that gives you a more focused area to discuss than screening the entire perimeter. If the intersection travels along the edge or moves around a corner, note that too: a narrow screen position may miss the beam at one end of dinner. Check the route from more than one chair if several seats are important. The sketch helps define the problem, but it does not determine the size or dimensions of an accessory.
More coverage is not automatically better. A screen across a wider area may obstruct a view, change how open the pergola feels or interrupt a route you use. Start by marking only the portion crossed by the rays, then compare that area with the available screen arrangement. For the Bioclimatic Aluminum Pergola model, ask whether an approved option covers an entire opening or whether separate sections are available. Where posts divide an edge into several openings, your marked area may span more than one section. Keep the desired coverage distinct from the purchasable configuration: a small problem area does not necessarily mean a screen can be ordered in that exact width.
04
Protect access, views and open sides
Add the everyday paths to your plan before deciding where coverage should end. Mark the house door, any route through the pergola to the yard, and the space people need to move chairs or carry items. If a proposed screen position crosses a frequently used opening, consider whether that access can remain clear without reopening the sun’s path to the seat. Stand at the doorway and look toward the table as well as checking the patio from the seating area; a solution that works from one position may feel obstructive from another.
A side screen also changes how open that edge feels and can reduce airflow through it while it is in place. If a breeze or an unobstructed view matters to you, note the other openings you want to keep clear and check the seating area from those directions. Distinguish the layout with screening in use from the layout with it out of the way, if the proposed accessory allows that change. For Bloomcabin Lean-To model, include nearby doors and the opening you want to preserve. Ask where any movable screen components would remain when not in use, so stored or retracted parts do not become an overlooked obstruction.
Recheck the layout in different seasons
One evening’s observation describes that date and time, not every month you may use the pergola. The sun’s position at sunset shifts during the year, and the amount of daylight at dinner changes too. If you use the space in several seasons, repeat the sketch for the periods that matter or use a location-specific sun-path estimate to plan further checks. Trees can change the result as their foliage changes, while buildings and fences may cast different shadows as the sun’s route shifts. Record existing shade separately from the sun ray you want a screen to block, so you can tell which object is responsible for each shadow.
Direct sunlight is not the only source of brightness: a nearby light-colored surface or glazing may reflect light toward the table from a different direction. A screen across the direct-sun route may not remove that reflected brightness. If the direct beam is gone but the glare remains, note what surface is bright and where it lies in relation to the seat. When sharing the plan for the Bloomcabin Pergola listing, include the date and time of each observation and distinguish direct sun from reflected light. That gives a model enquiry a more precise question than simply asking which side faces west.
05
Verify the screen and pergola configuration
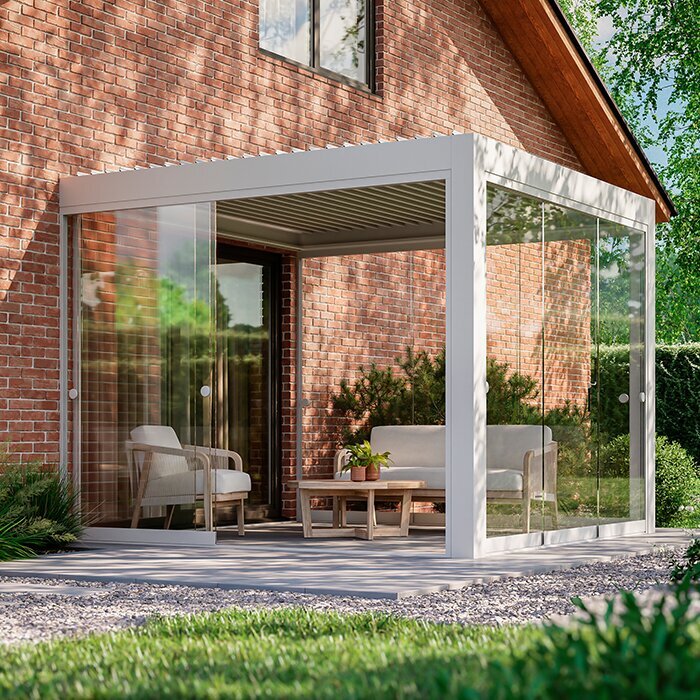
Before choosing a screen, match the sketch to the exact pergola configuration you are considering. Ask which side options or accessories, if any, are approved for that model, where they sit in relation to the posts, and how their dimensions correspond to the opening you have marked. Confirm whether the proposed item is included or listed separately. Review model-specific operating instructions, clearances and any documented weather restrictions, including when screening must not remain deployed. These details are not established by a pergola’s name or by a picture of a finished patio. A drawing for the actual configuration is more useful than a generic example with a different post layout.
For an enquiry about Bloomcabin’s Bioclimatic Aluminum Pergola, identify the exact model and the side you are asking about, then request confirmation of any compatible accessory and what the order includes. Ask how the proposed screen relates to the ray path, corner and access route in your plan. If the configuration depends on attachment to a building or other site-specific conditions, have a qualified professional review it; do not improvise a mounting arrangement based on a sketch. The goal is to resolve the layout and compatibility questions before treating an accessory as a confirmed part of the design.
Check the proposed screen position on site
Before committing to a final layout, mark the candidate screen plane on the patio with removable tape or chalk and check it from the affected seat. For a more complete visual test, use a stable freestanding panel at ground level, if one can be positioned safely; do not attach an improvised sheet to the pergola. Test at the same time of day when the beam was recorded, and compare the shadow on the chair, person and table with your original notes. A small sample may help locate the edge but cannot confirm the coverage of a full-size product.
Use the test to check more than the sunbeam. Sit in the affected chair, look toward the yard and house, and walk the usual route past the table. If the proposed position blocks access or makes the space feel too closed, adjust the plan and trace the rays again rather than assuming the entire side must be covered. Repeat at the beginning and end of the window that matters; a position that works at one moment may leave the seats exposed later. Keep the final sketch with your model enquiry so the proposed, approved configuration can be compared with the way you actually use the pergola.
Frequently asked questions
Should a pergola screen always go on the west side?
No. A west-side screen helps only when the late sun crosses that opening before reaching the area you want shaded. The sun’s direction changes with location, date and time, and nearby structures may block it. Trace the actual route from your seating area.
How can I tell which side the sun enters?
Observe the pergola during the hours you use it. From the affected seat or table, use shadow directions or a sun-position estimate to draw a line toward the sun’s location; do not look directly at the sun. Note where the line meets the pergola’s edge, and repeat near the beginning and end of the period when glare is a problem.
What if the sun reaches the seats from a corner?
Mark where the ray crosses the pergola boundary near the corner. Then check the routes to other occupied seats and repeat at different times during dinner. Although one ray normally enters through one opening, the entry point can move to the adjacent side as the sun’s direction or the seat being assessed changes.
Do I need to screen the entire side?
Not necessarily. The sun may cross only a portion of an opening, or its path may shift along that edge during dinner. Sketch the intersections at the times that matter, then verify whether a proposed screen can cover the needed area.
Are side screens included with Bloomcabin pergolas?
A model name or gallery image does not establish what is included or compatible. Check the configuration and included-items list for the exact model, and ask whether a proposed side-screen accessory is approved for it.
For late-day shade, protect the opening your recorded ray crosses before it reaches the seat or table—not necessarily the side that seems obvious from a compass label. In the dinner example, the western opening is the first candidate, but other seats or later light may make the nearby corner important. A plan and side-on sketch help separate coverage, gaps and access needs. The best arrangement addresses that specific evening-use problem while leaving the parts of the pergola you value open.
